How to achieve the Floating Technique? Lots of examples!
Our current Team creative challenge for my Flowerbug's group is to make a card using the Floating Technique. It's a fun technique that uses a window sheet or transparency.
Here are some of mine I shared on a recent Facebook Live video you can see here.
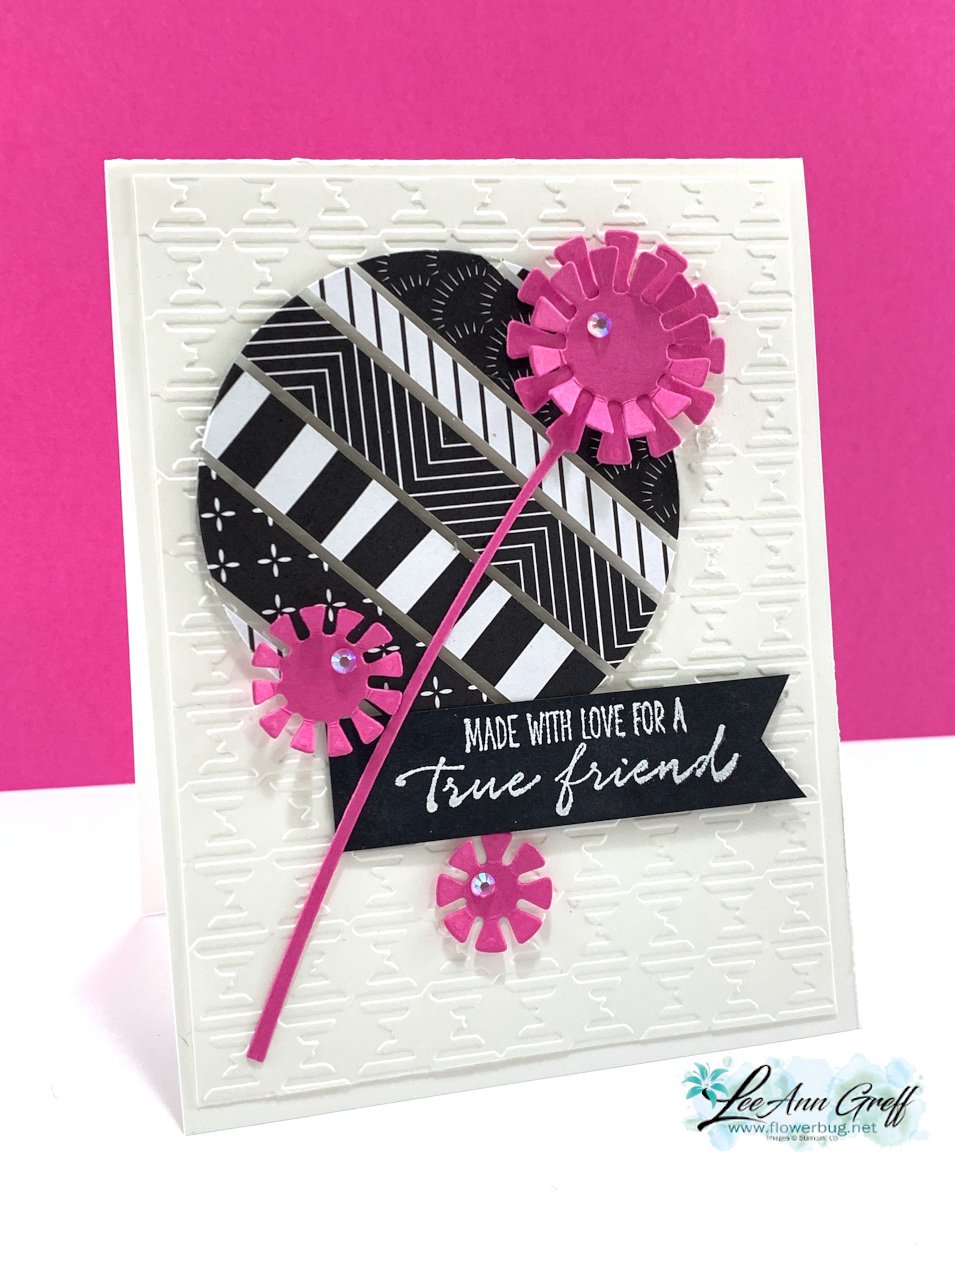
This first one features Black & White with a 'pop' of color – Magenta Madness in this case. Magenta Madness is retiring next week!
I used the Dandy Wishes dies and the Layering Circles dies here. I adhered a bunch of strips of the All Together designer paper to a window sheet, leaving space between them. I cut it out with the largest circle in the set and popped it up on a Gingham textured White layer.
I added die-cuts from the neat Dandy Wishes dies and a heat embossed image from the Garden Wishes stamp set. This set is in a bundle with the Dandy Wishes dies and on sale in March! See it here.
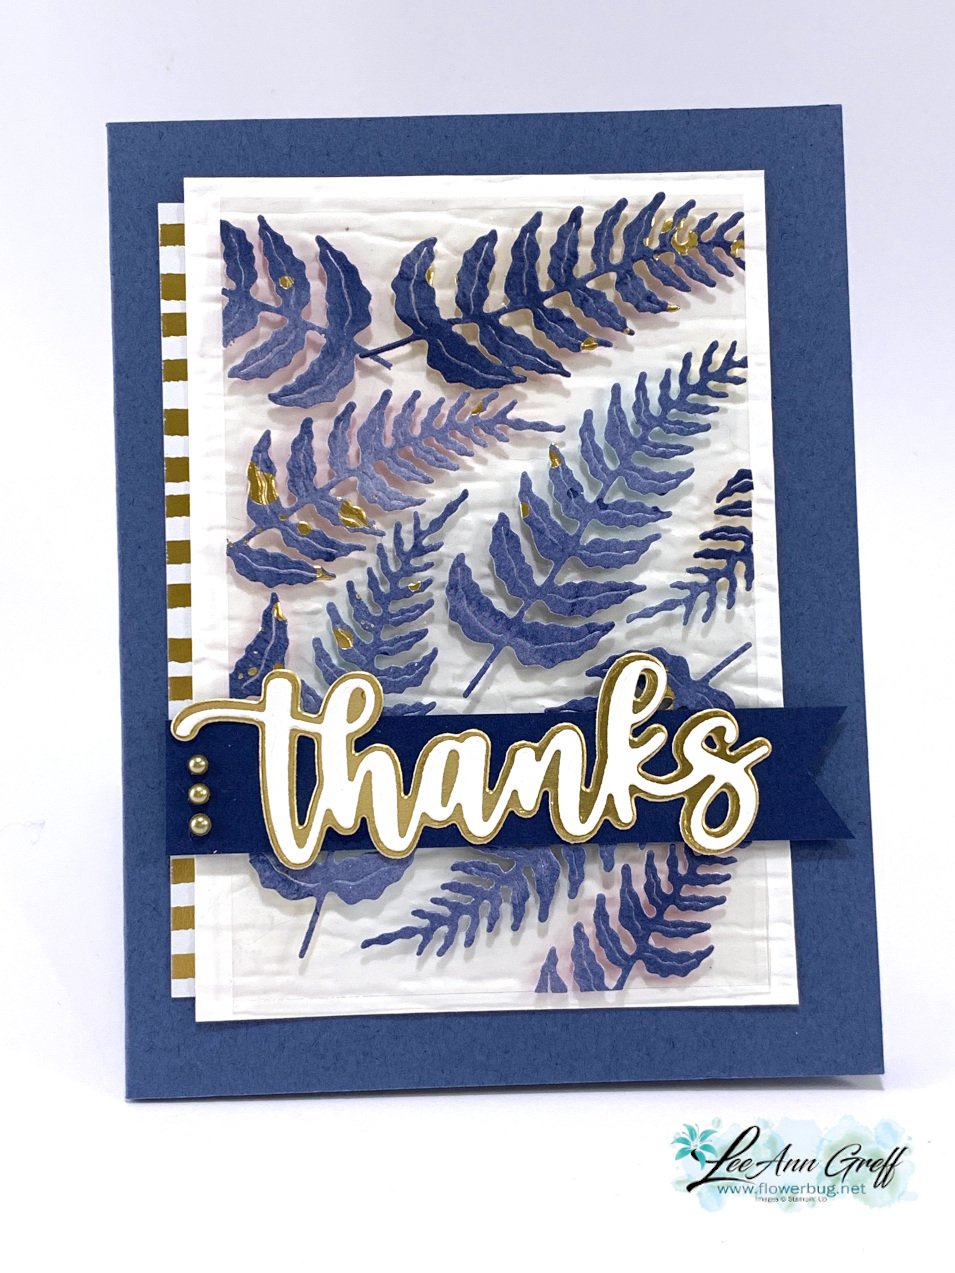
This next card features Misty Moonlight and the Abstract Beauty DSP. I cut the feathers from this pretty DSP that has touches of Gold on it using the Iconic dies seen here.
For this card the window sheet is a simple rectangle. After adding the feathers I trimmed off the excess and added it to the card with mini dimensionals.
Other details:
the greeting die-cuts are the Amazing Thanks dies seen here.
The textured White layer is done with the Bark 3D embossing folder.
That strip of gold & white strips is also from the Abstract Beauty DSP.
Colors are Gold, White, Misty Moonlight and Night of Navy
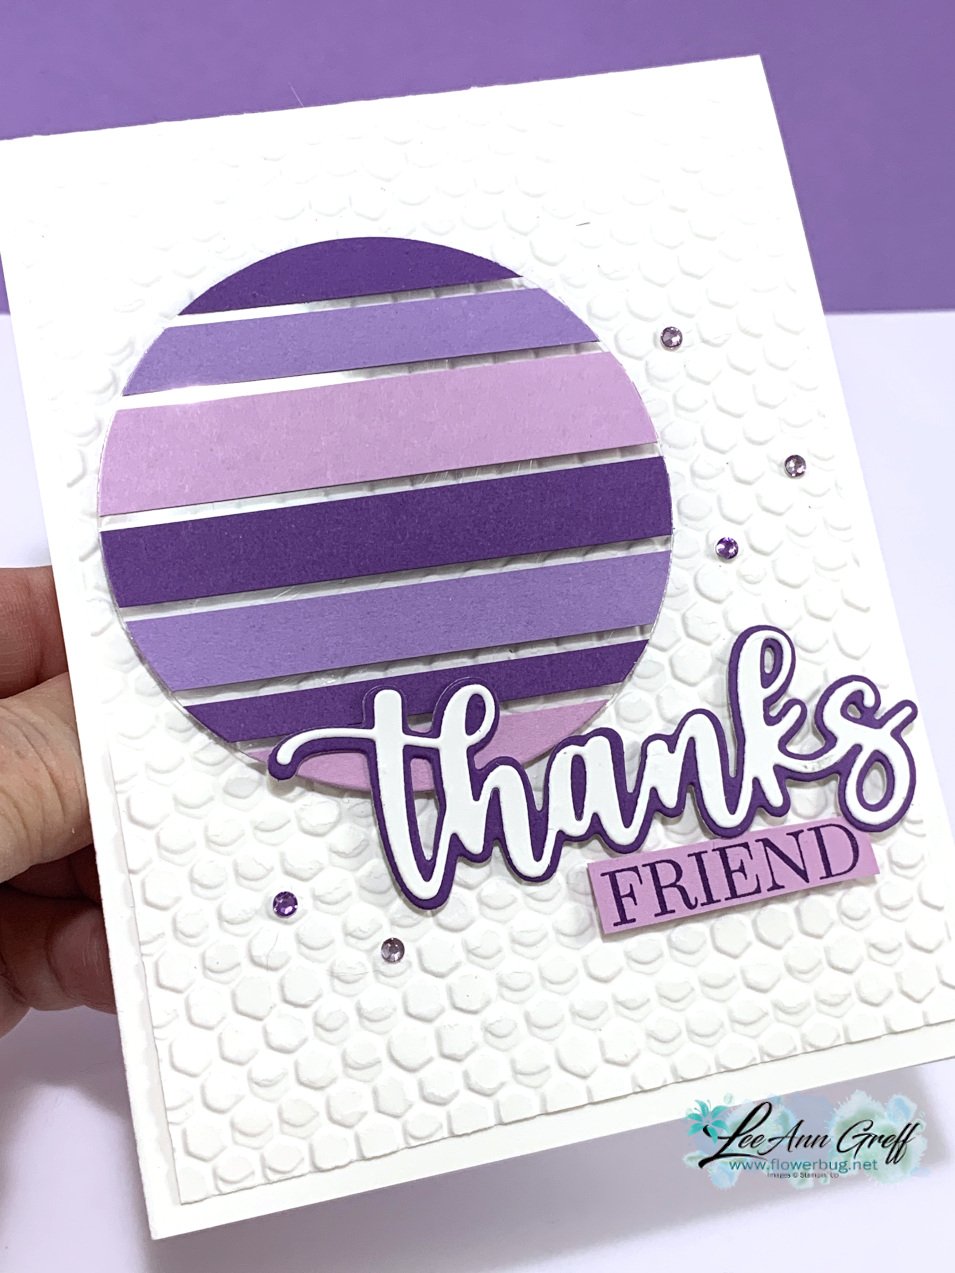
Next is a card done in purples – Fresh Freesia, Highland Heather & Gorgeous Grape.
2 different card ideas for a ‘Mystery Card challenge’ with Sentimental Swirls with video
Every few months I offer a 'Mystery Card' challenge to my Flowerbug's Team. They can opt in to receive a packet from me and I ask that they use some of the pieces in the packet to create a project and share it on our Team page. They can add anything to the card that they want to.
I shared these ideas in the video I made on my weekly FB Live. Click here to watch it.
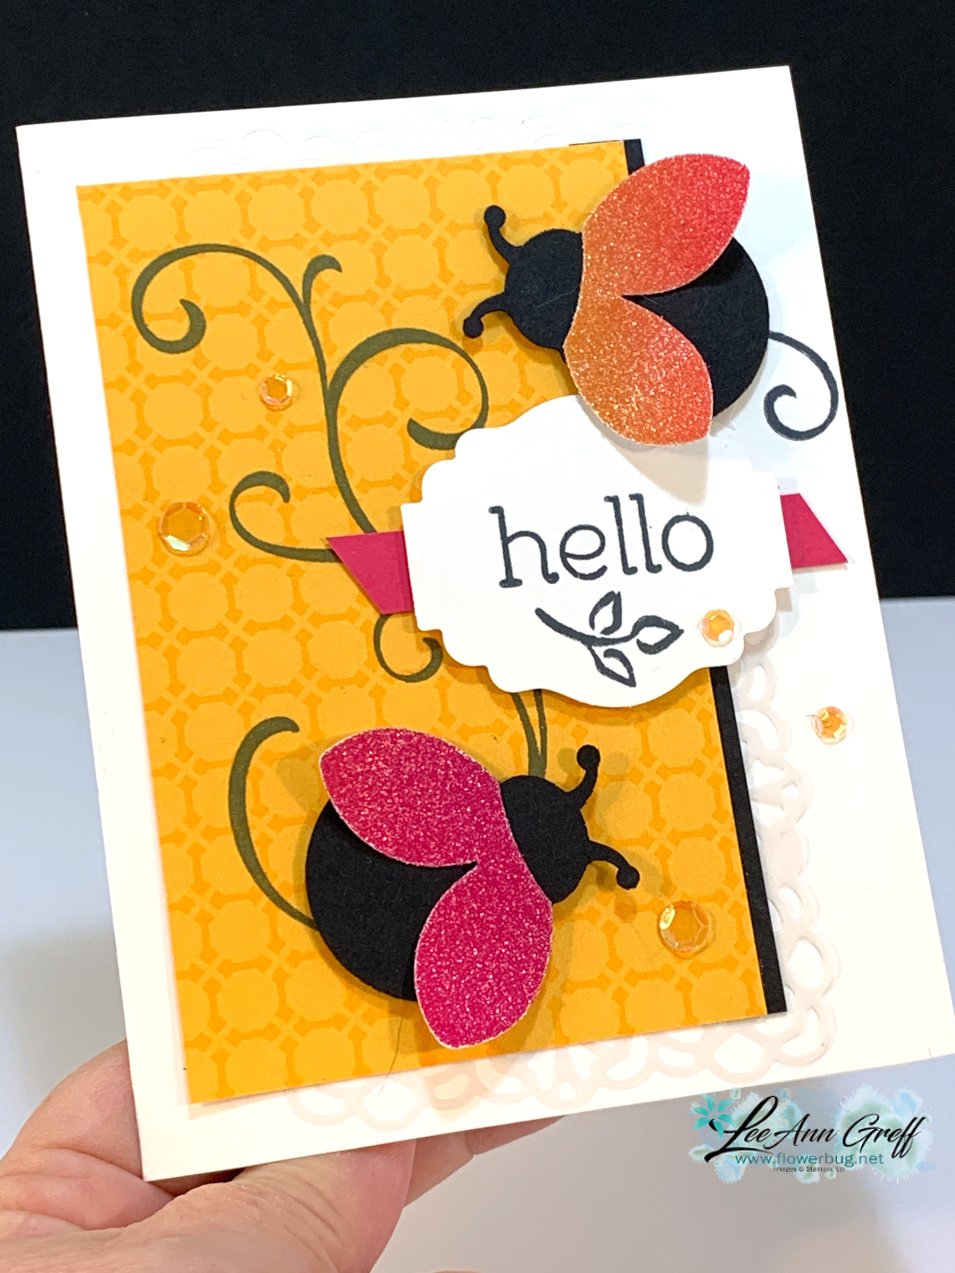
This time I focused on Brights DSP, vellum doilies, a Label Me Lovely punched piece and our Rainbow Glimmer paper in the annual catalog.
I've always loved swirl images so this set was an easy choice. Then add in the cute greetings (most are my 'go to' favorites) and 2-step stamp images and it's a hit!
The card base is white, the DSP was Mango Melody and the Rainbow Glimmer paper had pinks & orange tones. I used the Ladybug Builder punch for Black bodies & glimmer wings. I cut the vellum doily in half on the diagonal to add it on the upper and lower part of the card. A few Artistry adhesive-backed sequins finish it off!
I made a few more with other 'mystery card' packets. This one had Bermuda Bay DSP in it and similar colors of Rainbow Glimmer paper. I think the bright colors are perfect together! The orange & pink really pop on the Bermuda Bay!
The flowers are from the Flowers & Leaves punch and the flower centers are die-cuts from the Pierced Blooms dies. Here I cut the doily in half again and added both pieces at the bottom, under the greeting.
The Rainbow Glimmer paper is in the Annual Catalog and will likely retire next week. Get it here while you still can. You can see it in the photos above & below.
You might wonder where I got that greeting shape. It's actually the Label Me Lovely punch. But I altered the size by punching it twice; removing some of it so it was much smaller.
To do this easily, I stamp on a scrap of White and punch it out as usual. Then I adhere a strip of card stock (black in the photo above) to the edge of the punched piece and insert it back into the punch. The strip of card stock allows me to 'reach' and adjust the punch easily.
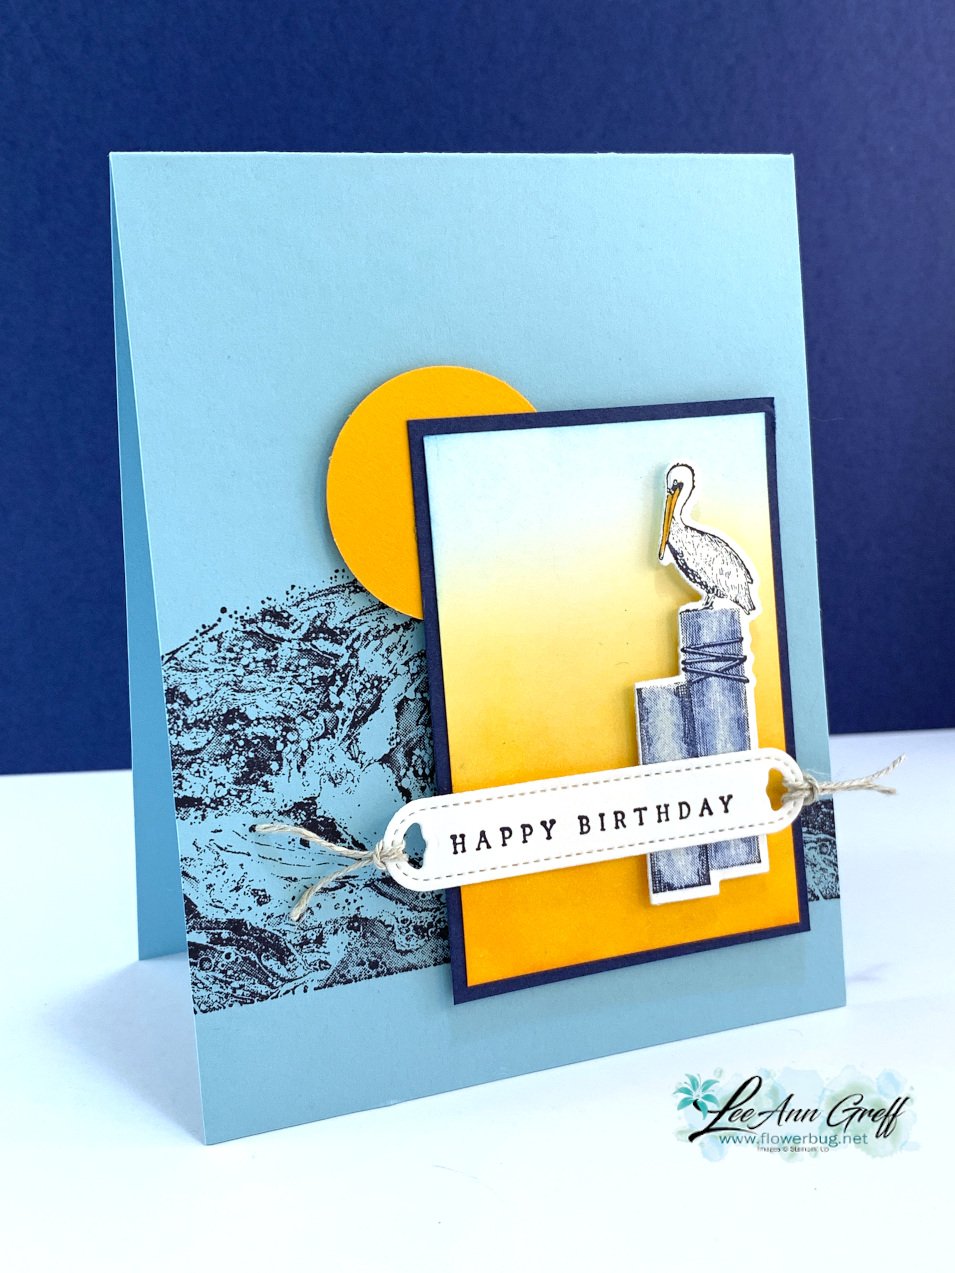
This card was inspired by another Demonstrator but I cannot find the name to give credit now. It's Balmy Blue with touches of Mango Melody. I used a Blending Brush to achieve that smooth shaded layer of Mango Melody & Balmy Blue.
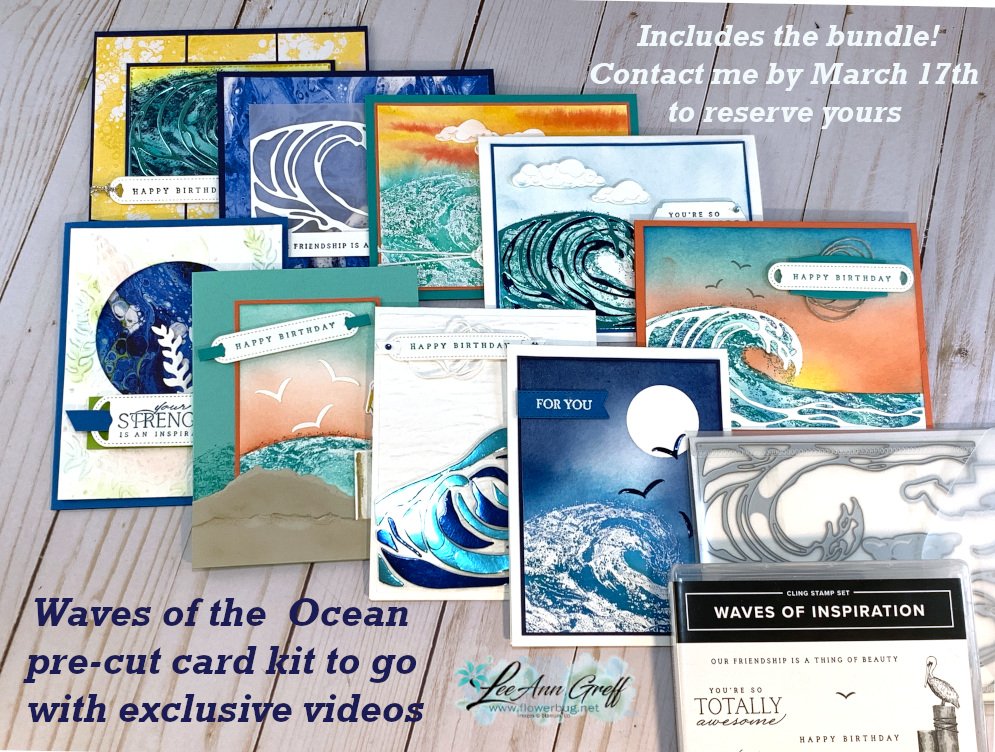
Like I mentioned, this card is included in both the Kit go Go and the PDF tutorial and exclusive videos this month. The last day to get in on the pre-cut kit is tomorrow, March 17th. Get the details here.
The Kit to Go includes the Waves of Inspiration stamp set & dies, the 6 cards kit and videos & PDF tutorial for 11 cards for $74. Message me here to opt in for it; and I'll send you an invoice via PayPal.
Or if you order the Waves of the Ocean collection seen herefrom me you automatically receive the PDF tutorial and videos. Make note that the Waves of Inspiration bundle will be in the upcoming Annual catalog but the papers & gems will not.
Notice: LeeAnn Greff, Independent Stampin’ Up! Demonstrator, Manager. The content of this website is my sole responsibility as an independent Stampin’ Up! demonstrator and the use of, and content of, the classes, services, or products offered on this website is not endorsed by Stampin’ Up! Copyright 2025


Leave a Reply