It's called a Diagonal Z-fold card. You might think it looks a bit intimidating but it's really not. I shared how to make it in a recent video seen here. Plus I have a free project sheet for you as well! Download Diagonal Z-fold card
I textured the Lost Lagoon layer with either the 3D Basics folders or the Painted Texture 3D folder.
My colors include Lost Lagoon, Pretty Peacock and White with a bit of Vellum added with the die-cut leaf (Gorgeously Made dies). The other sprig and leaf are from the Bough punch (temporarily out of stock).
Below is the template I made. You start out with an 8 1/2" X 11" sheet of card stock. Make a mark at 3" down from the upper right and 3" up from the lower left. Cut in half on the diagonal.
Then place the flat side of the card stock on your paper trimmer or scoring board and score at 4 1/4" and 8". That's it!
To create the diagonal layers for each area you start with full rectangles like a normal card and cut off the upper portion at an angle. Measurements are given in the project sheet above.
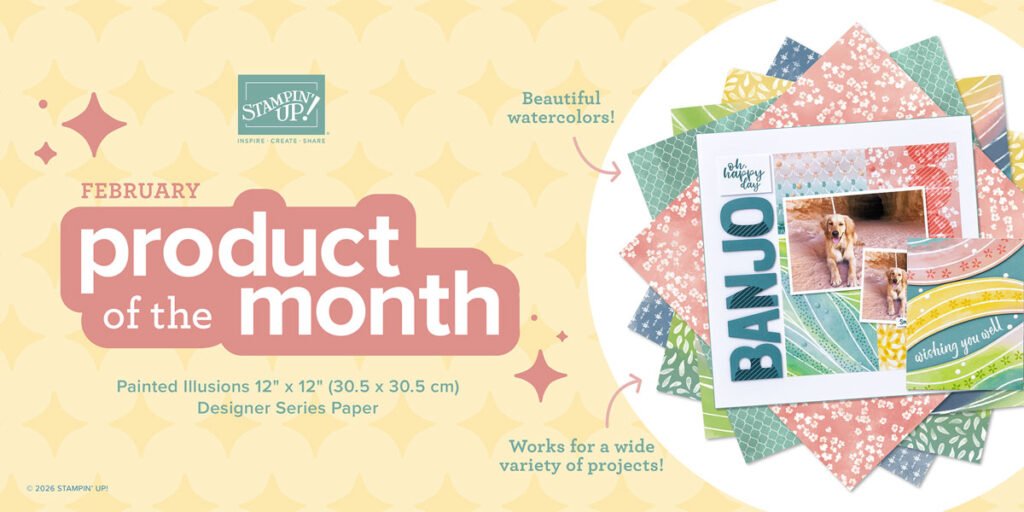
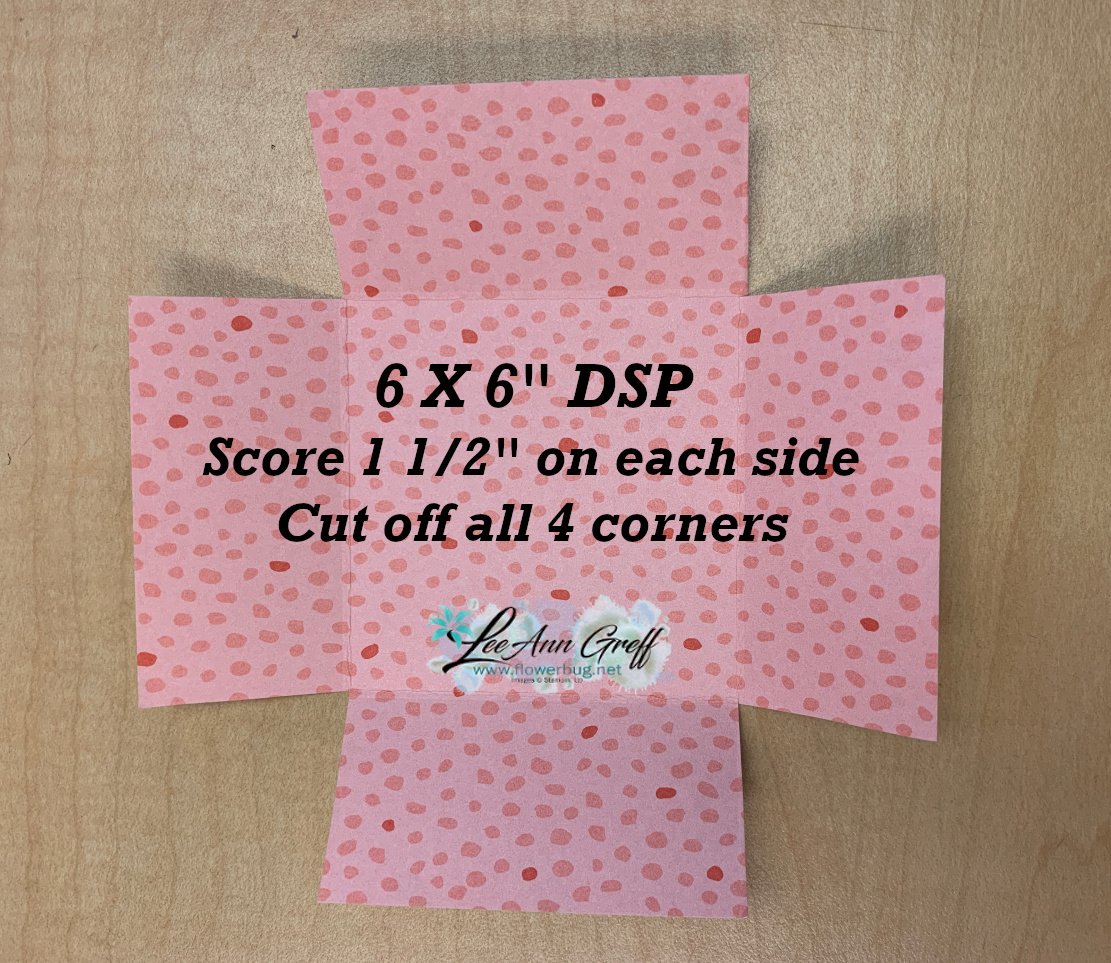
I'm using a brand new designer paper from the upcoming Holiday catalog. It's called Garden Walk. It comes in 6 X 6" size – 48 sheets – 6 each of 6 designs.
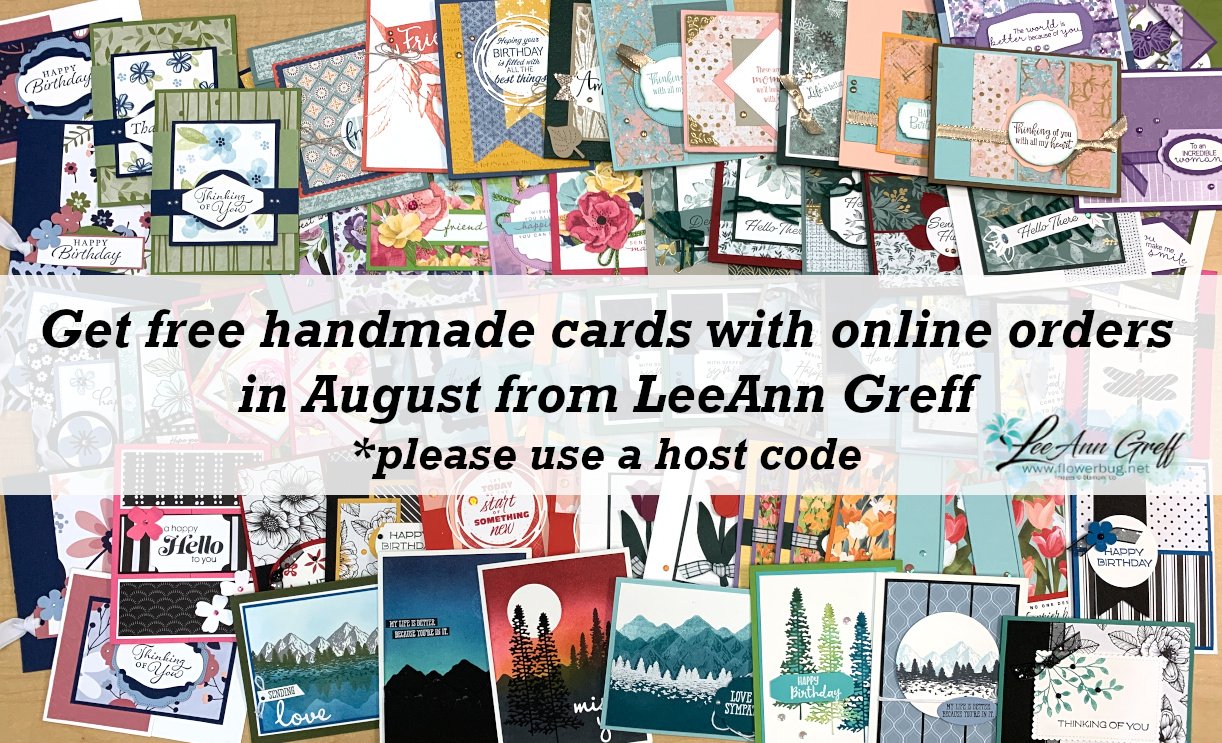
**I'll be offering a designer paper share later this week; it includes eighty 6 X 6" pieces of our newest, beautiful designer papers – all for $37 including shipping! Let me know if you want in on this; I'm taking names now and can invoice you after Wednesday.
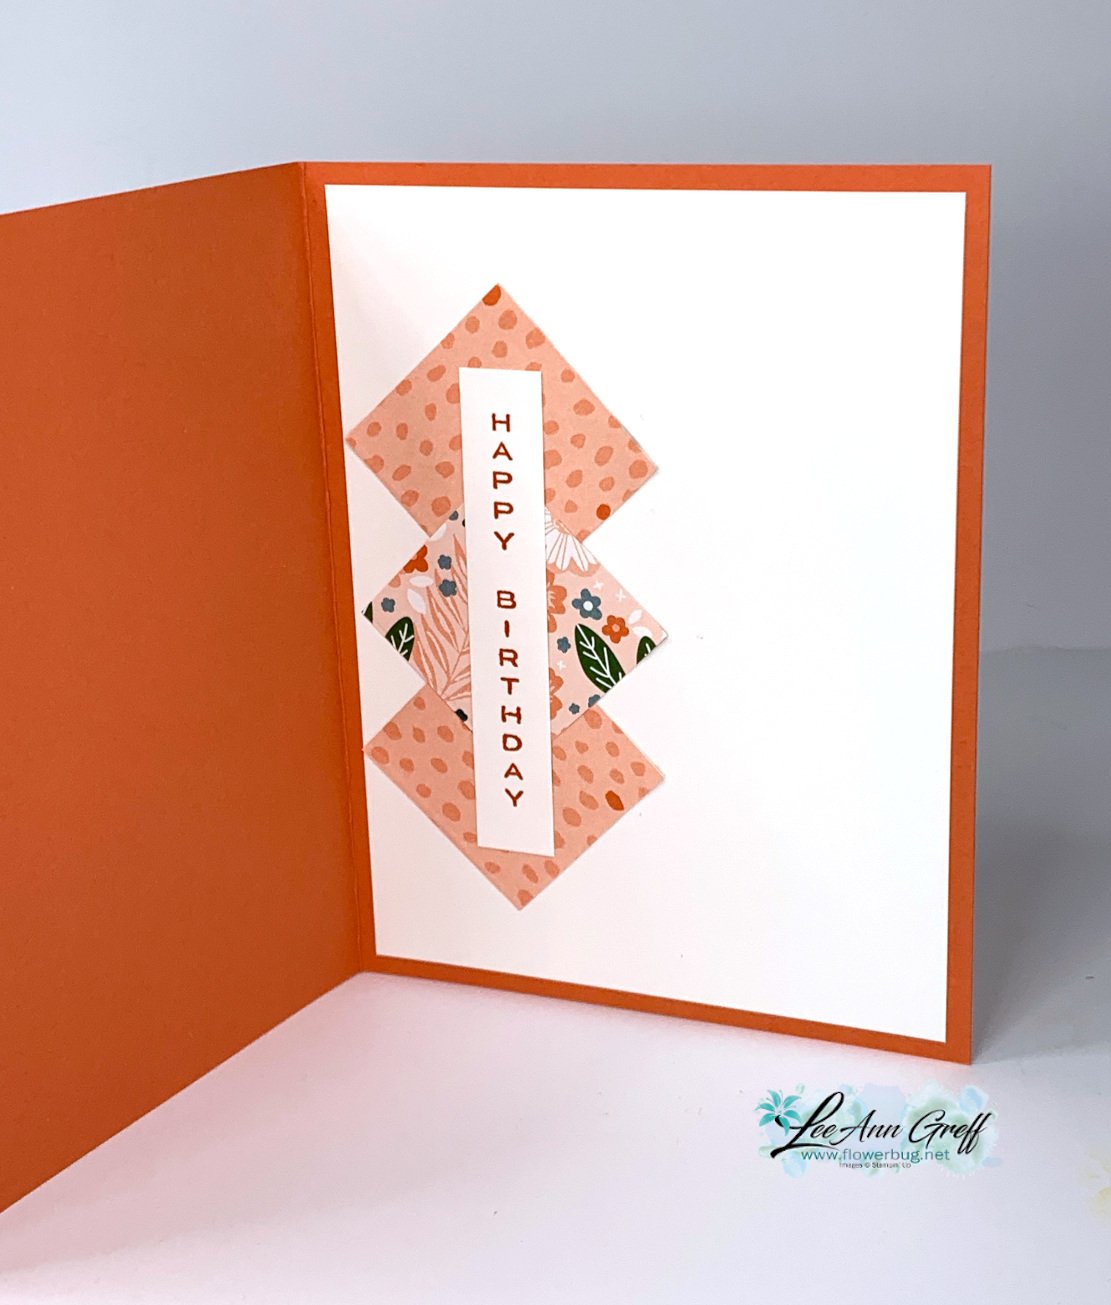
Here's the inside view: I saved 3 of the 4 cut off corners to create a unique way to add my greeting.
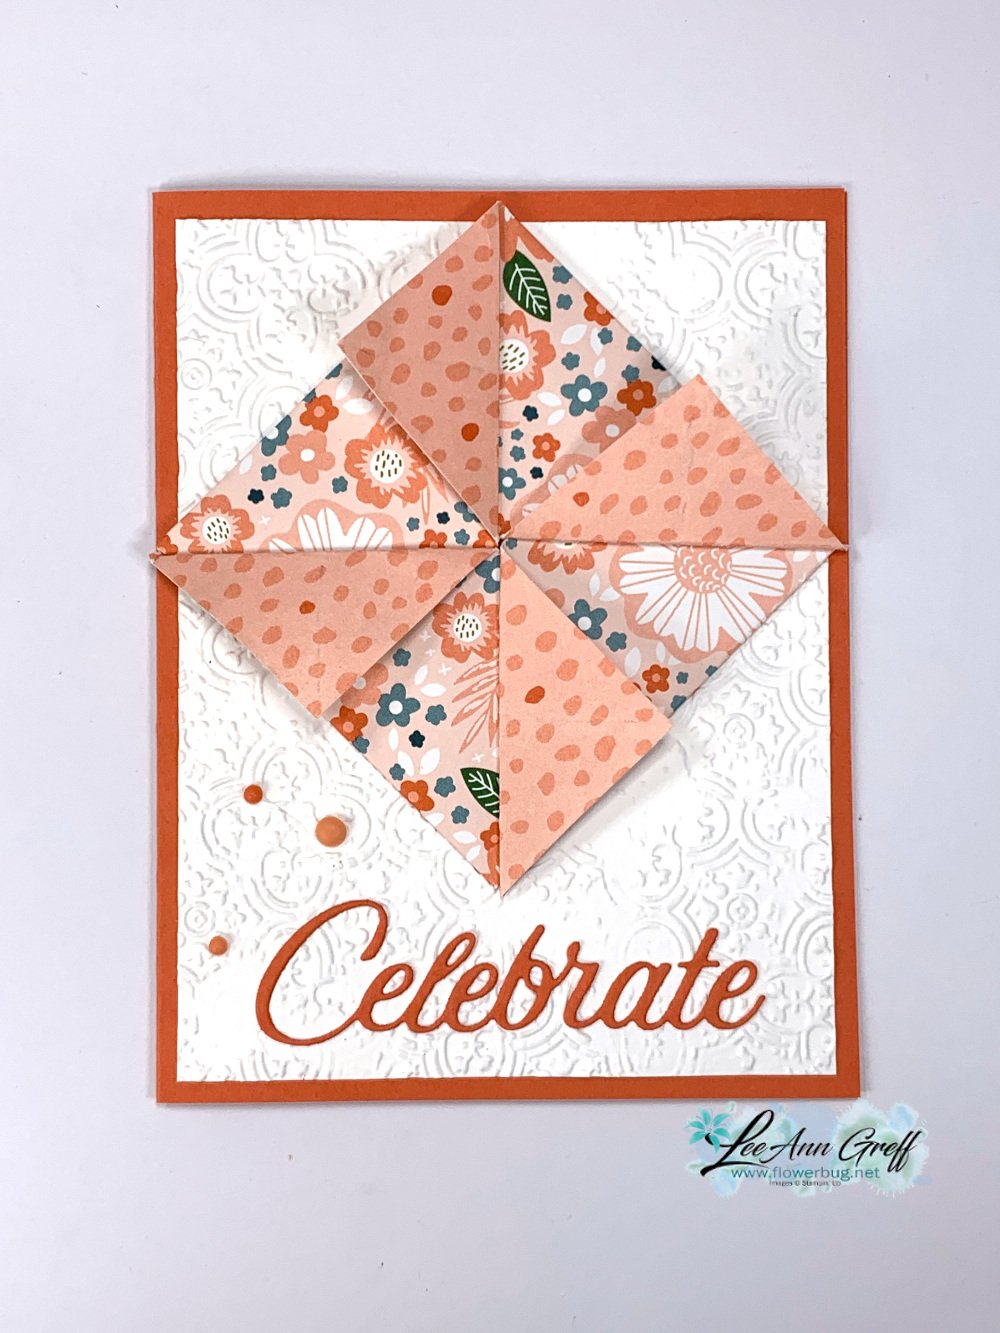
My card base is Calypso Coral as well as the ink. The stamps are both from a new set called So Sincere. It's one of my very favorites in the Holiday catalog!
I hope you join me tomorrow night; Monday, August 28th at 7 pm CT here. If you aren't on Facebook the video will be uploaded to my YouTube channel here.
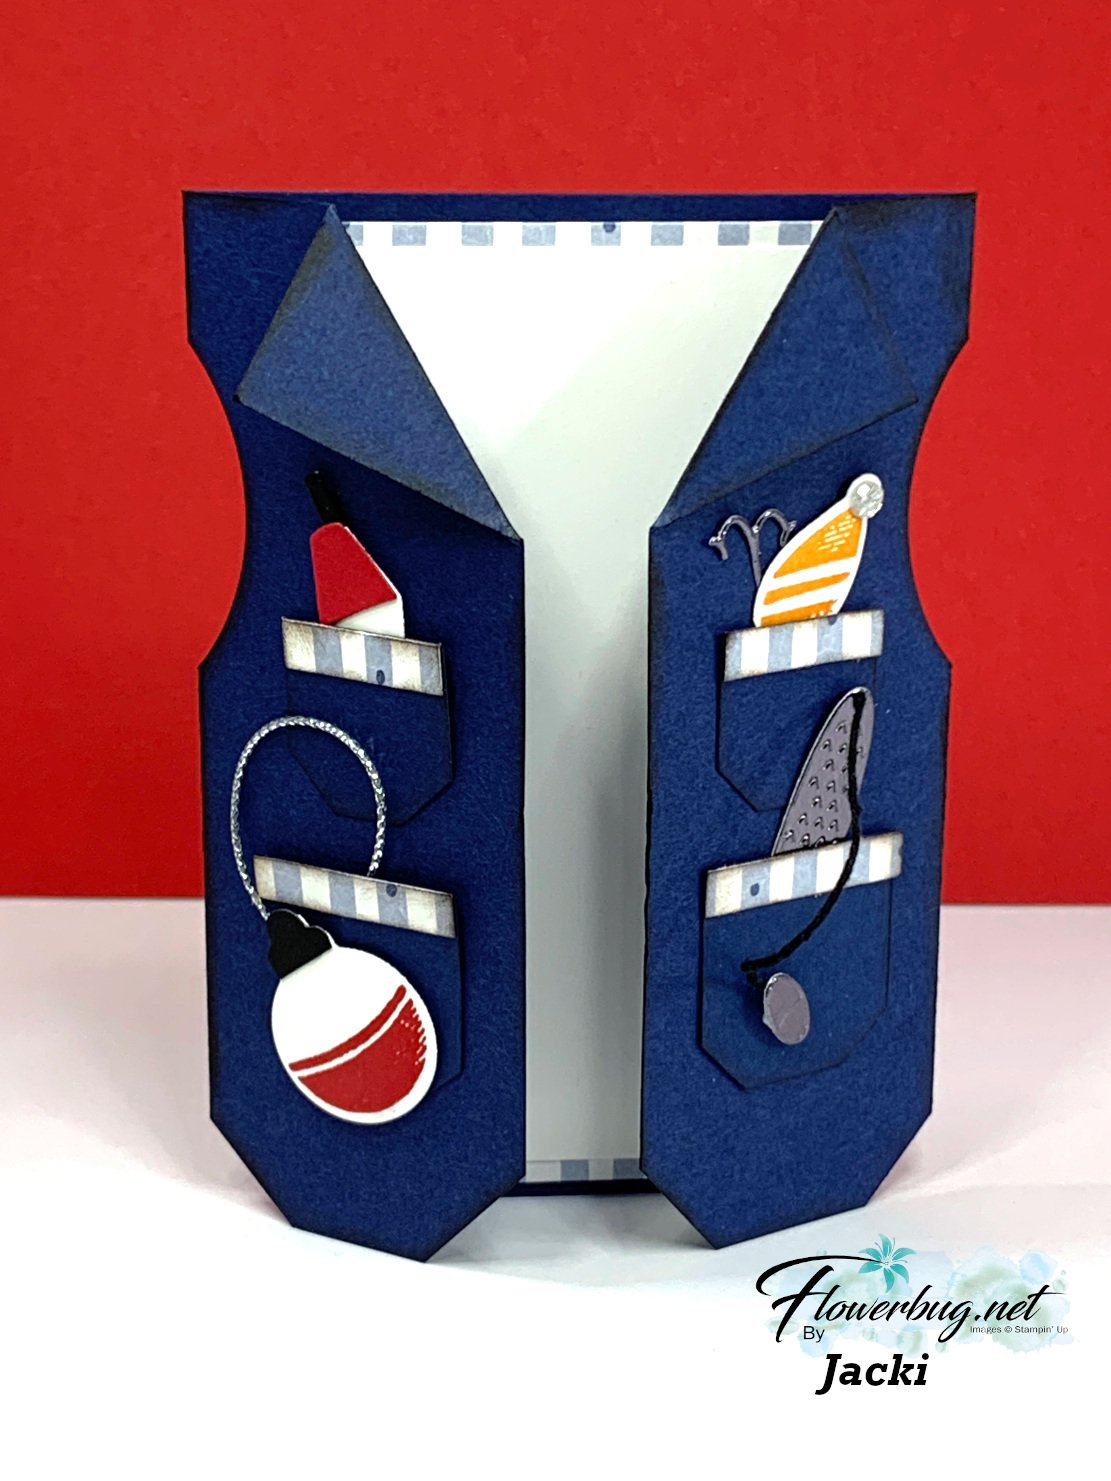
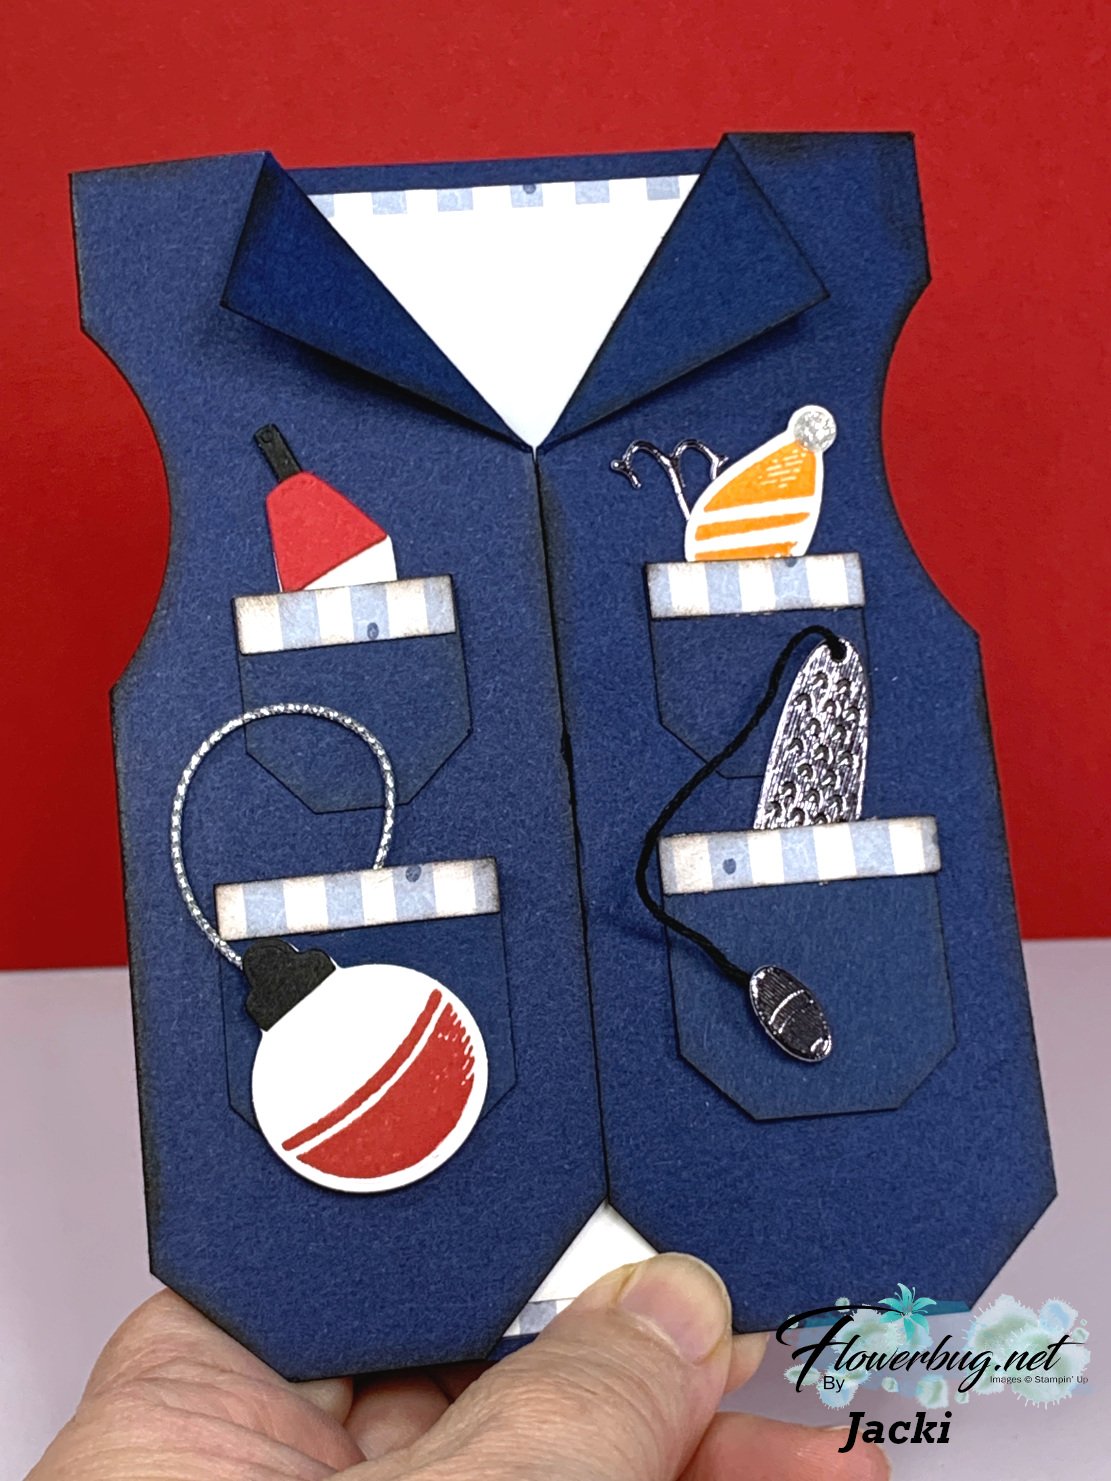
Her card base is 8 1/2" X 5 1/2" tall. It's scored 2 1/8" from each edge. She used circle dies to cut the arm holes and scored the collar to fold it back. She also trimmed the bottom at angles and sponged the edges with Navy ink to give it depth.
I'm not sure how she cut the pockets. But I know I would create one I'm happy with and then use it as a template to cut the rest. She made over 10 of these; it took her many evenings to make them all. Those of us lucky enough to get one sure appreciate it!!
I am wondering how many people will be casing this incredible card….
Notice: LeeAnn Greff, Independent Stampin’ Up! Demonstrator, Manager. The content of this website is my sole responsibility as an independent Stampin’ Up! demonstrator and the use of, and content of, the classes, services, or products offered on this website is not endorsed by Stampin’ Up! Copyright 2025


Leave a Reply