/


Latest Post

Eden’s Garden; a beautiful new product collection starts Tuesday!


I'm so excited about the Eden's Garden product collection that starts tomorrow, November 2nd! 

It's a combination of a sneak peak bundle from the upcoming Spring Catalog AND exclusive papers & gems available from November 2nd to January 3rd (while supplies last). 

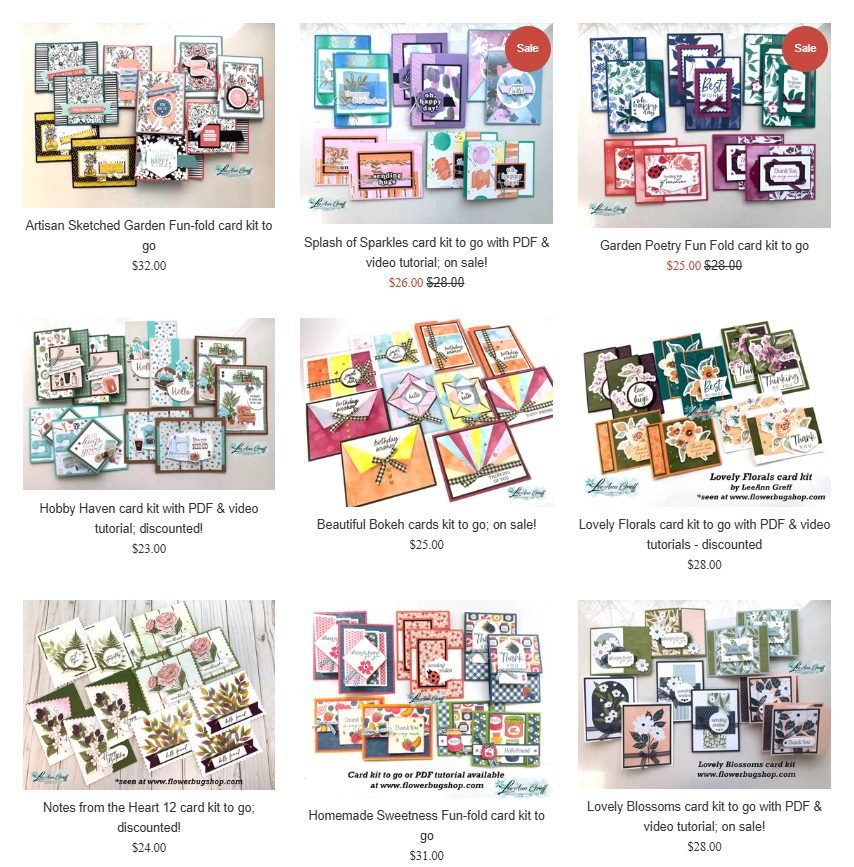
I've been playing with this collection and shared many projects here on my latest video. I'm also featuring it in one of my November kits to go.  I'll share that tomorrow or click here to see it in my Shop.

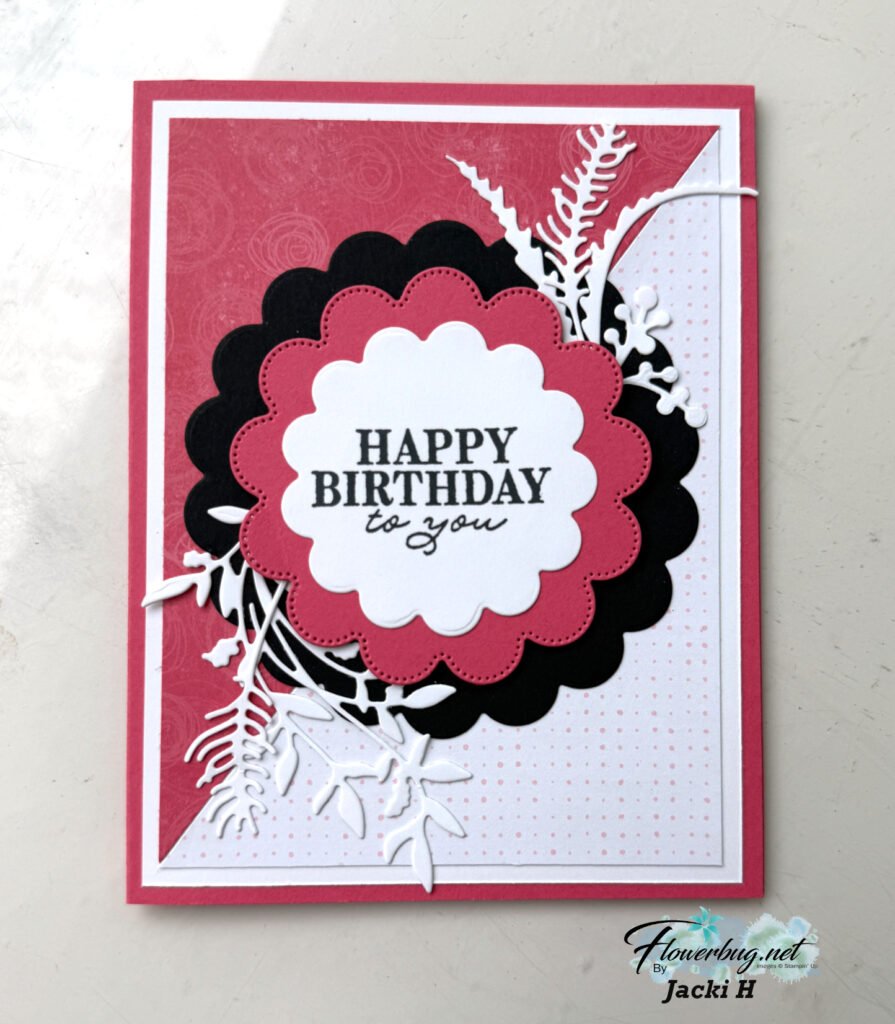
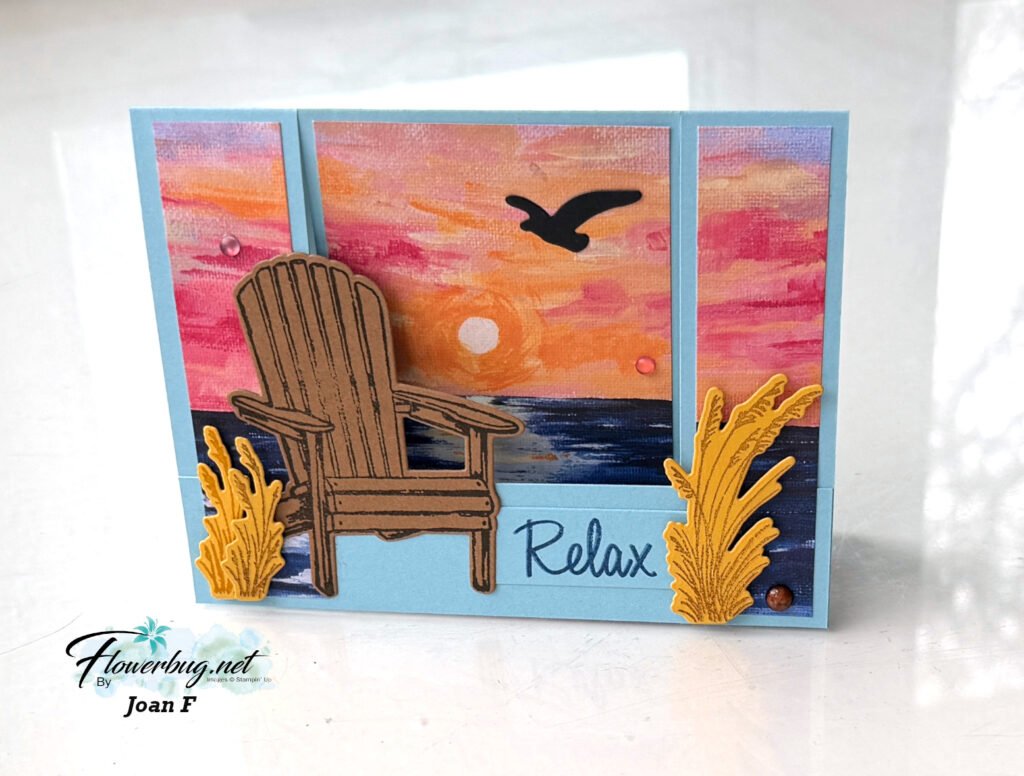
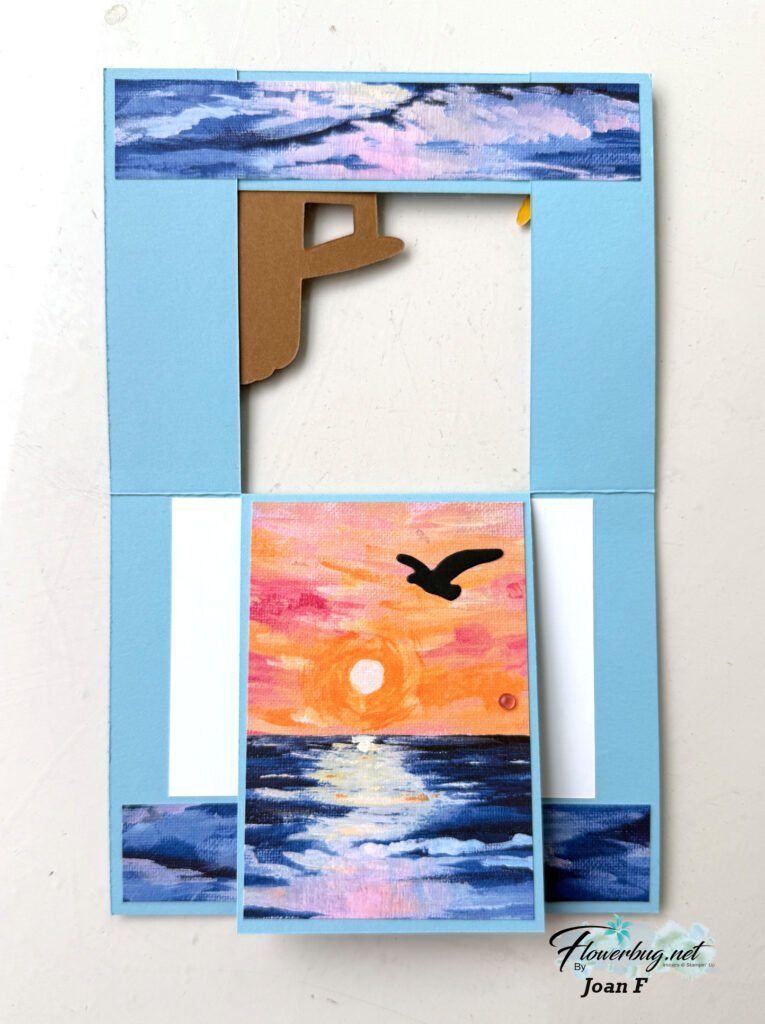
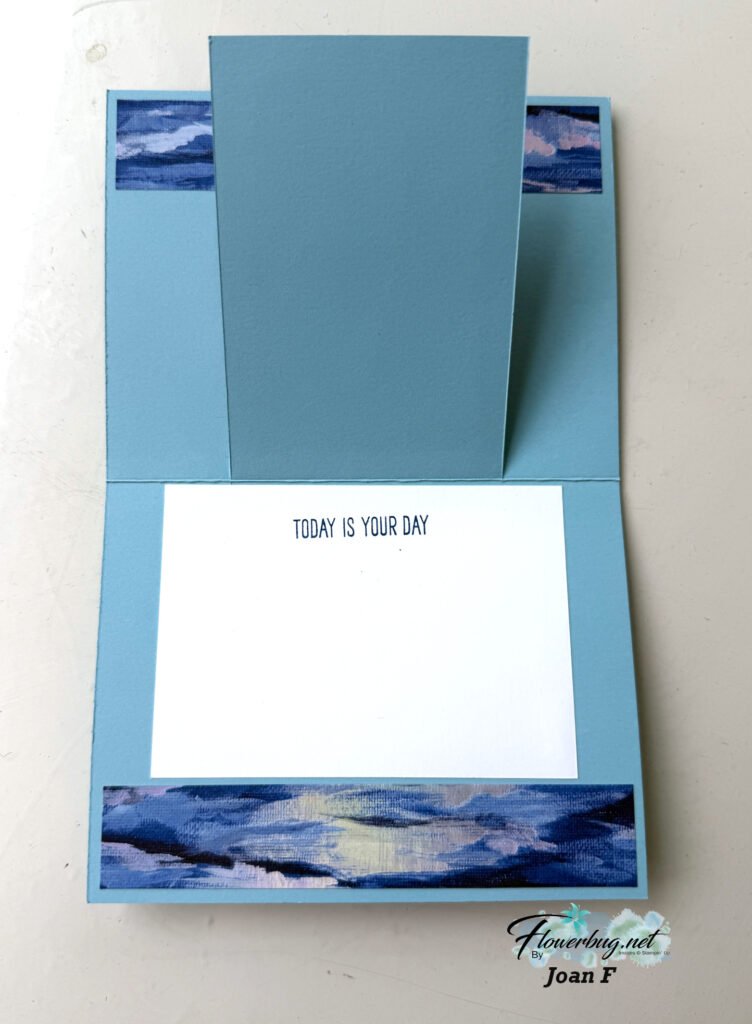
Here's a small sample of some of the cards I've made. 


*see the EDENS GARDEN flyer here with the details. 

The Eden's Garden bundle includes a 10 piece cling mount stamp set with a distinktive style and a 5 piece set of dies that coordinate. It's $52 #157832

There are also three other products in this collection that will NOT be in the upcoming catalog.  These are while supplies last from now through January 3rd. 

  • Ever Eden specialty DSP 12" X 12" – 12 sheets of paper with Evening Evergreen, Gold foil, White  & Soft Succulent colors. #159996 $15
  • Ever Eden 12" Cotton Paper – 10 sheets of Evening Evergreen & Soft Succulent papers – 5 of each color #159997 $10
  • Garden Gems; a huge pack of 140 gems in round & marquise shapes in Cherry Cobbler & Soft Succulent #159277 $7

Get the entire collection that includes it all! 

It's #160849 $82 and receive both of my free gifts shown below when you order it from me. 

~~~

Remember you cannot order these items until Tuesday, November 2nd.

Host code: EXBDBRGY

*click here to order

Online orders over $50 get a pre-cut card kit of 4 cards & PDF tutorial.
*Orders over $80 will receive the card kit PLUS 24 Iridescent snowflakes!

This is the free card class you get with a $50 order from me in November. 

All online orders will receive my Eden's Garden PDF 10 project tutorial free!

If you order the Eden's Garden bundle or collection you get an additional 12 projects for a total of 22 projects PDF!  

All Posts

  • Cool technique for a background made with our new shimmer brushes


    Take your new Shimmer Brushes for a test drive with this darling DIY background idea. Stampin’ Up! posted this card idea; what a super neat plaid background!

    Here’s how you do it:

    Step 1: Draw diagonal lines on Basic White Cardstock using the Barely Blush Shimmer Brush. (Use the Clear Block F as a guide.) Apply light pressure to create fine lines; increase pressure for thicker lines.

     Step 2: Rotate your cardstock and (using the Clear Block F) draw additional lines to create a plaid pattern.

     Step 3: Decorate your sparkling background with images, sentiments, and embellishments, then adhere the finished piece to the card base.

    We now have 5 colors of these Shimmer Brushes in each of our new In Colors. See them all here.

    I hope this technique inspires you to try it. I think you could also do it with our Wink of Stella on any color CS.

    I have one Mystery Box left!
    Place an order over $100 to grab it before it’s gone.
    Message me before you order to be sure it’s still available.

    Don’t forget to consider the Starter Kit Deal in May; time is almost up!

    You’ll get either all 5 new Magnetic ink pads or an extra $35 in product of your choice; all for $99!

    Leave a Reply

    Your email address will not be published. Required fields are marked *

  • More Team swaps!


    Here are a few more of the Team swaps featuring brand new catalog products.

    Jacki created this striking card with the Scalloped Blooms bundle seen here.

    Her colors include Melon Mambo, Black & White. Those scalloped circle dies are so fun aren’t they? The leaf die-cuts are from the Delicate Whispers dies seen here.

    Next is a striking card made by Joan: She chose to highlight the Scenic Coast DSP.

    She also used the Relaxing Waterside bundle seen here. Love that chair! As you might guess, it’s a fun fold ‘bridge card’.

    Super cool! To make this card you’ll start with a 5 1/2″ X 8 1/2″ card base, scored at 4 1/4″. Now use the paper trimmer to cut up to the score line on each side at 1 1/4″.
    The DSP is 2 3/4″ X 4″ and on the sides it’s 1″ X 4″. There’s also a lower and an upper strip that is 5 1/4″ X 1″.

    Great cards ladies! I’ll share more later this week.

    May Specials:

    I have one Mystery Box left! The first person to place an online order from me over $100 will receive it.
    It has over $200 in Stampin’ Up! products in it and I’ll ship it to you FREE! Order here.

    Don’t forget to consider the Starter Kit Deal in May; time is almost up!

    You’ll get either all 5 new Magnetic ink pads or an extra $35 in product of your choice; all for $99!

    Leave a Reply

    Your email address will not be published. Required fields are marked *

  • Kits to Go Clearance sale starts today! While supplies last!


    I have 14 available kits to go right now and I’ve marked most of them down to de-stash my stock. I want to clear them out before we move in a month.

    Be sure to check them all out here.

    Even if they don’t have a ‘Sale’ icon most are still reduced in price. My kits include about $20 in SU product plus the 10-12 pre-cut cards! Most only need greeting images added. You will need adhesives, ink and a paper trimmer to cut the DSP in most cases.

    These are a steal of a deal!

    They’re so fun to create with and many come with both PDF & video tutorials too. Most will include fun fold layouts and you’ll find new ways to create with my unique layouts.

    Shop all tutorials and kits here.

    Leave a Reply

    Your email address will not be published. Required fields are marked *


Notice: LeeAnn Greff, Independent Stampin’ Up! Demonstrator, Manager. The content of this website is my sole responsibility as an independent Stampin’ Up! demonstrator and the use of, and content of, the classes, services, or products offered on this website is not endorsed by Stampin’ Up! Copyright 2025