/


Latest Post

Make up to 24 great cards with this easy layout!


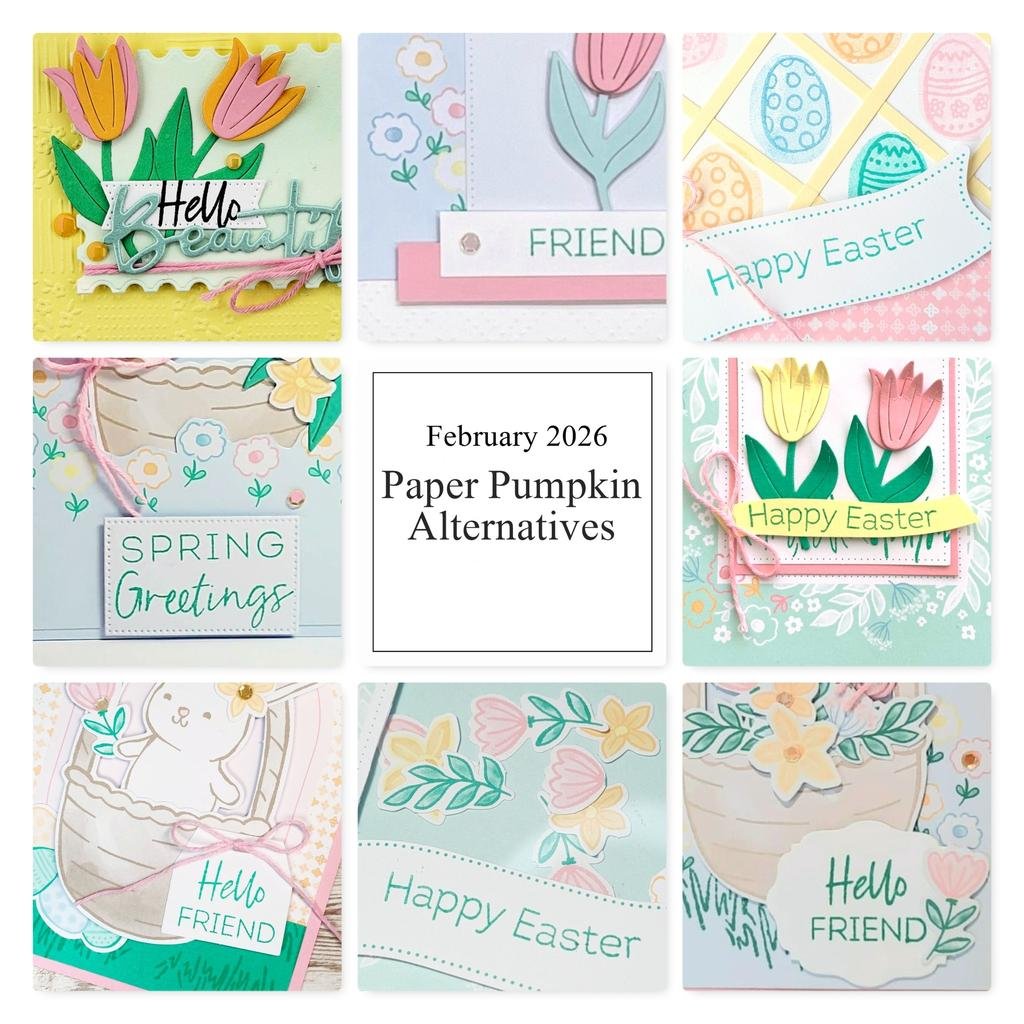
I created 24 wonderful but super easy cards on this week's Facebook Live video.  I featured the same template but switched it from vertical to horizontal for each set of 12 cards.

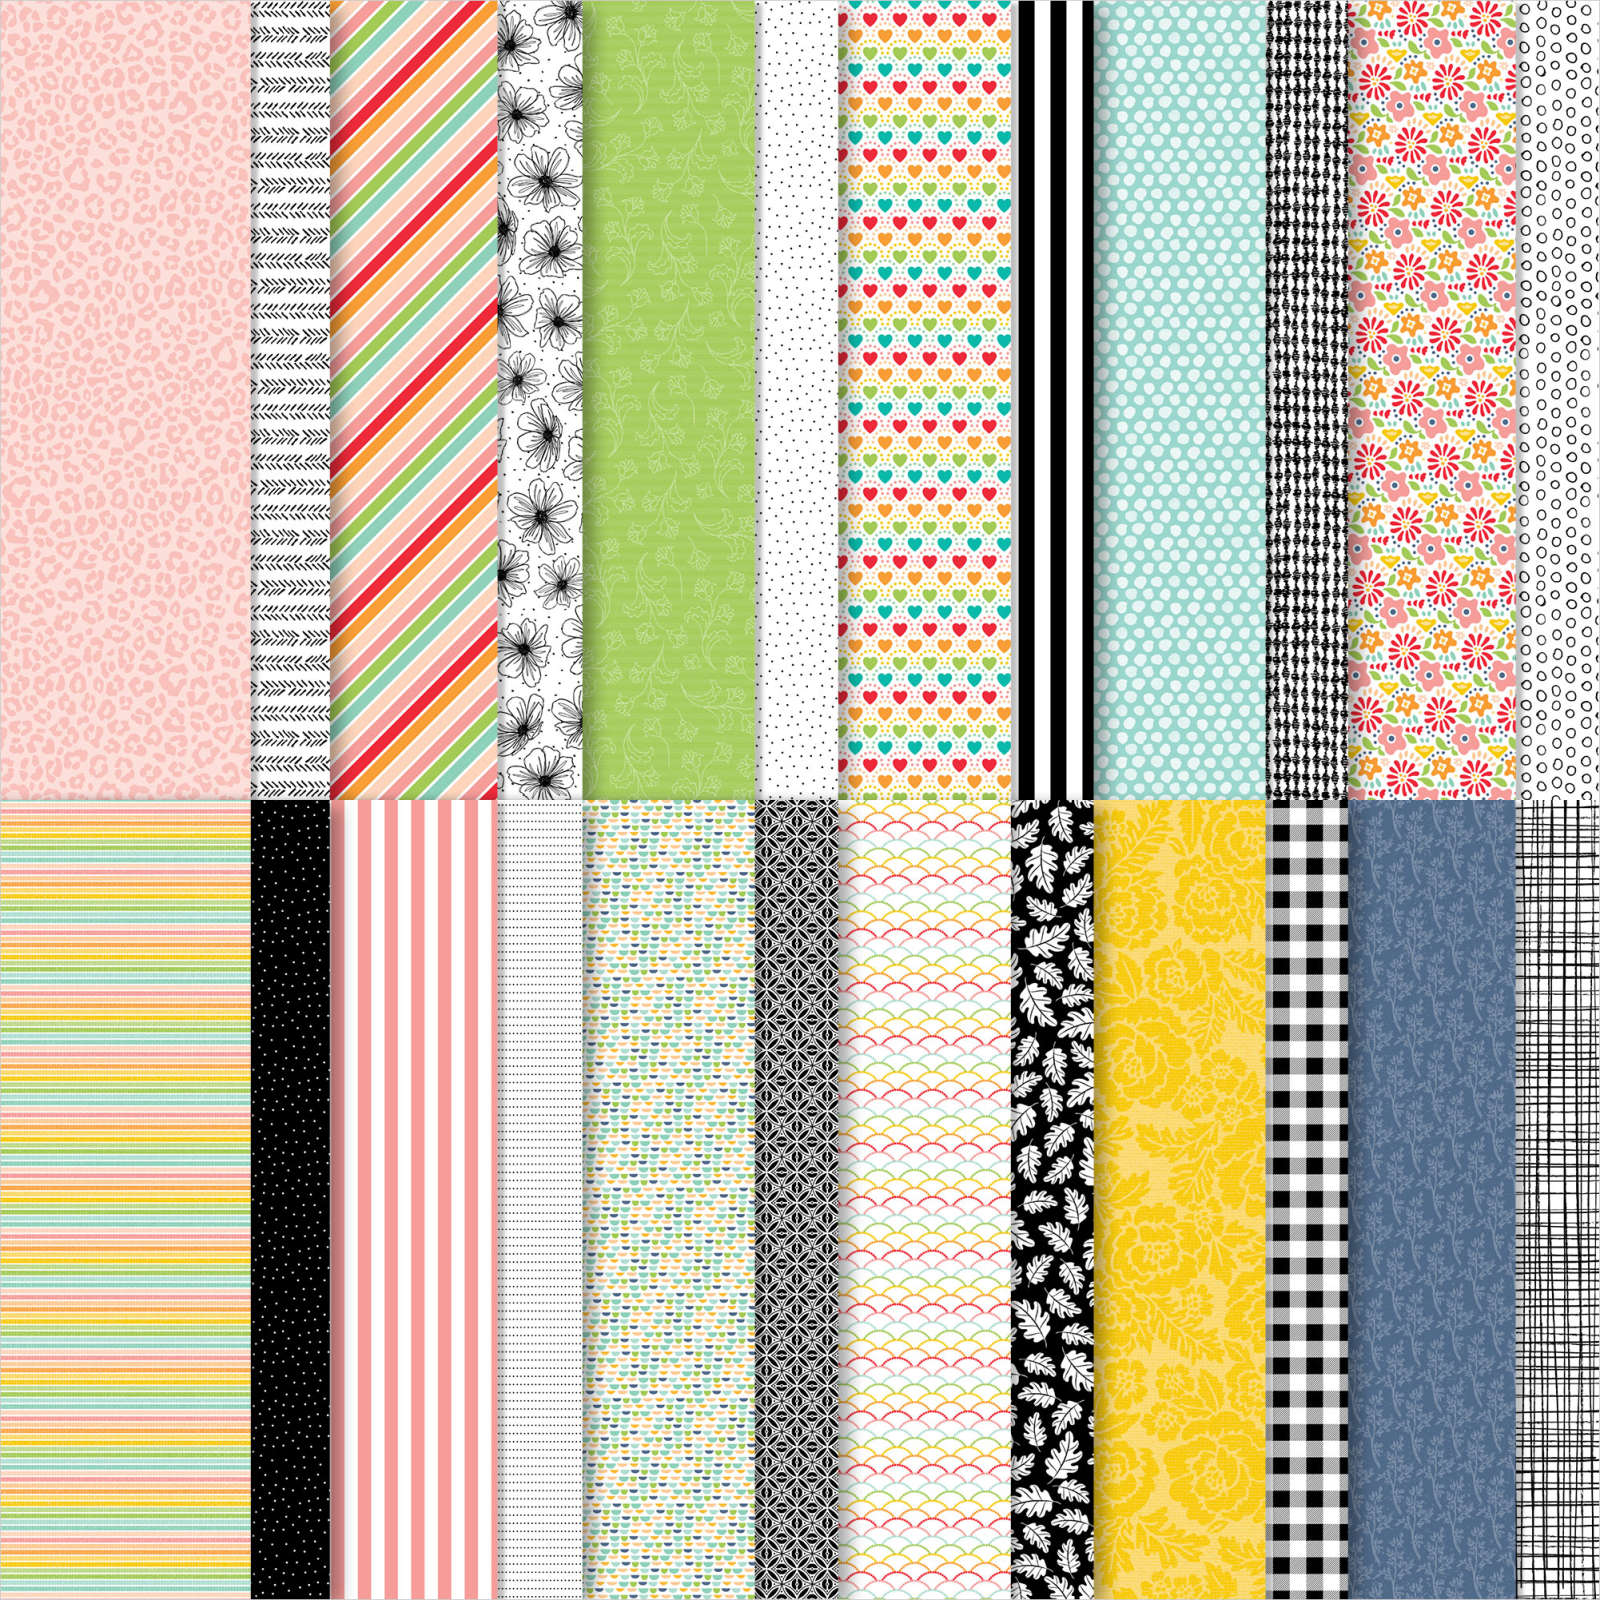
I chose to use the new Pattern Party host Designer Paper because of it's versatility and fun color combos.  You can see this paper here. 

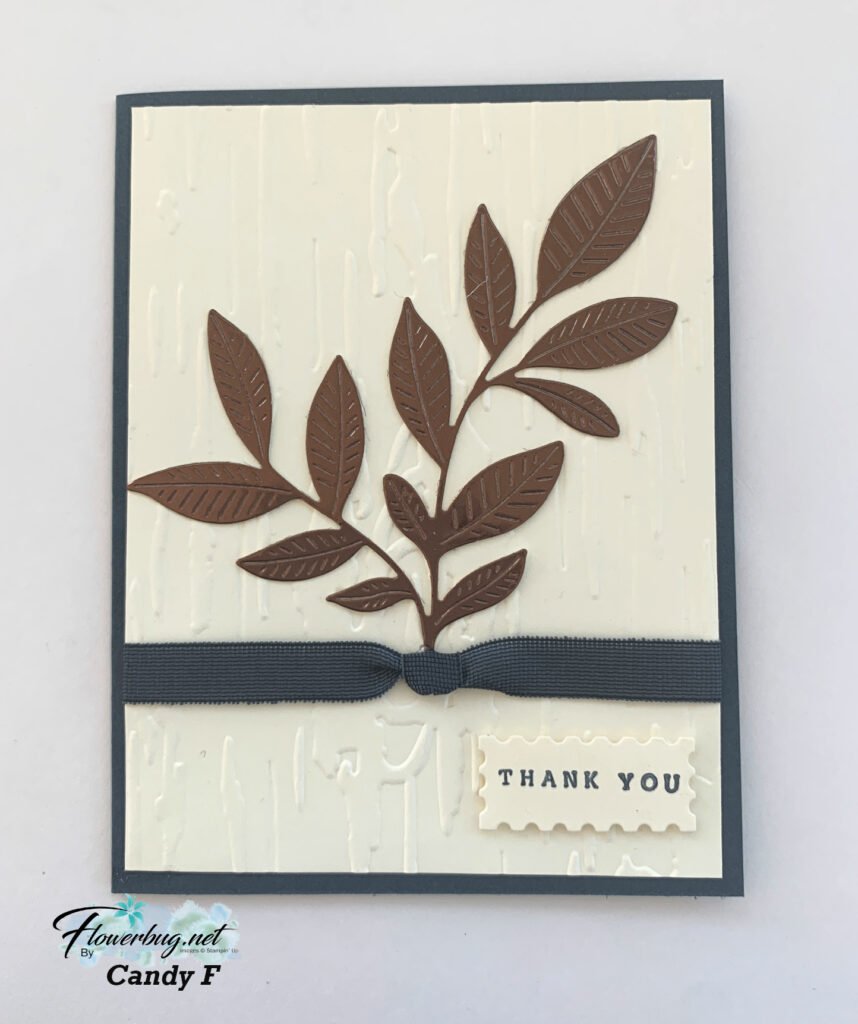
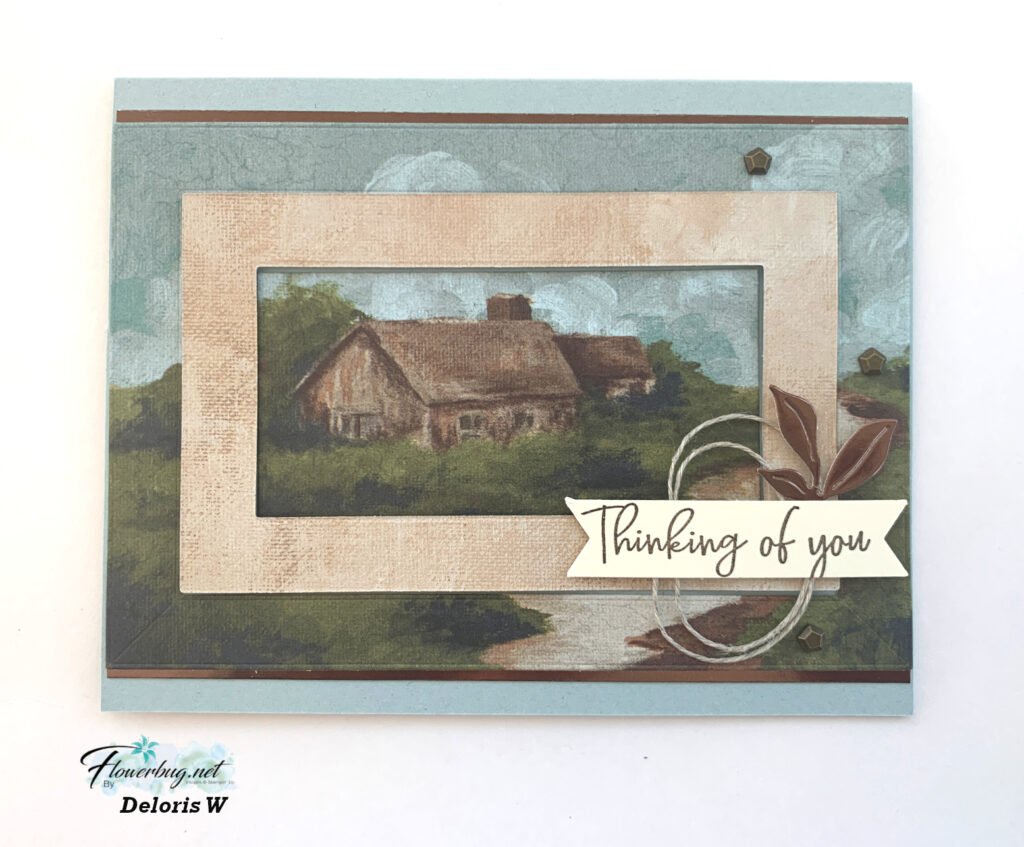
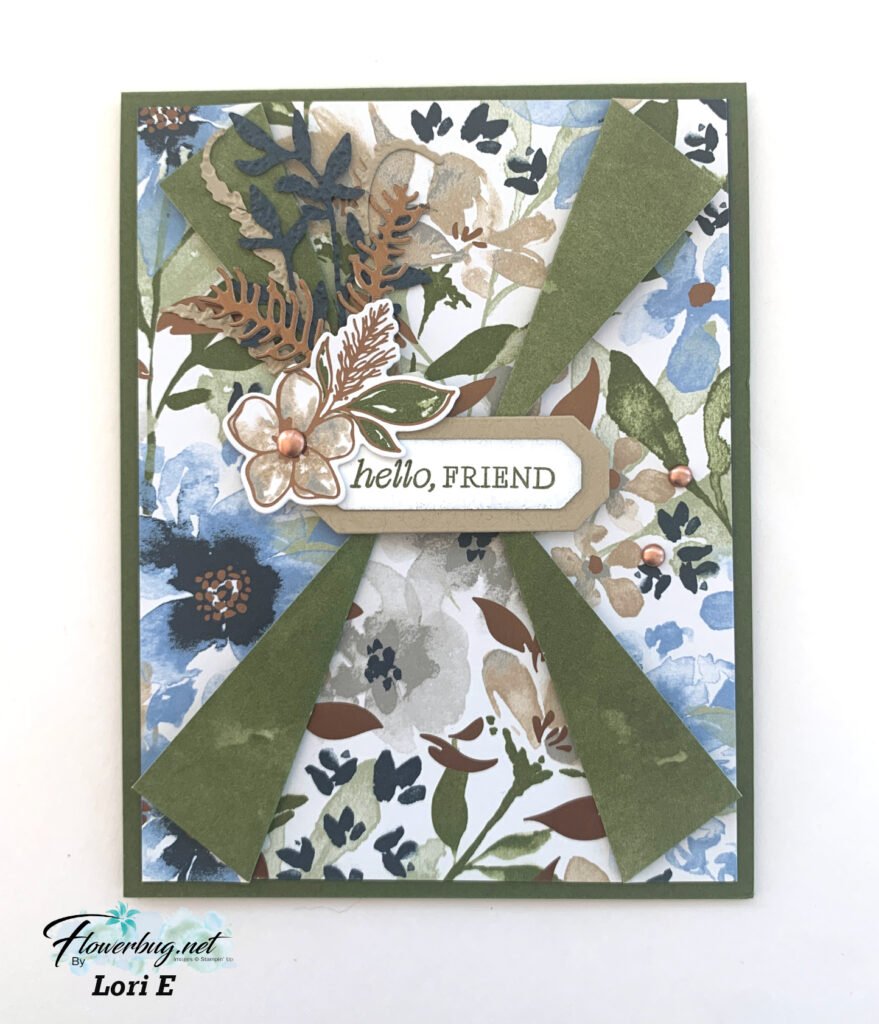
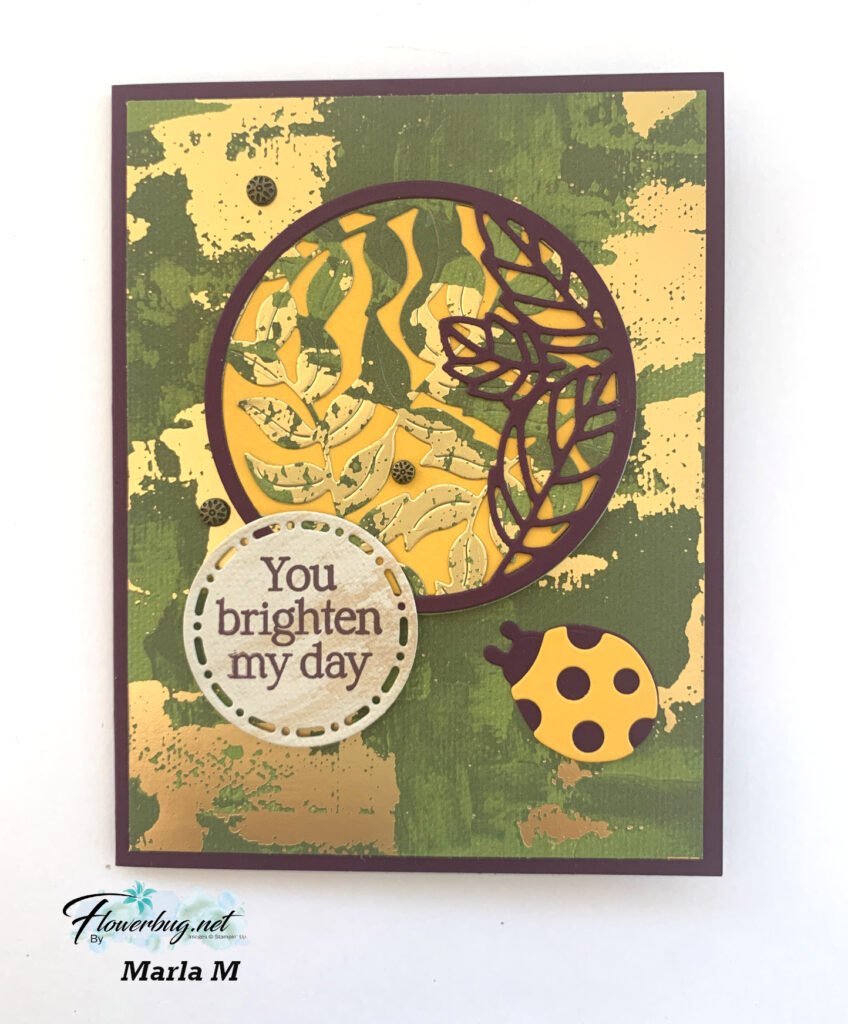
I kept these cards super simple but you could easily add more layers if you'd like.  Here's a close up of two of my favorites:

Above is Crushed Curry card bases paired with the adorable Pattern Party black and white side of this fabulous Designer Paper.  I used both the Friends & Flowers and the Sunny Sentiments stamp sets here.  The flowers are colored in with Blends markers. 

Here are all of the landscape cards; I love this stamp & punch bundle!  

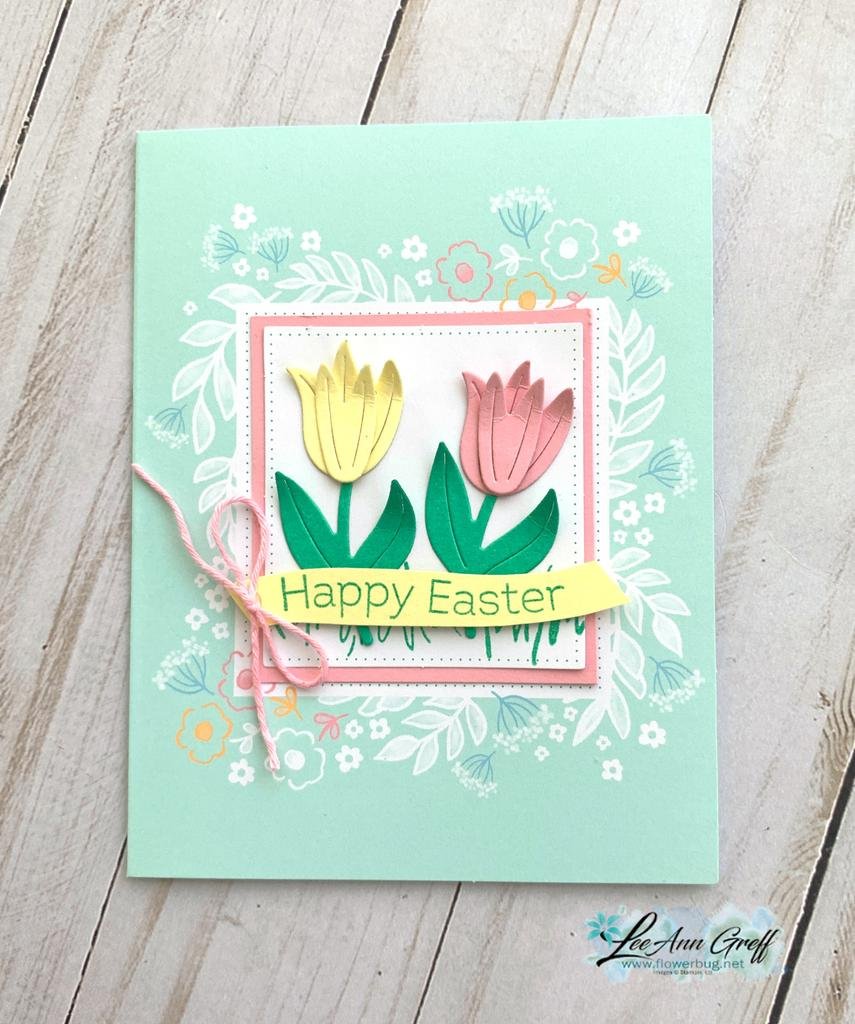
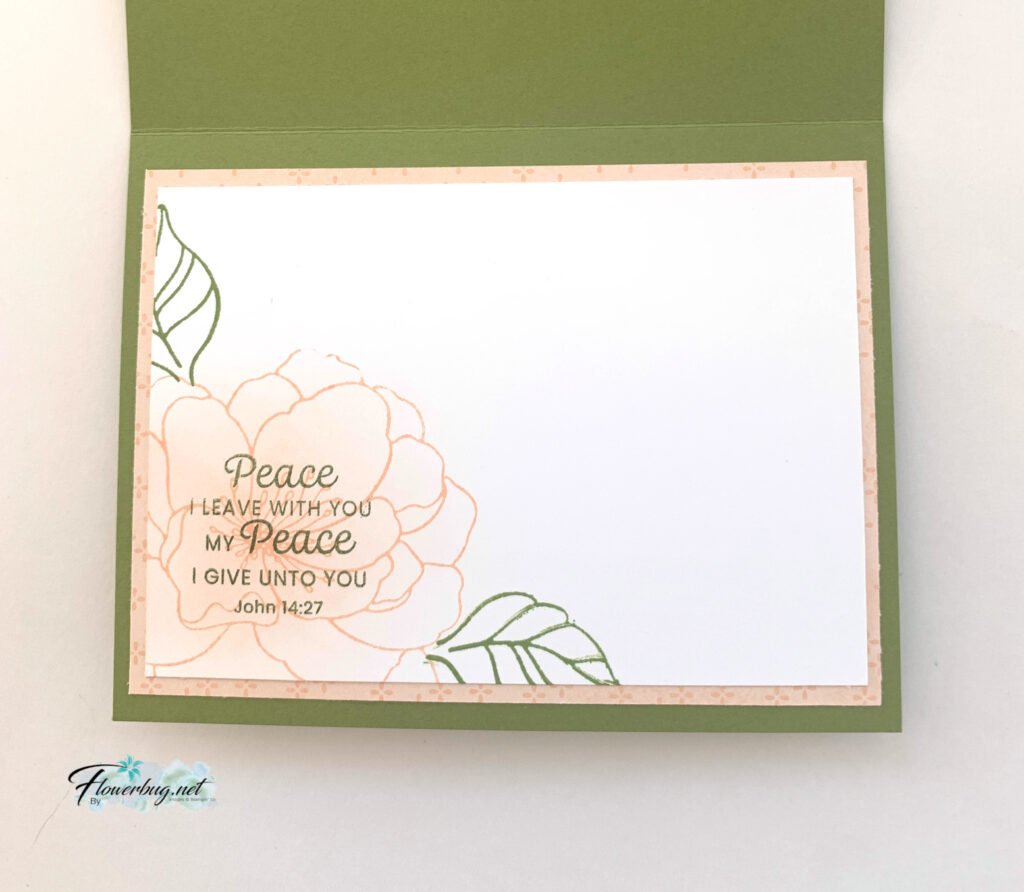
And next are all of the vertical cards.  I stamped the flower image from the Friends & Flowers on either White or colored card stock and colored them in with either Blends markers or Wink of Stella; or both!  Simply add a greeting strip and some rhinestones.  So easy!  


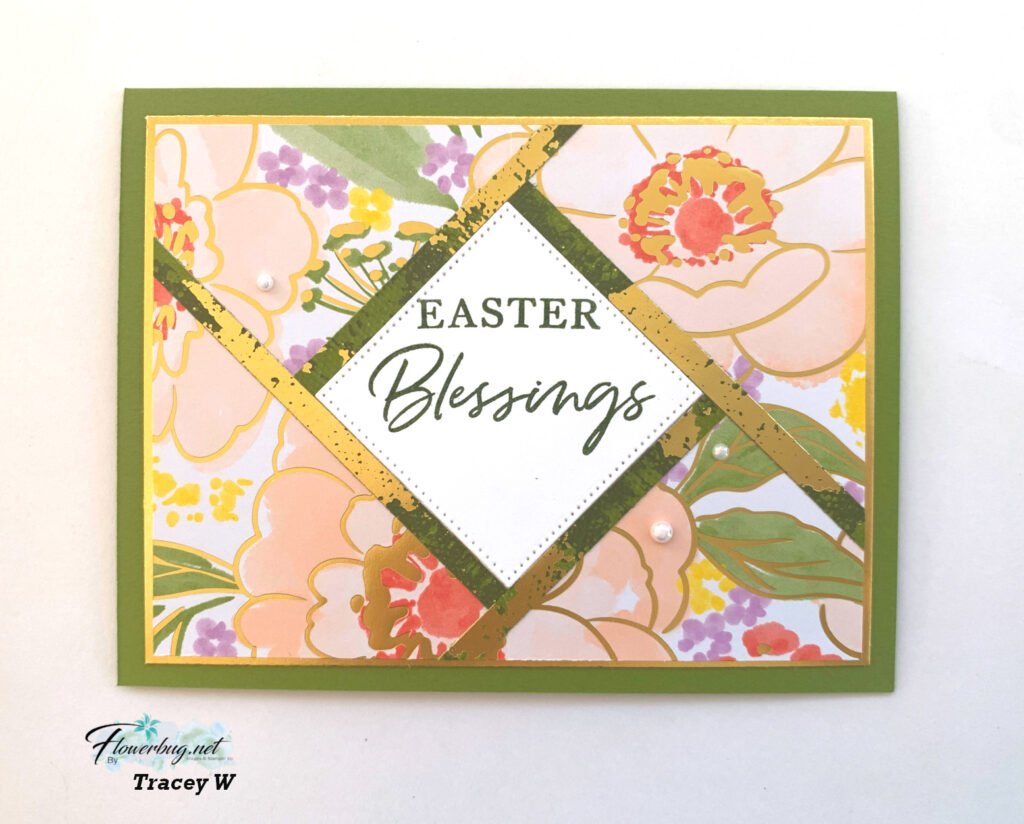
The above set of cards is the exact same layout as the landscape cards; just flipped vertically!  I love the versatility of this design!  This is the same designer paper as well, but on the colorful side.  The reverse is all black & white patterns.  

The images are from the Friends & Flowers stamp set.  The greeting strips are about 3/4" X 3". 

Think how quickly you could make a stack of cards using this easy layout!  Below is the video to get my tips and see the cards better. 

Remember that my perk for ordering over $50 in July is a stack of twenty 4" X 6" Designer Paper that includes at least 12 sheets of this Pattern Party DSP.  It's enough to make all 24 cards shown and more!  And the  more you order the more free Designer Paper you'll receive!  

~~~

July Specials! 

Current host code: SBCRHZWG

Designer Paper is on sale!  Click here to see all 9 of the discounted papers. 


Online orders over $50 get a free DSP sampler from me!  It includes the Party Pattern host paper plus more! You'll get over 20 4 X 6" sheets of assorted papers.  Orders over $75 get even more!  

My free PDF Tutorial for July's online orders includes the Simply Elegant & Beauty of the Earth suites. Get it FREE with any online order placed in July!

All Posts

  • A neat Tower card with video & free project sheet with Peaceful Garden


    I just love this fun fold ‘tower’ card layout! It gives you lots of opportunities to feature your designer paper.

    I featured the Peace on Earth bundle and the Modern Garden designer paper. The colors include White, Secret Sea and Silver. The Peace on Earth bundle was a ‘must have’ for me because of the pretty greetings and layering die-cuts. I like that the greetings include more than just Christmas making it quite versatile.

    This Tower card fun fold is made with a 11″ X 4 1/4″ piece of card stock but scored 5 times across the long edge. Then you simply adhere the ends together and allow the other end to open. Genius!

    Note how the center panel swivels a bit…. I stamped one card with a holiday greeting and the other with a sympathy greeting. You can see the back side of the Holiday card here. I pulled out a Paper Pumpkin stamp set to fit.

    I love the textured embossing on the left White panel. That is from the Peaceful Greenery embossing folder seen here. I used just the side of this folder to achieve the textured edge.

    I created a free project sheet for this card; simply click on this link to print or download it.

    Here’s the tip on how the front panel swivels a bit on the fold. So easy to achieve!

    It’s two strips of card stock about 1/2″ wide and 1″ long folded in half. Each half is adhered with the fold on the main card fold.

    Below is the video tutorial for this card, another pretty Christmas card and a candy bar treat holder.

    *You’ll receive a PDF with multiple projects featuring this product
    after the 20th of the month.
    ~~~

    The Last Chance list has been updated!
    Click here to shop.

    Get a free PDF tutorial with any online order from me in December!

    Leave a Reply

    Your email address will not be published. Required fields are marked *

  • The Product of the Month promo starts today!


    Each month Stampin’ Up! will offer a product of the month. It will be brand new product you will ‘earn’ with a qualifying purchase. It’s sort of like Sale-a-Bration every month!

    This month it’s the True Blue Florals 12″ x 12″ Designer Series Paper. See it here.

    Beautiful monochromatic blue prints to match many of our current colors.

    Details:

    • Besides qualifying with a purchase there will be a $5 fee.
    • It will be one per person.
    • The items are while supplies last.
    • There will be many different offerings such as stamp sets, designer series paper and dies.
    • If an item lasts through the entire month it may be carried over into the next month; while supplies last.

    *You’ll receive a PDF with multiple projects featuring this product
    after the 20th of the month.
    ~~~

    The Last Chance list has been updated!
    Click here to shop.

    Get a free PDF tutorial with any online order from me in December!

    Leave a Reply

    Your email address will not be published. Required fields are marked *

  • An easy Gift Card idea for Christmas with free project sheet


    I shared this pretty card on last week’s video. It has an option for a gift card hidden inside.

    Isn’t it pretty? I featured the Modern Christmas suite here with the specialty DSP and the Ornamental Christmas bundle seen here.

    I just love the font on the greetings and the unique coordinating dies in this bundle.
    My colors are classy in Black, White and Gold foil. You might notice two different embossing folders on the White layer. One is the Traditional Wreath 3D and the other is the Forever Plaid 3D.

    There is a scored line on the front layer to create a pocket for a gift card inside. I used a punch to create a bit of interest on it.

    What do you think of this color combination for Christmas? I worried some might not like it but everyone at my Clubs loved this card. The Modern Christmas designer paper seen here is gorgeous with it’s fun patterns.

    I did heat emboss the greeting with Gold embossing powder and punched it out with the Labeled with Love punch. The bits of Gold foil all over this card really make it special!

    I created a free project sheet for this card and also a video with tips & step by step directions. Click here to print or download it.

    You can watch the video below to see how to assemble this card. There are also two more projects you’ll want to see!

    *You’ll receive a PDF with multiple projects featuring this product
    after the 20th of the month.
    ~~~

    The Last Chance list has been updated!
    Click here to shop.

    Get a free PDF tutorial with any online order from me in December!

    Leave a Reply

    Your email address will not be published. Required fields are marked *


Notice: LeeAnn Greff, Independent Stampin’ Up! Demonstrator, Manager. The content of this website is my sole responsibility as an independent Stampin’ Up! demonstrator and the use of, and content of, the classes, services, or products offered on this website is not endorsed by Stampin’ Up! Copyright 2025