/


Latest Post

Easy Medallion cards with the Plenty of Patterns masks with video


I played with the Plenty of Pattern masks on last week's FB Live and here are three cards I shared.  Follow me on Facebook here. 

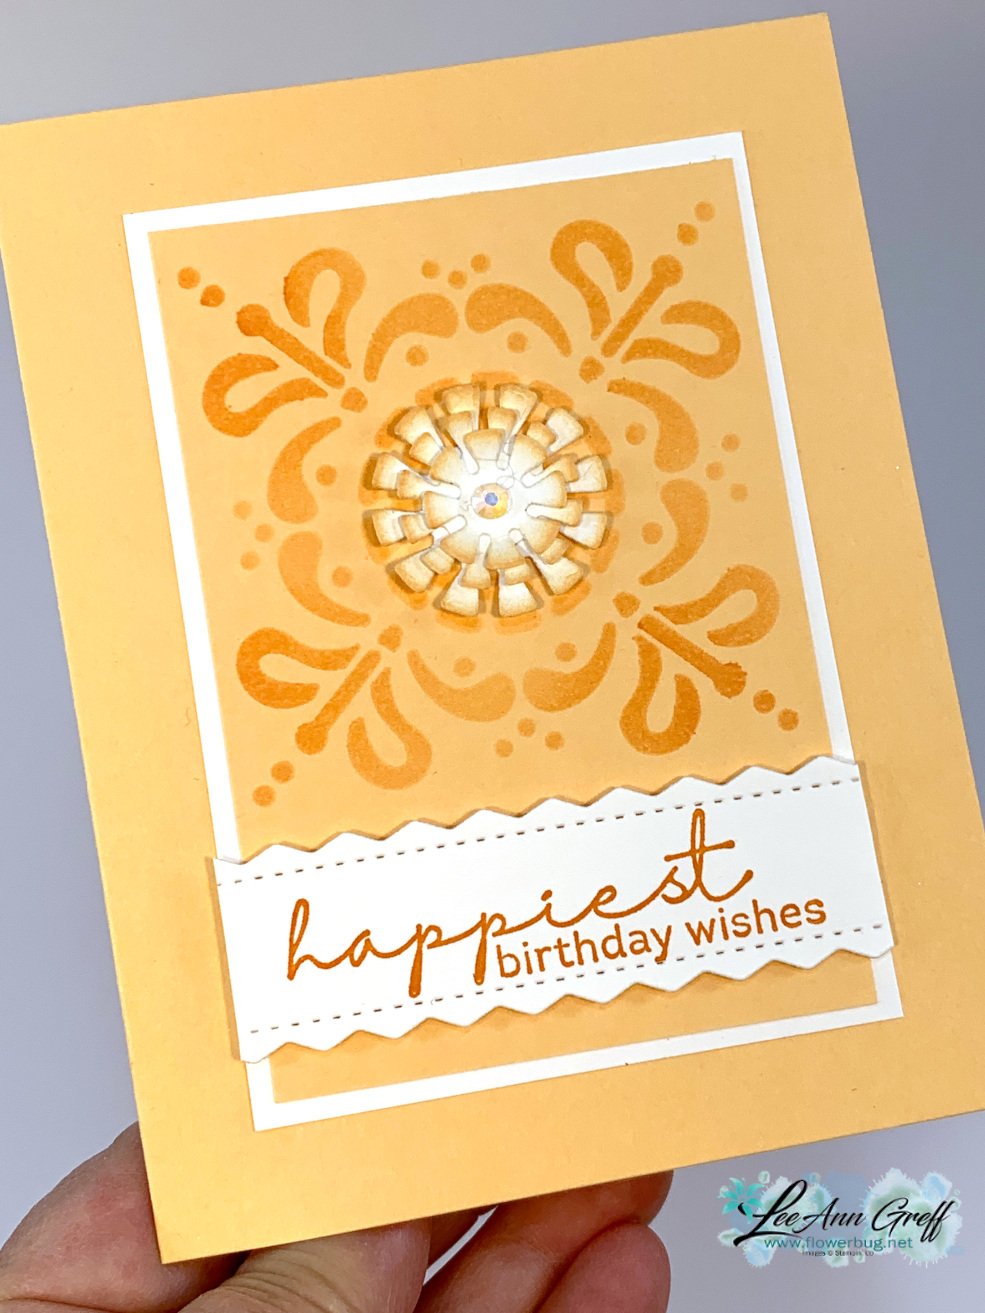
I decided to feature some of the pretty 2021-23 In Colors.  This first card is in Fresh Freesia. 

I used Blending Brushes and Fresh Freesia ink to add the medallion to the CS. The flower in the center is made with our Shimmer In Color Vellum paper & the Dandy Wishes dies seen here.  

The greetings are stamped on a strip of White CS.  The edges are created with a new set of dies coming out in the 2022 Jan-June catalog called the Tropical Layer dies. It's a scalloped/stitched edge die I ran through twice. 

Above is Soft Succulent with a Vellum CS flower. 

Here's a photo of all 3 of them together.  Here you can see three of the four medallions in one of the masks. They're all unique and so pretty! 
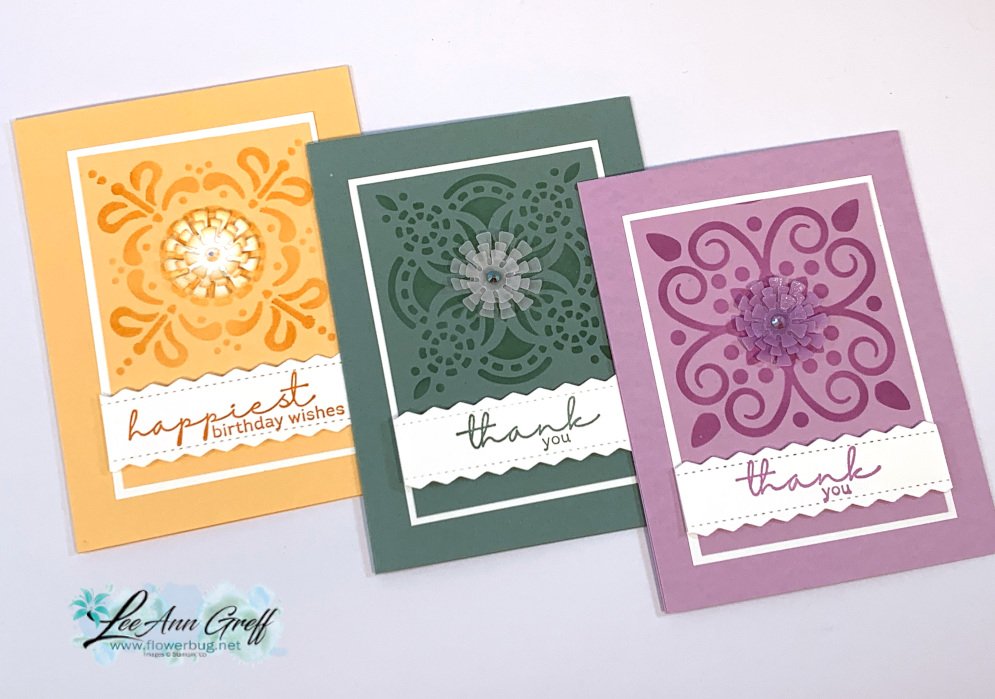
And next is our pretty Pale Papaya color.  The flower center is cut from White CS and the edges are curled up and sponged. 

Measurements:

  • Card base 4 1/4" X 11" scored at 5 1/2"
  • Sponged CS 3" X 4 1/4"
  • White layer 3 1/4" X 4 1/2", greeting strip 1" X 3 1/4" 
Below is the video with these projects & lots more! 

~~~

December Specials:

Host code:  6YCWV7QN

 *click here to order 

Use the host code above & get a free card stock sampler ring with a $50 order in December! 
See the last chance list here

See the July-December catalog carry over list here

All Posts

  • Awash in Beauty & Dainty Flowers for fast pretty cards!


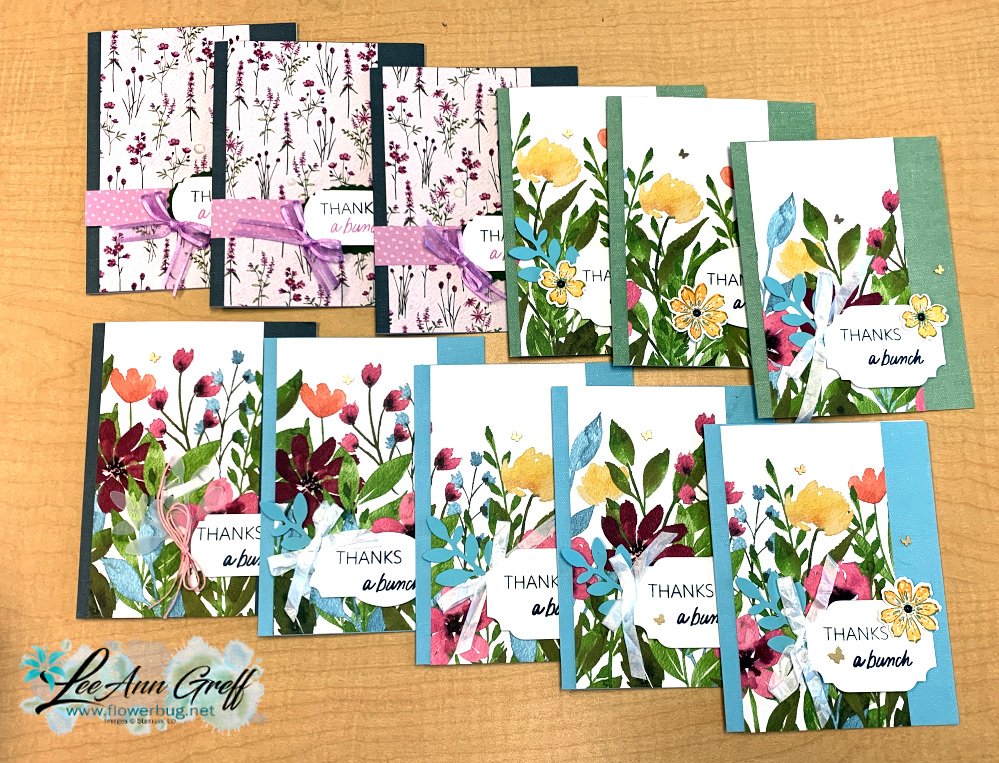
    I ran out of thank you cards for online orders and needed some made fast.  I reached for our pretty designer papers and made these 11 cards in less than an hour!  

    Each piece of designer paper is 3" X 5 1/2". I used Dainty Flowers Sale-a-Bration DSP and Awash in Beauty paper from the Annual catalog.

    From one sheet of 12 X 12" paper this card design gave me 8 card fronts!  They are adhered to the Good Things cards & envelopes. They are unavailable now, but they were an addon product for Paper Pumpkin subscribers in January.  *It pays to be a Paper Pumpkin subscriber to get these great add-ons!  Get a pre-paid subscription here

    I had a bunch of white pre-cut & punched greeting labels and simply stamped the thank you on them (greeting from Thanks a Bunch SAB carrot set).  Then I grabbed more 'extra' items I had on my desk and embellished each card.  Some have ribbons, punched leaves or flowers and embellishments.  It was fun to add on these extras.  

    ~~~

    February specials:

     Host code links:

      CNV2VCBT or 7EUM6NB9 

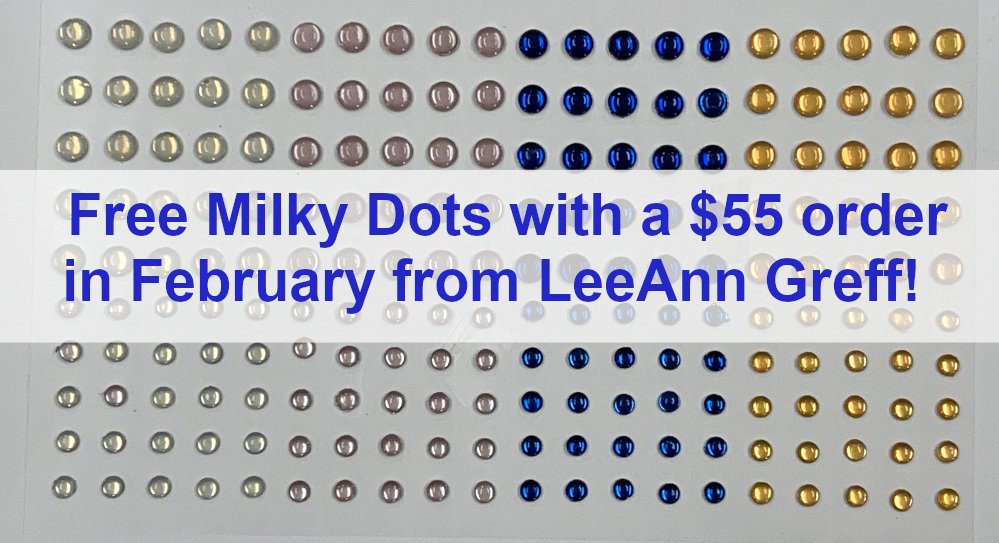
    Get free Pastel Sequins with online orders over $55 when using the host code above!

     Earn free products with my loyalty rewards! 

    Click here to download yours and earn a $50 shopping spree!

    ~~~

    Best Deal Ever on the Starter kit here!

    Choose $175 in products for just $129 plus the new mini machine!

    Or choose $175 for $99 without a new Mini.  AMAZING!

    Leave a Reply

    Your email address will not be published. Required fields are marked *

  • In the Country; which do you prefer? ‘Color’ or Black & White? Video & cool tip!


    Happy Valentine's Day!  

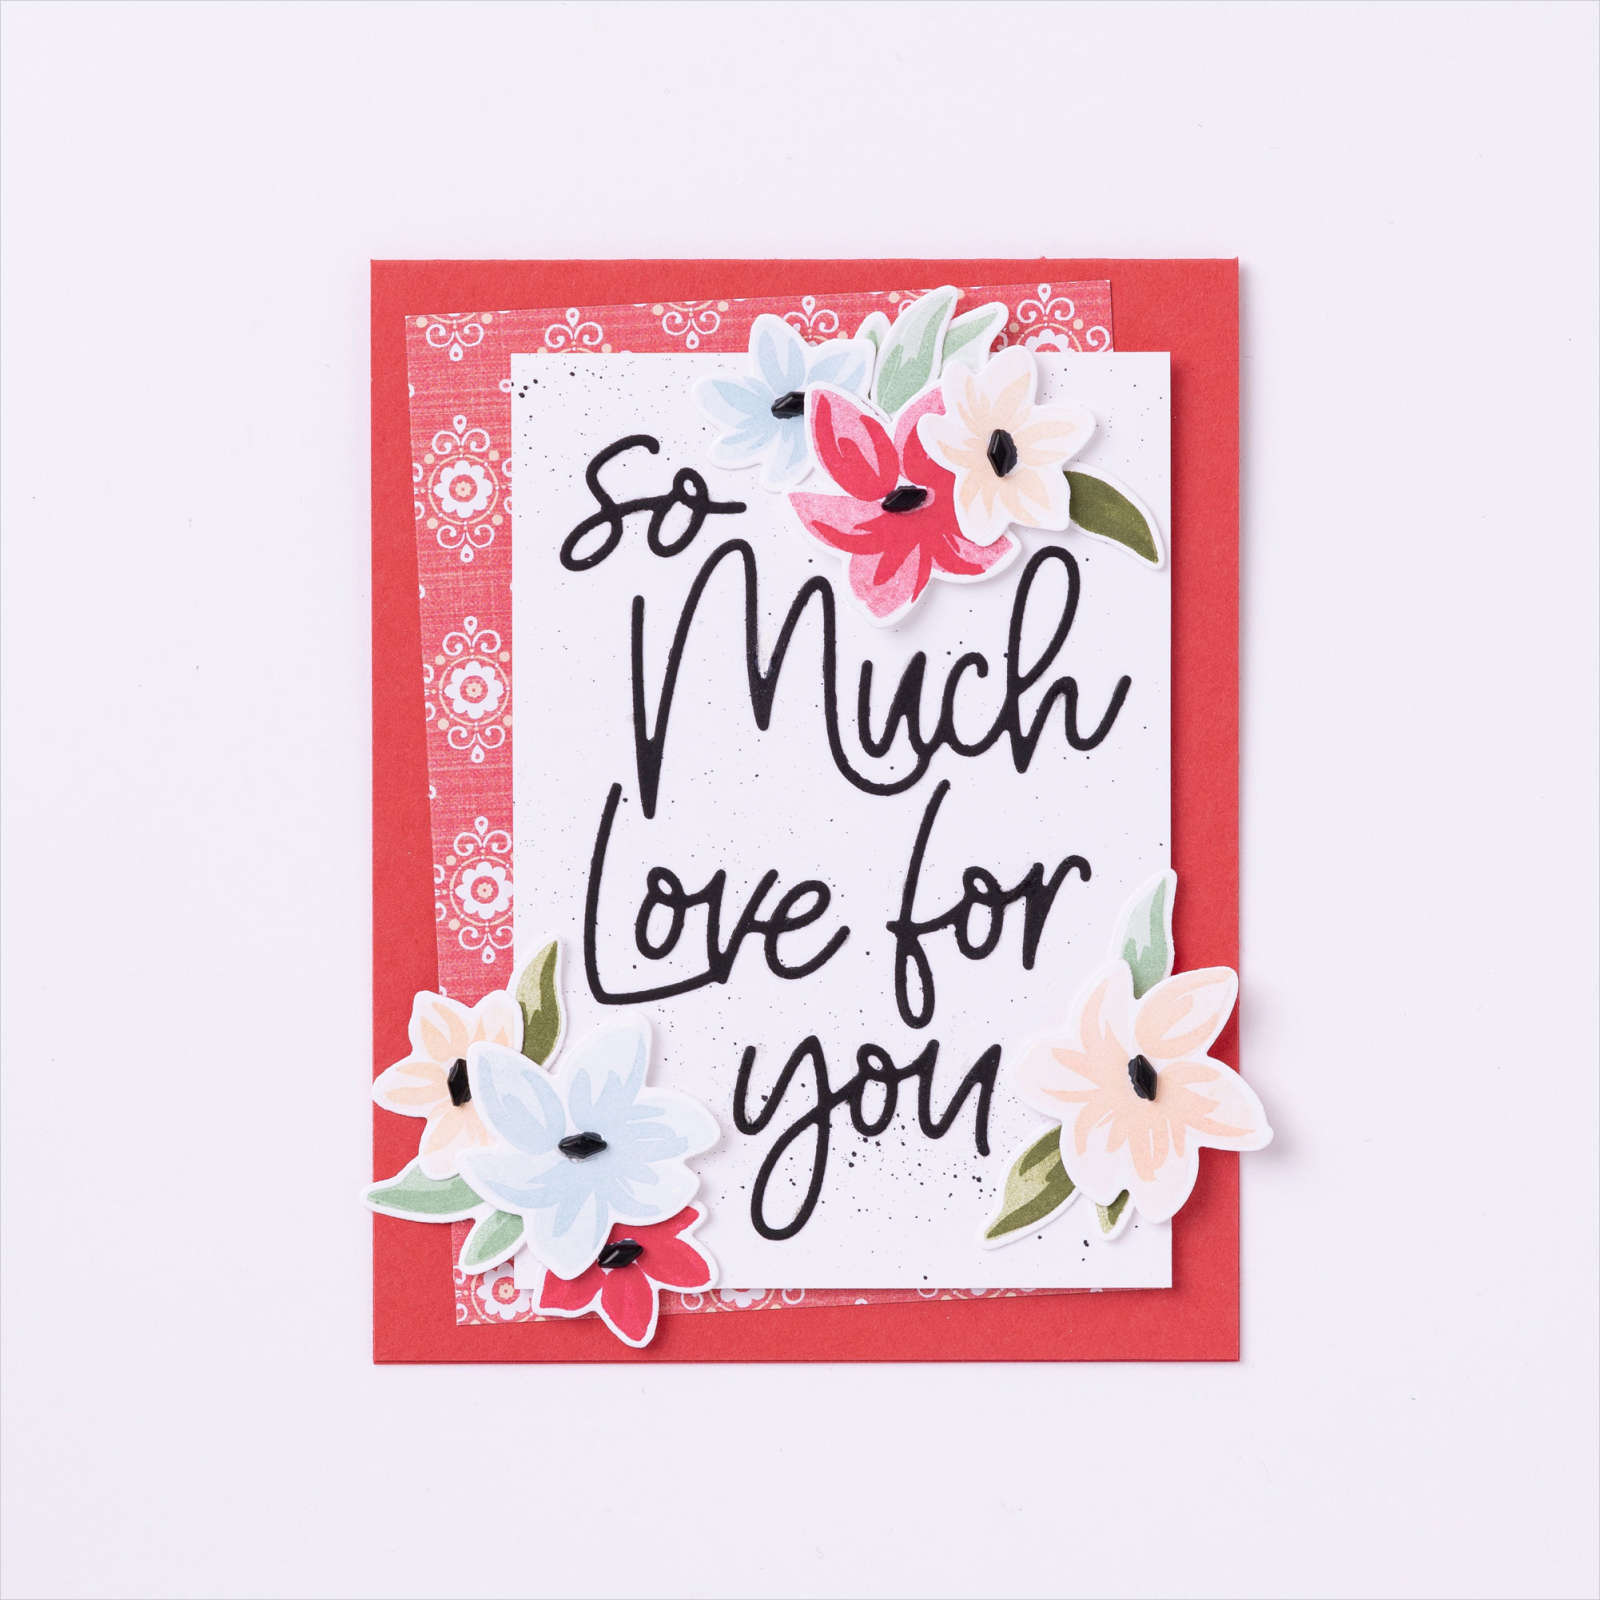
    I should be sharing a Valentine card today, but I sent them out to my family last week before I took photos! Sheesh! Here's one by Stampin' Up! using the Love for You bundle; you can see it on page 11 of the Spring Catalog.


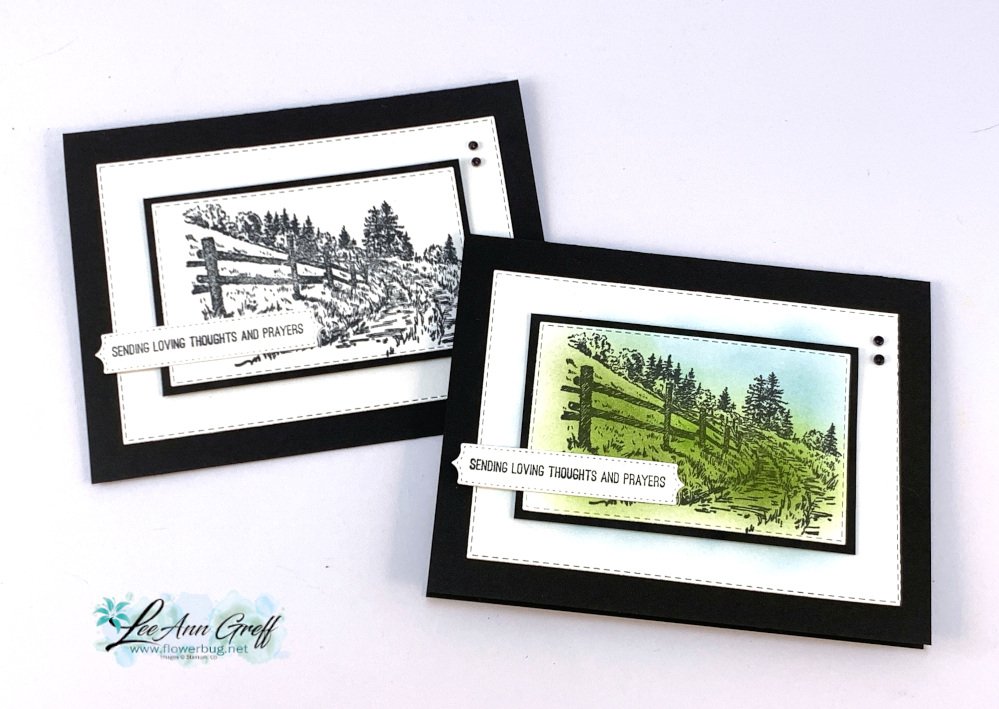
    Here are a few more cards featuring the In the Country stamp set from our Sale-a-Bration promotion.  It's free with any $50 purchase in February.  See it here. 

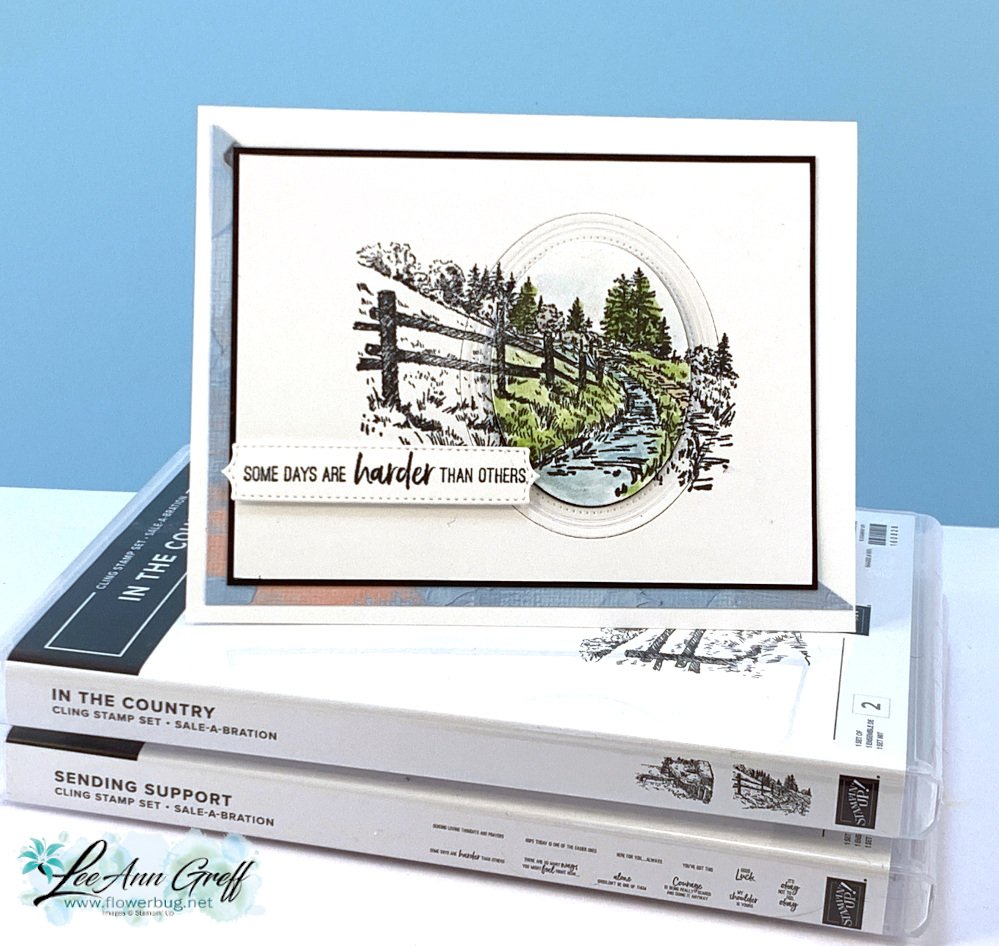
    I shared multiple ways to use this set and options for coloring too.  I know many people do not want to color every bit of a scene like this. So I shared a variety of alternate card ideas like this one shown here.  

    On the colored version above I simply used my Blending Brushes with Granny Apple Green & Balmy Blue.  Simple but effective.  After coloring I cut the scene out with a Stitched Rectangle die.  I used the 5th from the largest for the scene and the 2nd from the largest for the outside of the White layer. 

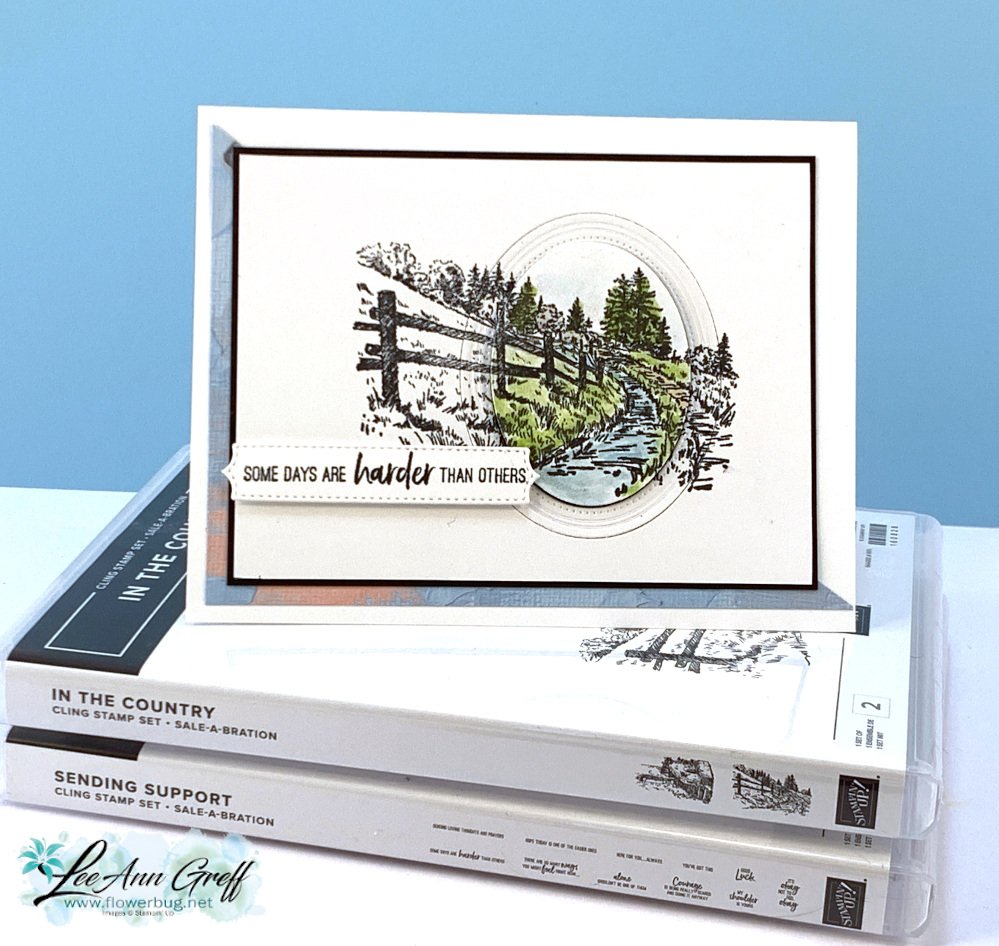
    Here's another set of cards.  I used Blending Brushes for most of the color – Balmy Blue & Sahara Sand. I did add a bit of Dark Calypso Coral to a few areas with a Blends marker.  

    The greetings are from the Sending Support stamp set.  This set can be seen here and is also free with a $50 purchase from Stampin' Up! through February of 2023.  

    For the greeting die-cut I used a die from the Potted Succulents dies seen here.  I changed the size of this die by cutting it once and then again to make it shorter.  I get a lot more use of my dies this way!

    Which do you prefer?  Color or no color?  

    See the other set of cards I shared yesterday here

    ~~~

    February specials:

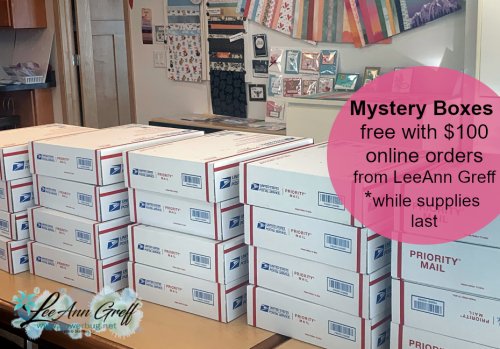
    Mystery Boxes get one free with a $100 online order using a host code.

    I still have 1 left!  

    February Host code links:

      CNV2VCBT or 7EUM6NB9 

    Get free Pastel Sequins with online orders over $55 when using the host code above!

     Earn free products with my loyalty rewards! 

    Click here to download yours and earn a $50 shopping spree!

    ~~~

    Best Deal Ever on the Starter kit here!

    Choose $175 in products for just $129 plus the new mini machine!

    Or choose $175 for $99 without a new Mini.  AMAZING!

    Leave a Reply

    Your email address will not be published. Required fields are marked *

  • In the Country with the Spotlighting Technique & video; a great alternative to coloring


    On last week's FB Live I played with the In the Country stamp set seen here showing a variety of ways to color (or not) these scenic images. 

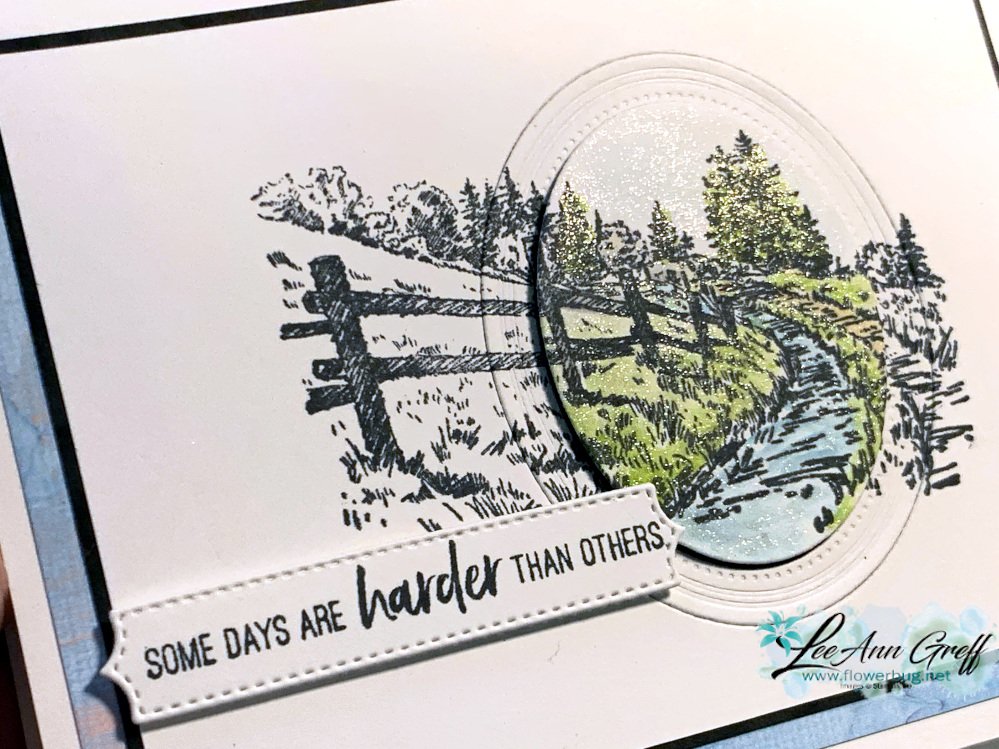
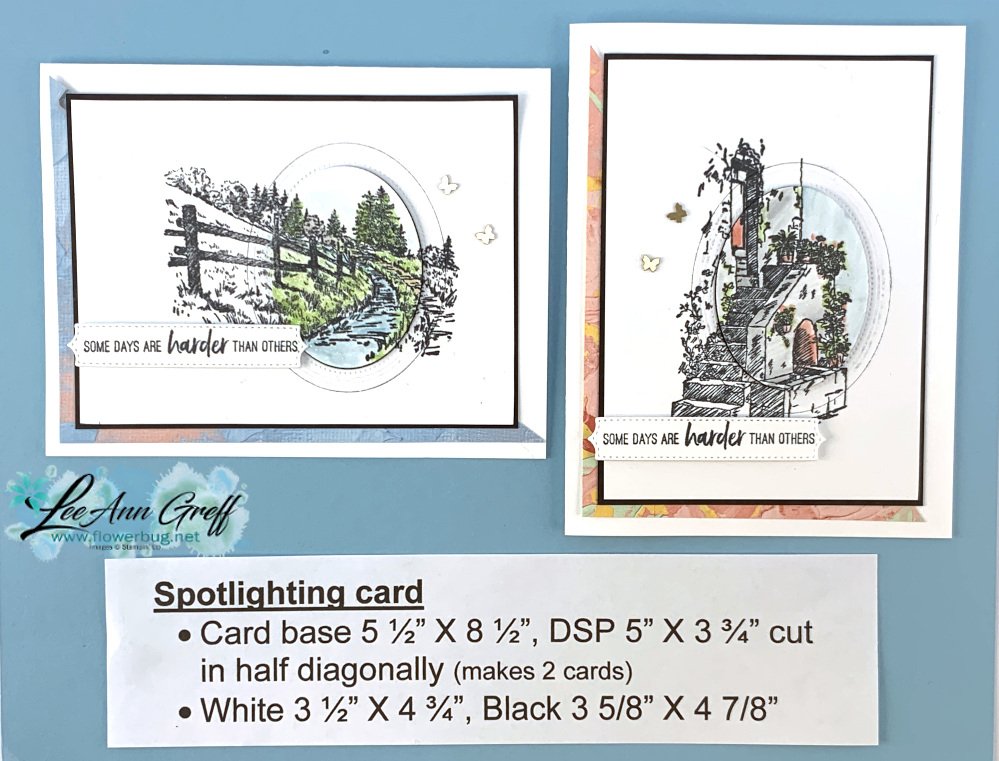
    Today I'm showing the cards featuring the 'Spotlighting' technique.  This is a great alternative to coloring the entire image.  

    I used the Fabulous Frames dies for the oval die-cut. See them here.  I also used the Sending Support stamp set seen here.  Both this and the In the Country stamp set are free with any $50 Stampin' Up! purchase through February.  

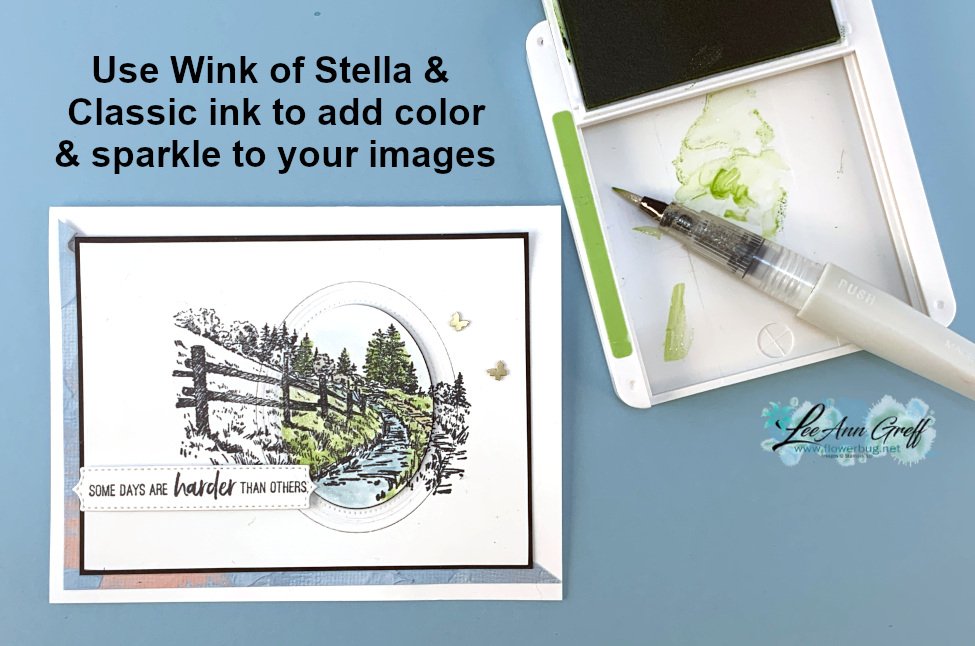
    I stamped the image first in Black ink and then die-cut the oval layers.  I used the Wink of Stella and Classic ink to color.  I love using Wink to color because the images end up sparkly.  

    If you don't have a Wink of Stella yet; I highly recommend them.  They're a subtle way of adding shimmer or sparkle to your projects.  And as you can see, you can use it for coloring too! I show how in the video below. 


    Tip: when the fluid in the Wink of Stella runs out, add a tiny bit of rubbing alcohol inside the barrel.  You'll get quite a bit more use of it.

    All of the layers are adhered down but the colored oval and greeting; they're popped up with Stampin' Dimensionals.  

    I added a piece of Fancy Florals DSP to the card base.  I cut a piece at 4" X 5 1/4" and then cut it in half for two cards. Other measurements are shown below. 

    I love the effect this Spotlighting technique gives.  It's fun and unique and saves time too! 


    I'll share more In the Country cards this week.  Click on this link or below to watch the video tutorial. *Be sure to subscribe to my new YouTube channel.  

    ~~~

    February specials:

    Mystery Boxes get one free with a $100 online order using a host code.

    I still have 1 left!  

    February Host code links:

      CNV2VCBT or 7EUM6NB9 

    Get free Pastel Sequins with online orders over $55 when using the host code above!

     Earn free products with my loyalty rewards! 

    Click here to download yours and earn a $50 shopping spree!

    ~~~

    Best Deal Ever on the Starter kit here!

    Choose $175 in products for just $129 plus the new mini machine!

    Or choose $175 for $99 without a new Mini.  AMAZING!

    Leave a Reply

    Your email address will not be published. Required fields are marked *


Notice: LeeAnn Greff, Independent Stampin’ Up! Demonstrator, Manager. The content of this website is my sole responsibility as an independent Stampin’ Up! demonstrator and the use of, and content of, the classes, services, or products offered on this website is not endorsed by Stampin’ Up! Copyright 2025