/


Latest Post

Easy Holiday cards made from tags! Free project sheet & video tutorial.


I look forward to receiving my Paper Pumpkin boxes each month. November’s Wrapped in Cheer kit featured holiday tags and I couldn’t waste an opportunity to make cards from them. I need a lot more Christmas cards than I do tags!

I didn’t change the tag from the original except for the linen thread bow at the top. But I did add it to a Basic Beige textured layer and then onto a Cherry Cobbler card base.
Now that is an easy card!

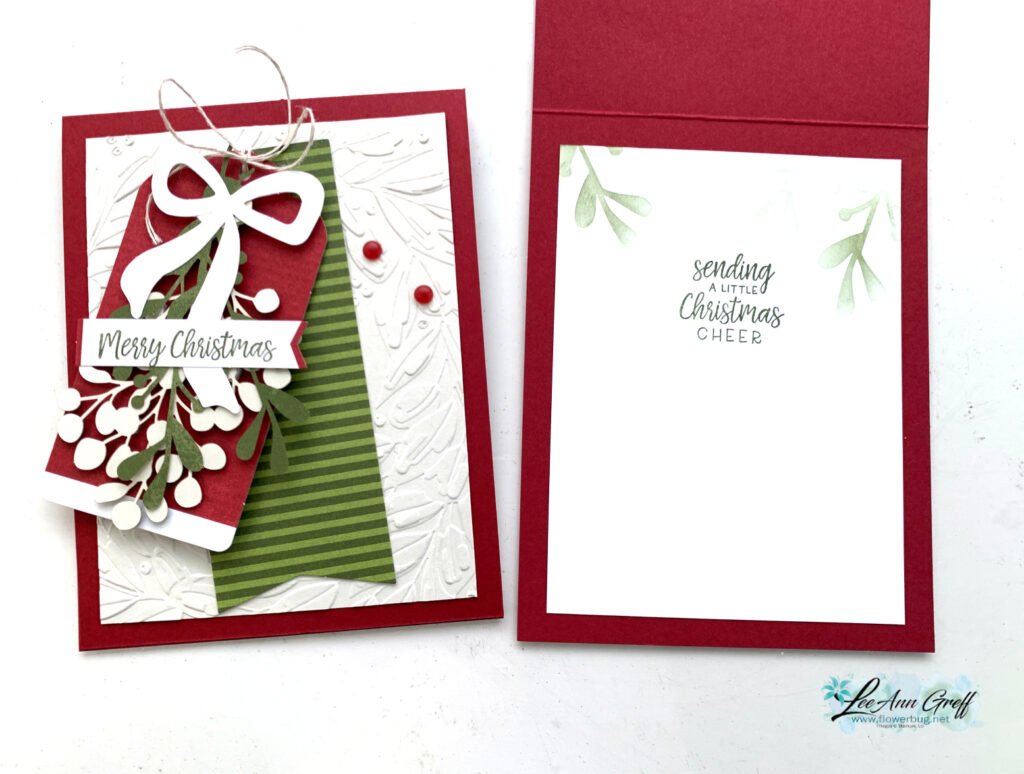
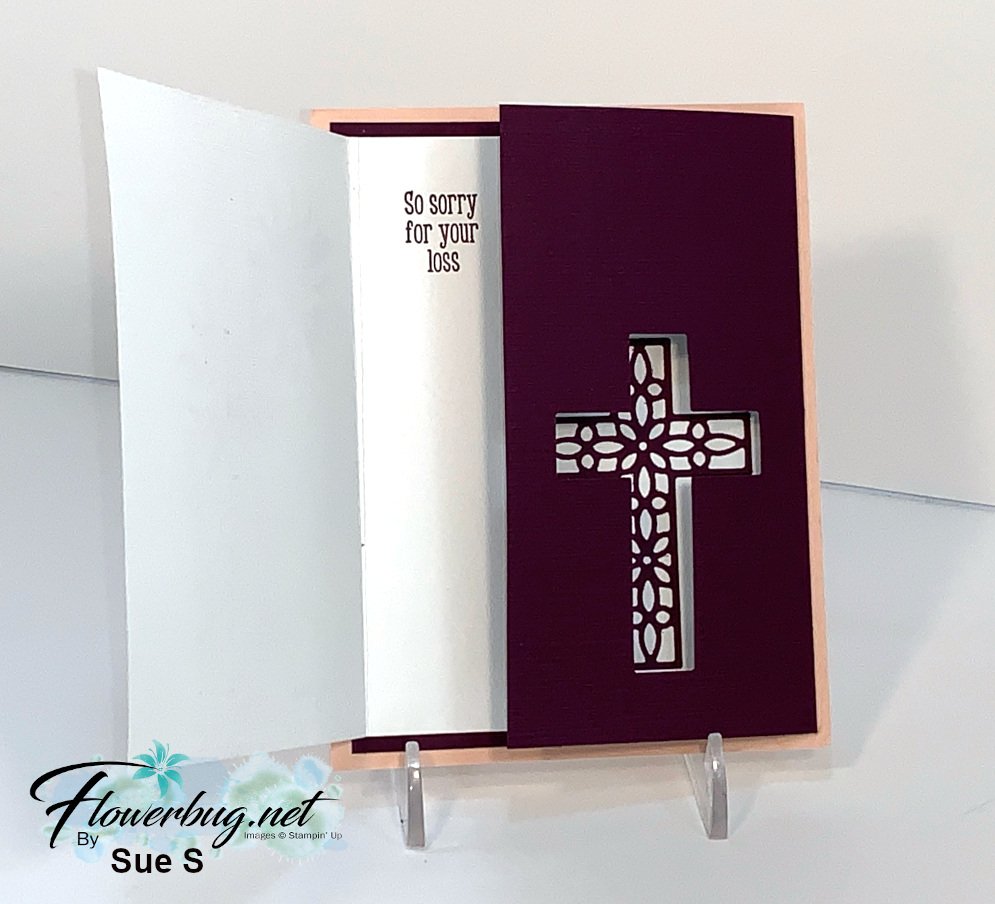
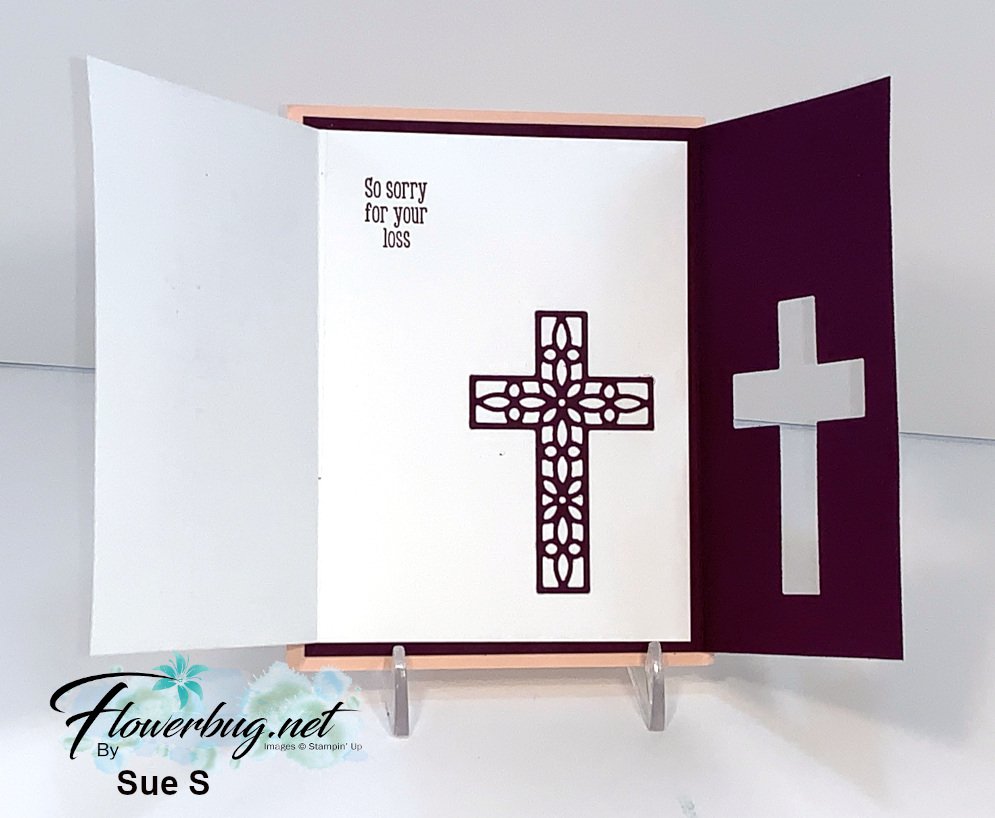
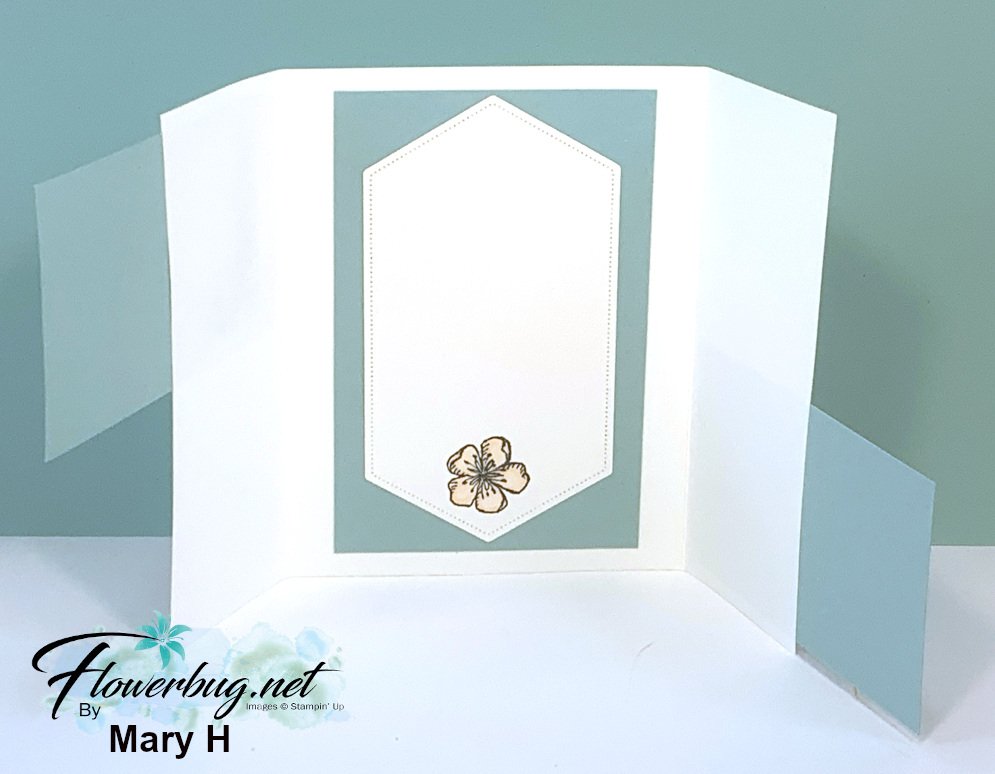
To create the colored leaves inside the card I used the empty piece of paper from the kit where the leaves had been removed. I’m always looking for easy ways to add to the inside of my cards.

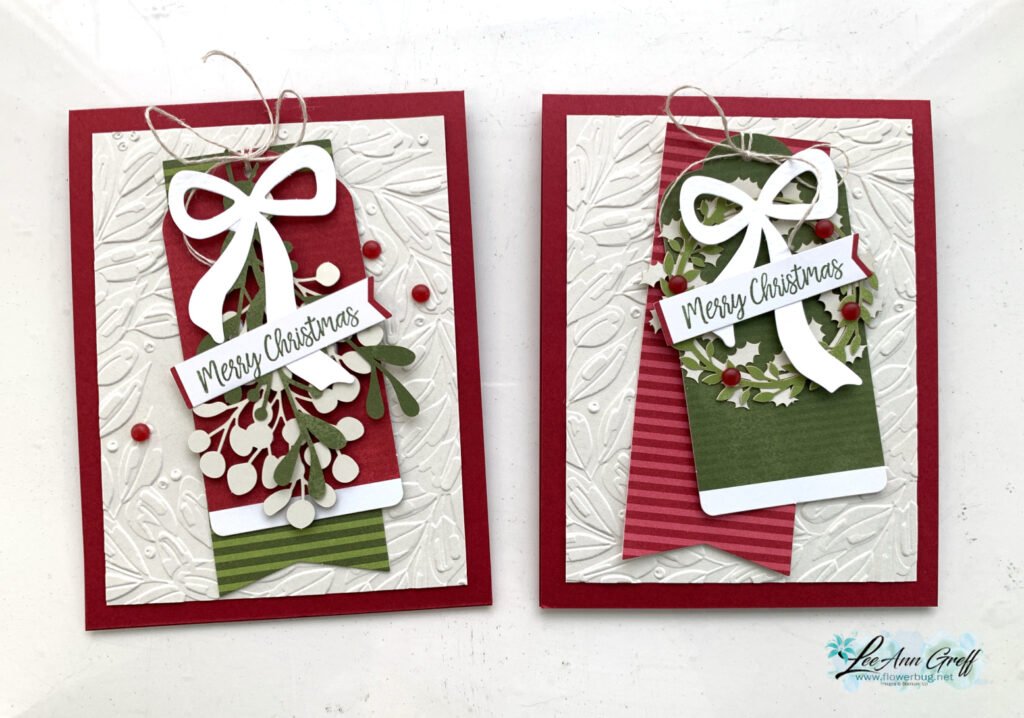
There were two different tags in this kit. Aren’t they pretty?

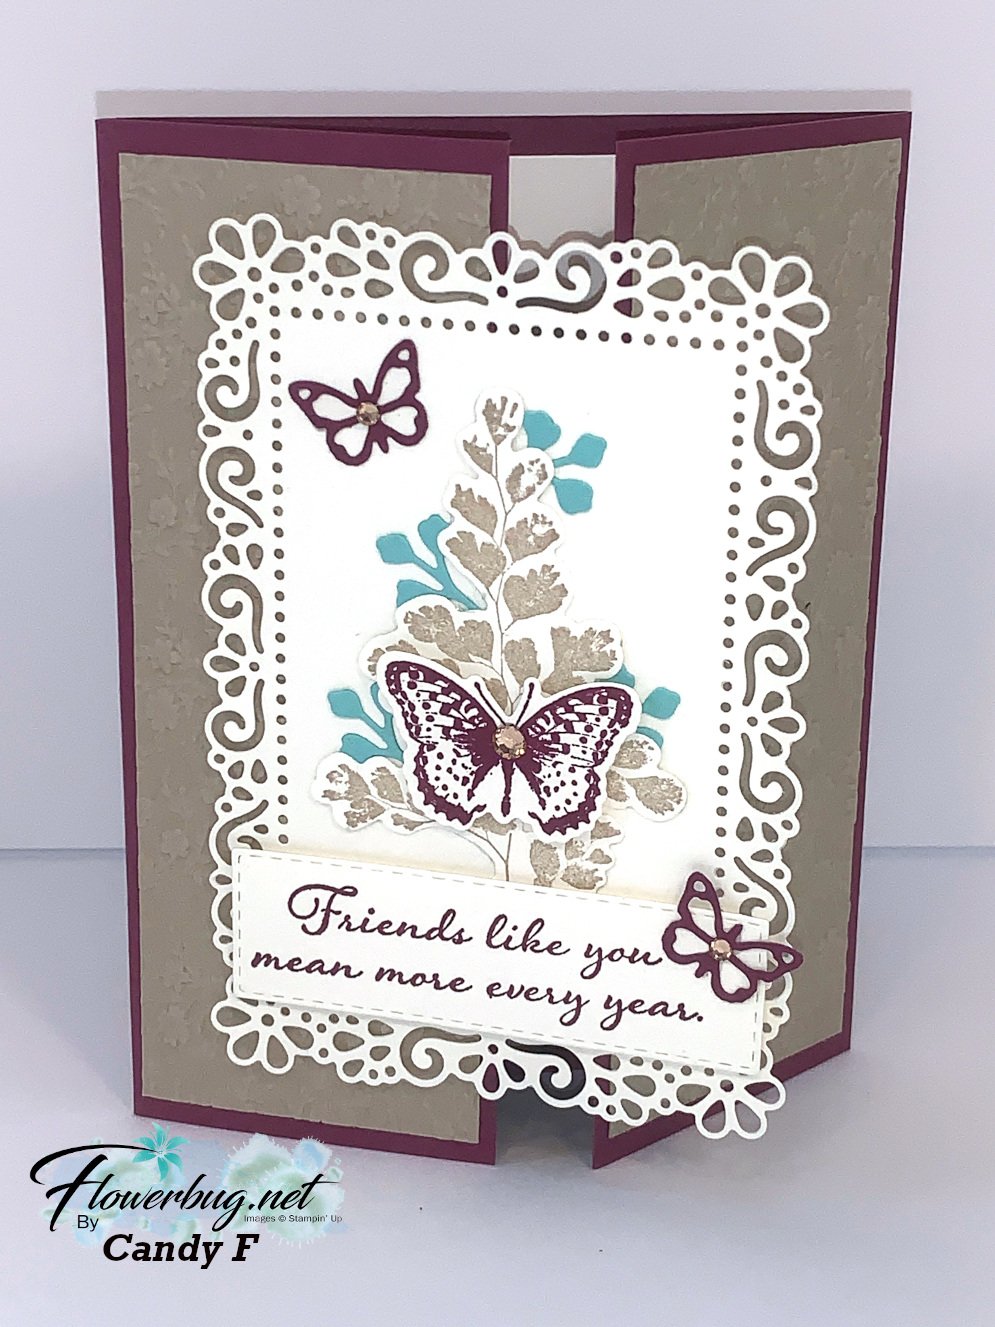
I used the embossing folder called Traditional Wreath 3D folder; it can be seen here. It’s discounted and available while supplies last.
*The greeting is from the stamps in the kit.

Below is the video tutorial for this card and more information on Paper Pumpkin.

*You’ll receive a PDF with multiple projects featuring this product
after the 20th of the month.
~~~

The Last Chance list has been updated!
Click here to shop.

Get a free PDF tutorial with any online order from me in December!

All Posts

  • Sponge Brayer on an embossing folder? Cool effect!


    Have you ever used a sponge brayer?  Did you even know we carry them?  We do!  On page 181 of the annual catalog. Click here to see them. 


    I used Pool Party ink and the sponge brayer to add ink to the flat side of the Parisian Flourish embossing folder seen here.  Then I inserted my card stock or envelope flap into the folder and ran it through the machine.  Super easy!  Then just rinse the ink off your embossing folder when you're done.  Our ink colors are water based so it comes off easily. 

    Click below to watch the video; it's at the end of this one below:

    I used another 'stitched heart' on the front of this card using the Heart Doilies seen here. The few die-cuts are from the Stitched Be Mine set of dies in the annual catalog. See those here. 

    I shared how to do this stitched heart doily in a previous FB live video.  Click here to see it.  It took me about 8 minutes to stitch and I do NOT stitch by hand much at all. Maybe once a year.  That should tell you it's easy! 

    ~~~

    Three January Specials just for you besides Sale-a-Braton! 

    1. All January online orders will earn a ticket in the drawing for a free Little Ladybug stamp set!

    Order online here

    2. All online orders will receive a 10 cards pdf tutorial in an email.

    3. And if your order is over $65 you'll get a free Coastal Weave embossing folder too!

    January Host Code is GEEFZCZV

    Order online here

    Leave a Reply

    Your email address will not be published. Required fields are marked *

  • Fancy Fold Accordion Heart Doilies!


    I dreamed of doing this fun accordion fold with the Heart Doilies in my sleep.  I rarely do that!  Do you?  


    I shared how in this week's Facebook Live yesterday.  My FB Live's are usually on Tuesdays at 11 am but I was out of town so switched to Wednesday this week.  It's so simple!  And you could do this with many of our dies too!  Click below to see it.

    I also traced the flap of my envelope onto the From My Heart specialty designer paper to make this card extra, extra special!  

    Details:

    • The pretty soft scallops on the edge of the DSP are from the new Braided Border punch.  I did one length of it and cut it in half for both cards. 
    • The greeting is stamped on a Timeless Label punch and added to another Heart Doily.  The stamps are from the Heart to Heart stamp set seen here. 
    • I used the new sparkly Faceted Gems from the From My Heart Suite.  See them here
    • You get 40 Heart doilies in one package for $5.50; a great deal at .14 cents each.

    Cutting:

    • I cut a strip of the From My Heart designer paper at 3" X 12" and cut that into two pieces 3" X 5 1/2" long.  The hearts are the reverse side of the pretty foil double sided designer paper on the envelope.  When you use these measurements you can get 8 cards from one sheet!  It's a great way to use up the designer paper you may be 'hoarding'. 
    • The white layer inside is 3 1/2" X 4 3/4"; my favorite size for inside cards as you can get 5 from one sheet of 8 1/2" X 11".  

    I folded each doily in half and glued each one to the next just on the outer curve.   I adhered the folded doilies to the card with either Tombo liquid adhesive or Tear & Tape; it's super strong!

    ~~~

    Three January Specials just for you! 

    1. All January online orders will earn a ticket in the drawing for a free Little Ladybug stamp set!

    Order online here

    2. All online orders will receive a 10 cards pdf tutorial in an email.

    3. And if your order is over $65 you'll get a free Coastal Weave embossing folder too!

    January Host Code is GEEFZCZV

    Order online here

    Leave a Reply

    Your email address will not be published. Required fields are marked *

  • The Gang’s All Meer cute window card


    This stamp set was one of the top free choices at my New Catalog Launch party earlier this month.  People are loving it!

    I chose to create a window card to highlight these cute critters.  We stamped them in Early Espresso and colored in with Crumb Cake blends markers. 

    **Did you know that when stamping an image you plan to color with our Blends markers you can use any color of our Classic ink pads?  They are water based and the markers are alcohol based.  

    See the stamp set here.  It's a free choice you receive for any $50 order during our Sale-a-Bration promotion. This lasts through March. 


    Details:

    • Coastal Cabana frame is 4" X 3 1/2" and I used a 2 5/8" square die to cut the window.
    • The main card is 5 1/2" X 8 1/2" thick White card stock
    • 1 3/8" scalloped circle for the greeting and 1 1/2" circle in Daffodil Delight
    • two 1/2" X 4" strips of Birthday Bonanza designer series paper
    • The twine bow is from the Metallic Baker's Twine & Sequins combo pack; another FREE Sale-a-Bration choice!   


    See all of the FREE Sale-a-Bration choices here.

    ~~~

    Three January Specials just for you! 

    1. All January online orders will earn a ticket in the drawing for a free Little Ladybug stamp set!

    Order online here

    2. All online orders will receive a 10 cards pdf tutorial in an email.

    3. And if your order is over $65 you'll get a free Coastal Weave embossing folder too!

    January Host Code is GEEFZCZV

    Order online here

    Leave a Reply

    Your email address will not be published. Required fields are marked *


Notice: LeeAnn Greff, Independent Stampin’ Up! Demonstrator, Manager. The content of this website is my sole responsibility as an independent Stampin’ Up! demonstrator and the use of, and content of, the classes, services, or products offered on this website is not endorsed by Stampin’ Up! Copyright 2025