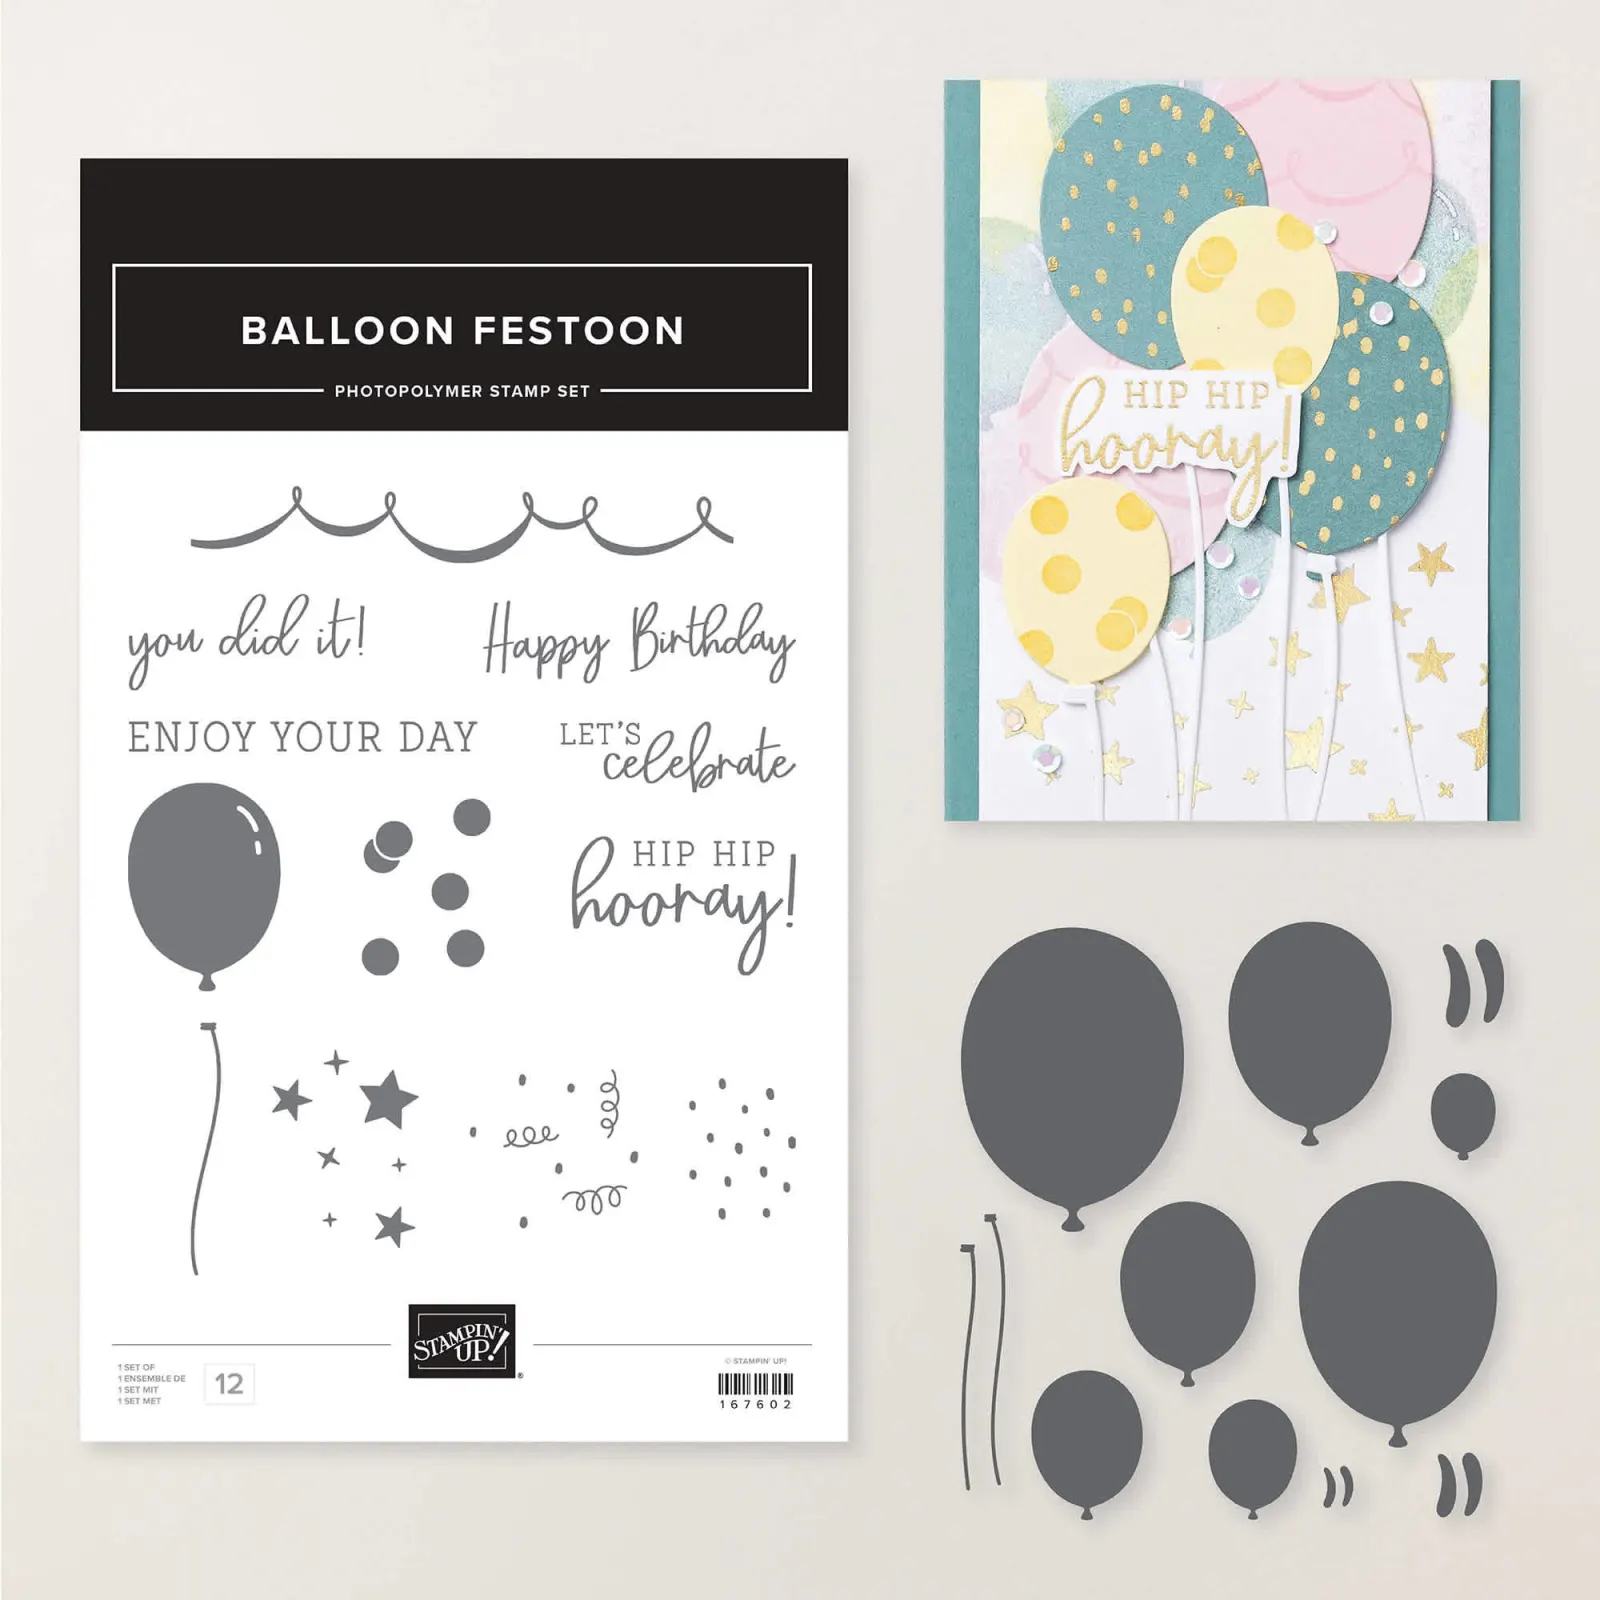
I chose the Easter Friends stamp set for one of our Club cards in March. It truly has adorable images! See it here.
I shared a few other projects during a recent Facebook Live. Click here to see it.
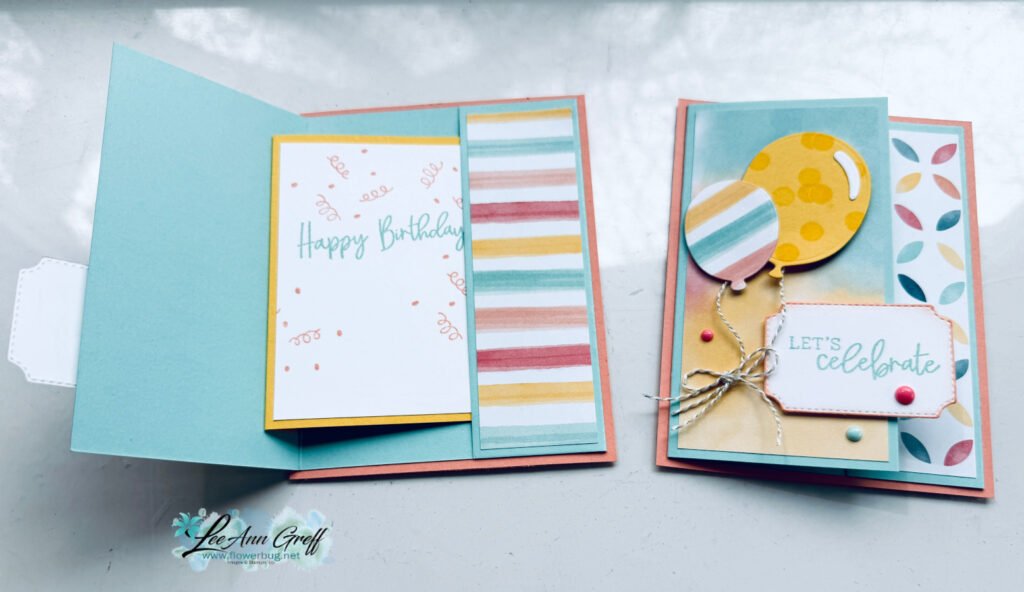
Look at this sweet bunny image!

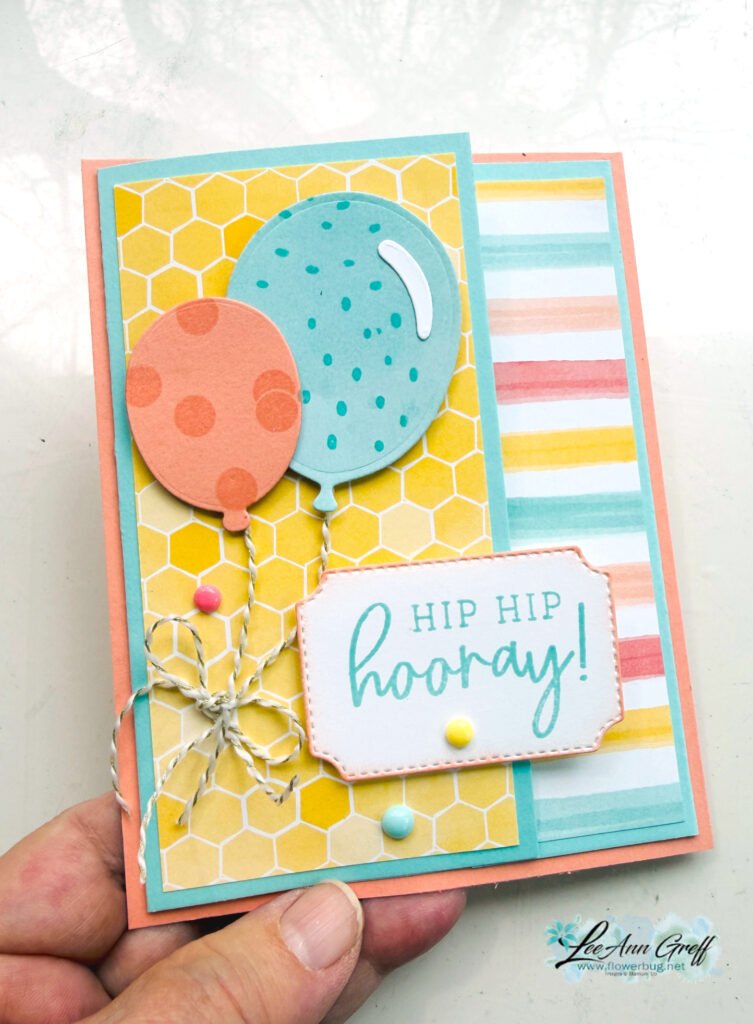
I stamped him/her in Smoky Slate and added a tiny bit of blush on his cheeks. I added a light line of Pool Party blends marker around the edge. The designer papers on this card include the Heart & Home and Hand Penned DSP's. These will likely be on the retiring list which comes out on Wednesday, March 23rd.
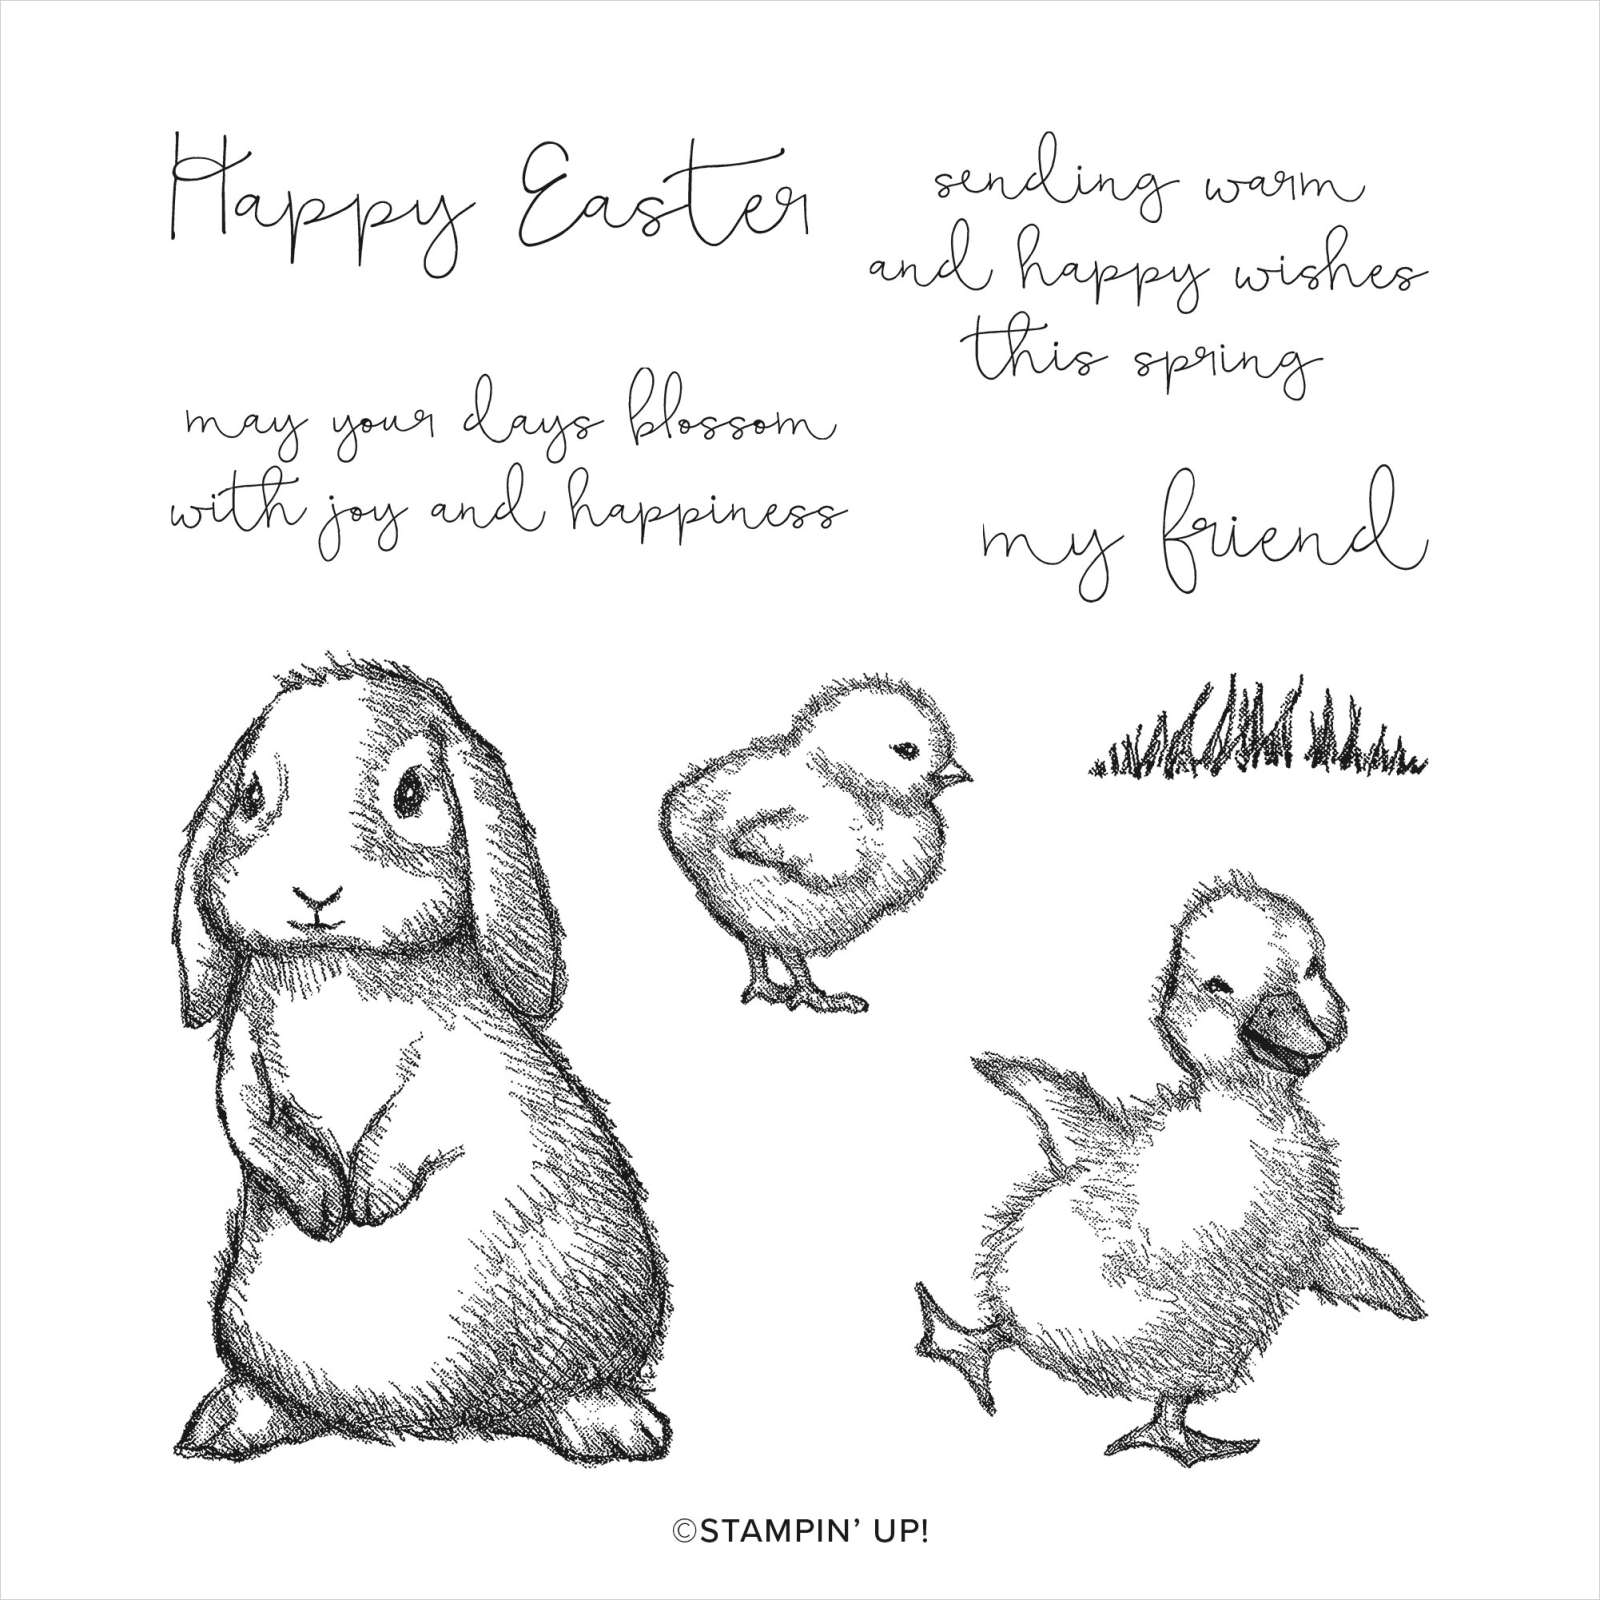
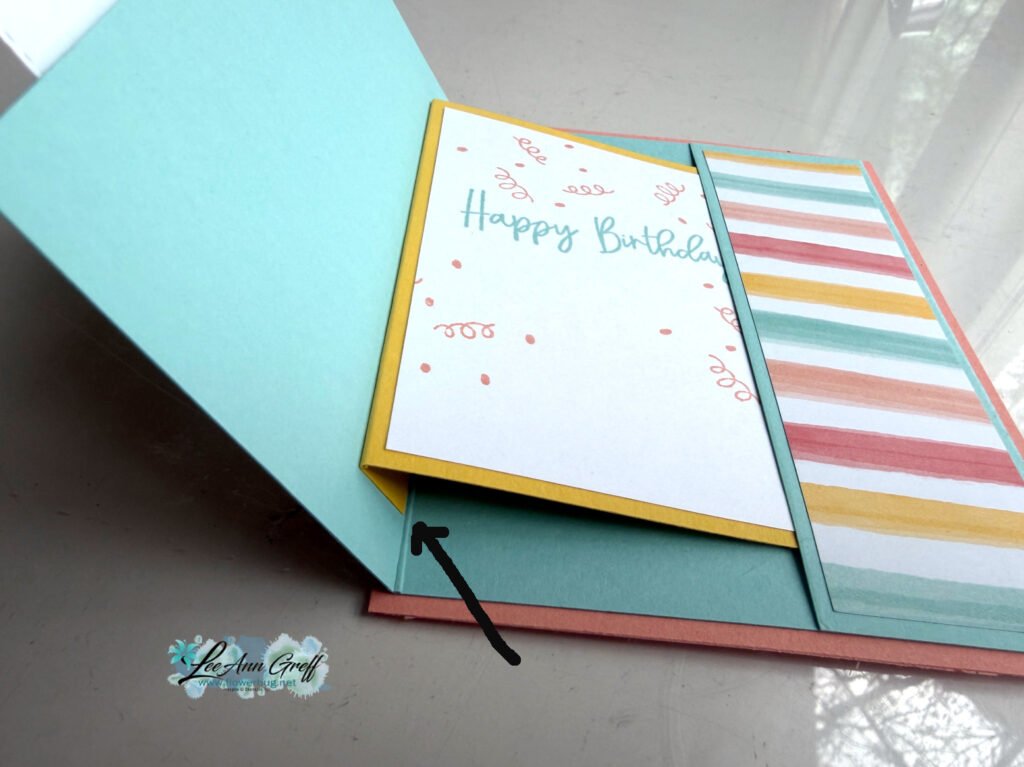
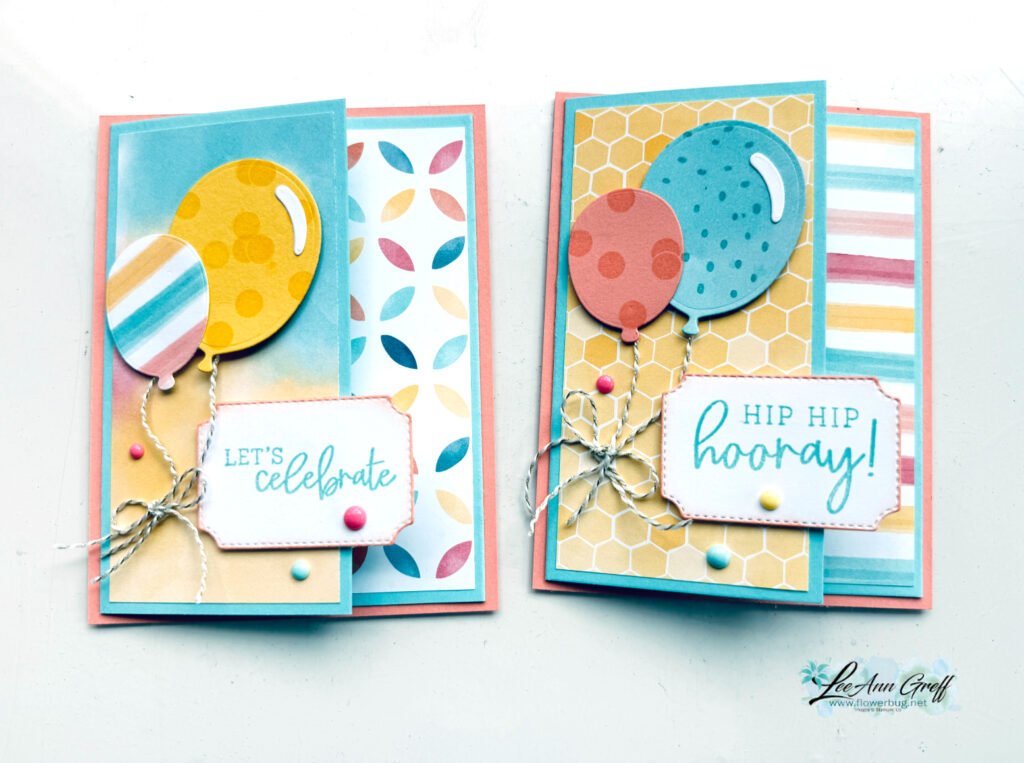
They could choose between the bunny or the duck. The duck is colored in with Blends markers; So Saffron & Pale Papaya. All greetings are from the Easter Friends stamp set; stamped in Basic Gray.

Other details:
- Stitched Rectangles for the White & Pale Papaya stamped pieces
- Flower & Leaves punch for the large flower
- Bough punch for the little bitty tulips
- Brass Butterflies scattered around the duck or bunny; see them here
- I made a 'faux bow' by folding sheer Pool Party ribbon back and forth, adhering the folds with mini glue dots. No bulk!
Click on the photo below to watch the video:

~~~
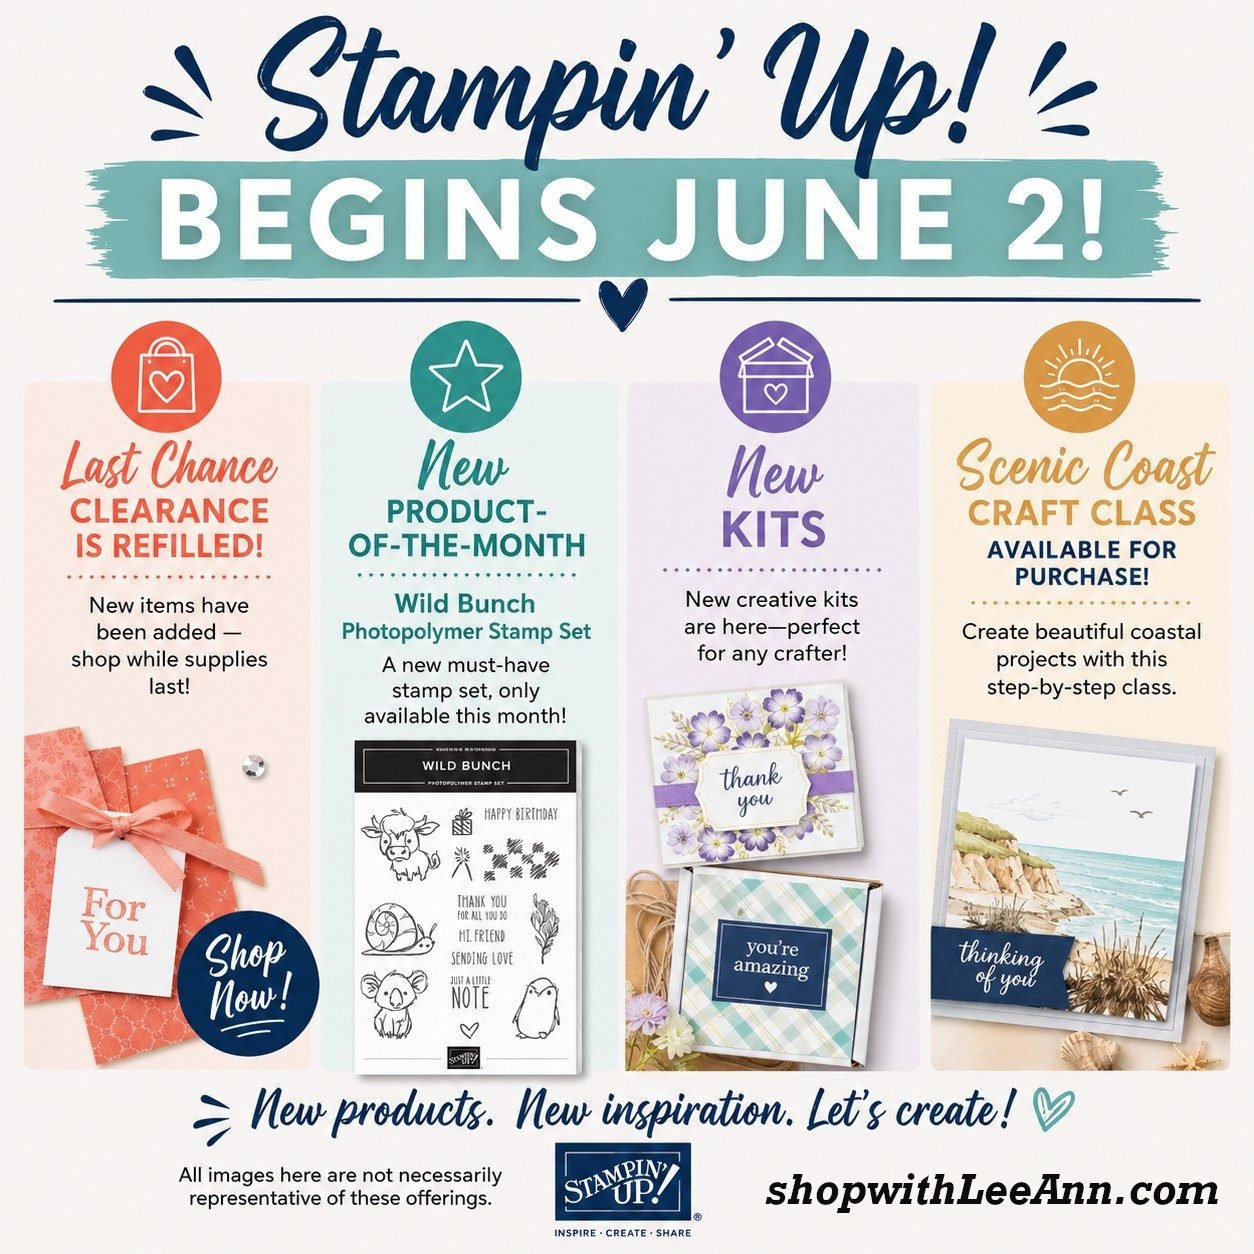
March Specials:

Host codes: FS239K9C
If your order is over $50 you'll receive a free embellishment
from the Jan-June catalog in your thank you card.

Annual Catalog Retiring List is out March 23rd! Deep discounts coming!
Don't forget about my loyalty rewards!
Click here to download yours and earn a $50 shopping spree!


Leave a Reply