/


Latest Post

Dutch Door fun fold card with gift card option on tonight’s FB Live!


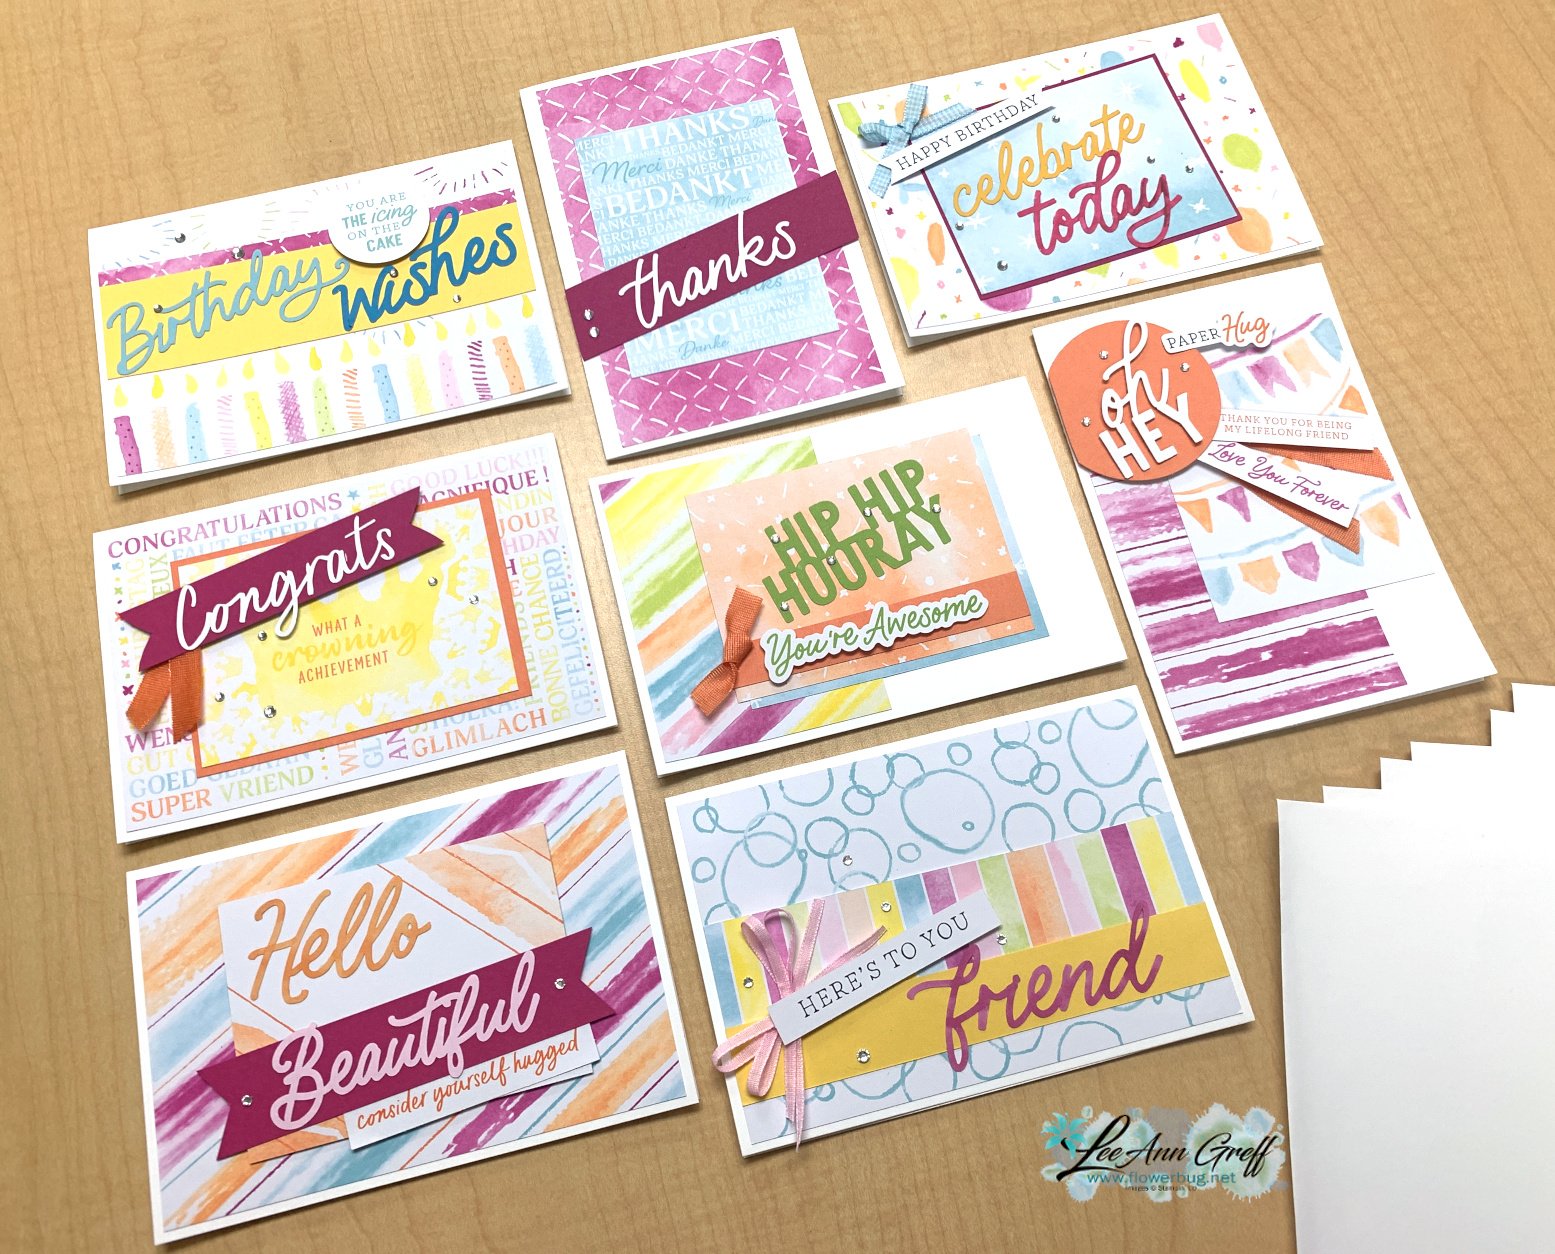
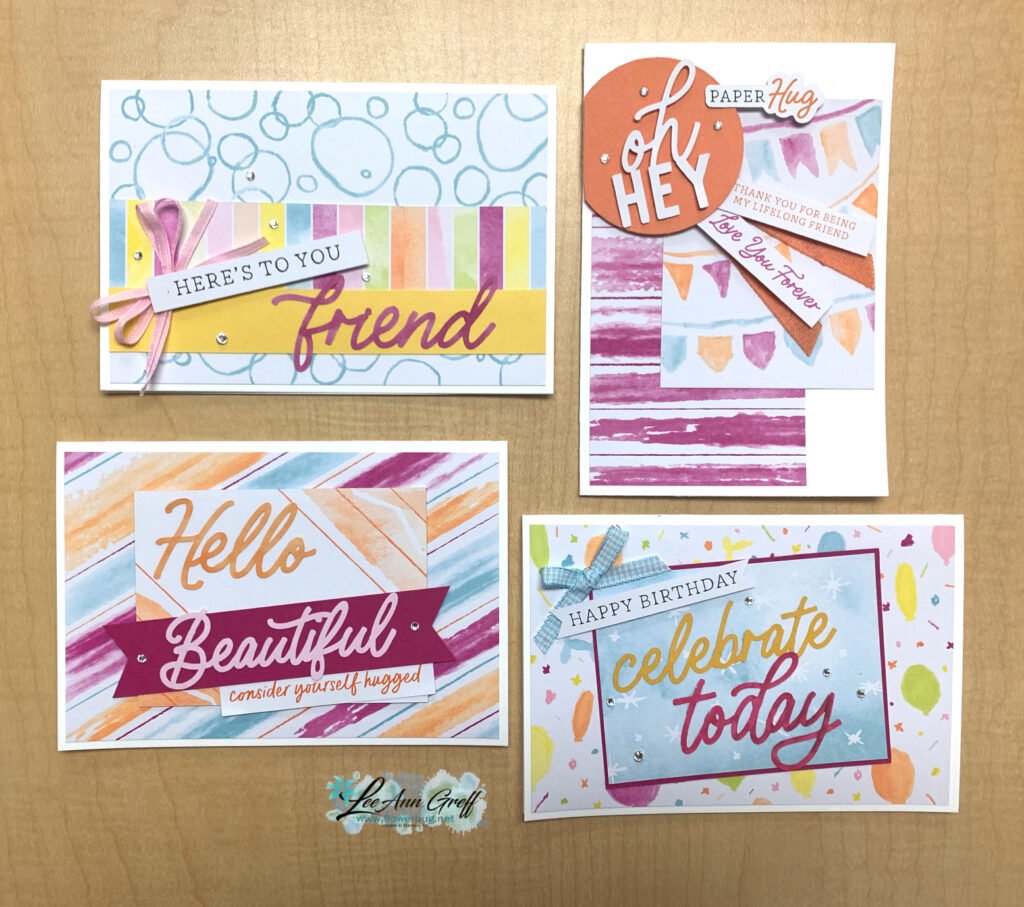
Join me tonight for this week's Stamp with Me Live on Facebook.  We're making these neat fun fold cards.  It's a Dutch Door card with a gift card option.  

I shared the measurements & supplies list (seen below) on Saturday here on my FB page so stampers could prep their items ahead of time.  This way they can stamp right along with me!  

Has the Ice Cream Corner suite caught your eye yet?  Such cute products!  I used the Sweet Ice Cream bundle (stamps & punch) here along with the Ice Cream Corner DSP and sprinkles.  You can see it all here or on pages 48-49 of the Spring catalog. FYI; the Ice Cream punch is on low inventory. 


I made a bunch of cards using this bundle for February's kit to go.  You can still see them and/or get the tutorial for them here. 

I used the Sweet Ice Cream stamp set for this card too. I chose the True Love designer paper and added a cute Magenta Madness flower made with the Pierced Bloom dies seen here; I love these!  

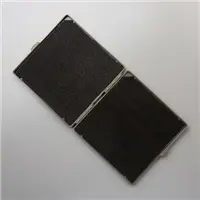
Here's the inside view where you can see the gift card enclosure.  Use any circle punch and adhere the upper and lower edges closed. 

Measurements:
Card base 4 1/4" X 5 1/2",
Gift card piece 2 3/4" X 7" score at 3/4" & 5"
Inside layer 4" X 5 1/4"
DSP bottom is 2 1/2" X 4", upper vertical piece is 2 1/2" X 3 1/2"
Vertical CS is 2 3/4" X 4 3/4"
 
Supplies: 
Sweet Ice Cream stamp set and both True Love & Ice Cream Corner DSP.
Other: Ice Cream Punch, any circle punch, Pierced Bloom dies, Oval and Stitched Shape dies

~~~

Current Host code is 39A9QQZP

Order online here

All online orders receive a free PDF of the new Butterfly Bouquet bundle

with 15 projects!


~~~

Get a free adhesive package from me with an online order over $50 using the host code above. 3 sheets of Dimensionals and 1 for die-cuts!

*If your order is over $150 do not use the code; you'll still receive a gift! 

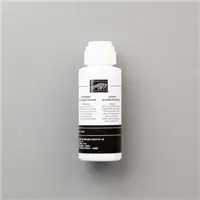
Below are the Multipurpose Glue stands we're making. They're $6 each and available in my Shop here.  

All Posts

  • The Branching Out bundle is retiring! Check out this fun fold card with video tutorial!


    We made this card earlier this fall and I realize I haven’t shared it with you yet. I also made a video too – scroll down….

    The colors include Pecan Pie with Crumb Cake, Early Espresso & Shaded Spruce. I used various wood-like designer series papers for the side panel. See how it has a double fold?

    Also notice the ‘white’ snow on the pine boughs plus snow in the background. You can achieve that without heat embossing. We used White Craft ink and stamped over the pine. Easy & a fun accent!

    The stamp set is retiring but the dies are not. The bundle is on the last chance list now. Click here to see it.
    It’s been one of my favorite products in our Holiday catalog this year. It’s timeless and can be used for fall, winter or Christmas!

    Besides the video tutorial here’s a free project sheet for you too. Click here to download or print it.

    I’m glad the dies are not retiring but I have to say the stamp set is among my top 5 favorites!

    Below is the video tutorial which gives you tips on stamping the branches with the pines and pine cones.

    *You’ll receive a PDF with multiple projects featuring this product
    after the 20th of the month.
    ~~~

    The Last Chance list has been updated!
    Click here to shop.

    Get a free PDF tutorial with any online order from me in December!

    Leave a Reply

    Your email address will not be published. Required fields are marked *

  • Easy Holiday cards made from tags! Free project sheet & video tutorial.


    I look forward to receiving my Paper Pumpkin boxes each month. November’s Wrapped in Cheer kit featured holiday tags and I couldn’t waste an opportunity to make cards from them. I need a lot more Christmas cards than I do tags!

    I didn’t change the tag from the original except for the linen thread bow at the top. But I did add it to a Basic Beige textured layer and then onto a Cherry Cobbler card base.
    Now that is an easy card!

    To create the colored leaves inside the card I used the empty piece of paper from the kit where the leaves had been removed. I’m always looking for easy ways to add to the inside of my cards.

    There were two different tags in this kit. Aren’t they pretty?

    I used the embossing folder called Traditional Wreath 3D folder; it can be seen here. It’s discounted and available while supplies last.
    *The greeting is from the stamps in the kit.

    Below is the video tutorial for this card and more information on Paper Pumpkin.

    *You’ll receive a PDF with multiple projects featuring this product
    after the 20th of the month.
    ~~~

    The Last Chance list has been updated!
    Click here to shop.

    Get a free PDF tutorial with any online order from me in December!

    Leave a Reply

    Your email address will not be published. Required fields are marked *

  • Wrapped in Cheer tags for Christmas


    I shared the November Paper Pumpkin kit on last week’s live video. I just love receiving my crafty box in the mail each month! Easy crafting without a plan or step it up and use your creativity to change the projects.

    There were two different tags in this kit and each one includes multiple pieces. Aren’t they pretty? The embossing folder is called Traditional Wreath 3D folder and can be seen here. It’s discounted and available while supplies last.
    *The greeting is from the stamps in the kit.

    I used the tags to make Christmas cards which you can see below. All I did was add a textured layer and a card base. *I’ll share more details tomorrow.

    Remember that each month my subscribers and Team receive my bonus projects PDF. Lots of unique ideas to create with the contents of each box. Subscribe to Paper Pumpkin here.

    Below is the video where I share this kit, last months and how to make the cards too.

    *You’ll receive a PDF with multiple projects featuring this product
    after the 20th of the month.
    ~~~

    The Last Chance list has been updated!
    Click here to shop.

    Get a free PDF tutorial with any online order from me in December!

    Leave a Reply

    Your email address will not be published. Required fields are marked *


Notice: LeeAnn Greff, Independent Stampin’ Up! Demonstrator, Manager. The content of this website is my sole responsibility as an independent Stampin’ Up! demonstrator and the use of, and content of, the classes, services, or products offered on this website is not endorsed by Stampin’ Up! Copyright 2025