Amazing deals on pre-paid subscriptions this week! Save at least $20 and up to $80 on a subscription! Wow!
There’s never been a better time to subscribe to get a new all-inclusive crafting kit delivered to your door each month. Take advantage of this Cyber Monday offer for fantastic deals on 3-, 6-, and 12-month prepaid subscriptions.
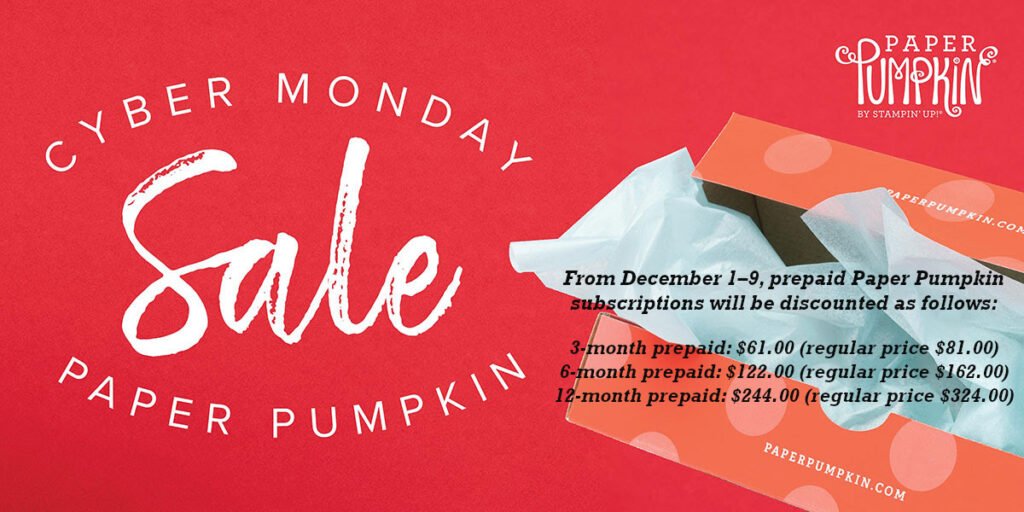
From December 1–9, prepaid Paper Pumpkin subscriptions will be discounted as follows:
3-month prepaid: $61.00 (regular price $81.00)
6-month prepaid: $122.00 (regular price $162.00)
12-month prepaid: $244.00 (regular price $324.00)
Details:
– You will receive the December kit automatically (see below). From then on you can skip, pause or double your kit choices. You’re fully in charge of which kits you’ll receive.
– Shipping is in the cost of the kit; you only pay tax on this purchase.
– you can add on other products to your order at the same time.
– a subscription can be gifted too! What a wonderful surprise each month!
– once you’re a subscriber you have access to all of the refill kits and add on’s seen here.
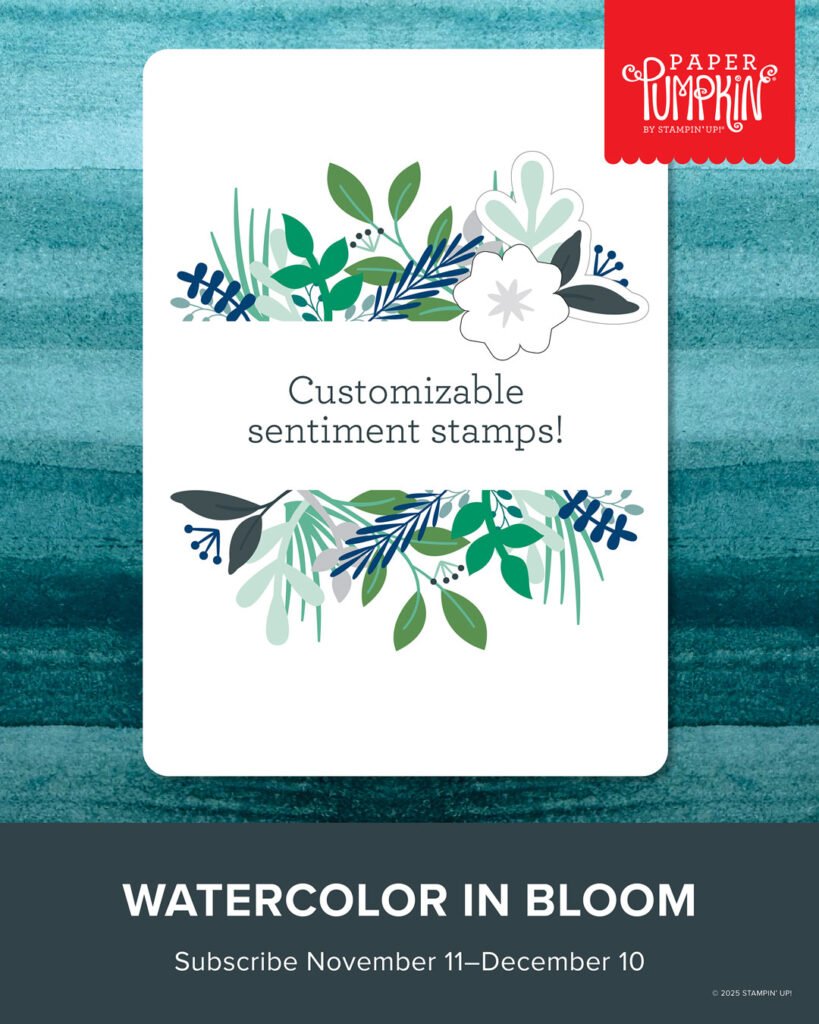
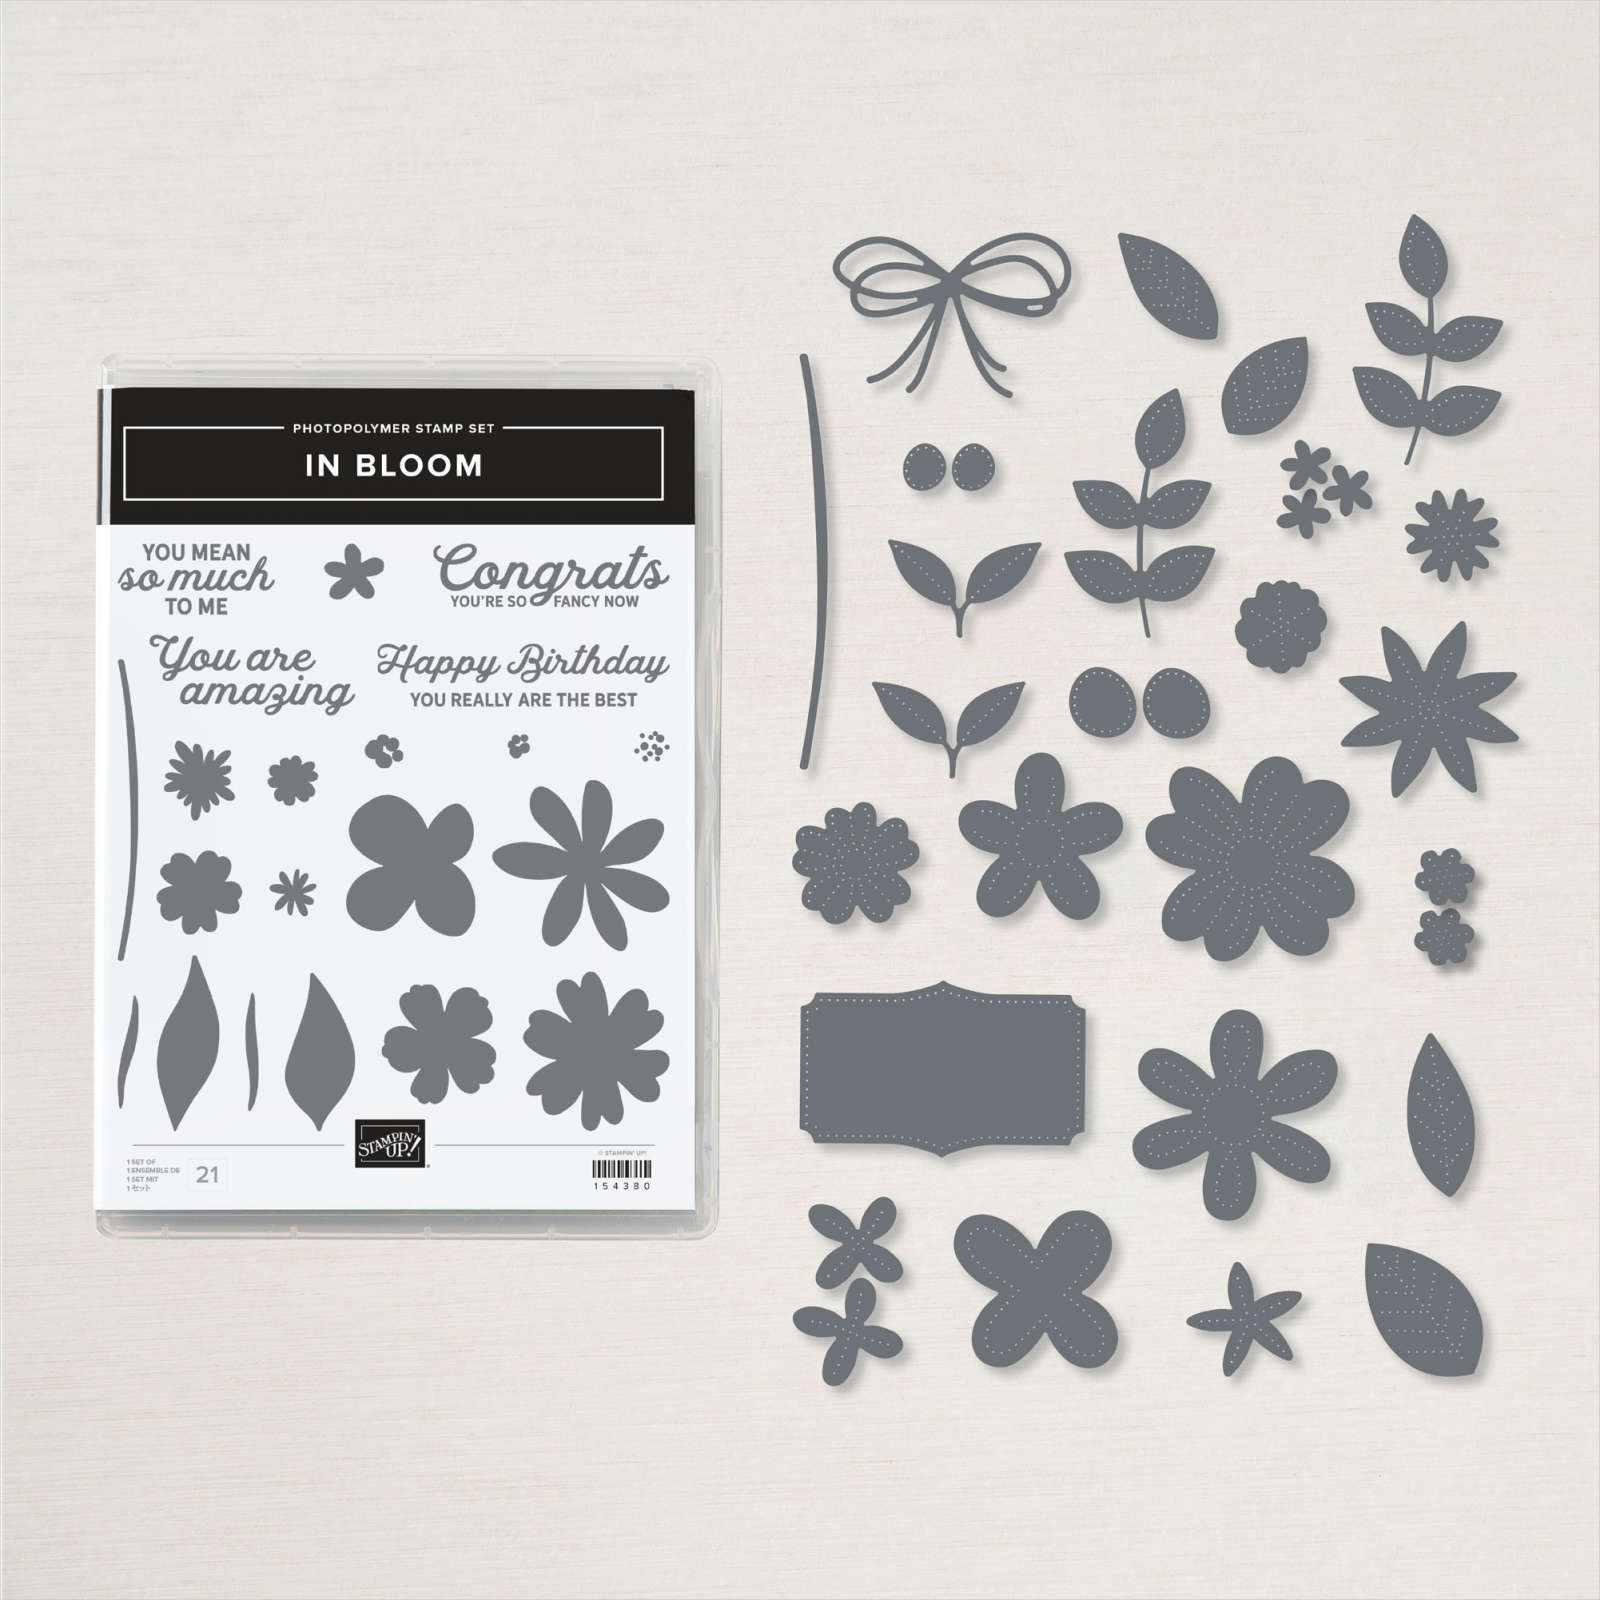
Here’s a sneak peek of the December kit – Watercolor in Bloom with copper foil accents! Click here to subscribe by December 9th!
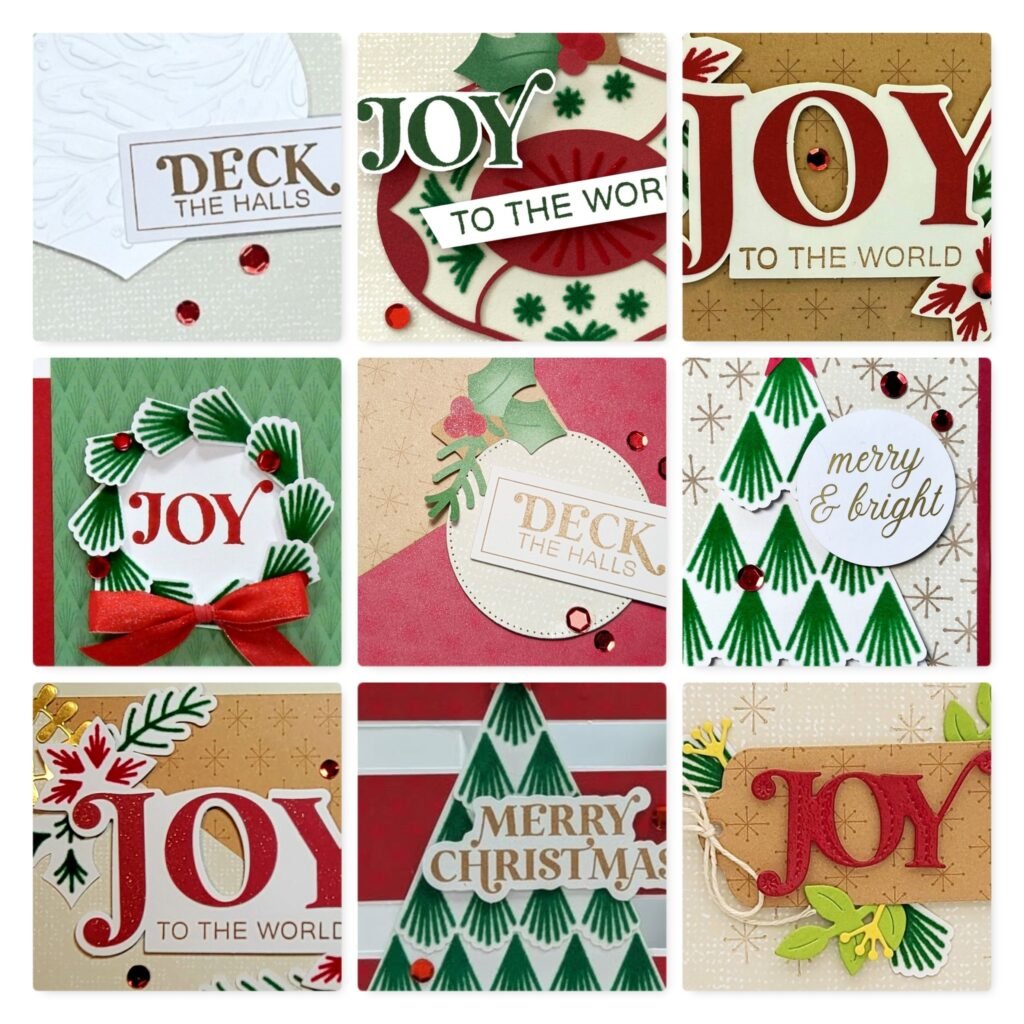
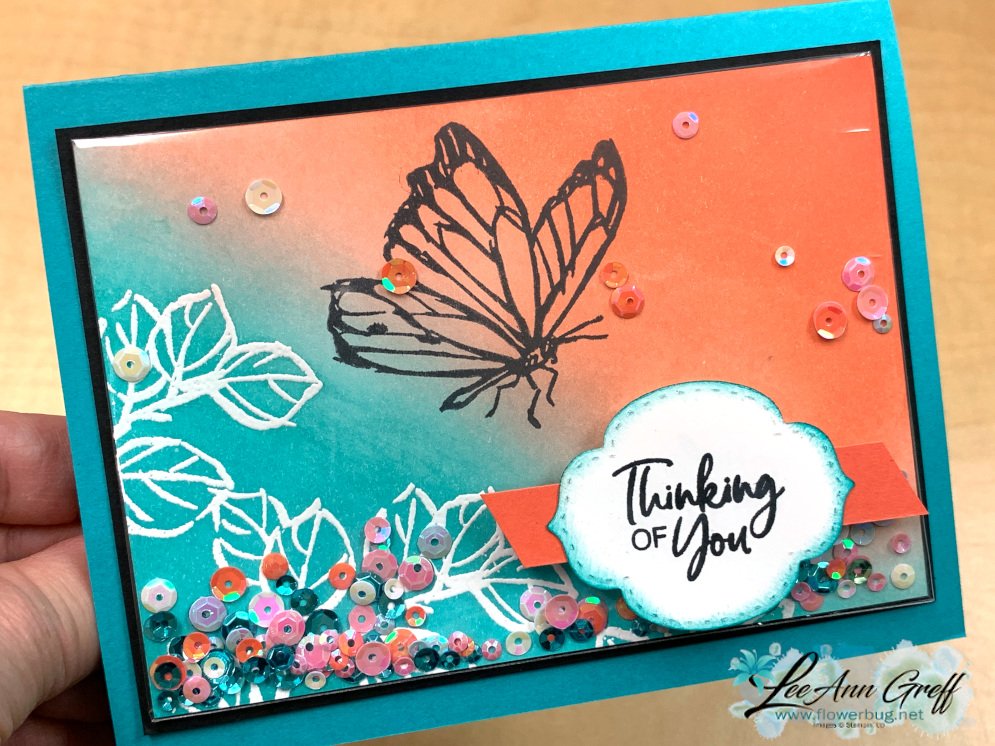
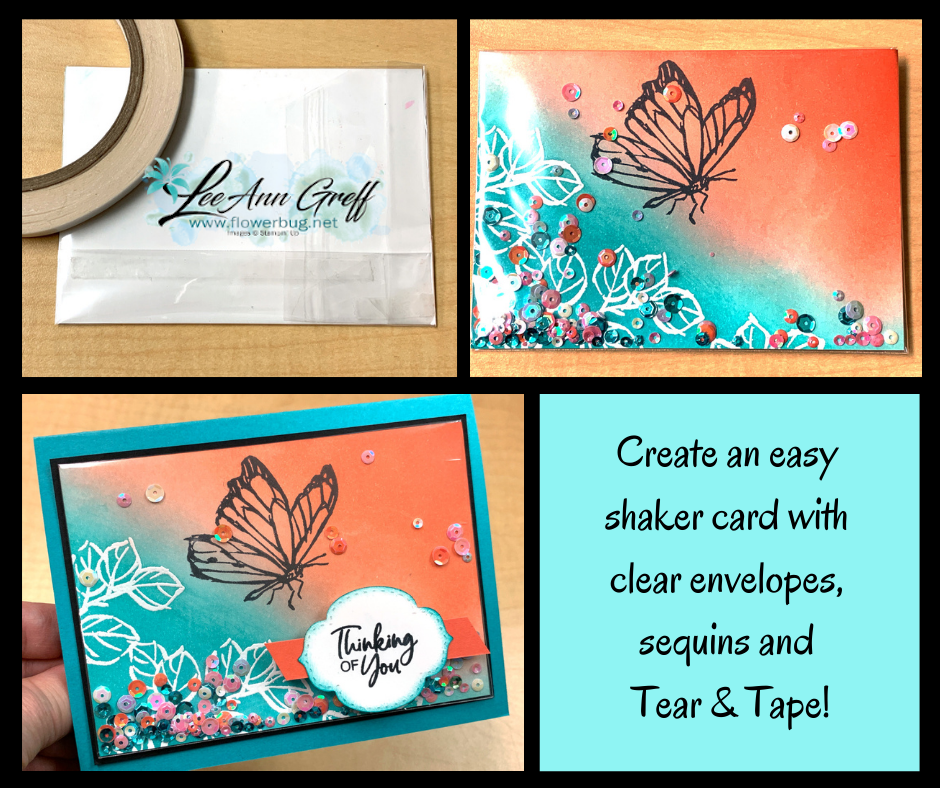
Each month my subscribers and my Team receive a bunch of bonus project ideas in a PDF featuring the most recent Paper Pumpkin kit. The kits are great as is but it can be fun to get creative with them too!
December Specials:
~~~
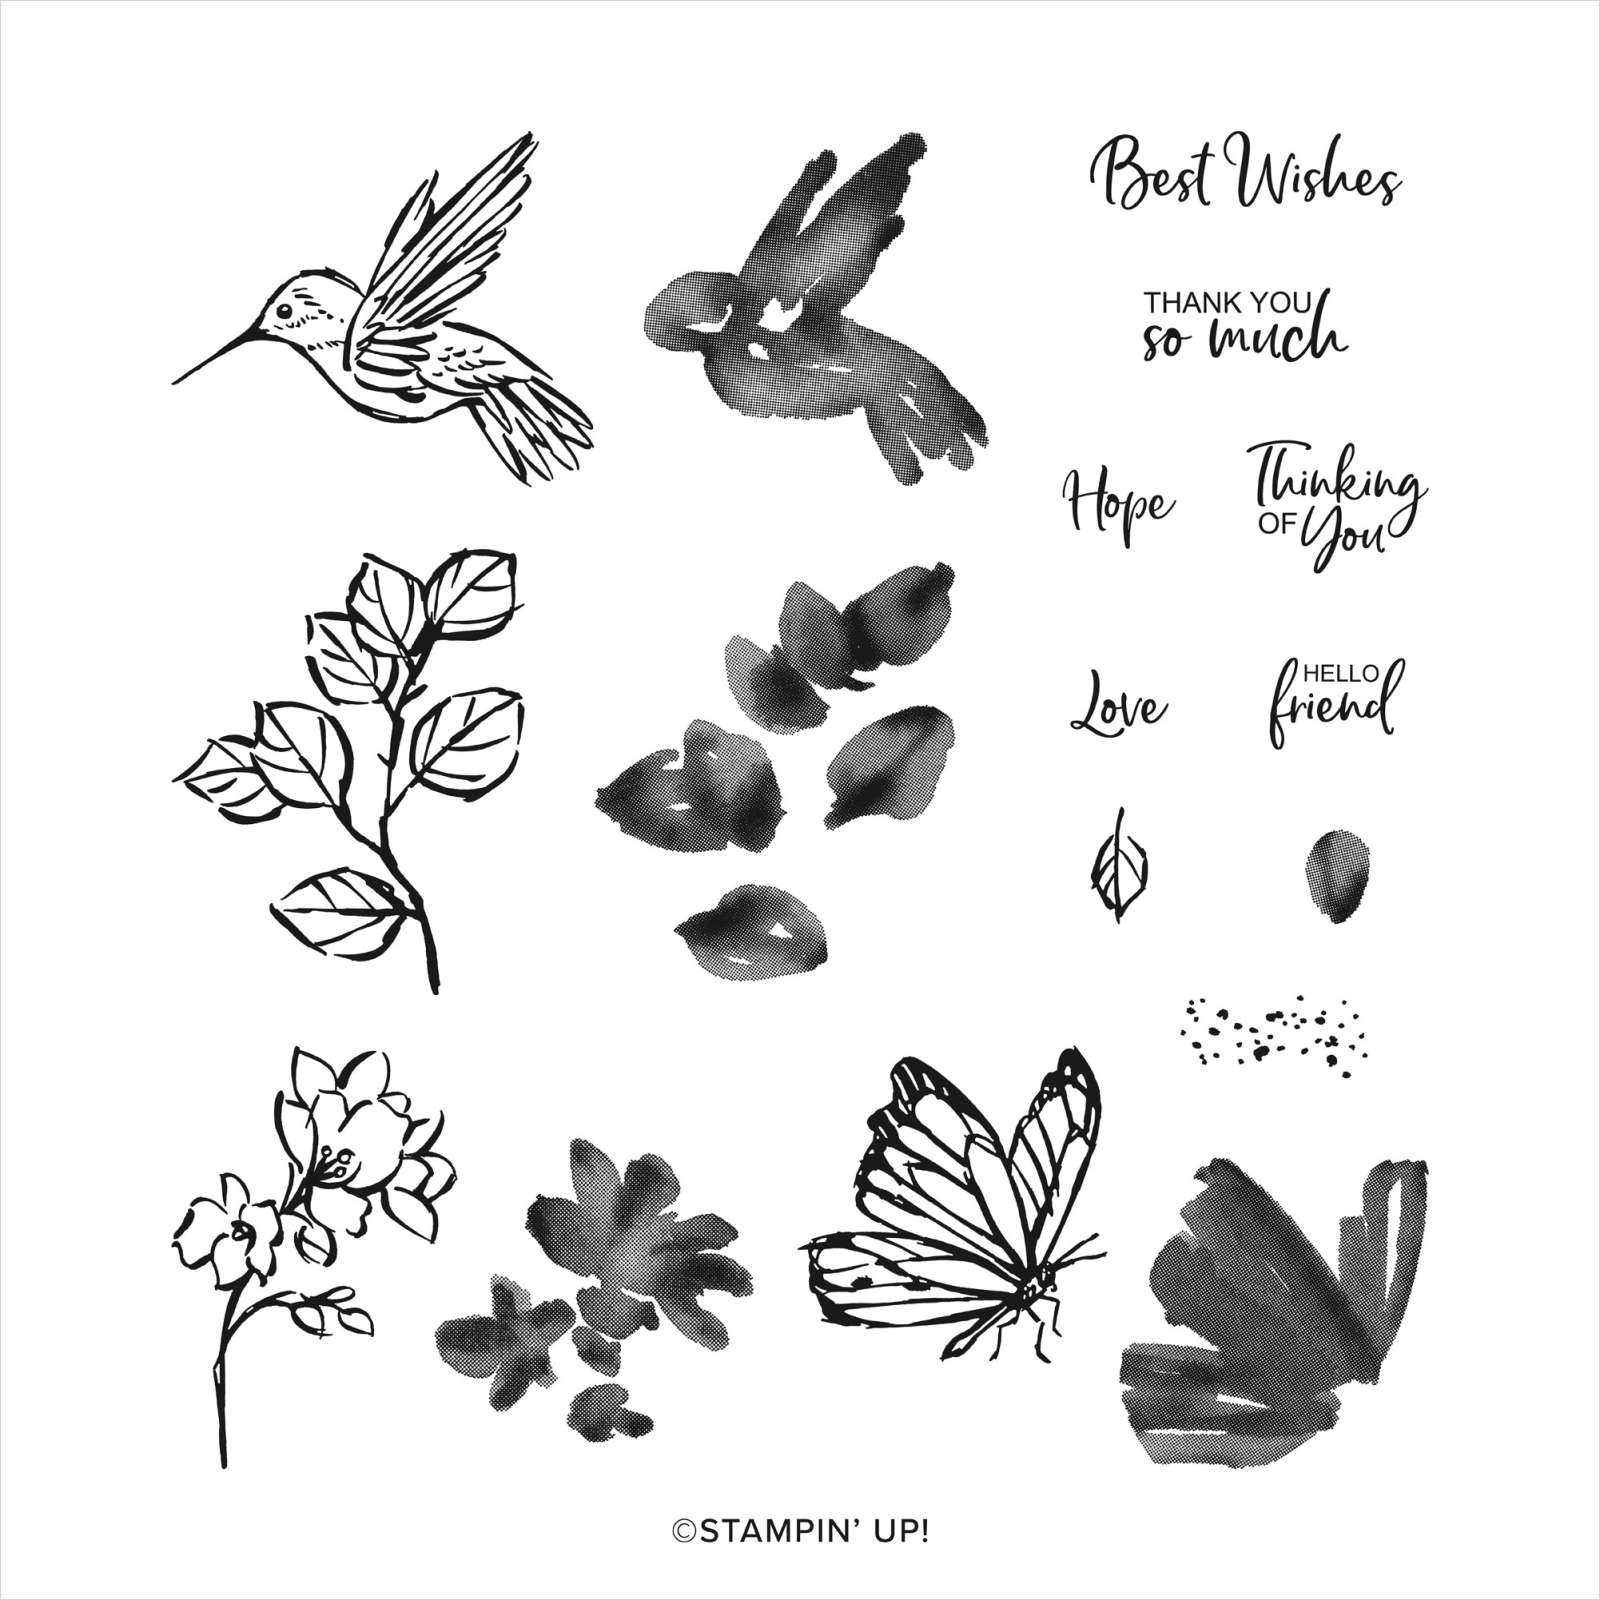
Get this product of the month for just $5 with any $75 purchase in December!

*You’ll receive a PDF with multiple projects featuring this product
after the 20th of the month.
~~~
The Last Chance list has been updated!
Click here to shop.

Get a free PDF tutorial with any online order from me in December!


Leave a Reply