/


Latest Post

Dainty Flowers cards with time saving tips!


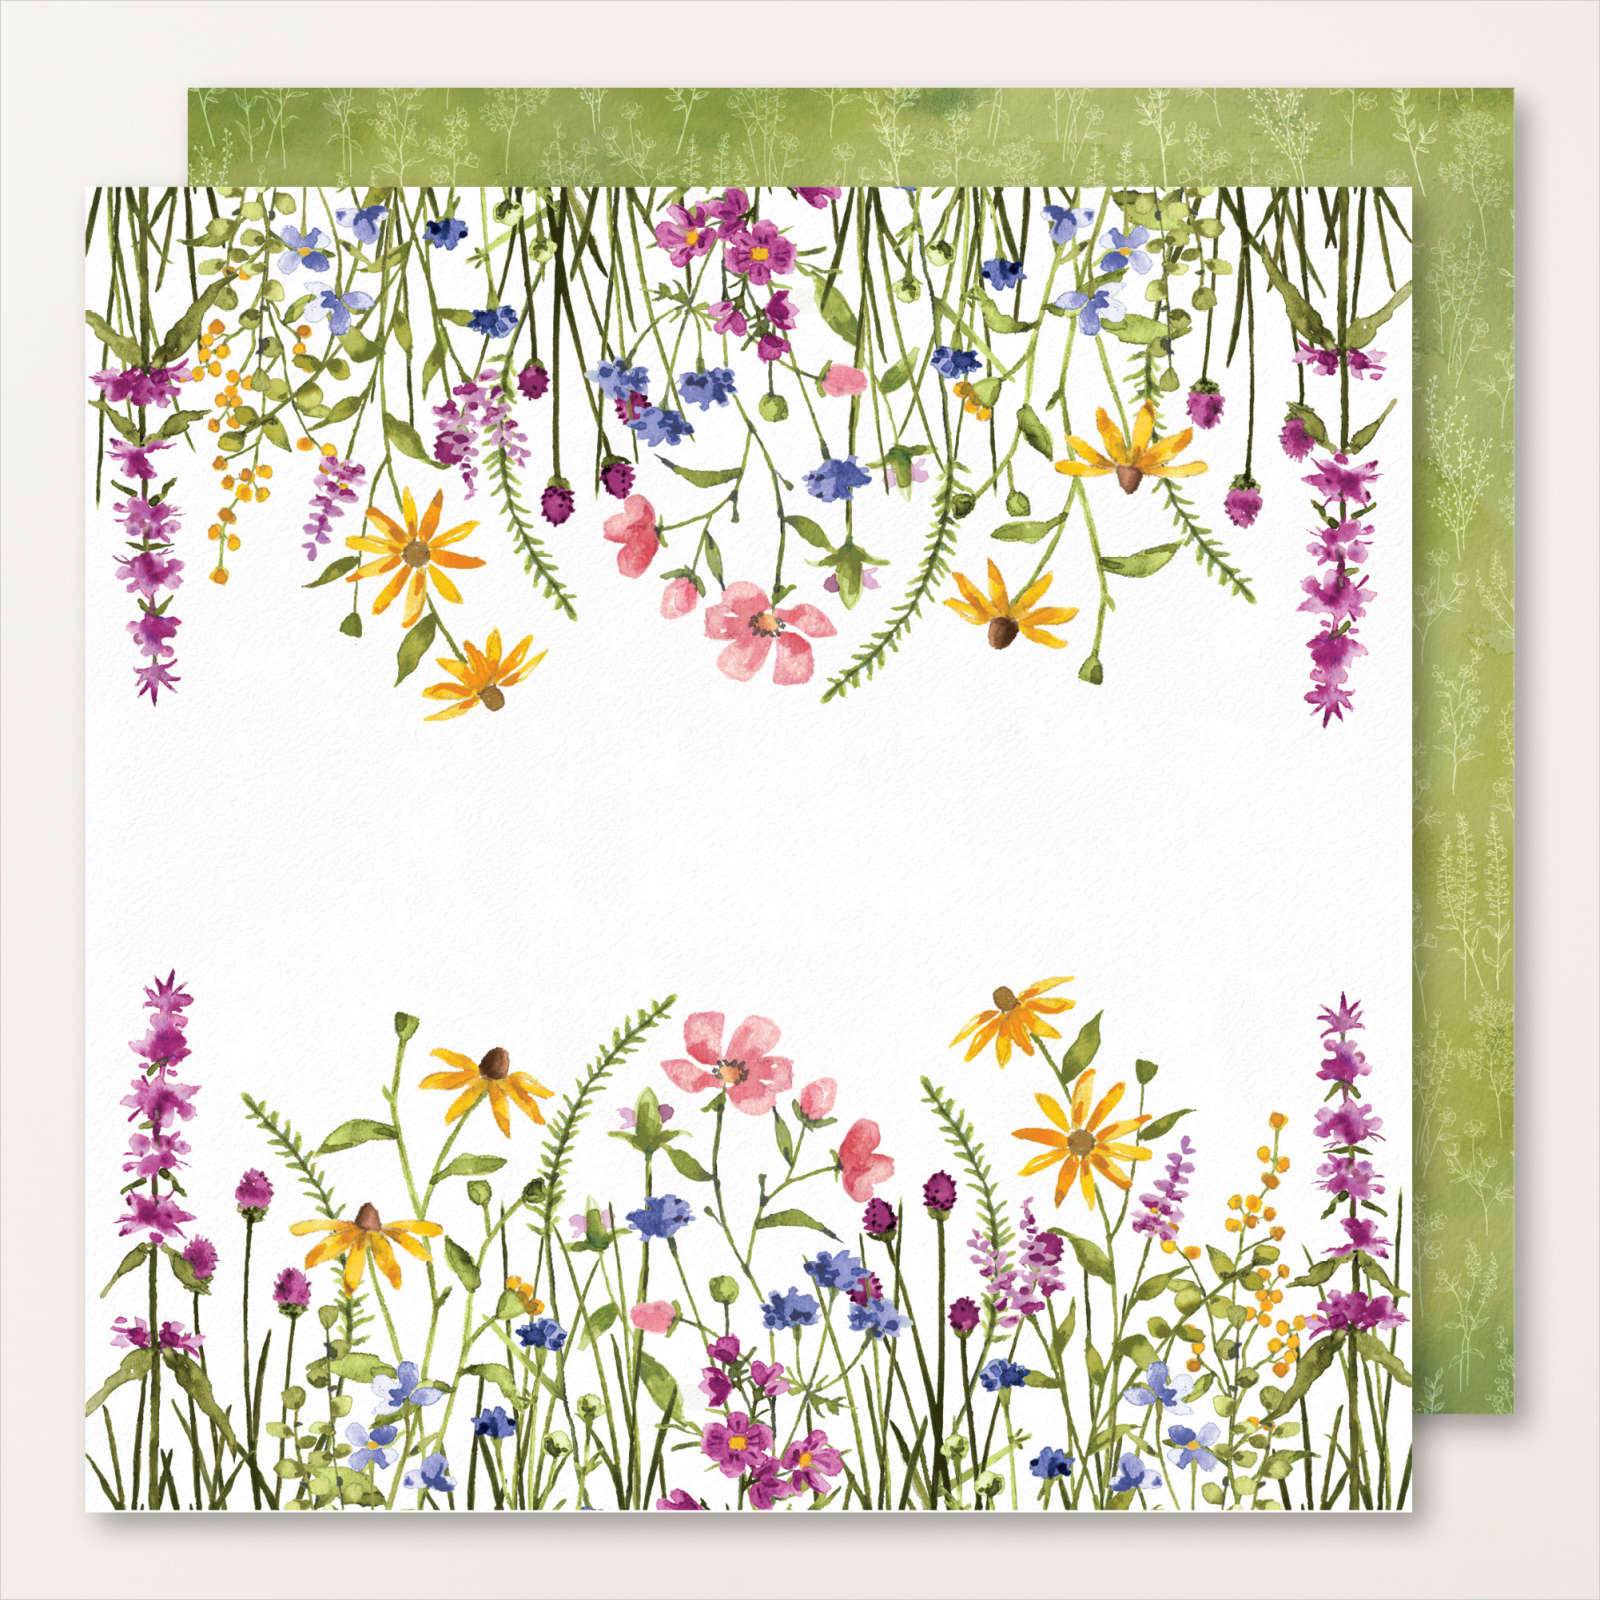
I made this pretty card in just a few minutes with 1/8 of a 12 X 12" piece of the Dainty Flowers designer paper.  That means you can get 8 cards from each sheet! 

I made the first cut across at 5 1/2".  Then cut each piece at 3" wide.  This gorgeous print is just one of many in this pack.  It's free with any $50 order during our Sale-a-Bration promotion from January 5th – February 28th.  See it here. 


If you don't have the ribbon color you want, color it with a Blends marker.  Our Blends markers come in a 2-pack of light and dark; try both to see which one fits your needs.  And did you know that if you go over it more than once you can get a darker shade?  This works on both paper AND ribbon! 

If you're making multiples of the same card AND heat embossing why not stamp & heat emboss multiples at the same time?  

I inked the greetings (from Dainty Delight) in Versamark ink and stamped on the Old Olive CS. Then covered in White embossing powder before heat embossing with the Heat Tool.  Now I could trim them into strips for my cards.  

Tip; you cannot do an entire page at once or the ink dries before you can get powder on it.  I did 4-5 at a time and it works fine.  It all depends on how fast you can cover it with powder.  

**Before stamping I swiped my card stock with the embossing buddy. This is an anti-static bag that prevents excess powder from sticking where you don't want it.  The embossing buddy is included in our Embossing Additions Tool Kit seen here. 

You can see more cards in this video I shared on Tuesday.  Click here or on the photo below: 

~~~

Sale-a-Bration & the Spring Catalog!


Order online using the links below:

January Host code links: QFTB9AST or 69GXSA3B

Get free Pastel Sequins with online orders over $55 when using the host code above! 

January Host code links:  QFTB9AST or 69GXSA3B

 Earn free products with my loyalty rewards! 

Click here to download yours and earn a $50 shopping spree!

~~~

Best Deal Ever on the Starter kit here!

Get over $250 in products for just $129 including the new mini machine!


All Posts

  • Gorgeous Prairie Grass Joy Fold card with video & free project sheet


    I shared this pretty card on last week's Live video.  

    Isn't it pretty?  The colors include Fresh Freesia with Black accents. All of my projects featured the brand new Prairie Grass stamp set seen here.  

    I also used the amazing Thoughtful Journey DSP seen here.  It's absolutely perfect for scene builder stamps like this one and has some of the best and easiest backgrounds to start with.  

    This card is called a 'Joy Fold' – who knows why but it's actually one fold name I haven't forgotten. Basically it has two flaps that overlap each other. It gives you multiple opportunities to use your Designer Papers or textured layers.  

    The embossing folder here is called Glass & Gardens seen here.  It's unavailable right now but you can add yourself to the list to be notified when it's back in stock.  

    Here's the free project sheet for this card with measurements, directions and supplies.  Click on the following link to print or download it.  Download Prairie Grass JoyFold card

    And here's the video below where I share two other cards featuring this amazing Prairie Grass stamp set. 

    ~~~

    July Specials:


    New Online Exclusives are here!  Click here

    ~~~

    Get my Turtle-y Cute PDF tutorial free with any online order in July!

    Leave a Reply

    Your email address will not be published. Required fields are marked *

  • WOW! Check out this Beautiful Butterflies stained glass technique


    I was amazed by Candy's card swap this month!  Look at this beauty!!


    It's called the Stained Glass technique and she made it for our July Team swap featuring Window Sheets.  

    Her colors include Pretty Peacock with Highland Heather. The bundle is called Beautiful Butterflies and can be seen here. 

    Steps:

    • She stamped the butterfly image on a window sheet using Black Stazon ink. 
    • Turn it over and color with Blends markers. 
    • Add adhesive sheet to the Blends side. Press onto slightly crinkled aluminum foil. 
    • Adhere to a second butterfly stamped on White CS for support and to cover the foil. 
    • Fussy cut; add to card. 

    Other products used here:

    Measurements:

    • Card base 11" X 4 1/4" score at 4 1/4" & 5 1/2"
    • Highland Heather 4" square
    • DSP strip 1 1/8" X 4"
    • inside 4" square

    Thank you for creating your incredible swap card Candy!  Great job!!

    ~~~

    July Specials:


    New Online Exclusives are here!  Click here

    ~~~

    Get my Turtle-y Cute PDF tutorial free with any online order in July!

    Leave a Reply

    Your email address will not be published. Required fields are marked *

  • Wow; Mixed Florals Reverse Image Technique with window sheets!


    I'm continuing to share our July team swaps featuring window sheets. 

    Look at the stunning card made by Paula. For her card swap she made a Reverse Image technique cased from Kylie Bertucci.  

    The stamp & die bundle is called Mixed Florals and can be seen here.

    She used Crushed Curry for her card base and Floral Impressions designer paper.  I'm so impressed by her gorgeous coloring with the Blends markers!  What pretty shading she achieved! 

    Below you can see how she also colored the reverse side so when you flipped up the card front it's just as pretty on the inside!  So neat.  I also love the diagonal slant on the front. 

    The card opens to reveal 3 layers!  

    Measurements:

    • Crushed Curry card base- 1 at 4 1/4" X 11" scored at 5 1/2", another at 7 1/4" X 4 1/4" scored at 5 1/2" (cut on the diagonal) and two extra slat pieces to cover both front & inside of the card. 
    • DSP – 4" X 5 1/4" X 3 pieces
    • White inside 3 1/2" X 4 3/4"; plus die-cuts 


    Thanks so much for your creative & beautiful card Paula! 

    ~~~

    July Specials:


    New Online Exclusives are here!  Click here

    ~~~

    Get my Turtle-y Cute PDF tutorial free with any online order in July!

    Leave a Reply

    Your email address will not be published. Required fields are marked *


Notice: LeeAnn Greff, Independent Stampin’ Up! Demonstrator, Manager. The content of this website is my sole responsibility as an independent Stampin’ Up! demonstrator and the use of, and content of, the classes, services, or products offered on this website is not endorsed by Stampin’ Up! Copyright 2025