/


Latest Post

Curvy Christmas; only available a few more weeks!


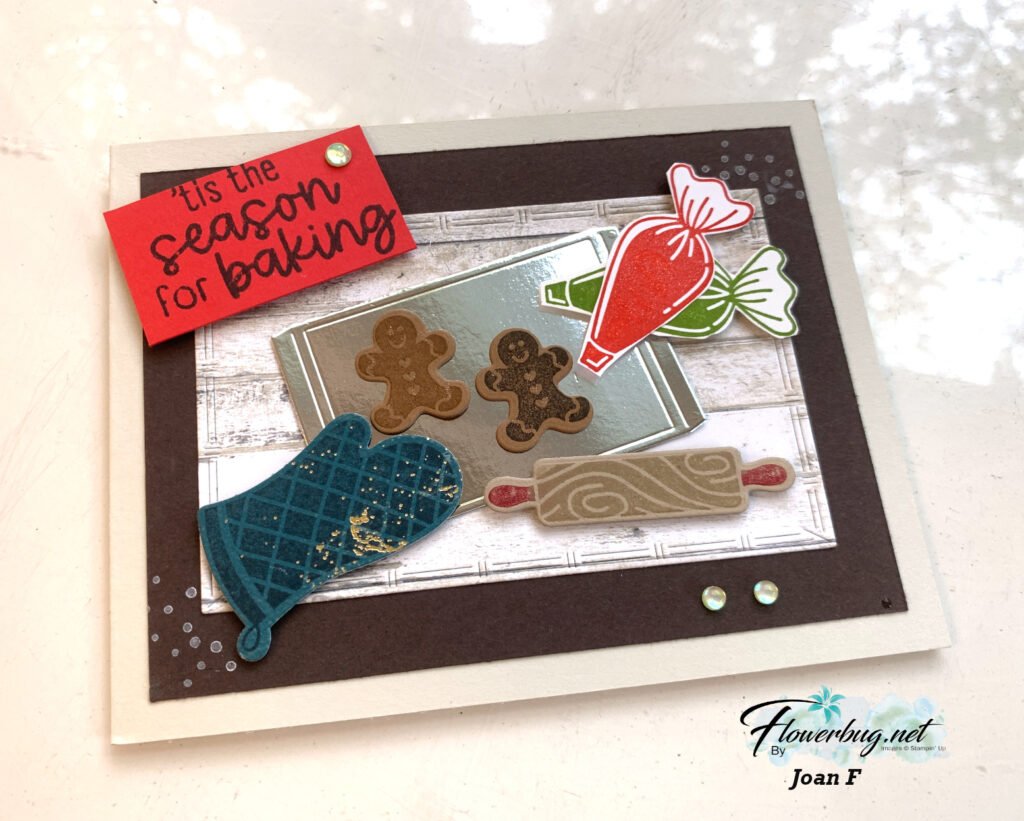
Look at this WOW card featuring the Curvy Christmas & Quite Curvy dies!  Marilyn made it for our swap last month; she really outdid herself with this one. 

She used lots of products on this beauty.

  • Curvy Christmas stamp set
  • Classic Christmas 6" Designer Paper
  • Winter Snow embossing folder – on sale 50% off 
  • Curvy Dies – green leaves and Gold foil & White dotted curvy edge
  • Detailed Band dies – gold leaves
  • Stitched Nested Labels 
  • 3/8" Metallic Gold ribbon – dies Cherry Cobbler
  • Shaded Spruce, Cherry Cobbler & White CS 

Remember that the Curvy Christmas set and Classic Christmas 6" paper are retiring soon.  They are available while supplies last through January 4th only.  The Quite Curvy bundle will be coming back in the 2021 Spring catalog however.  See it all here. 

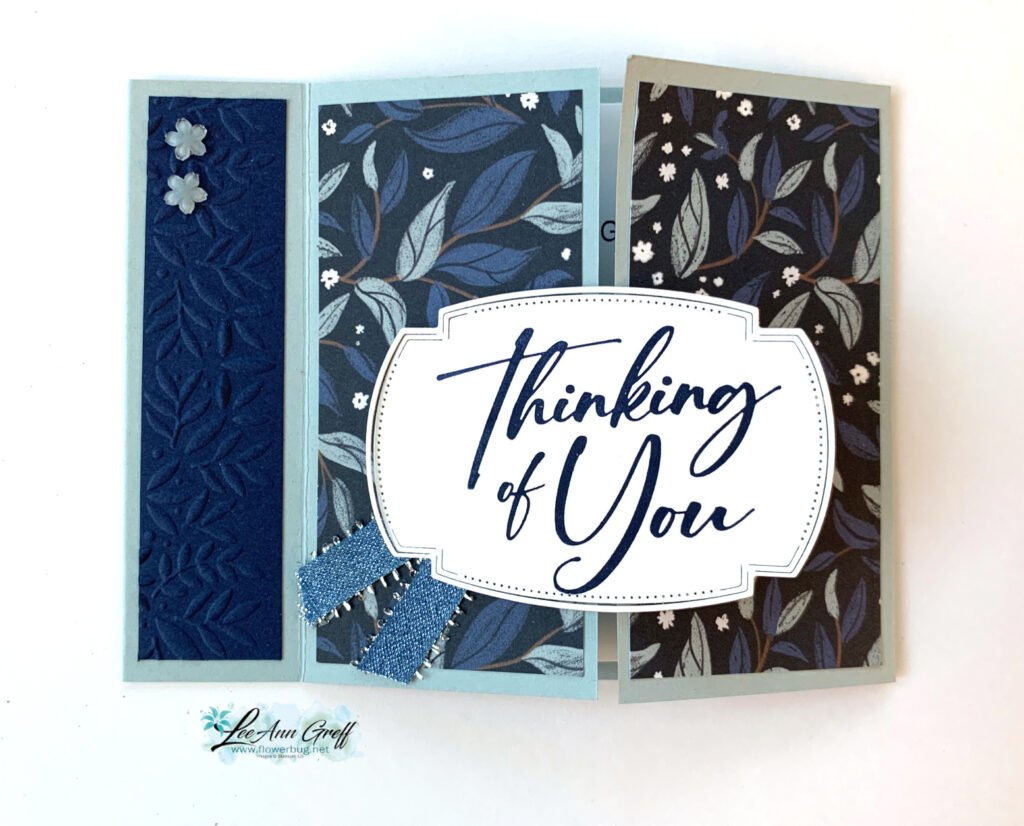
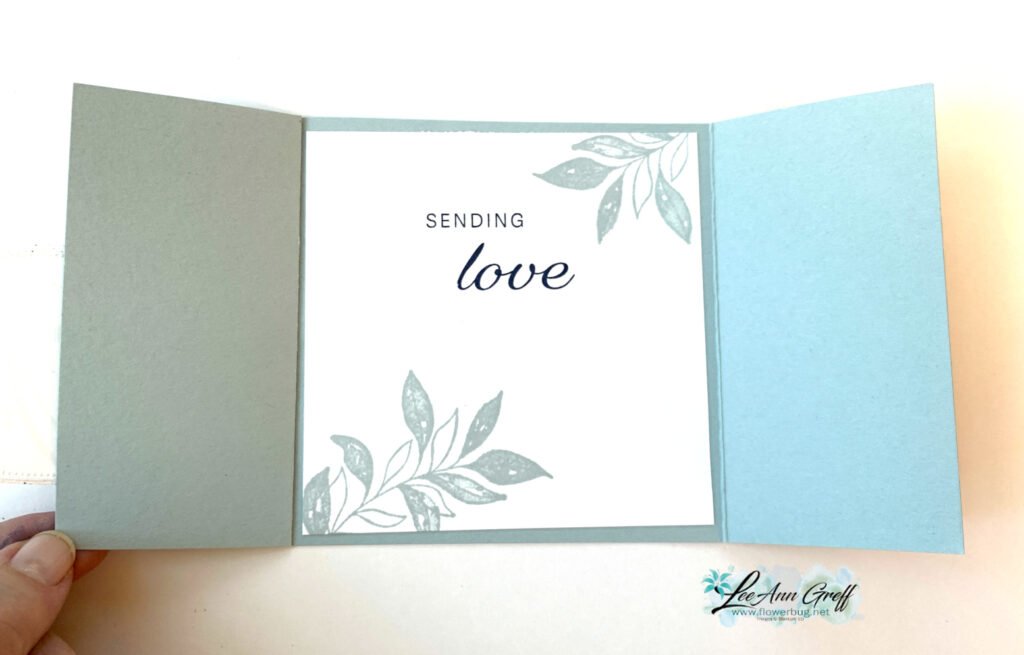
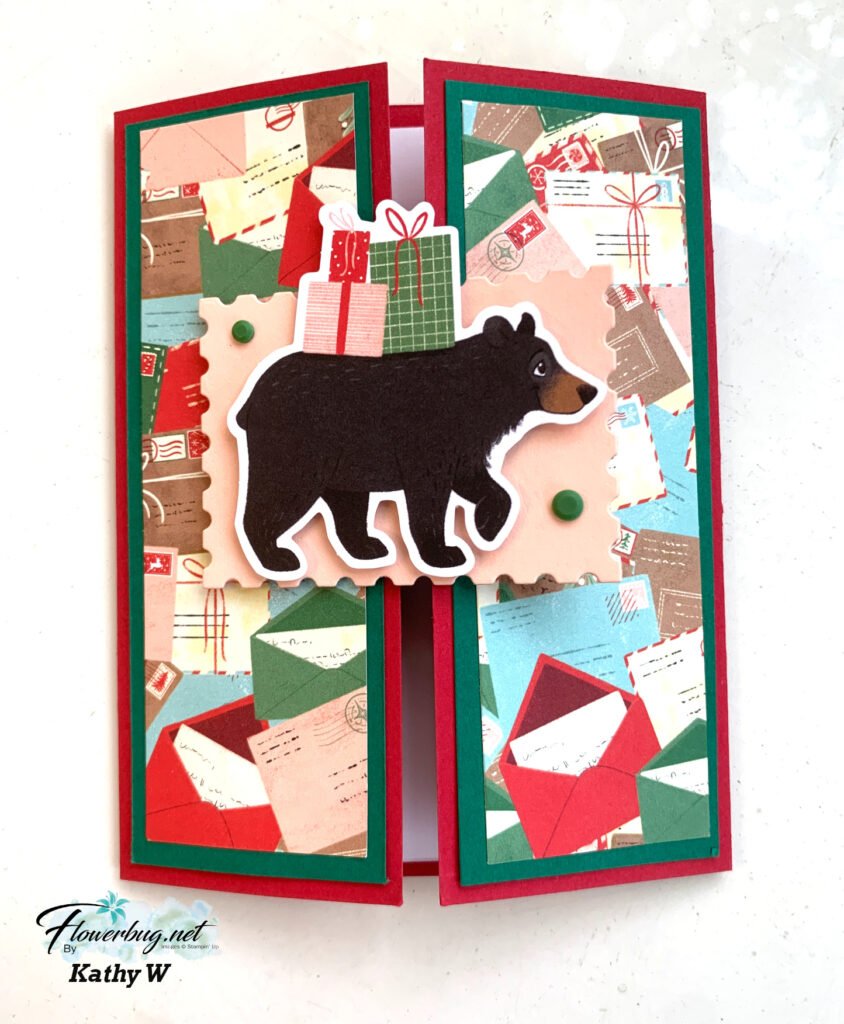
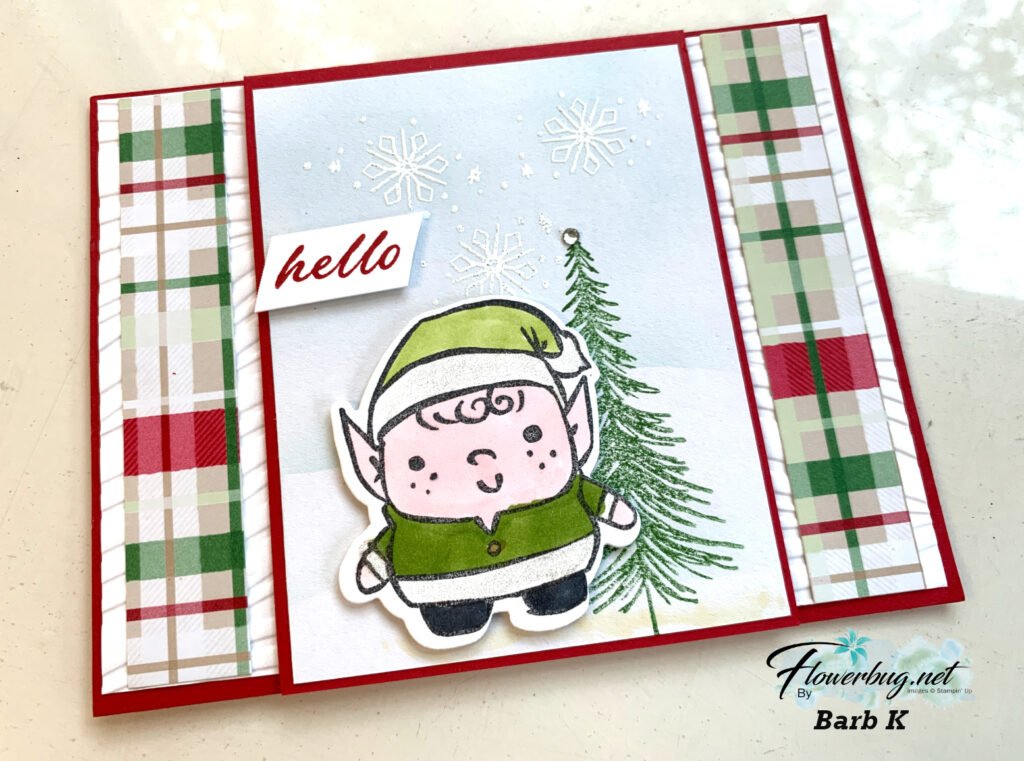
Here are a few more samples using these products: 

~~~


December Ordering Special: 

Current Host code is AHJNPWNB

Order online here

All online orders will receive my 16 Christmas cards class PDF!

Get a free package of 220 Red Rhinestones from me with an online order over $50 using the host code above.

Below are the Multipurpose Glue stands we're making. They're $6 each and available in my Shop here.  

All Posts

  • Cool Black Magic technique with a free project sheet and video tutorial!


    Oh my gosh, this Black Magic technique is super neat!  Look at these colorful cards!

    What's the Black Magic technique?  It's where you heat emboss on Black card stock with White embossing powder and color onto the embossing with Blends markers.  So easy and a great way to add color to your embossed image. The Layered Thoughts stamp set is perfect for this fun technique. See it here. 

    I also used the Celebratory Sips Designer Series Paper seen here and the coordinating Cheers & Sips stamp set for the inside images. 

    Click on the following link to download or print the free project sheet: Download Layered Thoughts July 2025

    Watch the video below to see how this is done.  It's so easy and lots of fun too! 

    ~~~

    August Specials

    Lots of In Color products are discounted in August!!

    Go here to see them all. 

    Get a free card class with any online order over $55 during August!

    Order online here

    The last chance list has new products! See them here. 

    Leave a Reply

    Your email address will not be published. Required fields are marked *

  • August specials include a free class with online orders!


    Happy August!

    This month I’m offering a free class with online orders over $55. It will include a 3 card kit featuring the Floral Impressions DSP seen here. All you’ll need are greetings, inks and adhesives.  

    • Everything is pre-cut and punched for you. Ribbon is included but embellishments are not. 
    • I’ll mail you the pre-cut kit including the printed project sheets!  All you need to do is place an order with me over $55 before tax and shipping. 

    Go here to order! 

    ~~~

    Starting August 5th Stampin’ Up! is offering a discount on tons of 2025-27 In Color products!  This will include many DSP packages, embellishments, kits, inks, refills and Blends markers! 

    See everything that will be discounted 15% on Tuesday, August 5th here. 

    ~~~

    New products will be released to the Last Chance list on August 5th. Don’t miss out on the best deals that day!

    Go here to shop. 

    Leave a Reply

    Your email address will not be published. Required fields are marked *

  • An easy card with Prairie Grass & Thoughtful Journey


    Here’s the last card I shared on last week’s video – all three featured the beautiful Prairie Grass stamp set seen here.  Unfortunately it is now out of stock but you can add your email to be informed when it’s available. 

    I stamped it onto a piece of Thoughtful Journey designer series paper. Then I cut it into 3/4″ strips before adhering it onto the Black CS layer and then the White card base. 

    You might wonder where the layered greeting shape is from. I used the To the Point punch with a 3/4″ strip of DSP like this: 

    Tip: Insert your paper through the back of the punch like you see above.  Notice it’s not through the side; but inserted into the back area.  Once you do both ends and you’re happy with the length of it, adhere it to a Black strip 1″ wide and punch both ends to layer evenly.  

    Here’s the free project sheet for this card. Print or download it by clicking on this link: Download Prairie Grass scene

    And here’s the video below where I share how to create this gorgeous card and two other cards featuring this amazing Prairie Grass stamp set. 

    ~~~

    July Specials:


    New Online Exclusives are here!  Click here

    ~~~

    Get my Turtle-y Cute PDF tutorial free with any online order in July!

    Leave a Reply

    Your email address will not be published. Required fields are marked *


Notice: LeeAnn Greff, Independent Stampin’ Up! Demonstrator, Manager. The content of this website is my sole responsibility as an independent Stampin’ Up! demonstrator and the use of, and content of, the classes, services, or products offered on this website is not endorsed by Stampin’ Up! Copyright 2025