I haven't shared these adorable fun fold cards made by some of my Flowerbug's.
First is a happy card made by Joan featuring the Sweet Peas stamp set seen here.

I LOVE her bright colors of Lemon Lime Twist with Berry Burst and Pretty Peacock. She really made use of the Spotlight on Nature dies – 2 in the front AND two in the inside! These dies are unavailable right now but should be back in stock next week.
It's a Dutch Door card fold and she really jazzed it up with layers! See the cute Sweet Peas stamp set here.

Measurements:
- The card base is 8 1/2" X 5 1/2" and she trimmed off the front half at 2 3/4".
- Dutch door card stock is 2 1/2" X 4" on the front & inside
- stamped White is 3 3/4" X 2 1/4" on the front & inside.
- White inside is 4" X 5 1/4"
~~~
Next is a sweet card made by Jacki who chose the Ice Cream Swirl stamp set.

She featured the Bright & Beautiful designer paper seen here. Look at the detail on these dies!
And she created a gift card holder too.

Measurements:
- Granny Apple Green 4" X 5 1/2", inside pocket is 4 1/4" X 3 1/2"
- White 8 1/2" X 5 1/4" score at 2 1/2" & 6 1/2", inside white is 4" X 3 1/4"
- Designer paper 1 3/4" X 5"
~~~
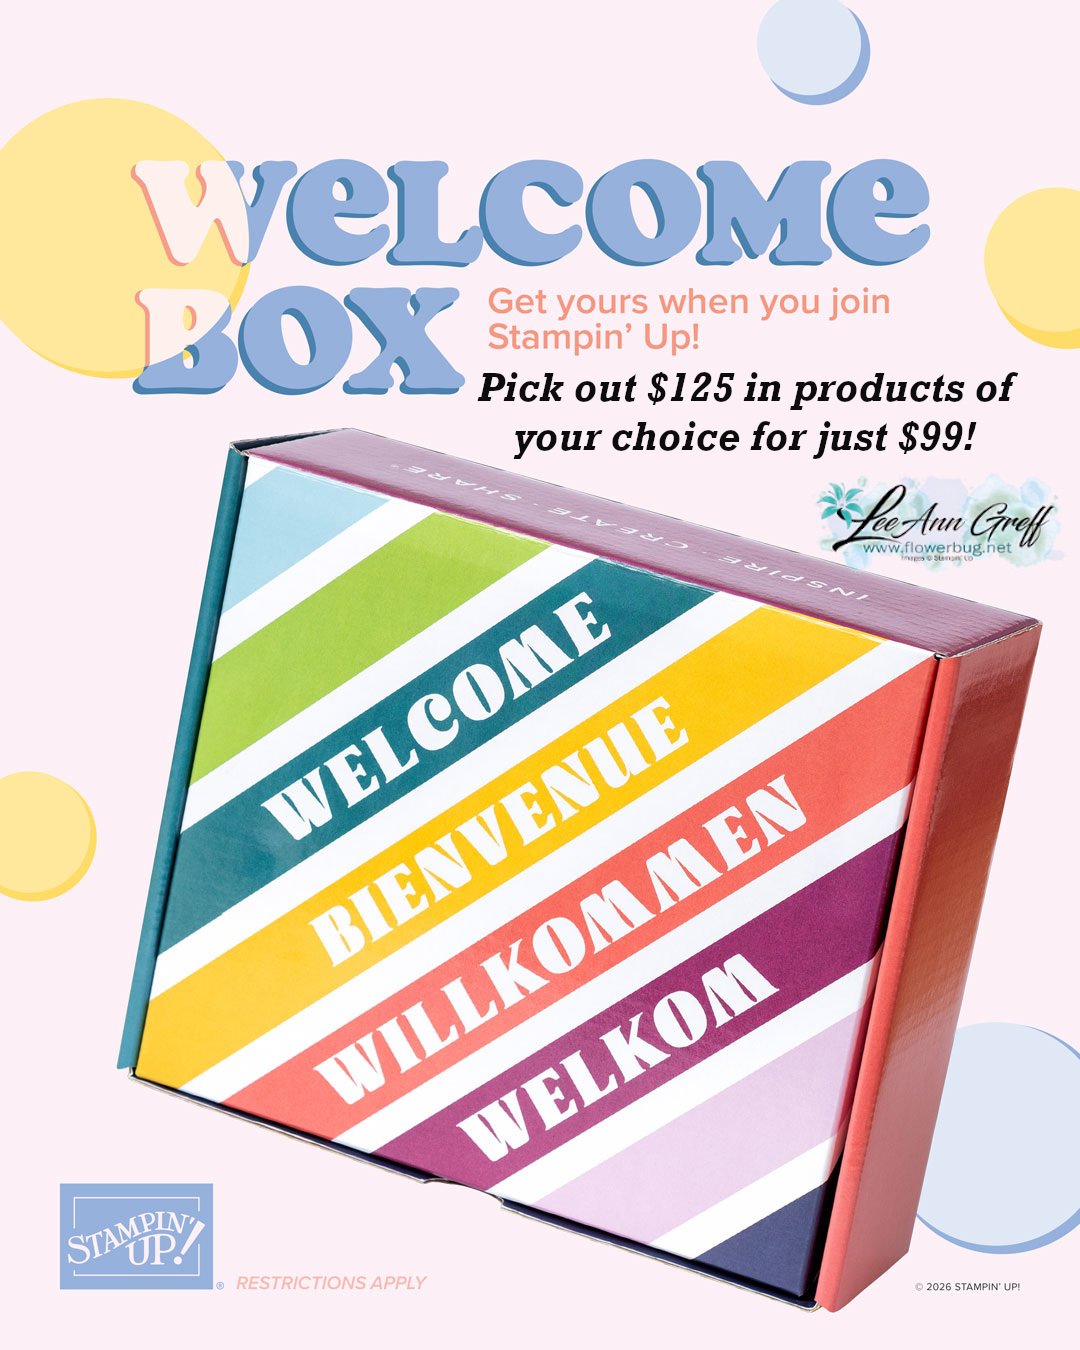
September Specials:
*current host code links: ENS36KE4
~~~
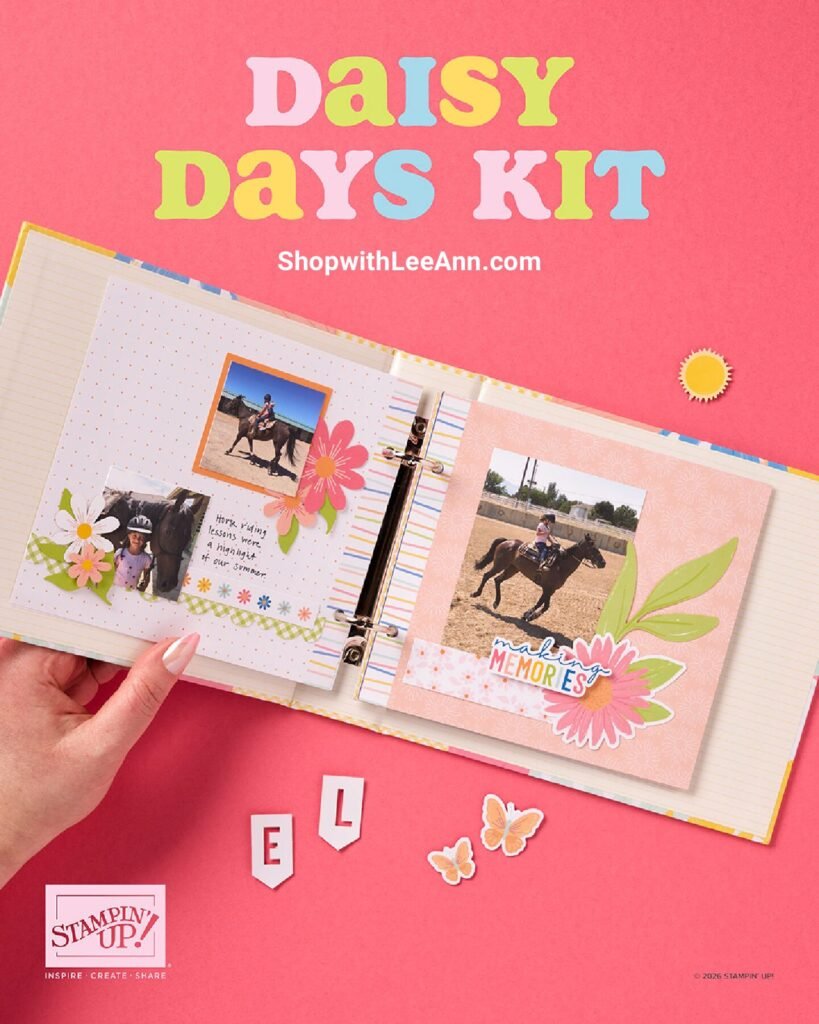
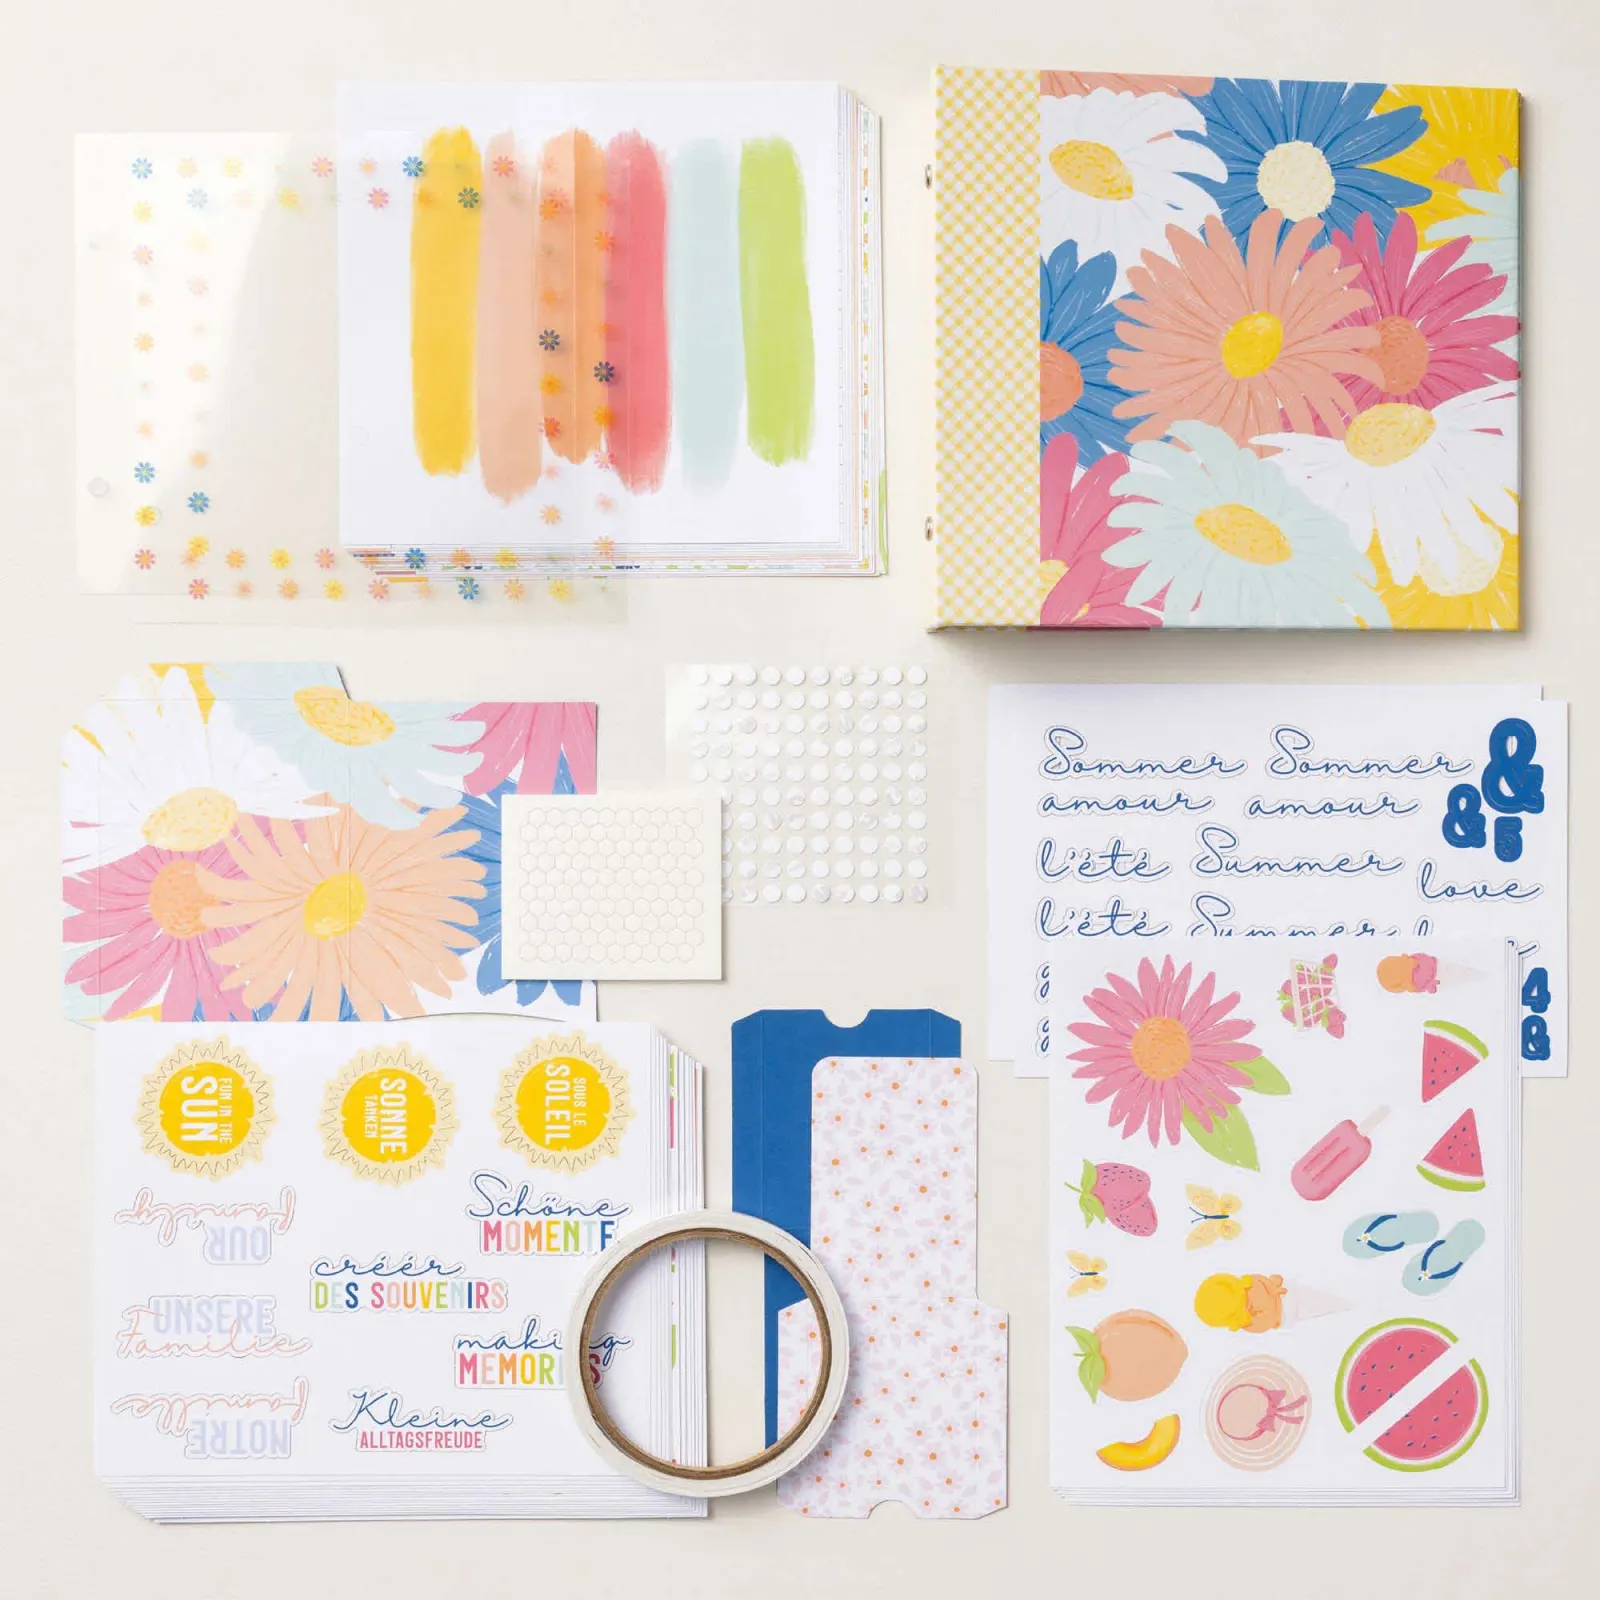
Check out the new Scrapbooking Line from Stampin' Up!

~~~
All online orders will receive a free PDF tutorial featuring the
Splendid Autumn suite


Leave a Reply