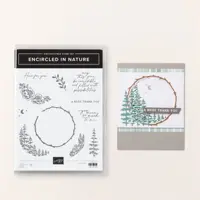
This stamp set is in a bundle with the wonderful Textured Notes dies. See the bundle here.
This Bendy card is super simple to make. The back is scored in the center plus the center white and the lower black have scored tabs on the side that allows the entire card to bend. Be sure to check out the video & free project sheet below.
Below is one of the ways I stamped the back. Watch the video below to see another version.
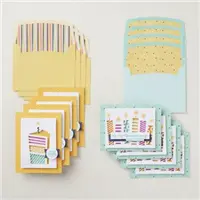
Below you can see what's left in the Last Chance list. Click on any product to get the details in my store.
Most of these products are reduced in price anywhere from 10-60% off! There are some great deals here! They are while supplies last so be sure to check them out.
Beautiful Color Combo inspiration with a fun fold card
Each month my Flowerbug's Team have either a sketch or a color challenge. This is the current one we're playing with:
Isn't this a beautiful combination?
I realize that a card I made a few months ago almost meets this challenge.
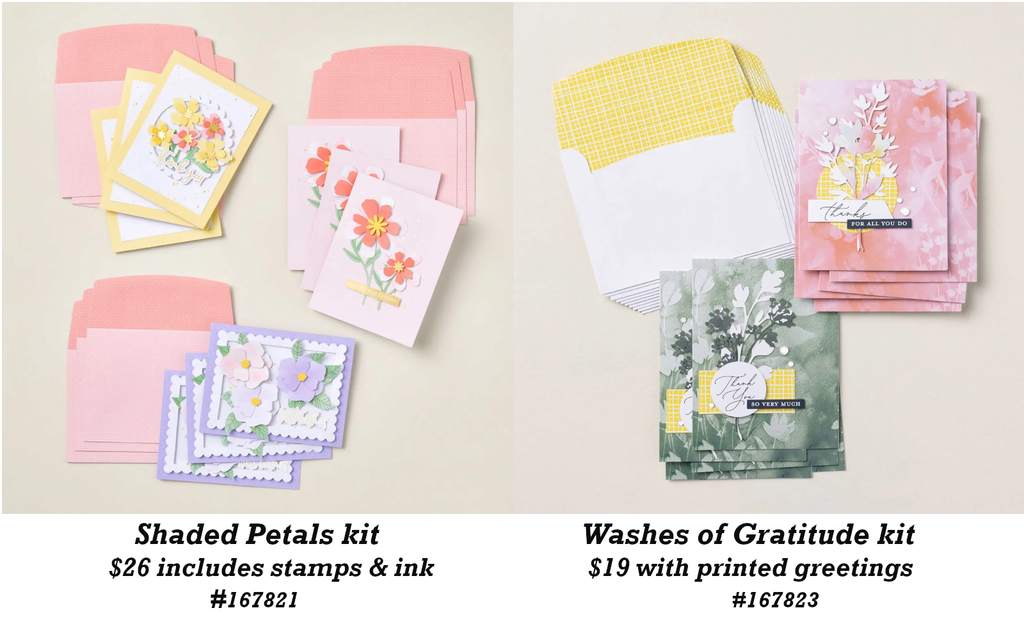
My colors include Pretty in Pink, Lost Lagoon & White. This Pretty Petalsstamp set and the dies are now half price in the Last Chance list. See it here.
Notice: LeeAnn Greff, Independent Stampin’ Up! Demonstrator, Manager. The content of this website is my sole responsibility as an independent Stampin’ Up! demonstrator and the use of, and content of, the classes, services, or products offered on this website is not endorsed by Stampin’ Up! Copyright 2025


Leave a Reply