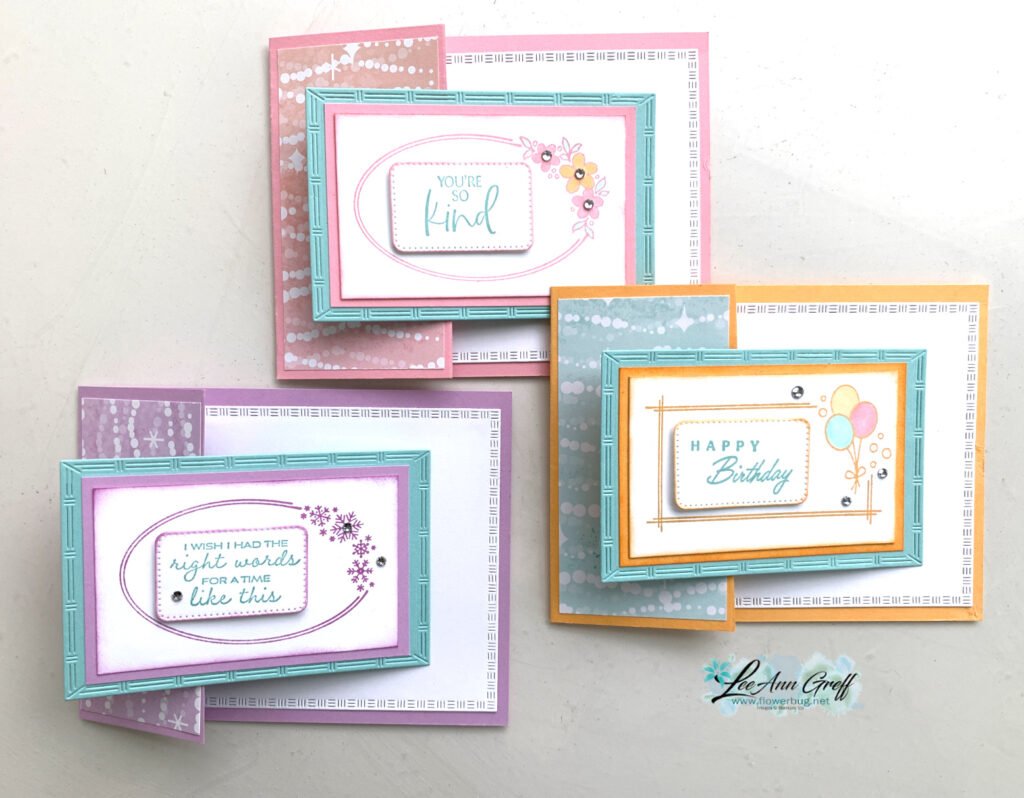
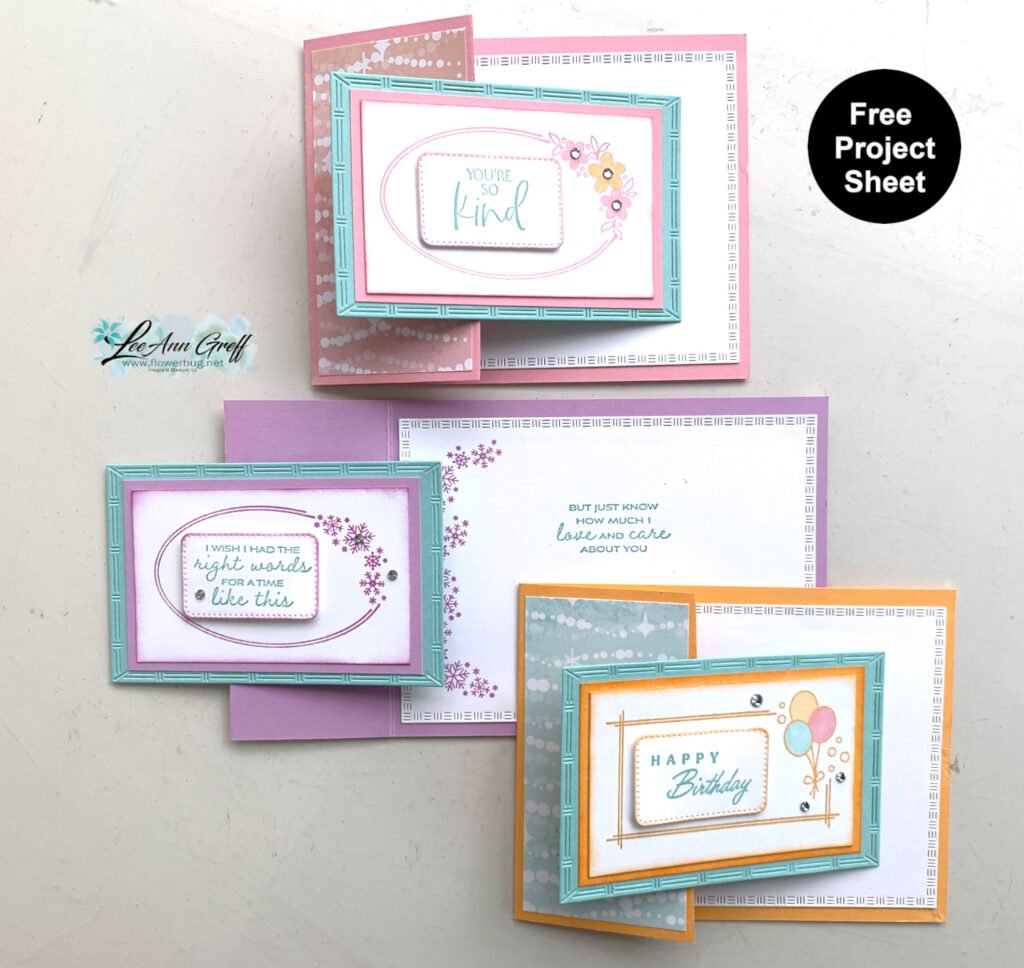
Jacki made this extra special fun fold for our February Team swap (the theme was circles).

Isn't is gorgeous! She used the Delicate Wishes bundle seen here. Her colors include Daffodil Delight, Lemon Lolly, Shy Shamrock & Early Espresso with White.

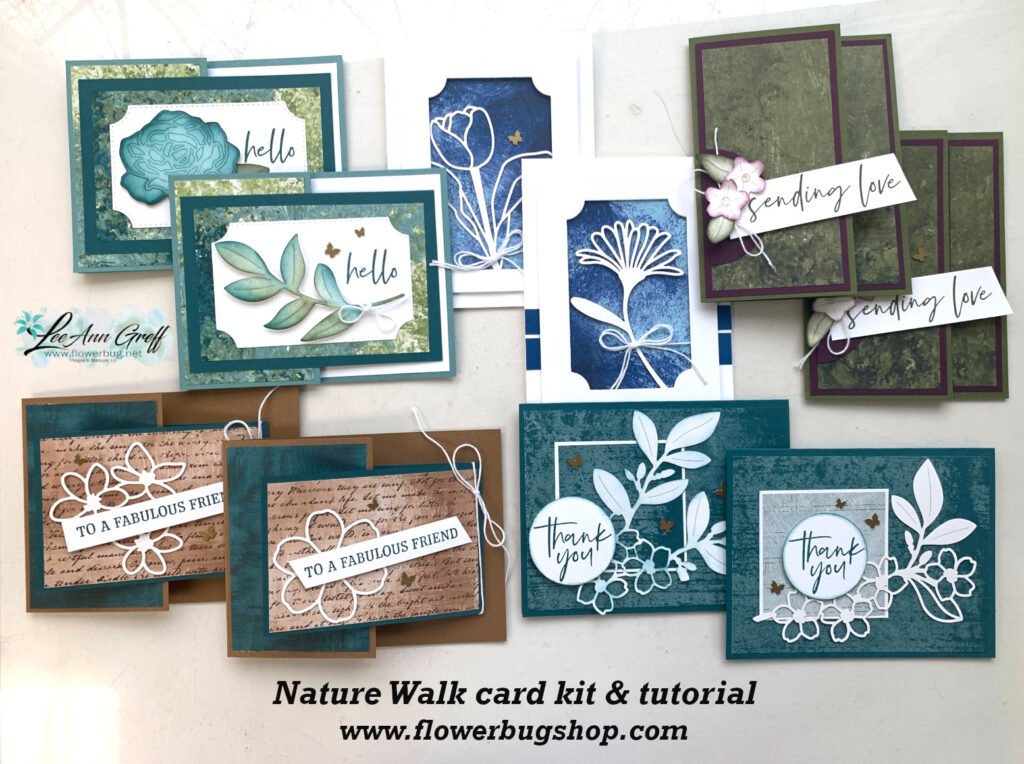
Products used:
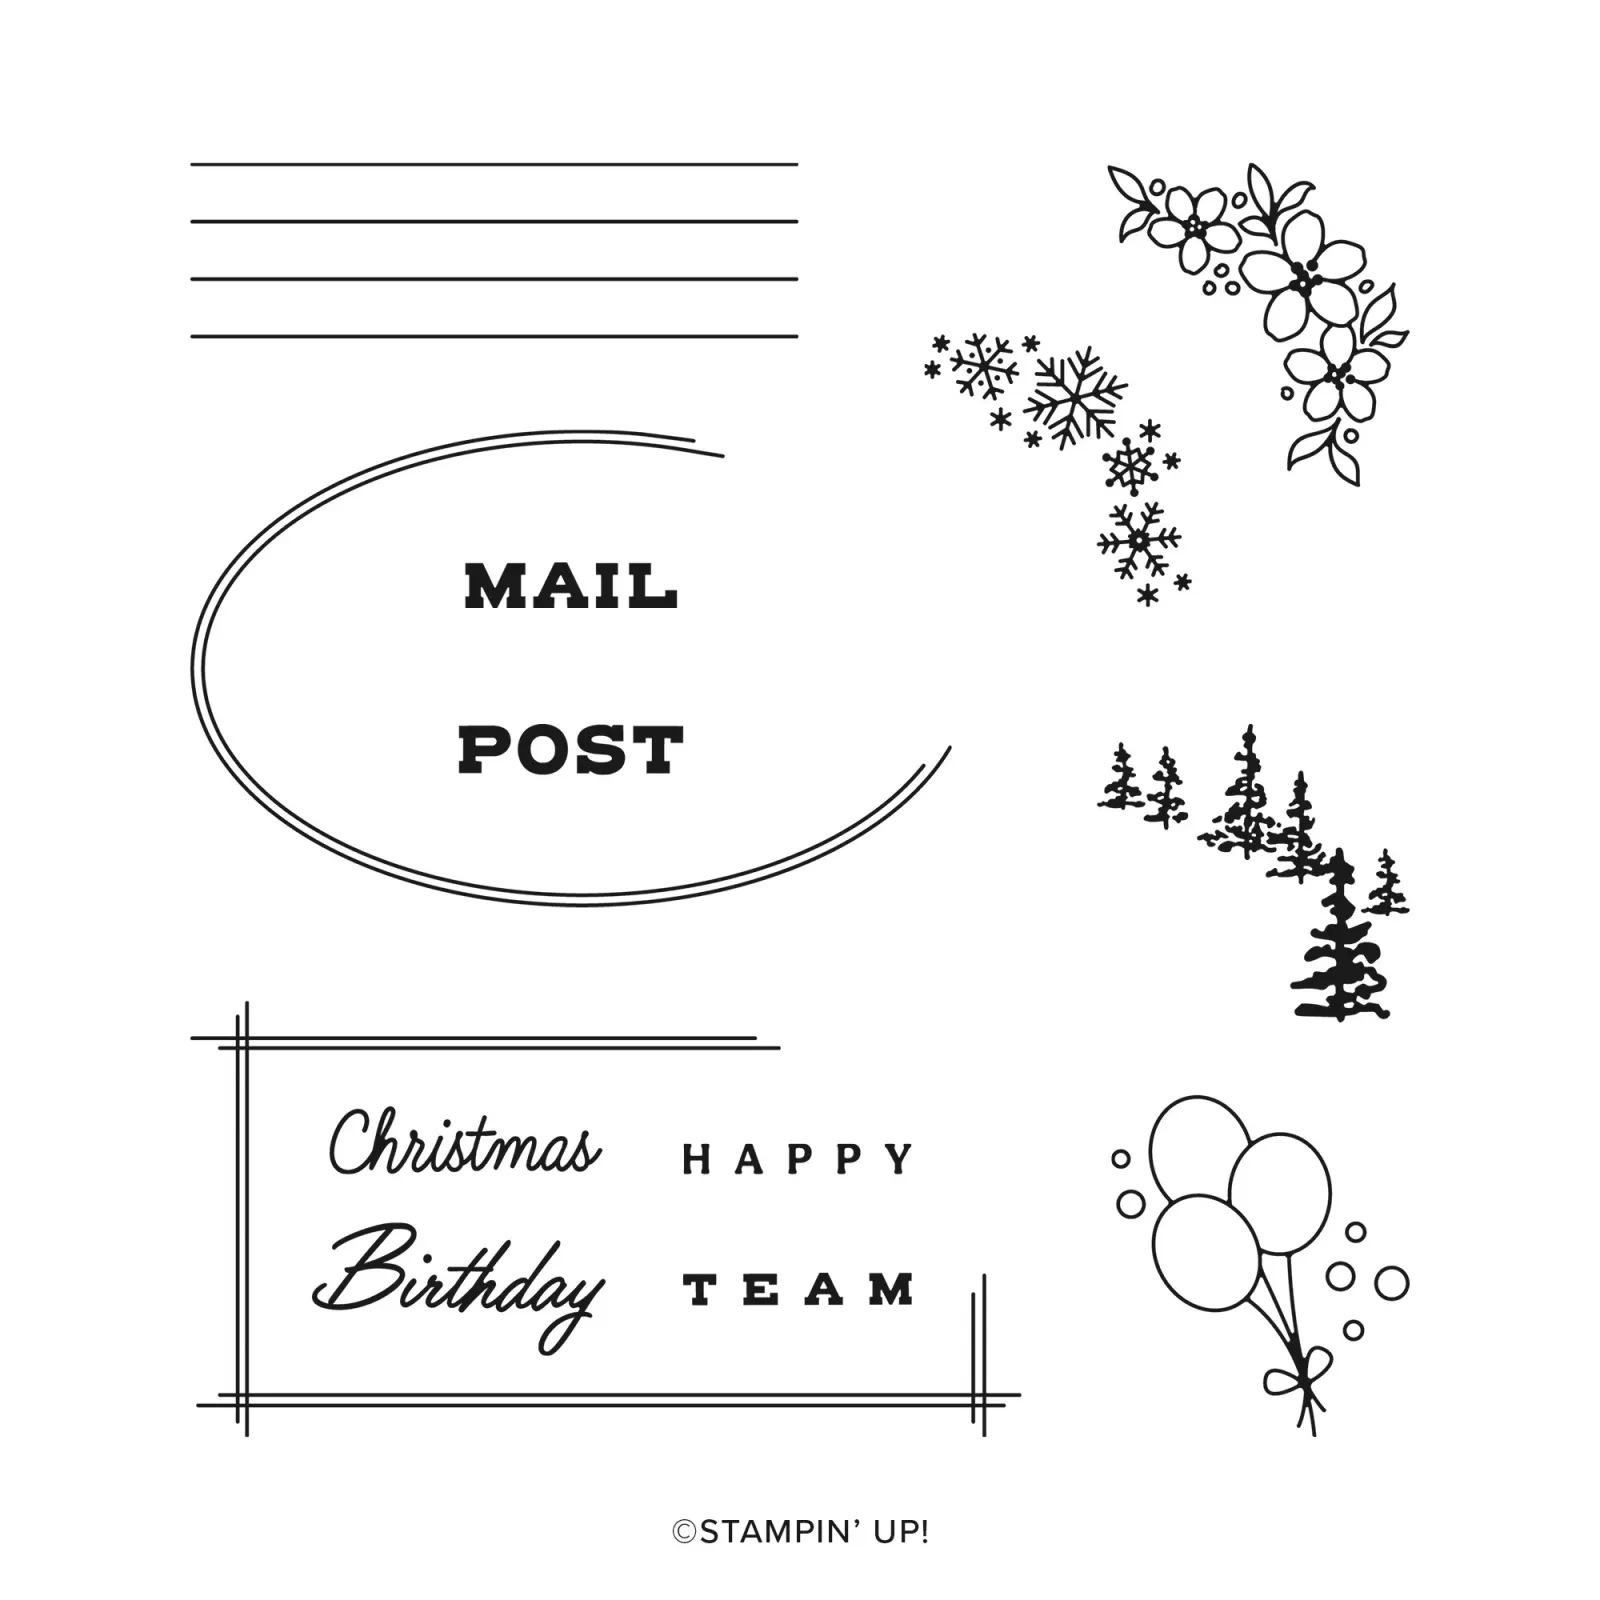
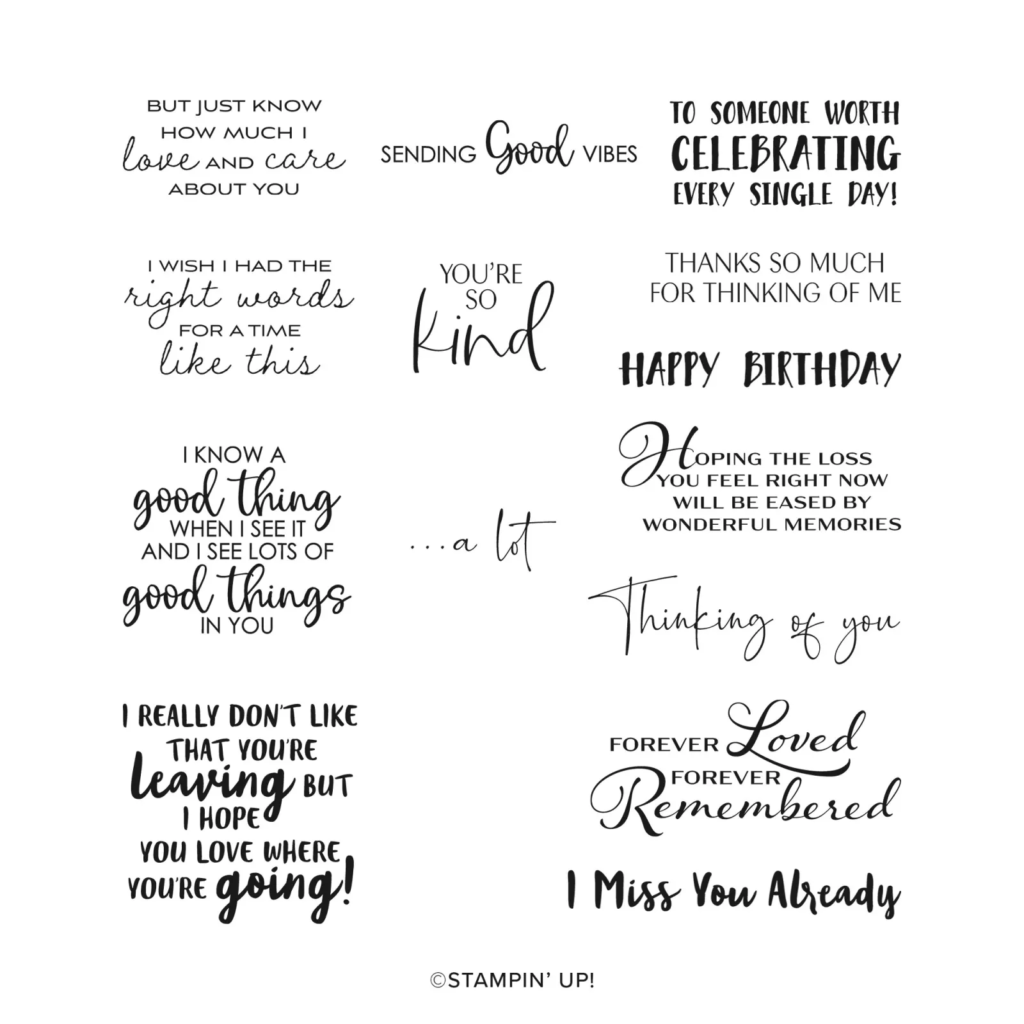
- Delicate Wishes bundle seen here
- Bough punch (low inventory)
- Bloom Impressions DSP (Sale-a-Bration)
- Soft Waves 3D embossing folder seen here
- Stylish Shapes dies seen here
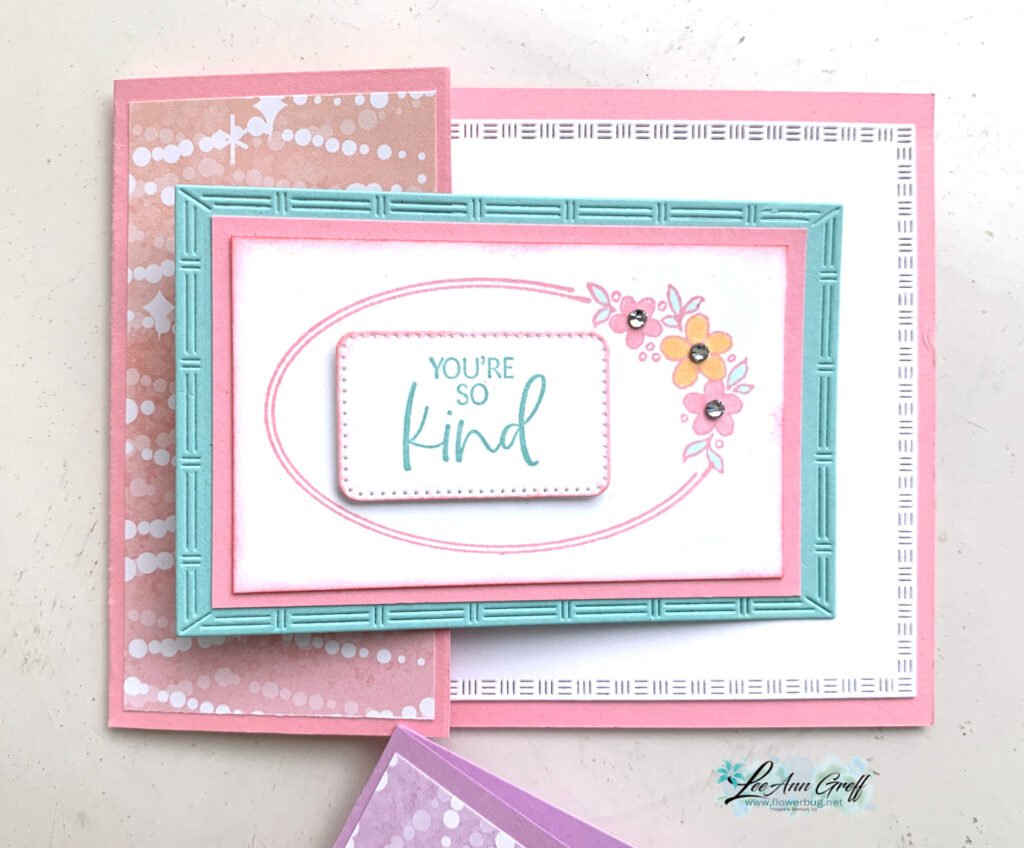
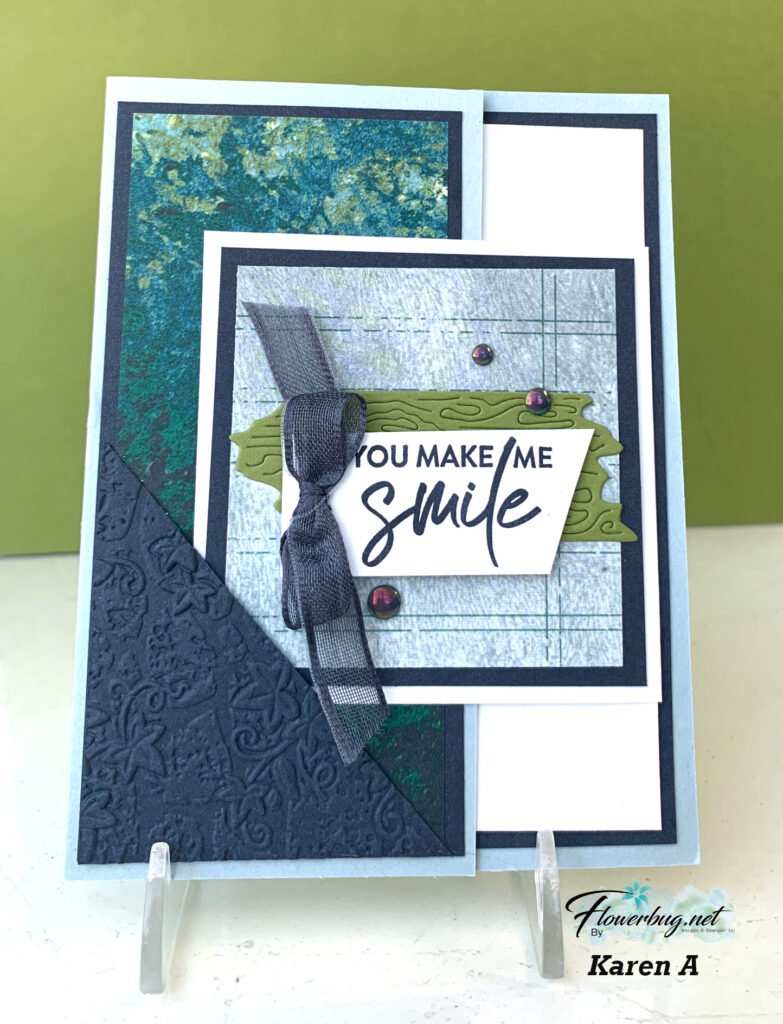
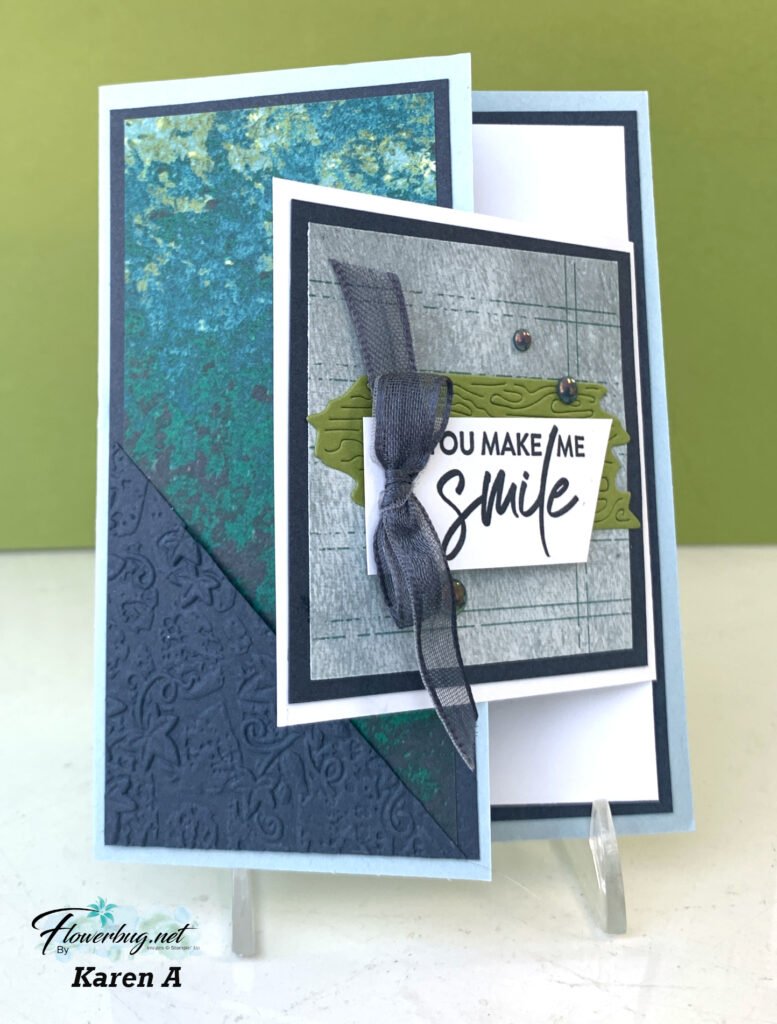
The main panel is cut at an angle and fold out. So cool!!

Measurements:
- Crushed Curry card base 4 1/4" X 5 1/2"
- White back layer 4" X 5 1/4", angled layer 12" long – 2" tall at the left end and 4" tall at the right, score at 4" & 8"
- Circle die-cuts are 2 1/8", 2 1/2" (center), inside is 2 1/2" & 3" layered

~~~
March Specials:
*current host code link:
Get a free Floral Delight tutorial with any online order in March!

Free Iridescent Foil gems!


Leave a Reply