/


Latest Post

A fun way to use your Designer Paper scraps!


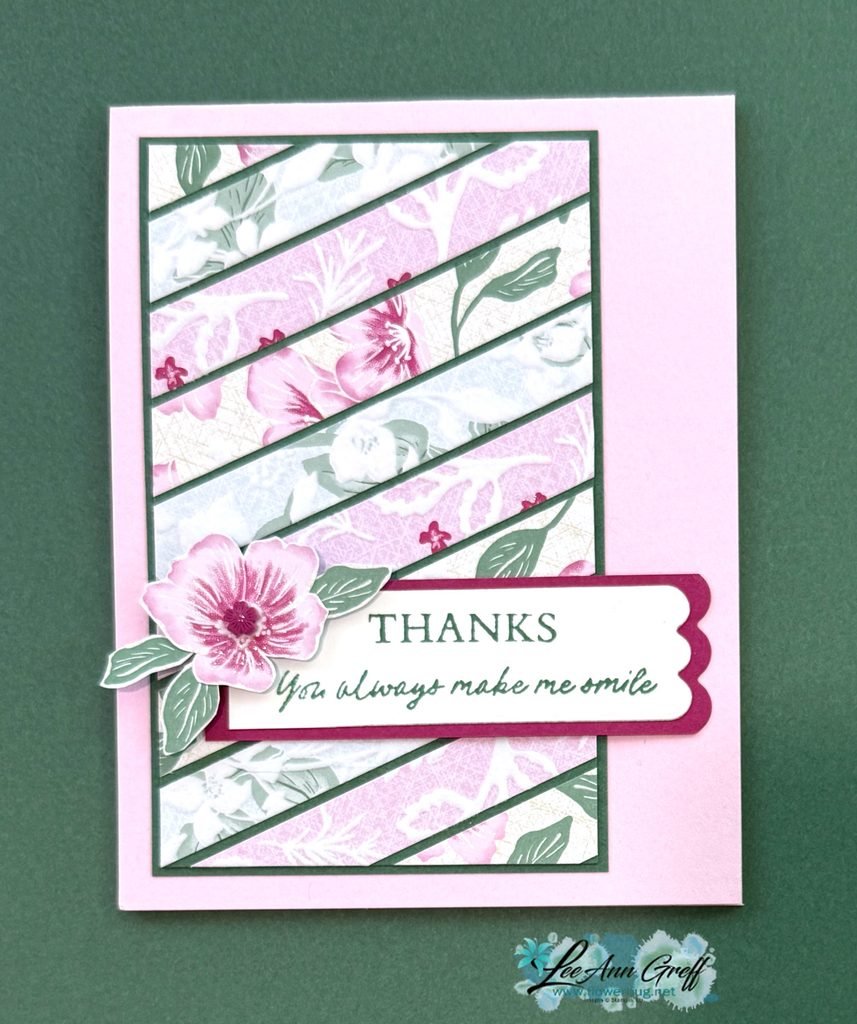
Is it hard for you to toss those small pieces of designer paper pieces? Well, if you’re a ‘saver’ I have a quick card idea for you.

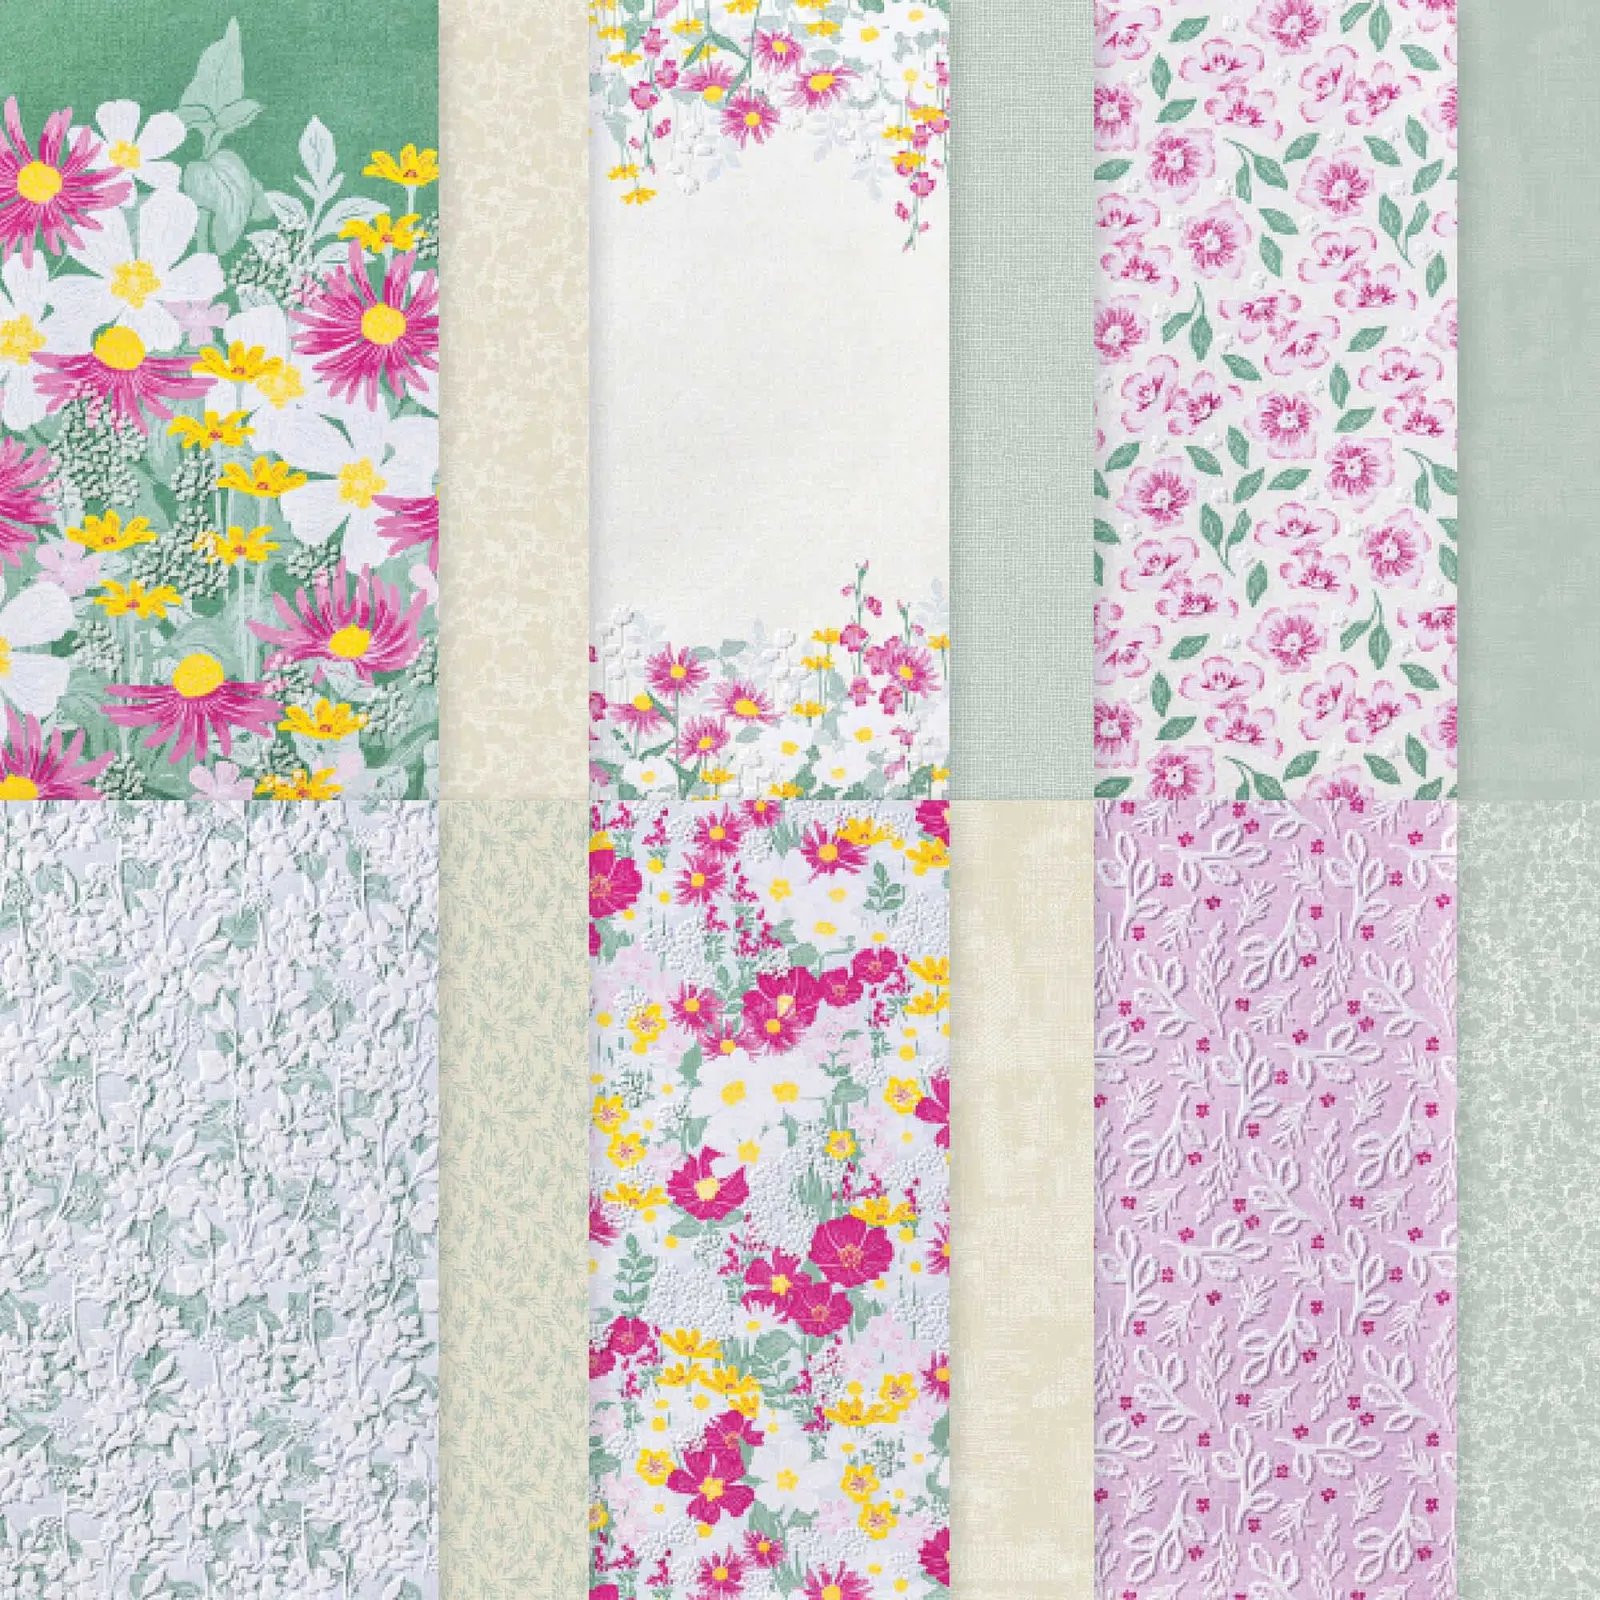
Here I used the pretty Velvet Meadow specialty designer paper from our Online store. It has velvet/flocked accents that feel soft and fuzzy. See it here.

Unfortunately it’s currently out of stock but it will be back! Add your email to the product page so you’re notified when it’s available.

I cut three different patterns of DSP in 1/2″ wide strips. I added them to a piece of Peaceful Pine card stock (3″ X 4 3/4″) at an angle. I left a narrow space between them all and trimmed off the ends afterwards. Then I layered it on another Peaceful Pine piece slightly larger before adding it to my Bubble Bath card base.

Tip: Adding the designer paper layer on the left and adding the greeting strip hanging off on the right adds balance to the card.

Here’s the coordinating Flowering Meadow bundle; see it here.

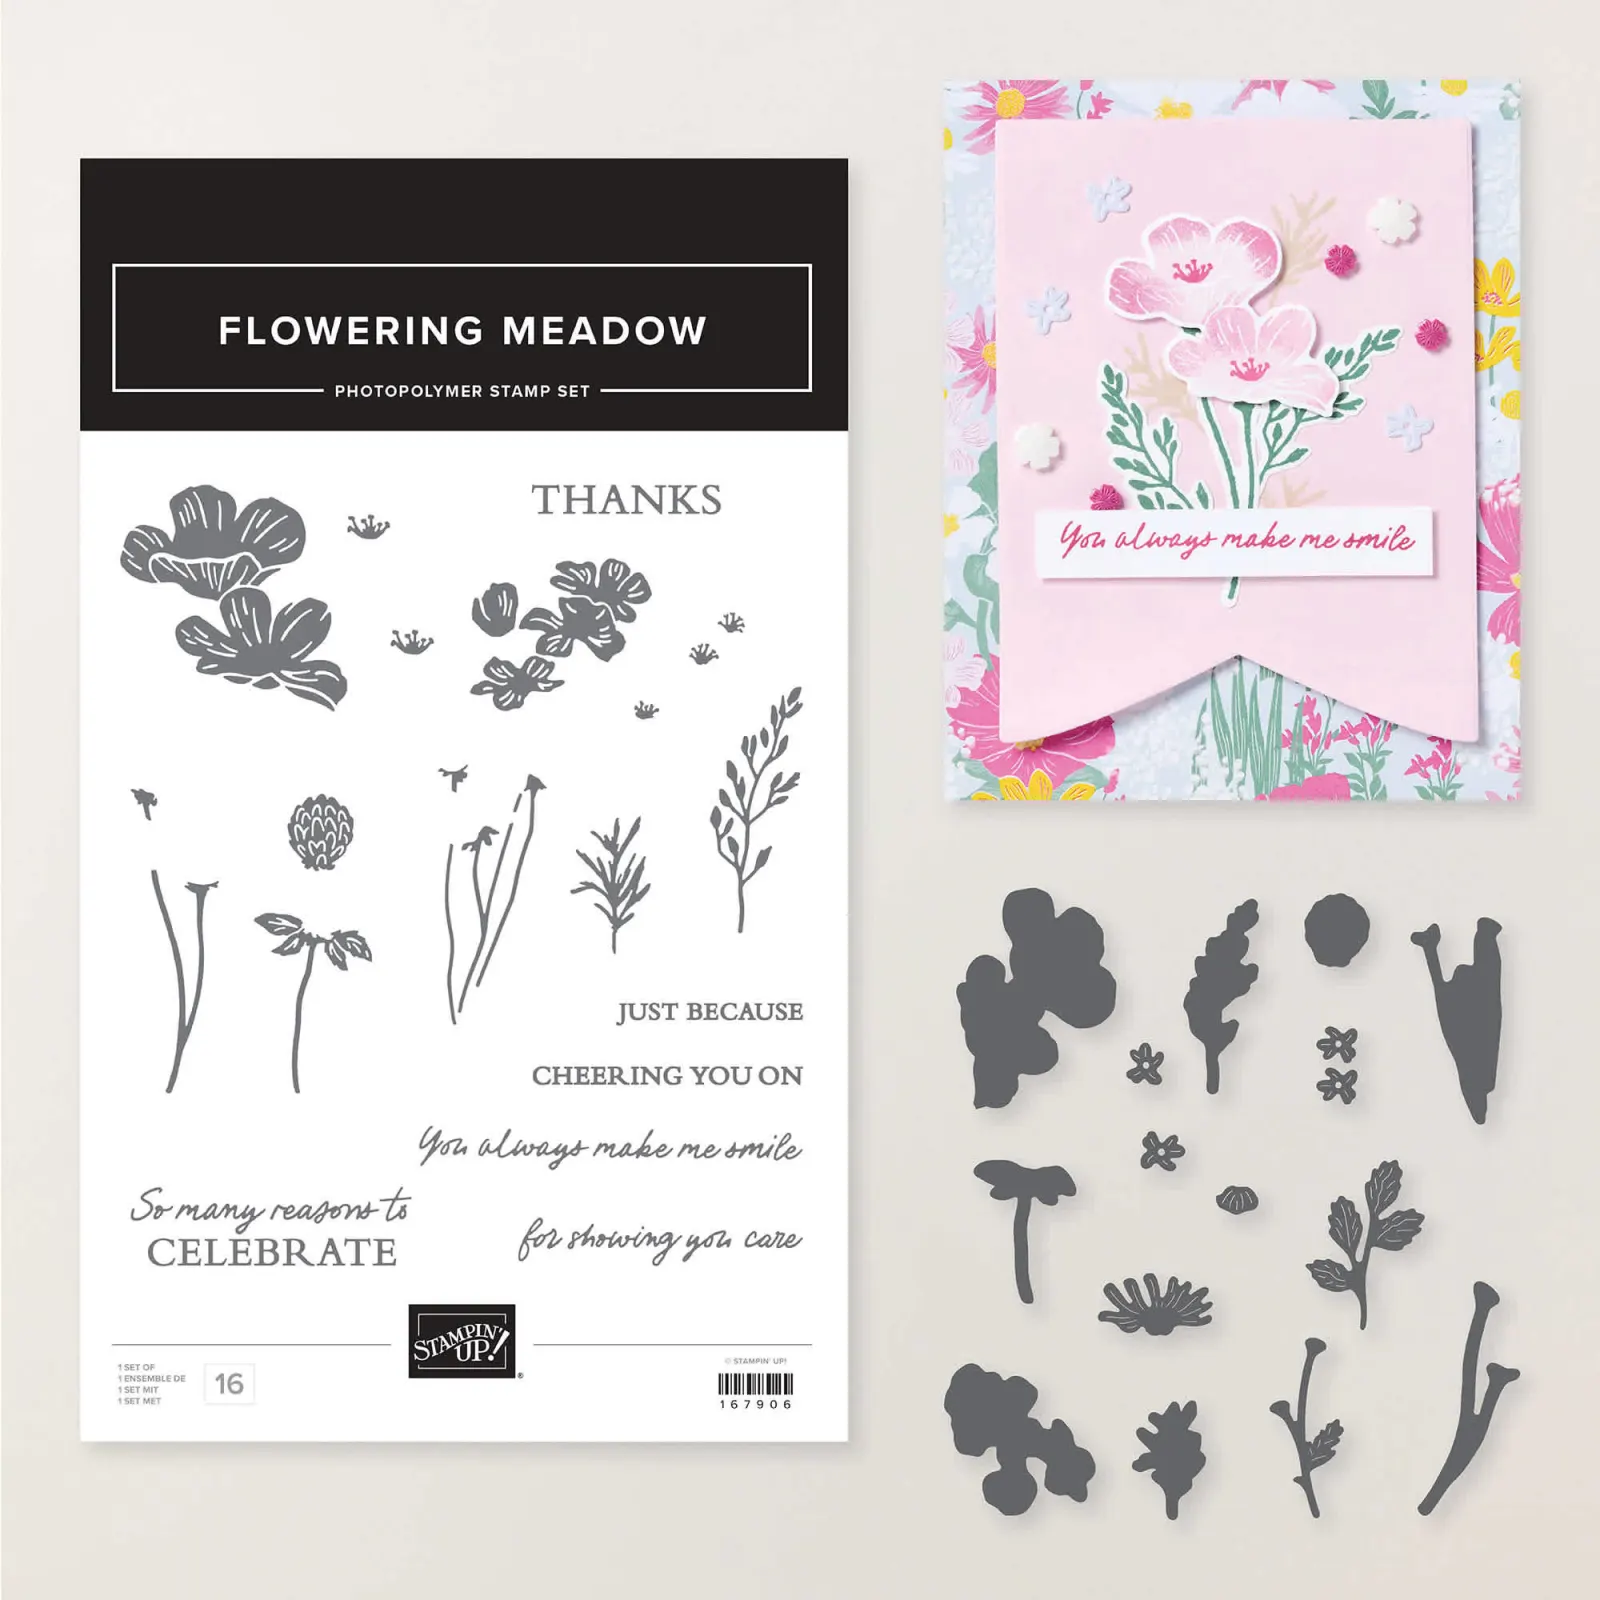
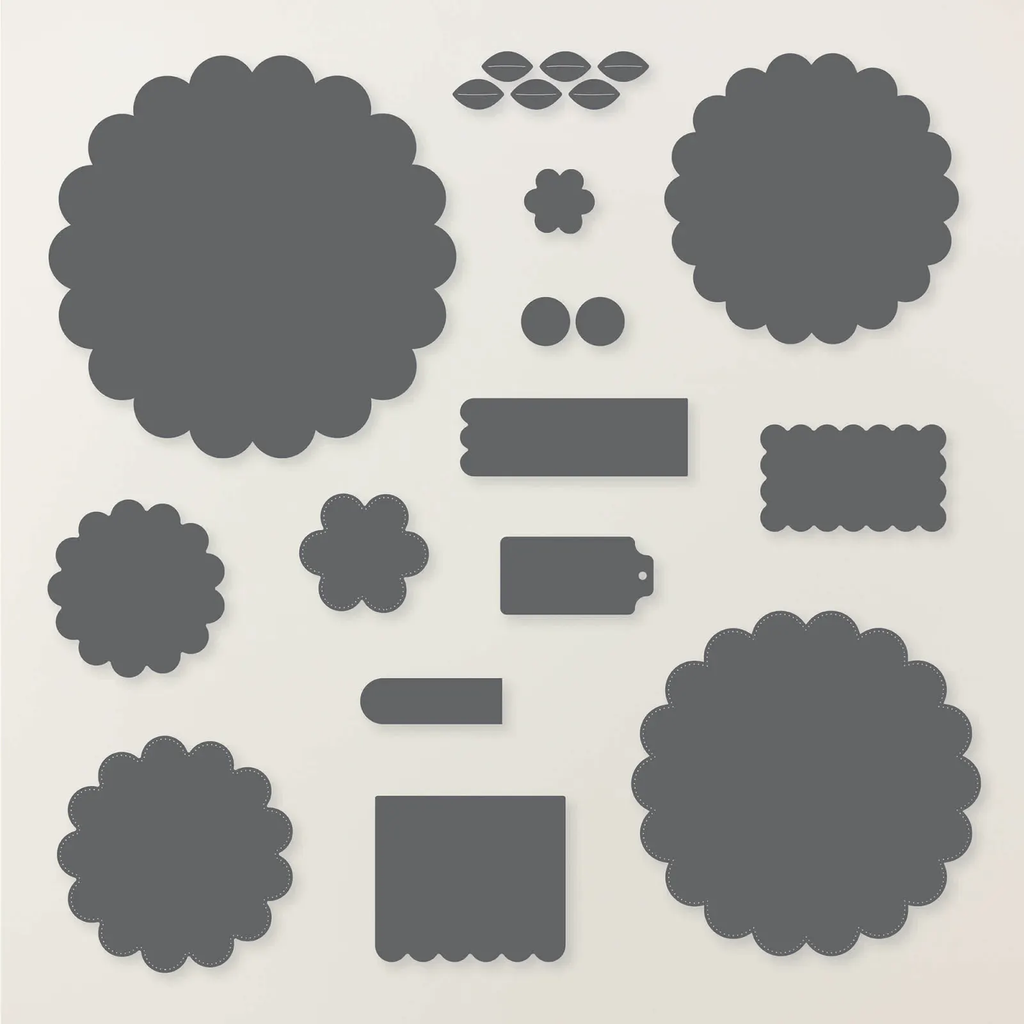
The greeting is made with the Scalloped Blooms dies. The flower and leaves are fussy cut from the designer paper. A quick and pretty card!

All Posts

  • Pinwheel Tower Fancy Fold card with video & free projects sheet!


    Here's another card we made at my July Card Clubs.  I always try to feature one fun fold card and this was a doozy!  

    When they saw the many pieces they were a bit worried it would be hard.  But as we made it together they loved it!  Be sure to watch the video here or below; it's so much easier than it looks!  

    Countryside Inn both

    This card is super fun to play with; it reminds me of a 'never ending' card.  You can turn and turn it and see something new each time. But the finished card lays flat and is 5 1/2" X 4 1/4" so it fits nicely in an envelope.  

    Besides the Gorgeously Made stamp set (seen here) I chose the Layering Leaves (seen here) for the pretty greetings and leaf images. 

    Countryside Inn 4 fold.

    I chose to feature the Countryside Inn designer series paper seen here with it's many shades of Blue.  I chose to use Night of Navy and White card stock, Navy and Boho Blue inks. 

    You can find the measurement, photos, directions and supplies list here on this free project sheet. Download July 23 Pinwheel Tower card

    Countryside Inn 4 fold

    Each of the 4 panels of Navy card stock is adhered to the center 'tower' made from a 4 1/4" square of designer paper. Once you have your card base created it's simple to add the 6 pieces of DSP and your stamped panels. 

    I also used the Radiating Stitches dies seen here (online exclusive) and the Stylish Shapes dies for the greeting.  The ribbon is the Night of Navy 3/8" bordered ribbon.  

    Countryside Inn 4 fold .

    Click here or on the photo below to watch the video.  It's the second project featured.  

     ~~~

    July Specials: 

    Bonus Days!

    Get a $5 coupon for each $50 order you place in July.  Redeem in August!

    July bonus days. 

    Clearance Rack update!

    Clearance rack 21See all items available here

     NEW Online Exclusives will be available

    June online excusives .

    See them all here

    ~~~

    I have 3 free card kits left!  It includes a Beautifully Happy stamp set 

    with online orders over $65; must use a host code.

    July card kit 23.

     *current host code: XNYX2DWG

    Leave a Reply

    Your email address will not be published. Required fields are marked *

  • Gorgeously Made with a neat background technique & video tutorial


    I shared this card as part of my Tuesday Live video last week.  I was featuring the Gorgeously Made bundle.  Check out the background! 

    Gorgeously Made card liveI focused on creating a pretty, textured background under the main image. Here are the steps:

    1. I first stamped the foliage image with Boho Blue ink onto Boho Blue card stock.
    2. Next I textured it with the Exposed Brick embossing folder seen here. (It's one of my favorite folders.)
    3. Lastly I dragged my White Craft ink pad over the texture. Tip: use a very light touch or ensure your ink pad is a little bit dry. I LOVE the look of this so much!  

    EXPOSED BRICK 3D EMBOSSING FOLDER

    I used the same foliage image for the inside of the card as I did the pretty background, stamping once in full strength Boho Blue ink and stamping again without reinking.  

    Gorgeously Made Countryside Corners card

    I stamped the other large leafy image from the Gorgeously Made set on the Countryside Corners white die-cut. I added the print image a few times in second generation Boho Blue ink (this means stamped off once). It's layered on a Navy die-cut before adding to the card base.  

    COUNTRYSIDE CORNERS DIES

    The greeting is heat embossed on Navy using White embossing powder. The die-cut is from the Stylish Shapes dies – my go-to dies for greetings. 

    There's just something special about a monochromatic card; this time in blues.  If you're going for an elegant or cohesive look try using just one color in varying hues.  Greens, blues and browns are some of my favorite choices.  

    Gorgeously Made card

    Click here or on the photo below to watch the video.  It's the first project featured; the other is a super fun 'fancy fold' card.  

     ~~~

    July Specials: 

    Bonus Days!

    Get a $5 coupon for each $50 order you place in July.  Redeem in August!

    July bonus days. 

    Clearance Rack update!

    Clearance rack 21See all items available here

     NEW Online Exclusives will be available

    June online excusives .

    See them all here

    ~~~

    I have 3 free card kits left!  It includes a new Beautifully Happy stamp set 

    with online orders over $65; must use a host code.

    July card kit 23.

     *current host code: XNYX2DWG

    Leave a Reply

    Your email address will not be published. Required fields are marked *

  • Fast & Fabulous Zoo Crew cards, with a free project sheet


    There's something special about a project in Black and White. I love to add an extra color to really make it pop. These cards were made at my July card club gatherings.  

    I wanted a good size piece of the cute, printed Zoo Crew designer paper seen here on the front of the card.  But I also love the mostly Black sheets too.  So I came up with this card.  I added a thin line of Lemon Lime Twist cardstock between the two pieces of DSP (Designer Series Paper).   

    Zoo Crew July 23

    I recommend adhering the large layer of DSP to the card base first.  Then adhere the Black DSP to the Lemon Lime Twist strip and add it to the card base.  All that's left is to stamp & heat emboss your greeting (from the Playing in the Rain set). 

    Of course there's a cute die-cut stars (Wanted to Say dies) and a Baker's Twine bow to add too. 

    Here's the inside:   

    Zoo Crew inside

    The stamped images and Balloon die-cut are all from the Zany Zoo bundle.

    Here's a free project sheet if you'd like measurements, directions and a supplies list.  Download July 23 Zoo Crew

    Zoo Crew July

    It's a great layout to show off both sides of your Designer Paper.  I hope you try it with your favorite papers! 

     ~~~

    July Specials: 

    Bonus Days!

    Get a $5 coupon for each $50 order you place in July.  Redeem in August!

    July bonus days. 

    Clearance Rack update!

    Clearance rack 21See all items available here

     NEW Online Exclusives will be available

    June online excusives .

    See them all here

    ~~~

    Get a free card kit & a new Beautifully Happy stamp set 

    with online orders over $65; must use a host code.

    July card kit 23.

     *current host code: XNYX2DWG

    Leave a Reply

    Your email address will not be published. Required fields are marked *


Notice: LeeAnn Greff, Independent Stampin’ Up! Demonstrator, Manager. The content of this website is my sole responsibility as an independent Stampin’ Up! demonstrator and the use of, and content of, the classes, services, or products offered on this website is not endorsed by Stampin’ Up! Copyright 2025