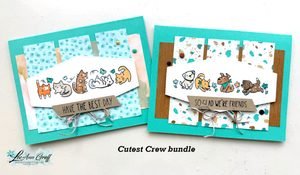
This is one of the cards we made at my April card clubs; it features the Cutest Crew bundle.
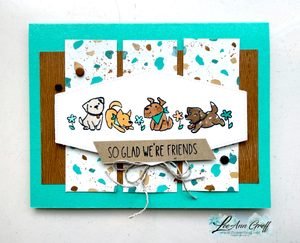
The Cutest Crew bundle (seen here) has been so popular they cannot keep it in stock! The dies were available last week but now they’re gone again. They should be back the week of May 18th though. Be sure to add your email to the product page so you get a notification as to when they’re available.
My colors are Coastal Cabana with White, Pecan Pie & Crumb Cake. I used the Hobby Haven and Wood Grain Wonders designer papers on my card. Here’s the cat version:
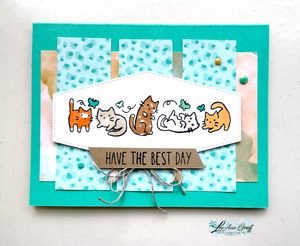
I colored the critters in with Blends markers; stamping the images with Black Memento ink. The stitched die is from the Nested Essential dies seen here; one of my favorites.
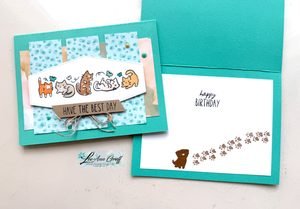
I stamped the paw prints image repeatedly in the inside and added one of the pet die-cuts.
Which is your favorite?
I shared a video last week on Facebook and it’s now uploaded to my YouTube Channel. Plus you can access the free project sheet here.
May Specials:
Get all 5 NEW ink pads FREE when you choose the Starter Kit promo in May

Order from the new Summer catalog now; get new in colors, new stamps, dies, DSP and gems! So exciting to shop NEW stuff! Click here to shop.

And while you’re shopping be sure to order over $100 and grab one of my Mystery boxes! I have just 4 left.
They’re FREE and includes over $200 in SU product.


Leave a Reply