I shared this pretty card on a recent video. I made it for our Team swap which had a plaid theme.

It features the Grow with Love bundle seen here. My colors include Basic Beige, Old Olive and Lost Lagoon – taken from the pretty Timeless Plaid layer.
The basil and stamped frame are all done with the Grow with Love dies. The greeting is from the Mixed Label dies. I did sponge the edges and the leaves with Lost Lagoon ink. The herb images in this set are so pretty and have Stampin' Up!'s distinktive style which shows off multiple hues with one inking. The coordinating dies cut off the herb names; a great option if you do not want to include them.

The pretty embossing folder is called Dashing Designs and can be seen here. I'm so sad it's retiring! This textured piece is made from our 2-toned Olive 12 X 12" card stock. When embossing this white core paper the texture reveals the white core just enough to enhance the texture. I could have sanded it to reveal even more texture but I did not.

I created a free project sheet for this pretty card. Click on the following link to print or download it. Download Grow with Love Plaid card

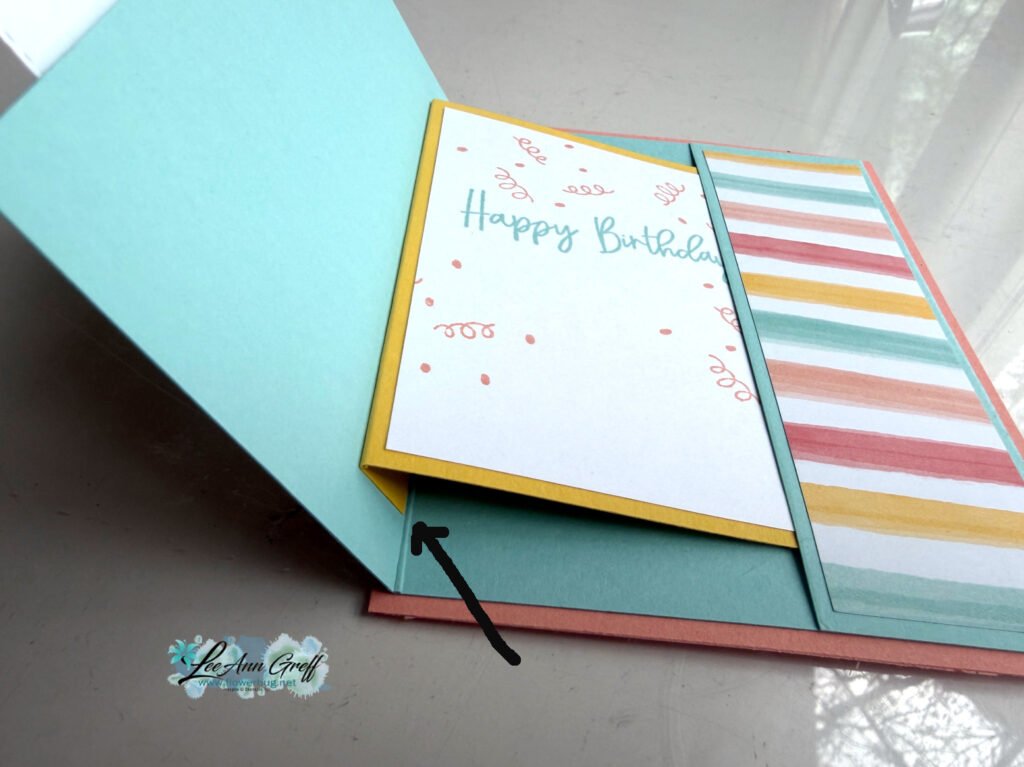
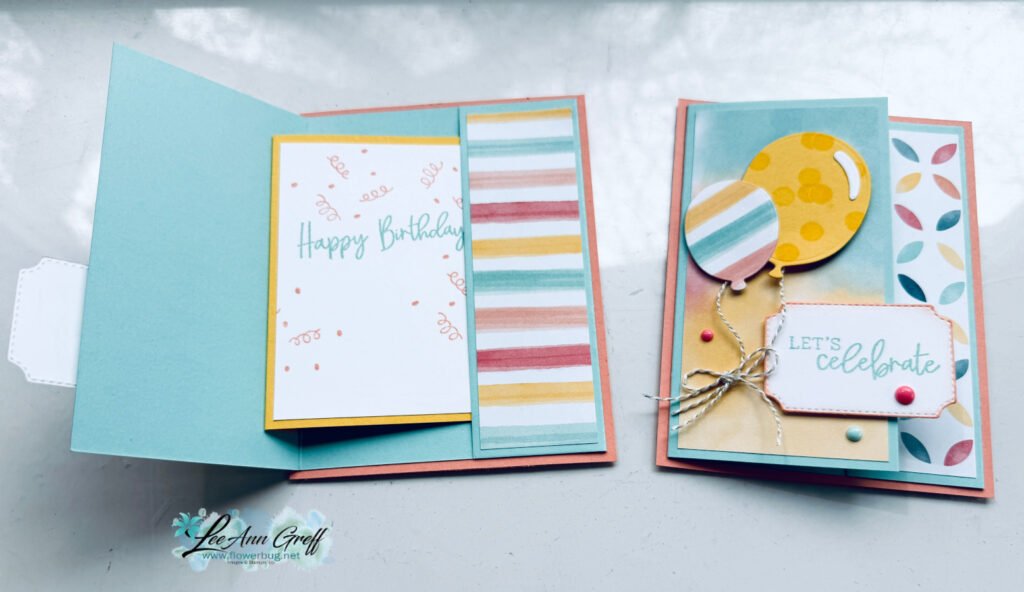
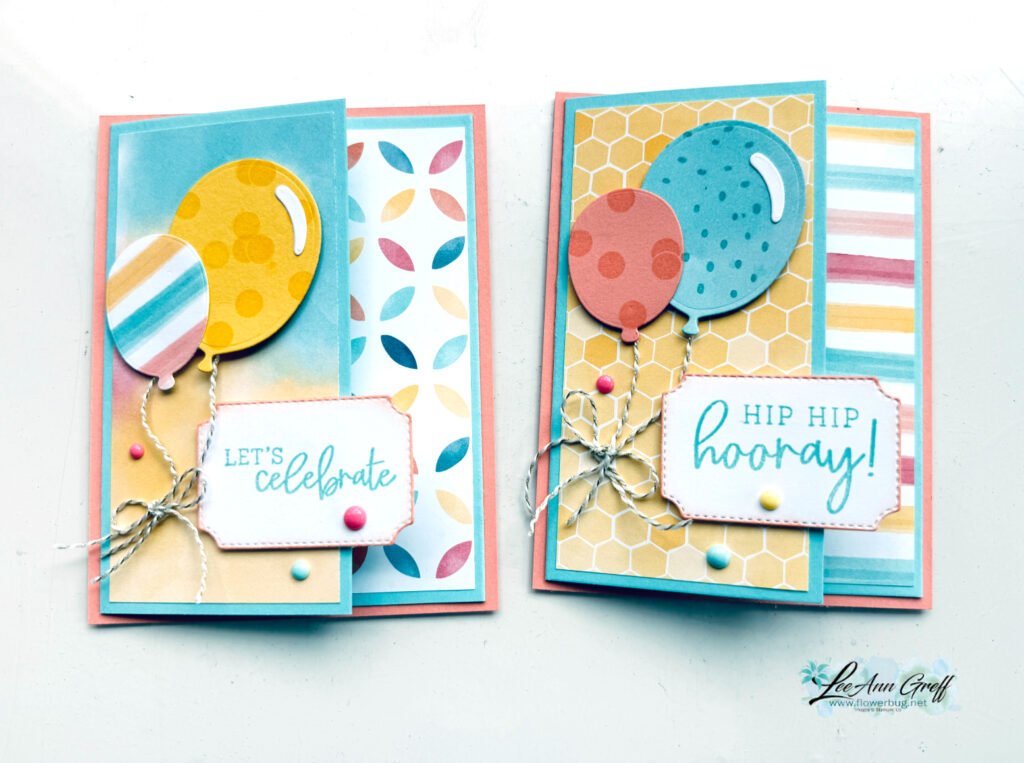
And here's the video tutorial for this card and a super-duper fun fold card:
~~~
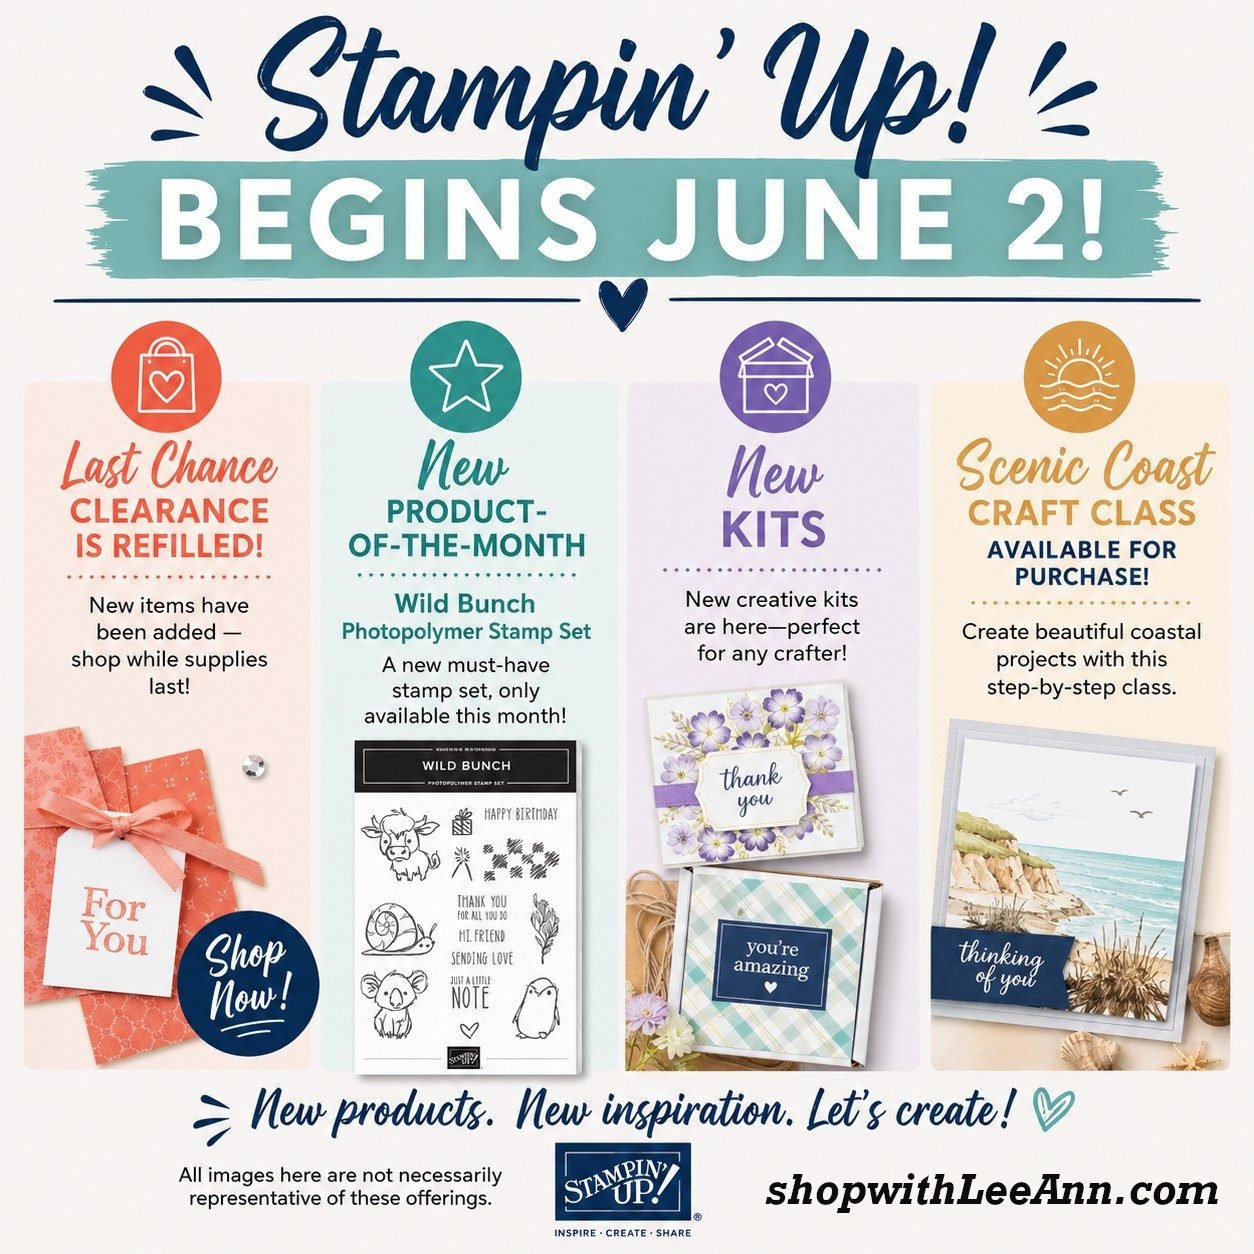
April Specials
Don't miss the deals in the Last Chance list here!

*host codes have been discontinued; no need to add one.
Now you'll earn host rewards on all orders over $20!
~~~
Get a free Botanical Textures PDF tutorial with any online order in April!
See this gorgeous suite here

Get a free PDF tutorial of your choice with any order over $55 at my shop here


Leave a Reply