Get a free project tutorial with any online order in September!
All Posts
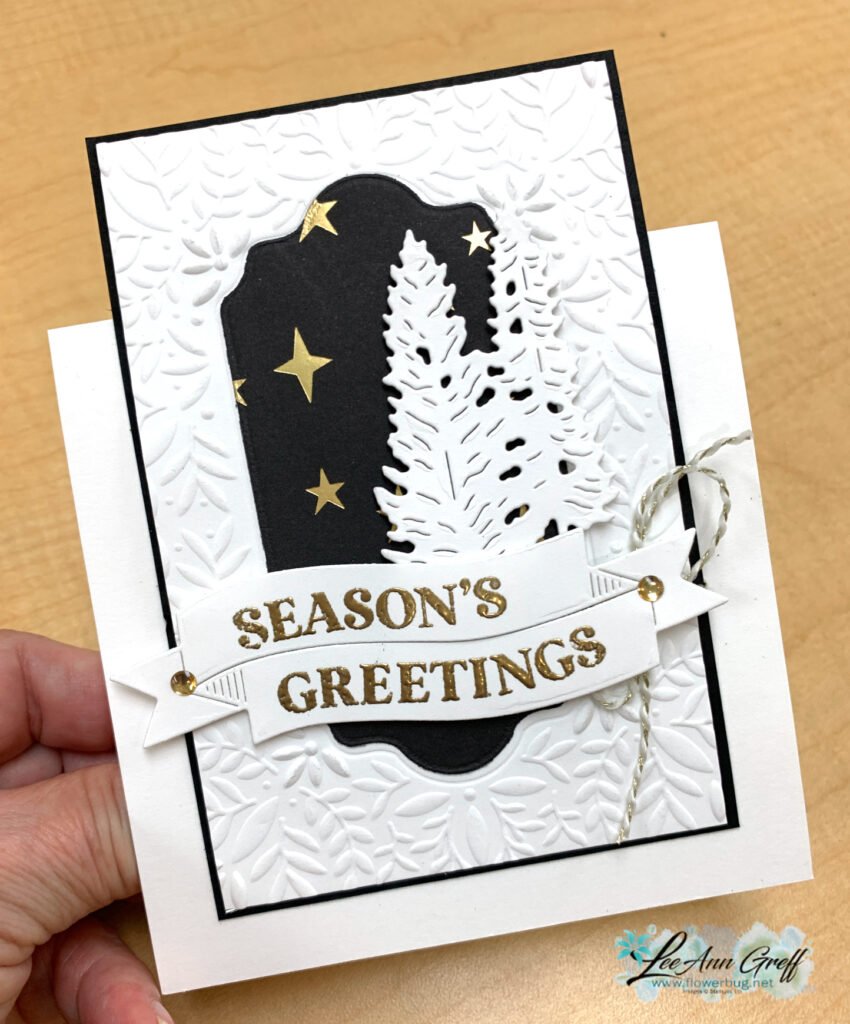
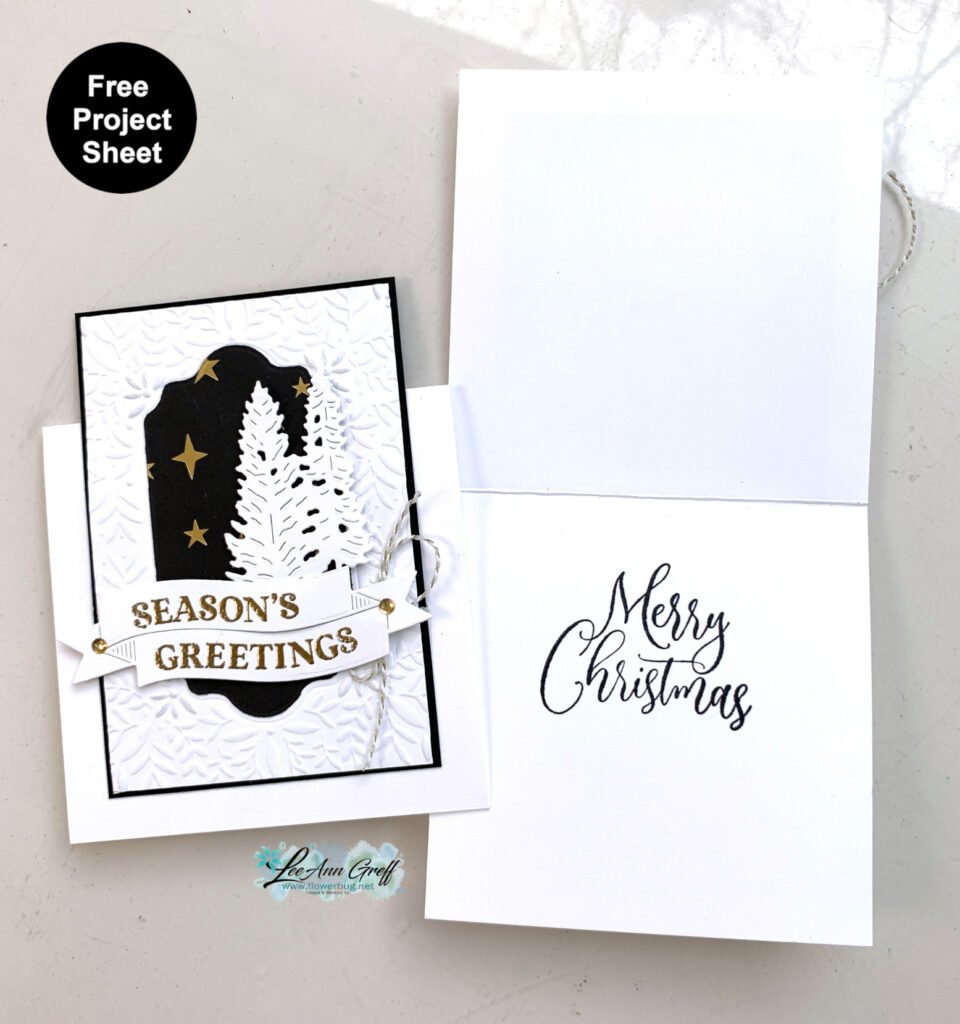
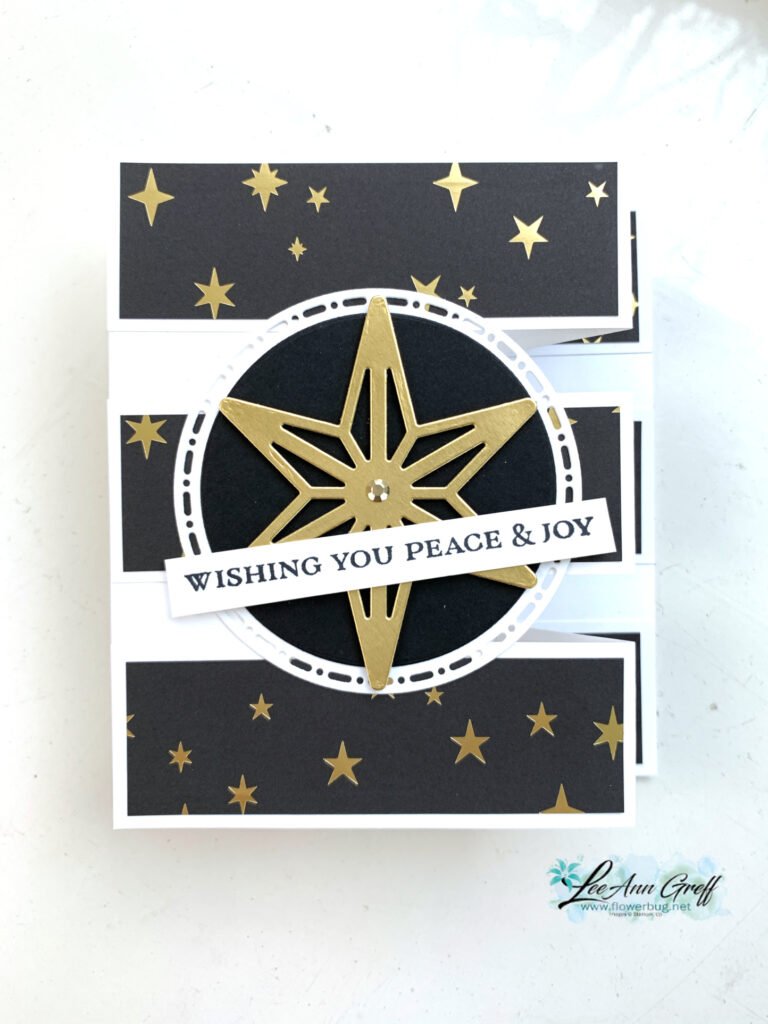
Easel card fold with Modern Christmas with a free project sheet! Mystery boxes are still available!
On last week’s video I shared two fun fold cards featuring the Modern Christmas suite. I shared one yesterday and today I’m sharing the Easel fun fold card. I haven’t made one of these for awhile and forgot how quickly they come together.
Black, White & Gold are so classy. I did use one bundle and two sets of dies to create this card.
There’s just something about a mostly white card that makes it elegant. I did create a free project sheet for this card. Click here to print or download it.
Below is the video for this card and another fabulous Z-fold card. I hope you watch it and if you’re not already subscribed to my YouTube channel please do!
~~~
November Specials
New Online products are available on November 4th. See them here.
Get the Peaceful Garden suite tutorial FREE with any online order in November!
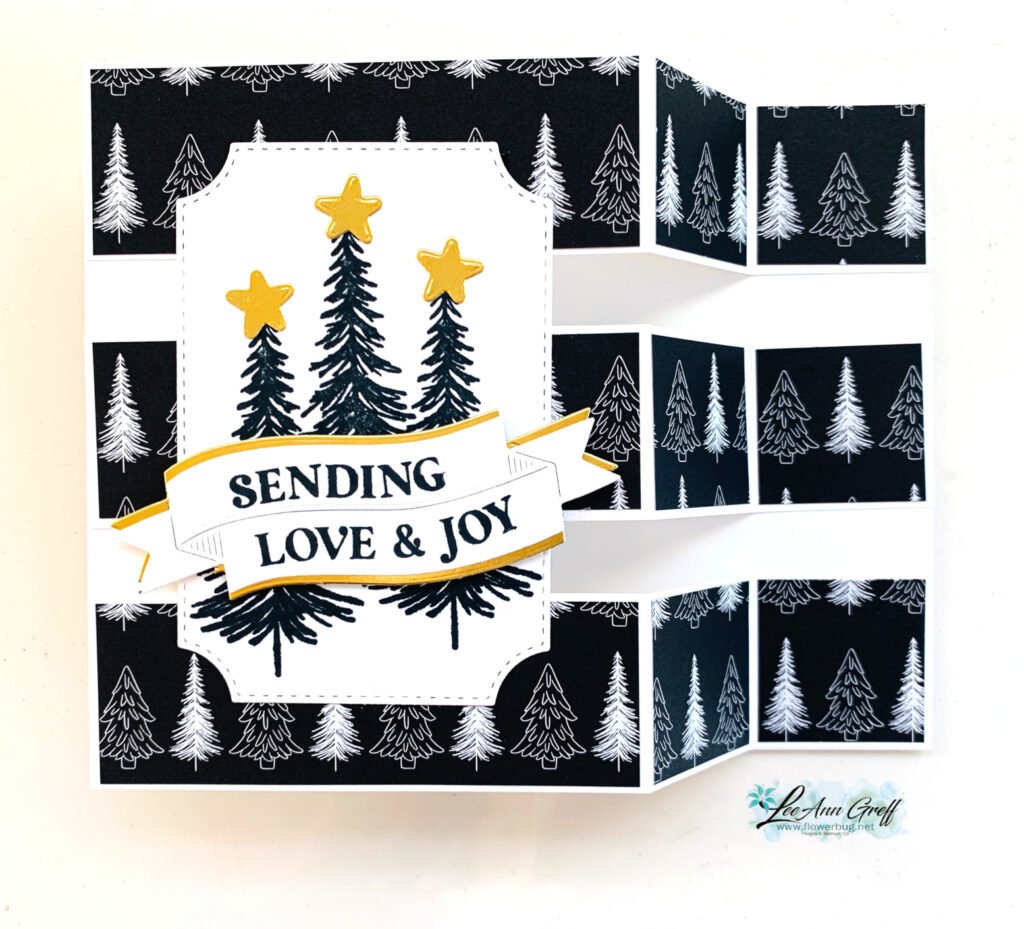
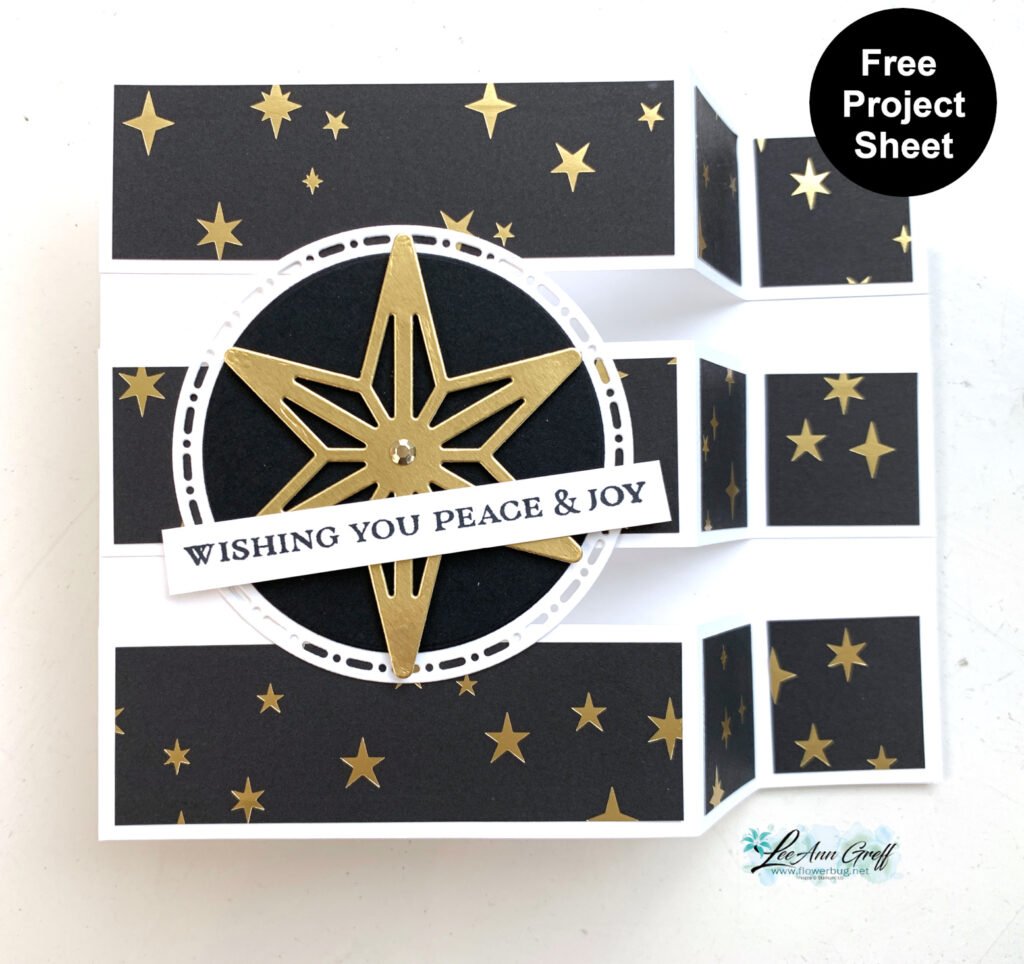
The scored lines to create this fold are simply 1″ & 3″ for both the card base and the 3 strips. Watch the video below to see how it’s put together.
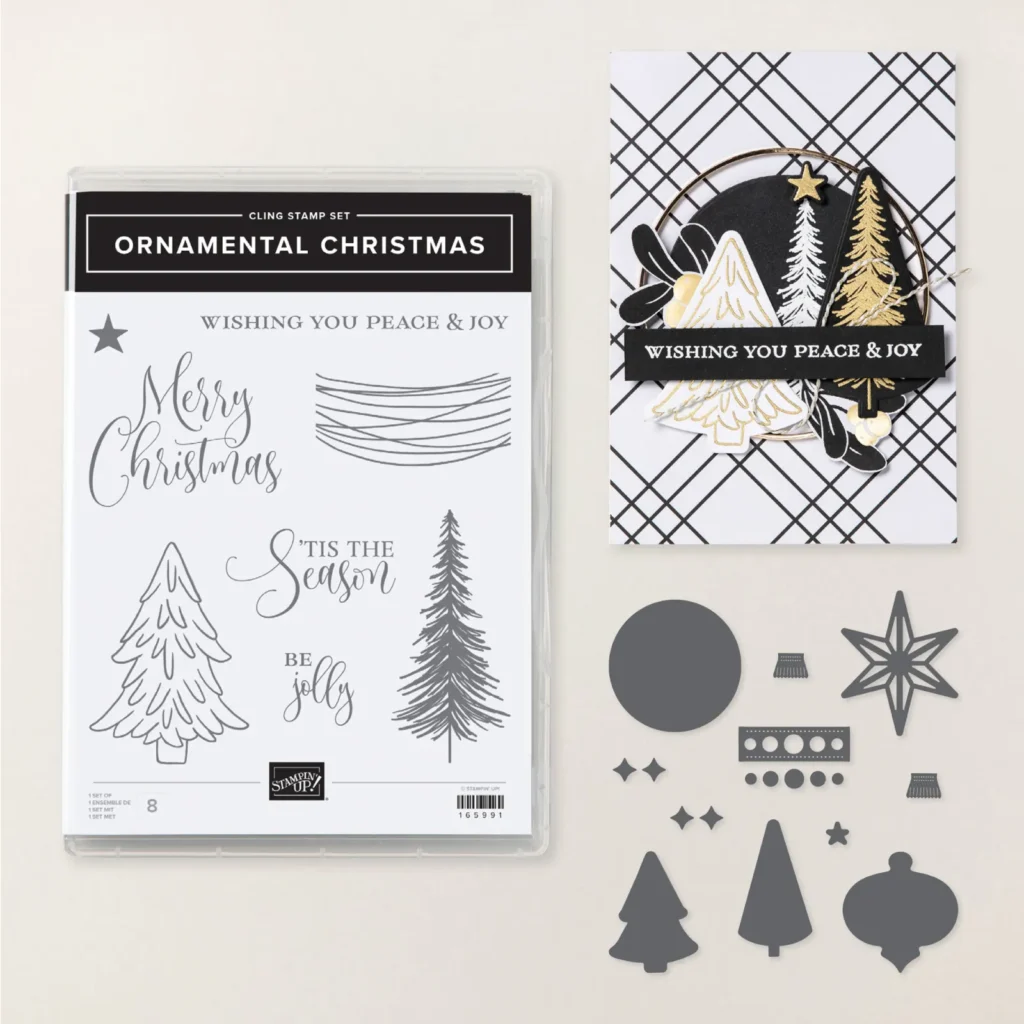
The main image of trees is stamped on the die-cut from Branching Out. See these dies here; they coordinate with the stamp set but stand alone too. The greeting is from the Traditional Labels bundle seen here. I cut a second die-cut in Gold and split it apart across the middle so it shows.
I created a free project sheet for these cards. Click here to print or download it. I do recommend you create a file for project sheets or card ideas. It’s so handy to access it quickly.
Below is the video tutorial for this card and another as well. Both feature this beautiful Modern Christmas suite. I’ll share the other card tomorrow.
~~~
November Specials
New Online products are available on November 4th. See them here.
Get the Peaceful Garden suite tutorial FREE with any online order in November!
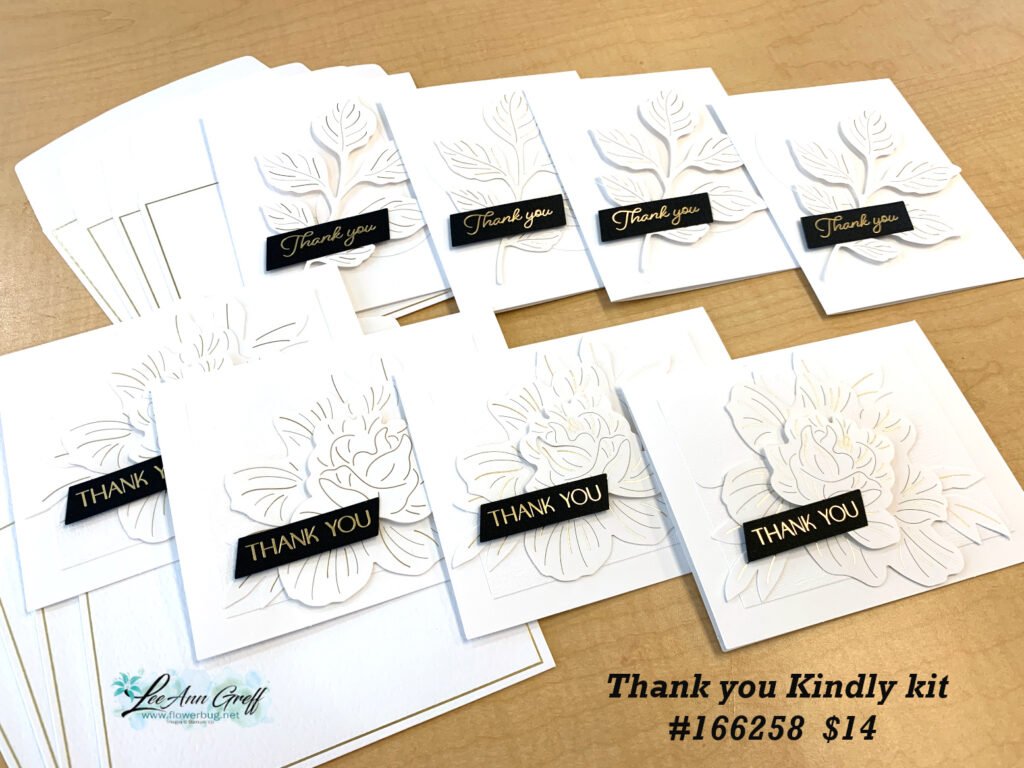
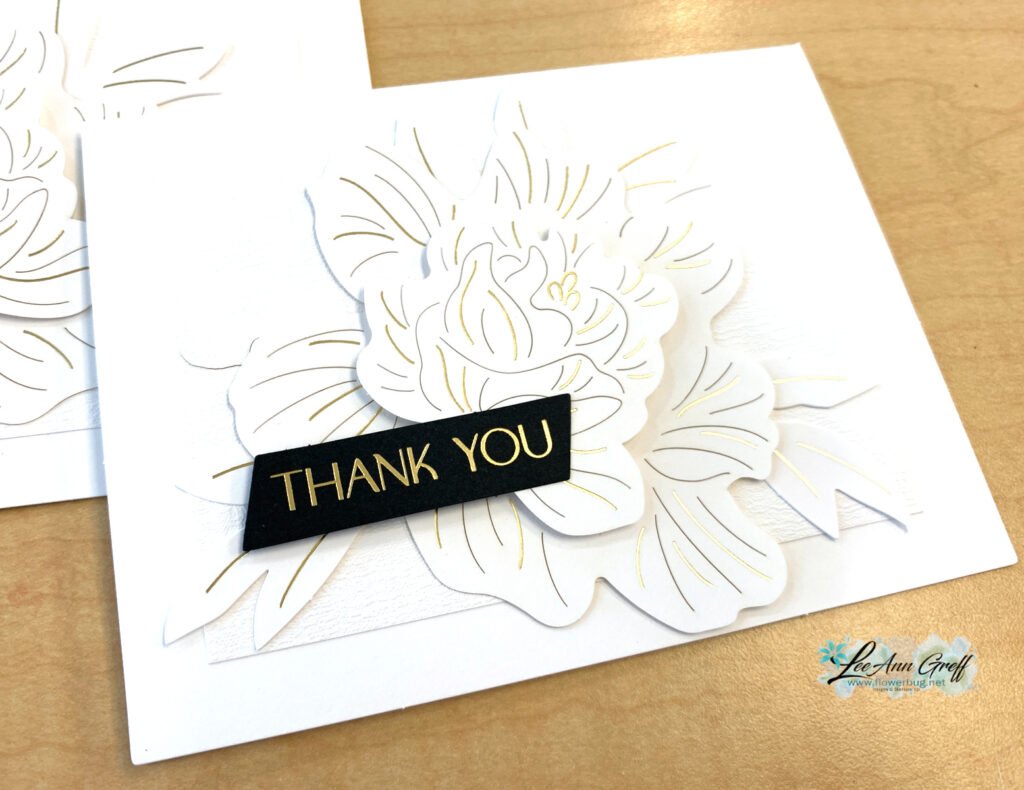
First is a thank you kit called ‘Thank You Kindly’. It’s an elegant set of cards that are both special & easy to make.
They’re mostly white with gold foil accents & that stunning black pre-printed greeting. This is a non-stamping kit. It’s currently in low inventory so it will likely sell out soon. It’s just $14 and can be seen here.
Next is the gorgeous Harvest Home Garland that can also be made into a wreath. It would be great for your Thanksgiving table or used as a wreath.
It took me about 1 1/2 hours to make mine. I even added some sponging/blending to the paper leaves (which wasn’t in the directions. It have everything you need except hot glue – recommended to attach the leaves to the rope. It’s so pretty and I love the non-traditional colors that still have an autumn look. See it in the store here.
~~~
November Specials
New Online products are available on November 4th. See them here.
Get the Peaceful Garden suite tutorial FREE with any online order in November!
Notice: LeeAnn Greff, Independent Stampin’ Up! Demonstrator, Manager. The content of this website is my sole responsibility as an independent Stampin’ Up! demonstrator and the use of, and content of, the classes, services, or products offered on this website is not endorsed by Stampin’ Up! Copyright 2025


Leave a Reply