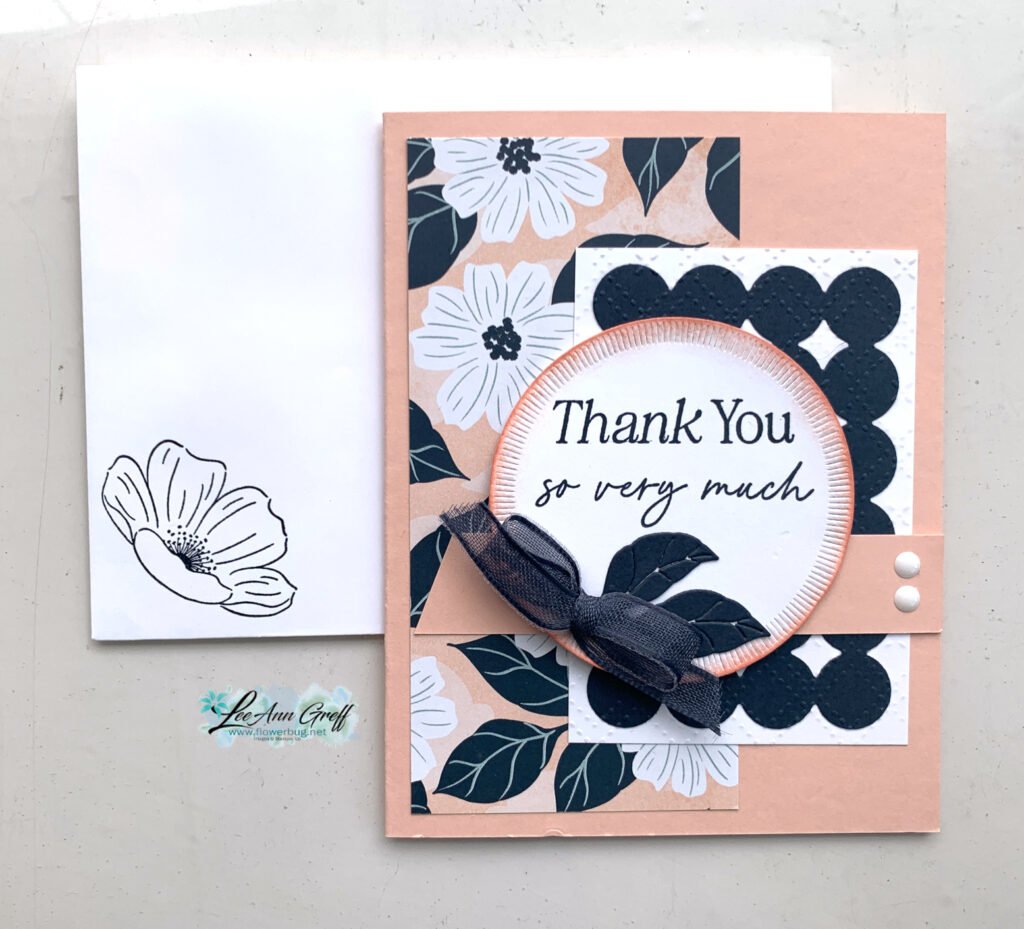
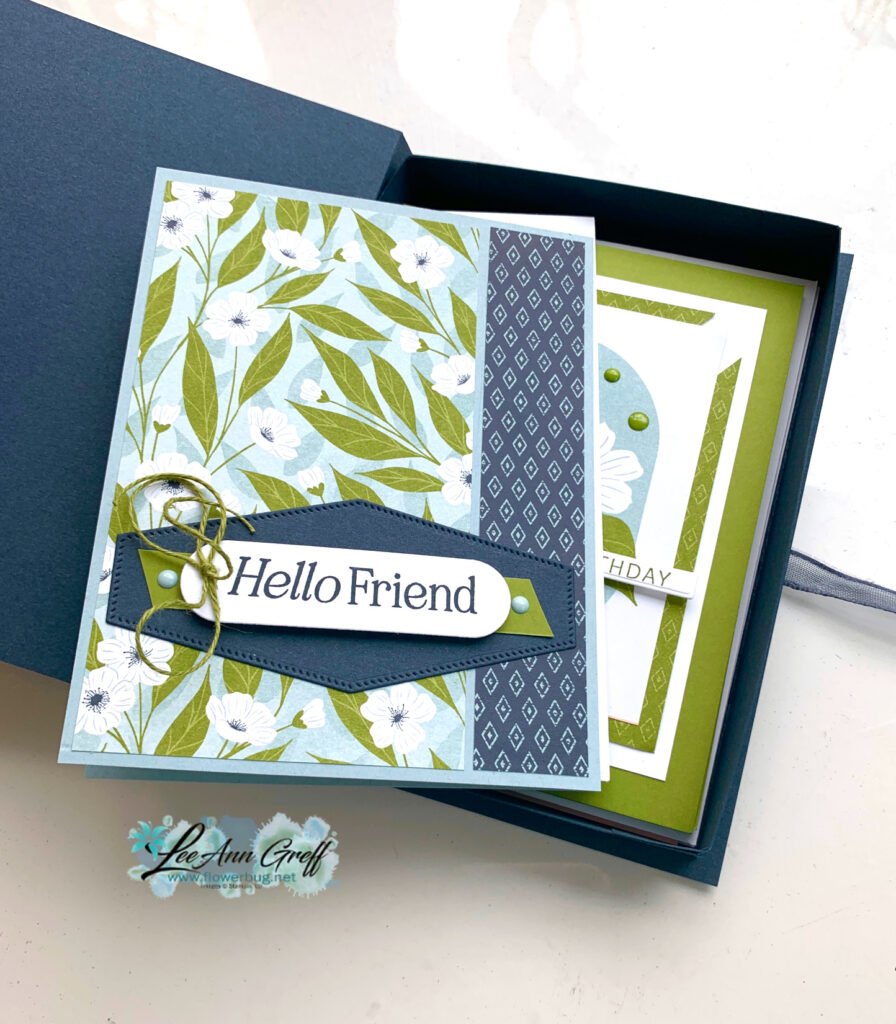
I shared this beautiful card on a recent video. I sure had fun with the colors on this card!

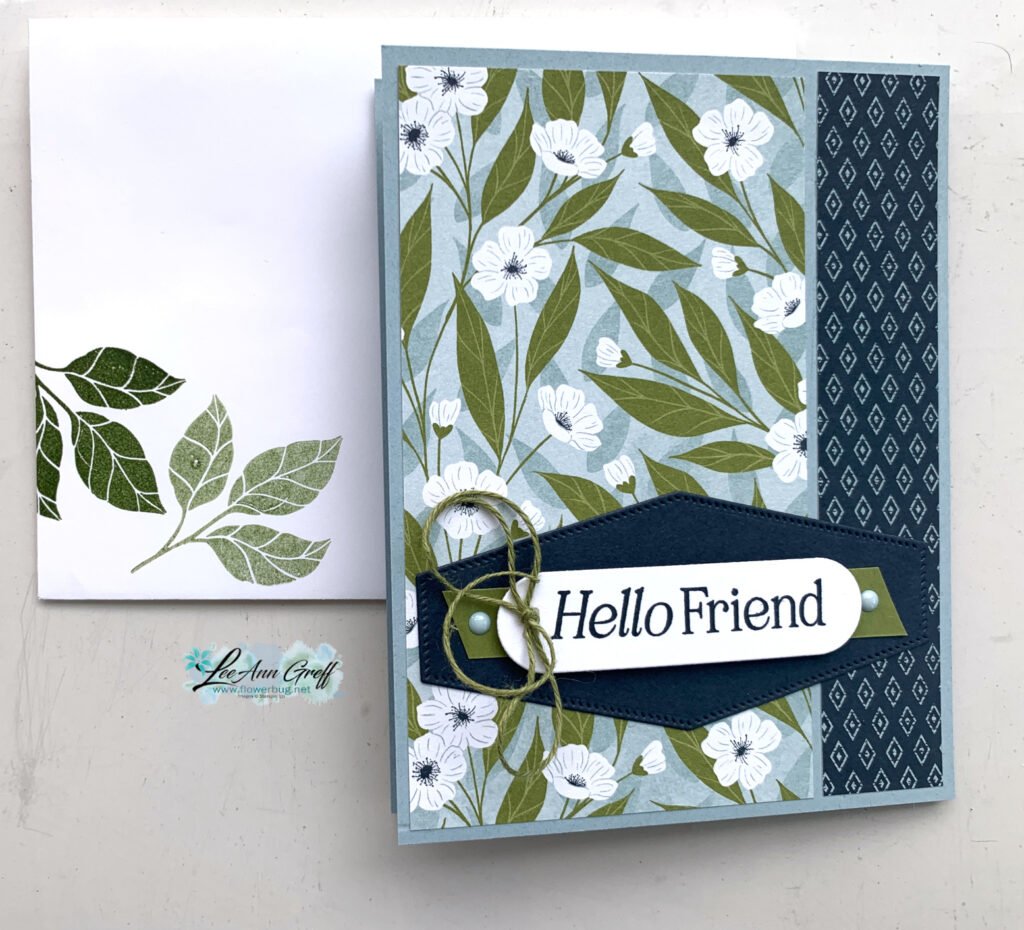
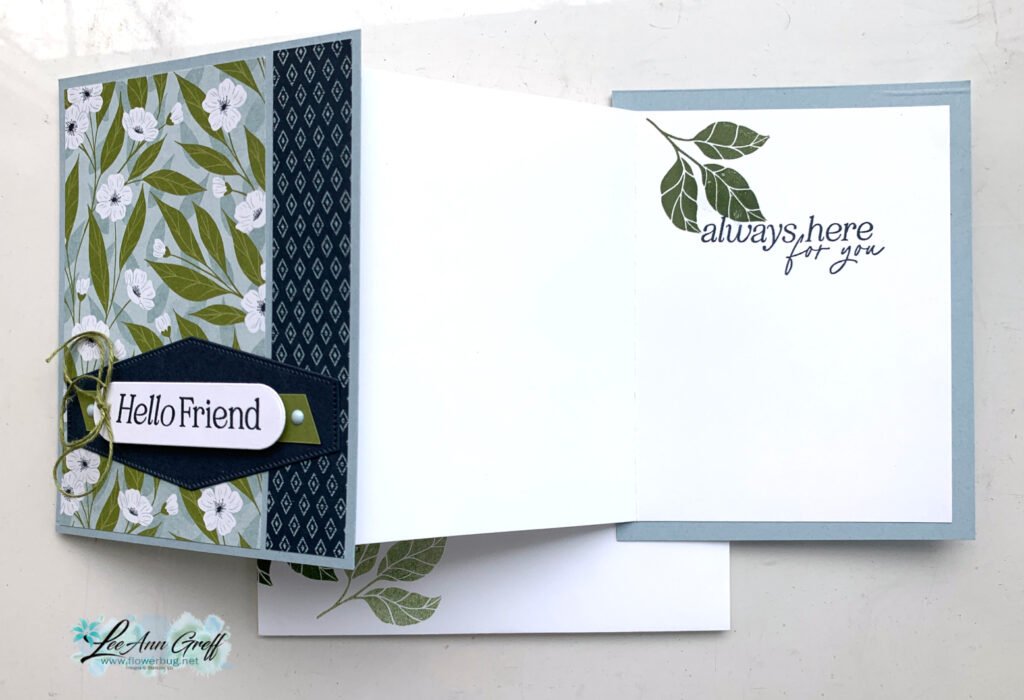
It's a double-decker fun fold card. It might look hard but it sure isn't! All you need to add is a simple box between the middle layer and the inside back of the card. Watch the video here to see how it's done.

Using our Blending Brushes I added the three colors (Tahitian Tide, Brilliant Blue & Gorgeous Grape) to a piece of White cardstock. I then used the Garden dies to die-cut it out. I adhered this to the back of the card base before adding the 'box' to create the double-decker fun fold card.
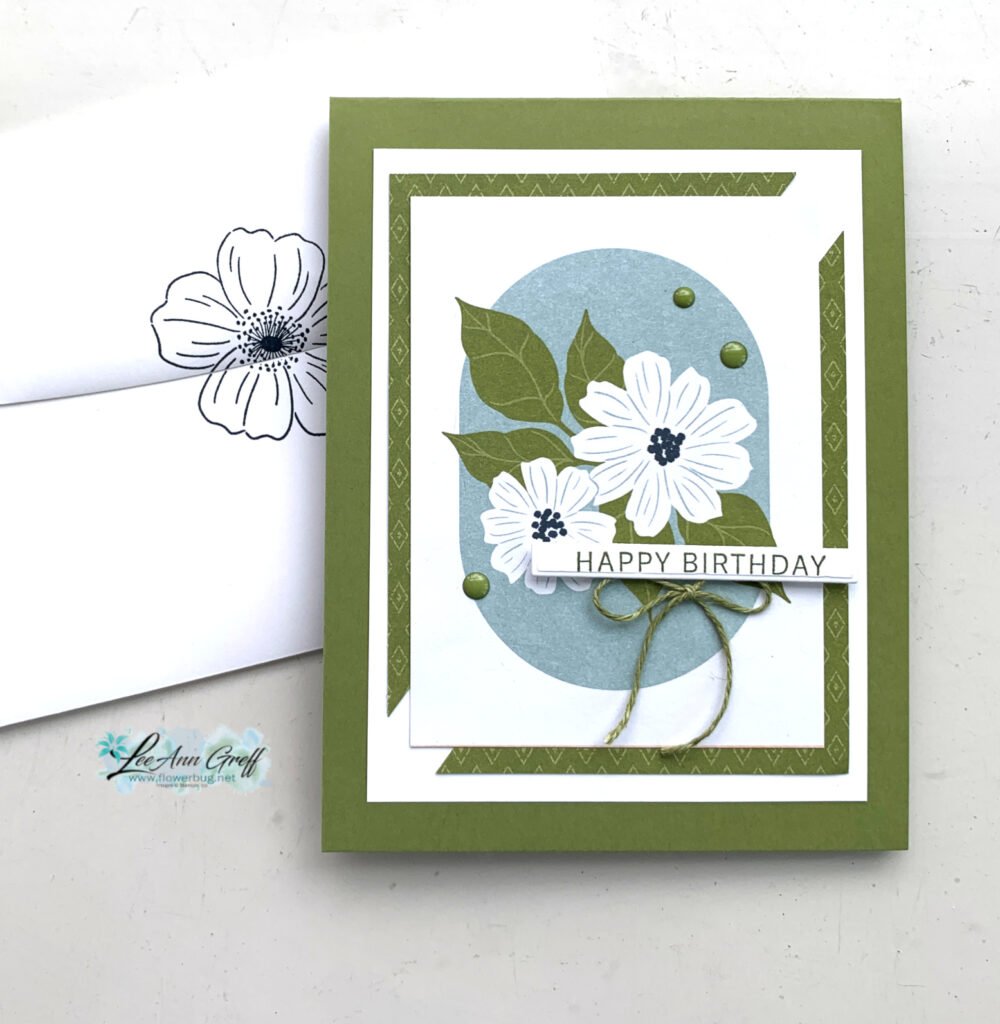
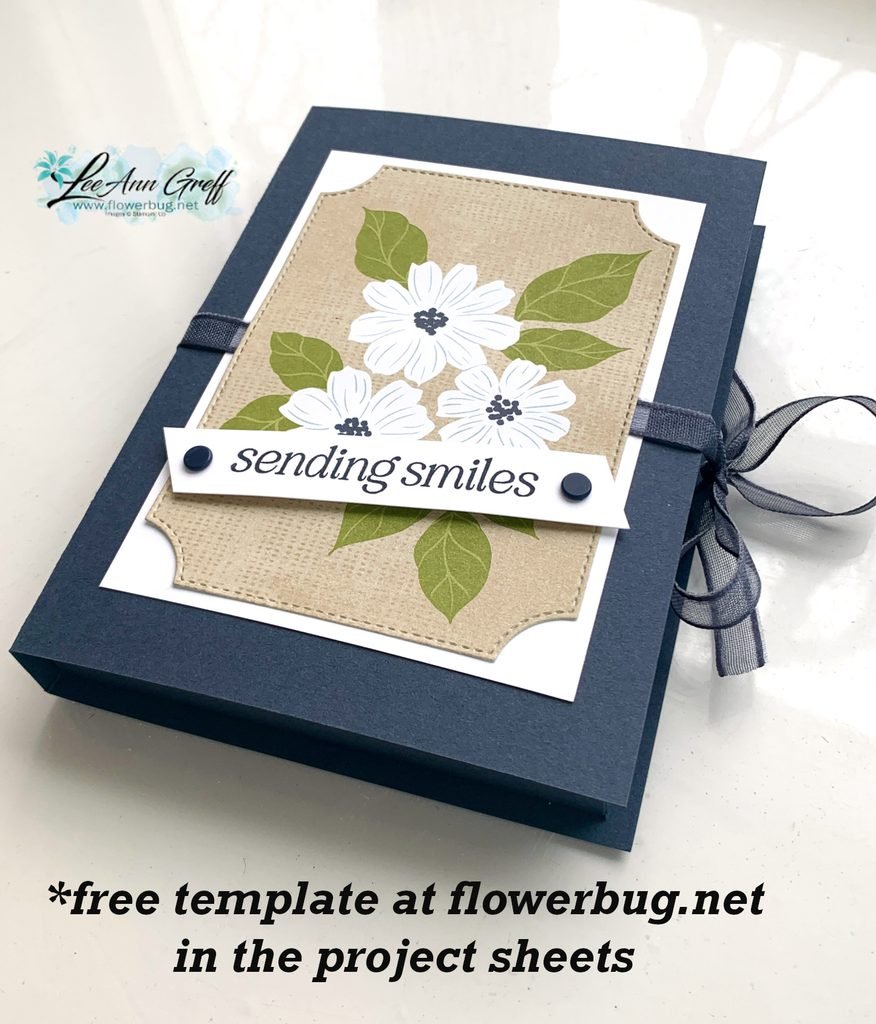
I created a second colorful die-cut so I could add extra details to the cards.
Supplies:
- Basic White & Brilliant Blue card stock
- Vellum Basics specialty paper seen here
- Inks – Brilliant Blue, Gorgeous Grape & Tahitian Tide
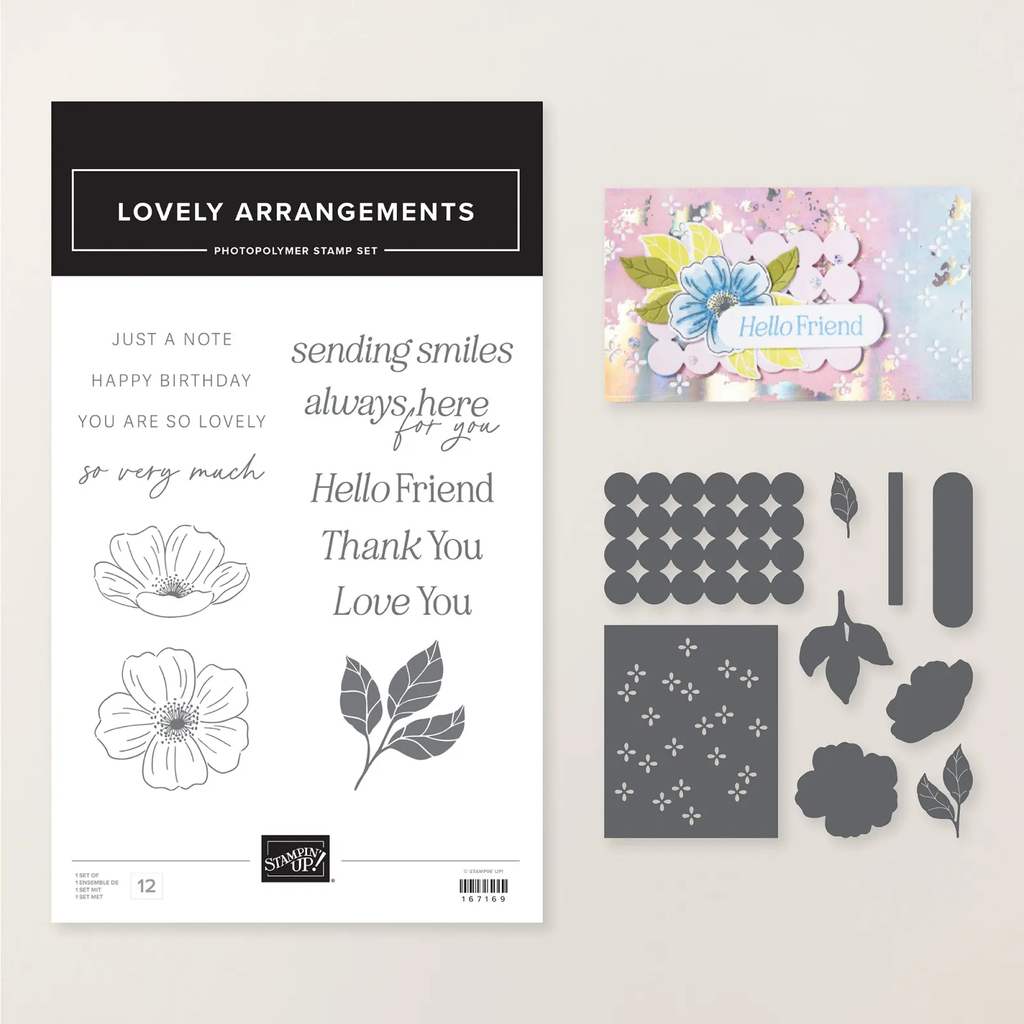
- Lasting Joy stamp set seen here
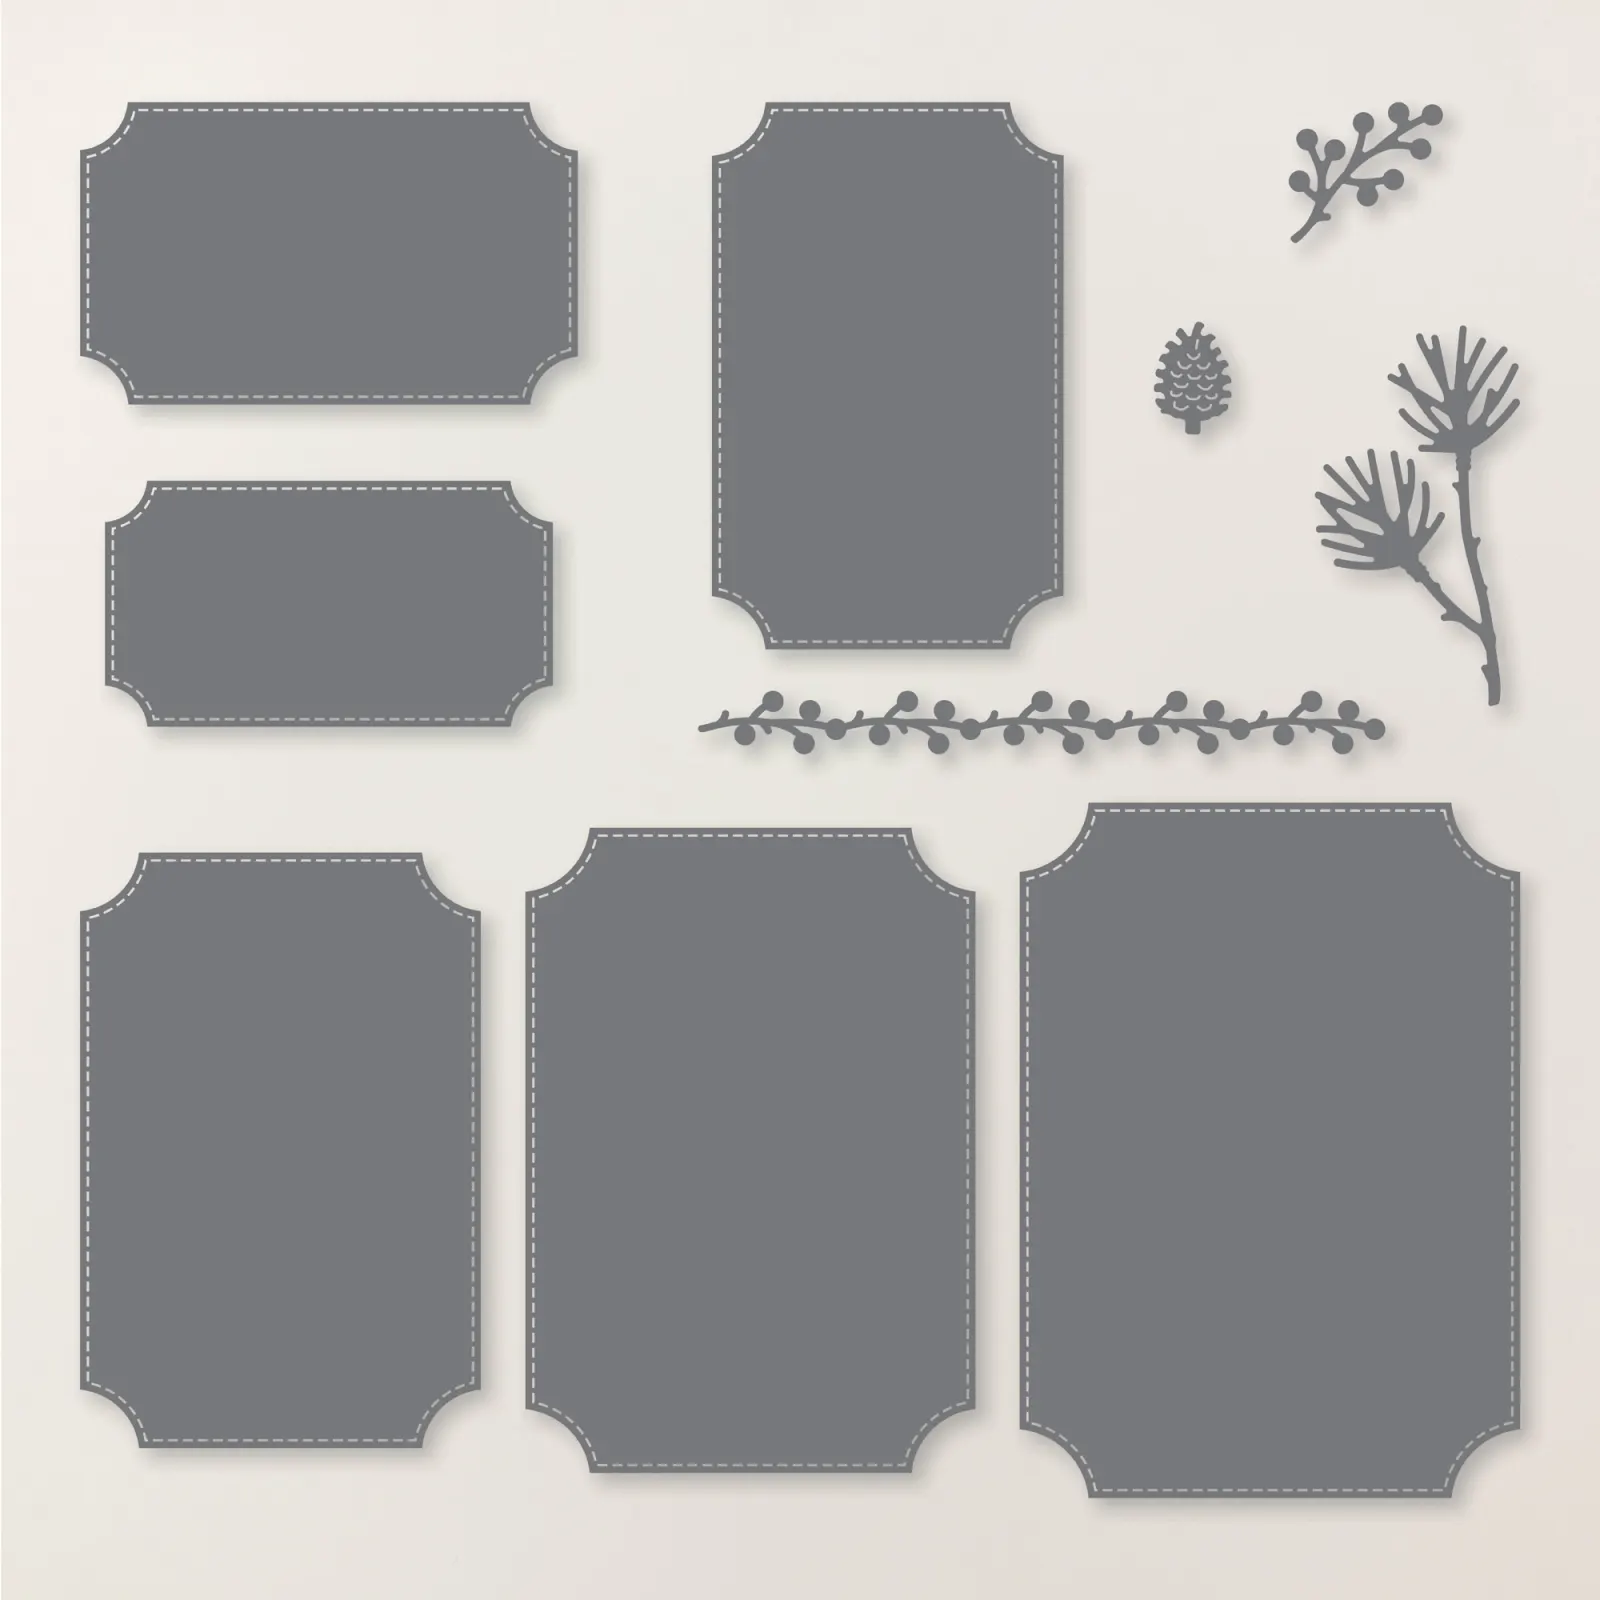
- Gorgeous Garden dies
- Basic 3D embossing folders seen here
- Stylish Shapes dies for the circles
- Scalloped Contours dies for the scalloped rectangle
- Blending Brushes

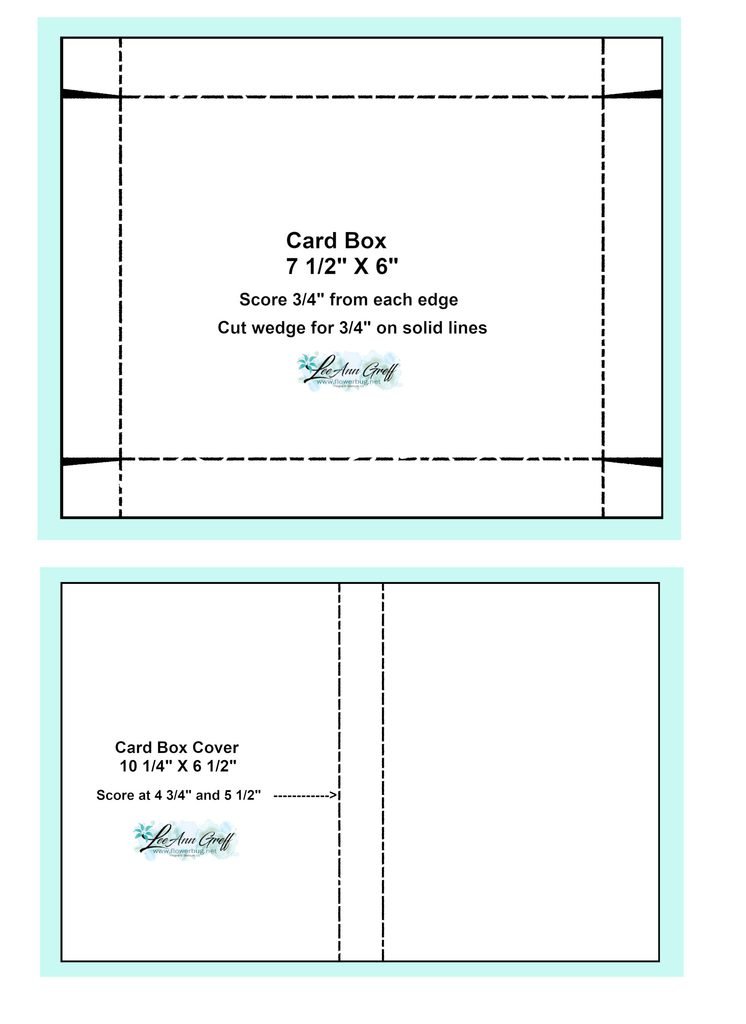
Double-decker card measurements:
- White card 8 ½” X 5 ½” score at 2 1/8” & 4 ¼”, front textured layer is 1 7/8” X 5 ¼”,
- White for die-cut 4” X 5 ¼”, Scalloped die-cut 3 1/8” X 4 ½”
- Box is 3 ½” X 4” – score every ¾”
- Circle die-cuts – 2 3/4" white & 3" blue
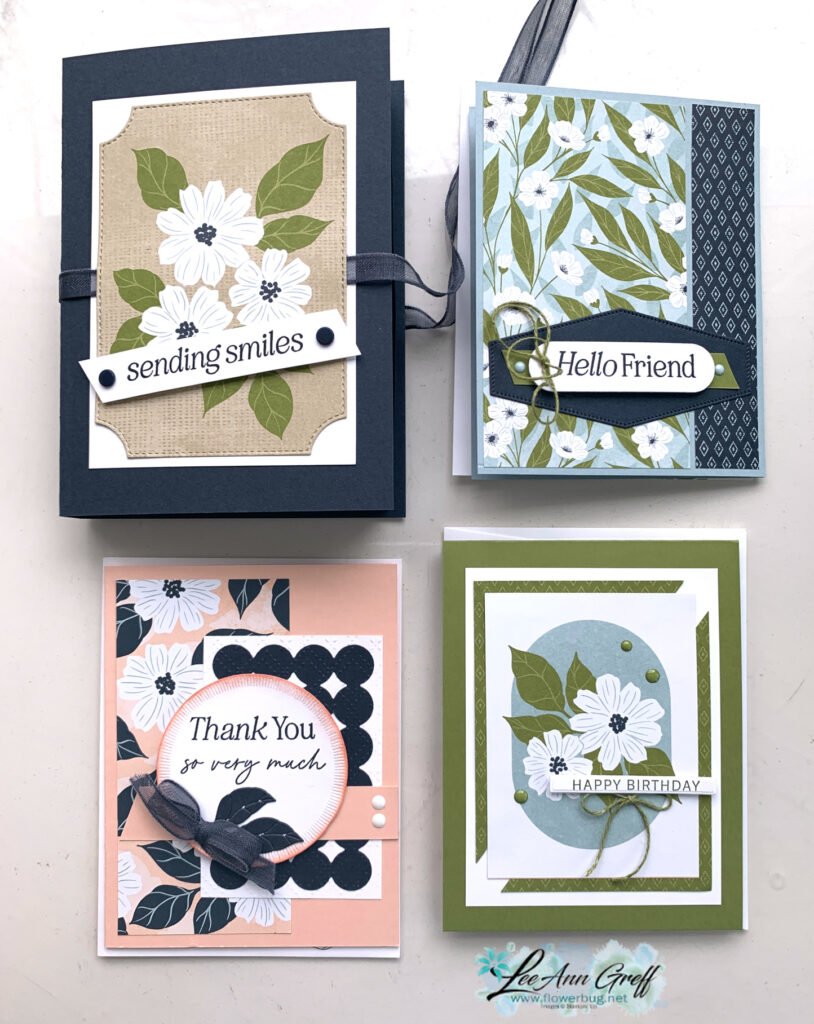
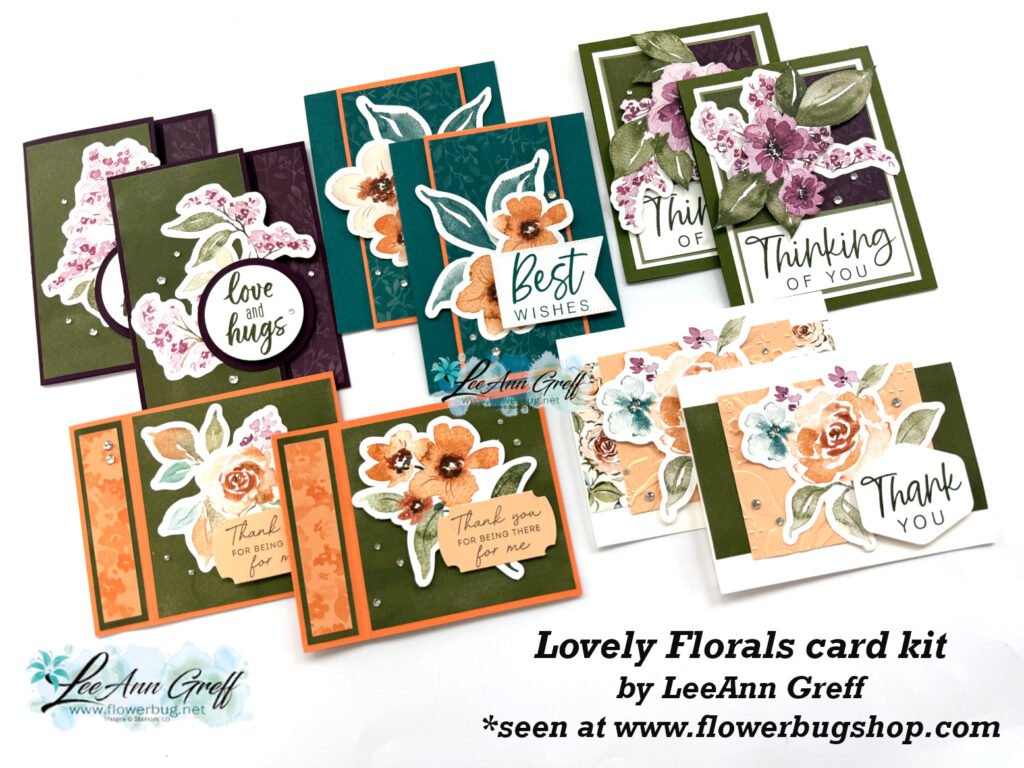
Here are both cards shown in the video below.

See the Gorgeous Garden dies here.

I made these cards on a recent video seen here. Or click on the photo below to watch.
Don't forget to follow me on YouTube here or on Facebook here.
~~~
August Specials:
*current host codes: KY99RPXP

Free Gift with orders in August:
Get a pack of at least 5 beautiful cards with orders over $50 this month.
The more you order the more cards you get!
*cards are previous card kits to go; over the top and many fun folds.


Leave a Reply