/


Latest Post

An easy Gift Card idea for Christmas with free project sheet


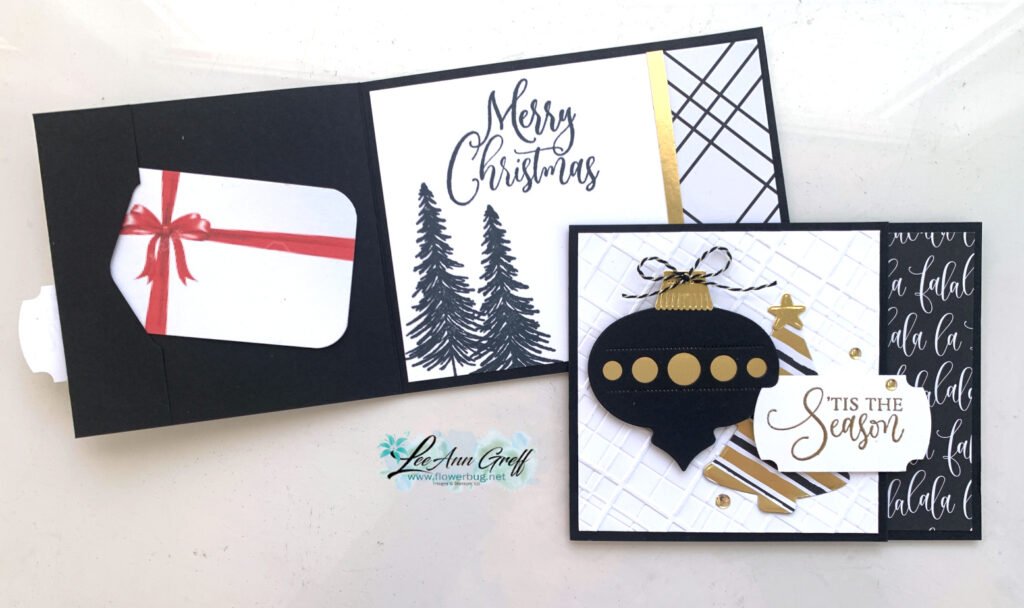
I shared this pretty card on last week’s video. It has an option for a gift card hidden inside.

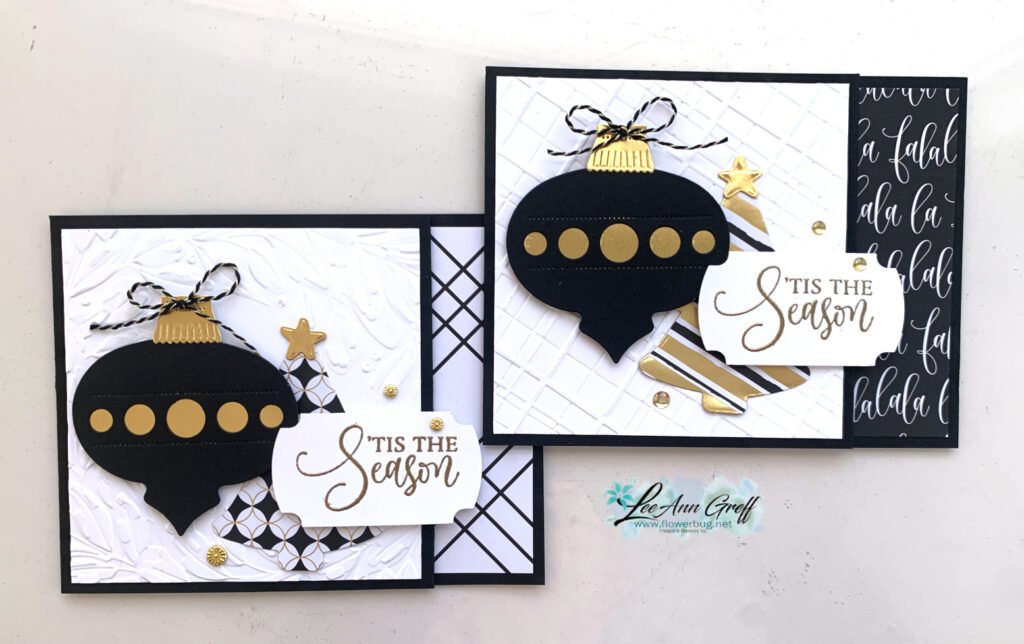
Isn’t it pretty? I featured the Modern Christmas suite here with the specialty DSP and the Ornamental Christmas bundle seen here.

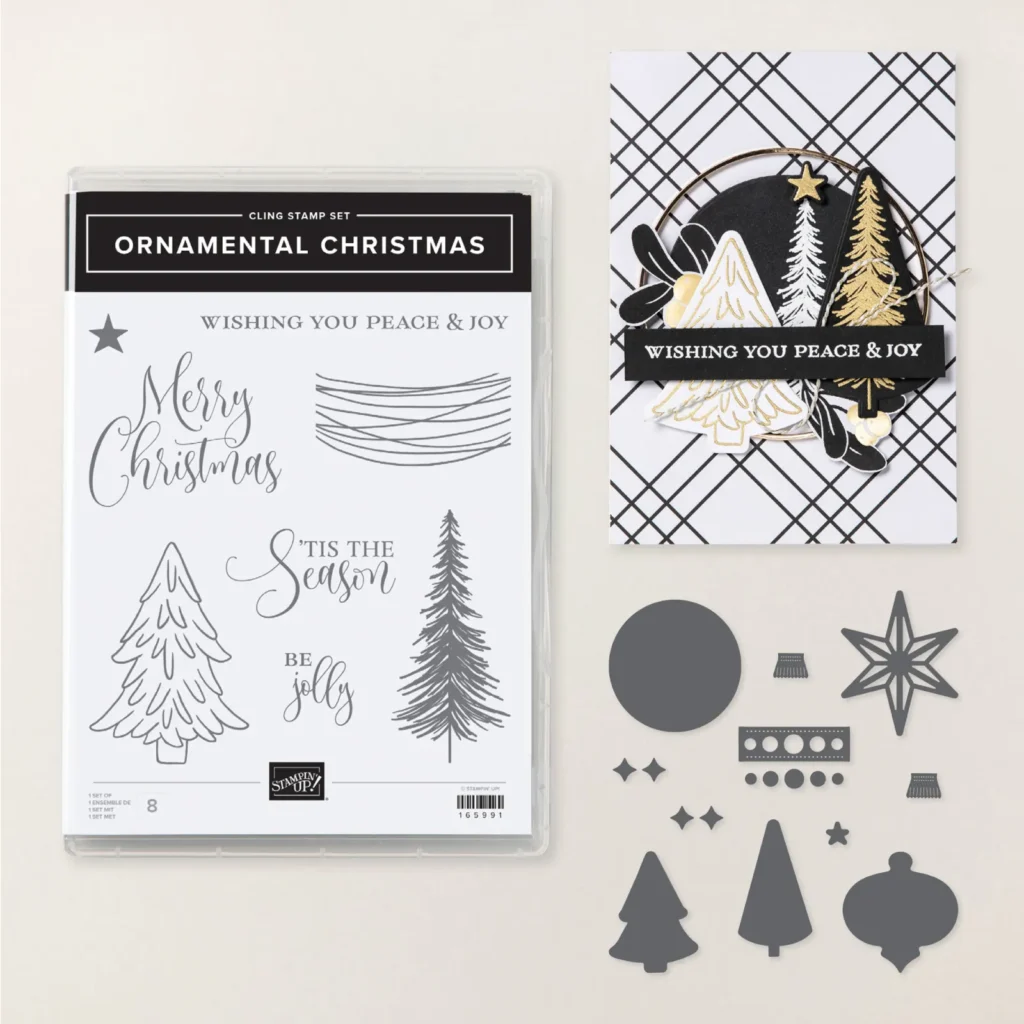
I just love the font on the greetings and the unique coordinating dies in this bundle.
My colors are classy in Black, White and Gold foil. You might notice two different embossing folders on the White layer. One is the Traditional Wreath 3D and the other is the Forever Plaid 3D.

There is a scored line on the front layer to create a pocket for a gift card inside. I used a punch to create a bit of interest on it.

What do you think of this color combination for Christmas? I worried some might not like it but everyone at my Clubs loved this card. The Modern Christmas designer paper seen here is gorgeous with it’s fun patterns.

I did heat emboss the greeting with Gold embossing powder and punched it out with the Labeled with Love punch. The bits of Gold foil all over this card really make it special!

I created a free project sheet for this card and also a video with tips & step by step directions. Click here to print or download it.

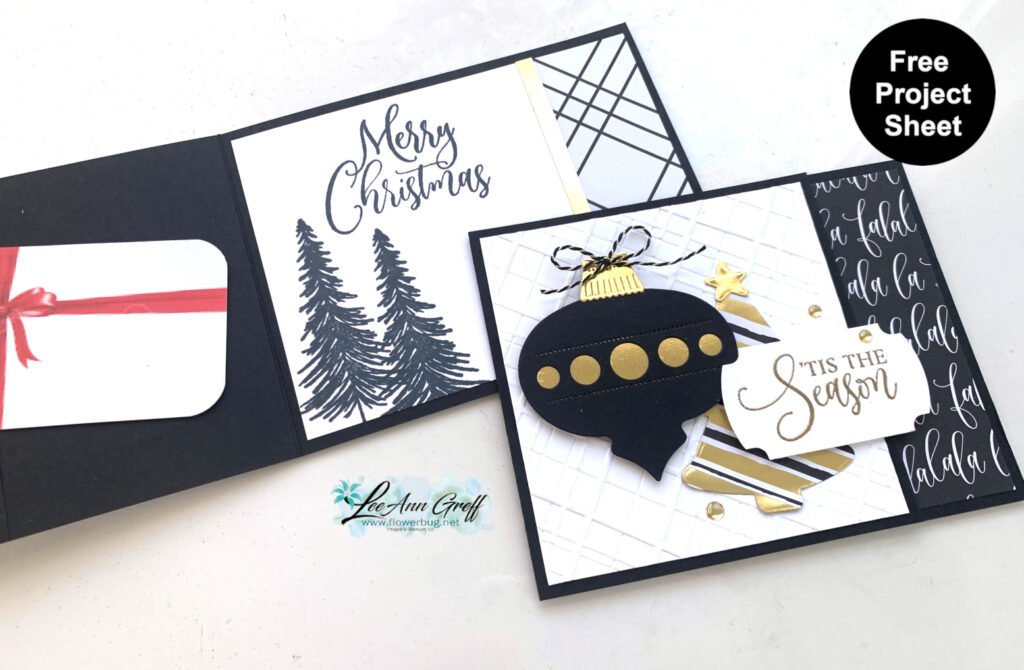
You can watch the video below to see how to assemble this card. There are also two more projects you’ll want to see!

*You’ll receive a PDF with multiple projects featuring this product
after the 20th of the month.
~~~

The Last Chance list has been updated!
Click here to shop.

Get a free PDF tutorial with any online order from me in December!

All Posts

  • Butterfly wobble & Bokeh technique with video!


    I'm excited to share one of my March Club cards with you.  This background is called the Bokeh technique. 

    Sponging a background is a big favorite of mine and when you add the Bokeh technique to it you get magic! I created my own dotted mask by punching a bunch of circles from a piece of card stock.  

    We made these cards at my March card clubs and they loved it!  I used the Vine Design stamp set as well as the Happy Thoughts set; both are retiring and on the Last Chance list here.  

    Measurements:

    • Pacific Point 4 1/4" X 11" scored at 5 1/2"
      White sponged layer 3 3/4" X 5"
      White layer (under sponged layer) 3 7/8" X 5 1/8"
      White inside 3 1/2" X 4 3/4"
      White greeting strip 1/2" X 5"

    I used Pretty Peacock, Pacific Point & Magenta Madness inks as well as the White Craft ink pad for the light colored dots.  You can see the video below.  It's so easy and amazing!

    The butterflies are created with the new Brilliant Wing dies seen here. They'll be in the upcoming Annual catalog but are available now too. 

    Here is the video; I hope you watch it.  This technique is so fun and unique every single time!  Think of the colors you could use! 

    ~~~

    Lots of March Specials!

    Current Host code is 9HGVYTBV9

    Order online here

    And if your order is over $50 you'll also receive a free adhesive package from me 3 sheets of Dimensionals and 1 for die-cuts!

    *If your order is over $150 do not use the code; you'll still receive the gifts! 

    All online orders receive a free PDF of the new Butterfly Bouquet bundle

    with 15 projects!

    Below are the Multipurpose Glue stands we're making. They're $6 each and available in my Shop here.  

    Leave a Reply

    Your email address will not be published. Required fields are marked *

  • Sweet Easter Baskets; Quick & Easy


    Need a quick project for Easter?  Or May Day?  Or to make something fun with a child?  This is it!

    I made these on a recent FB Live and it couldn't be easier!  

    Start out with a square of paper.  I chose to use White card stock for the one above since I wanted to stamp my own background with the Circle Celebration stamp set.  I chose to use Magenta Madness, Old Olive, Daffodil Delight and Balmy Blue.  

    I used a 5 1/2" square of White CS for it so I could get two baskets from one sheet of 8 1/2" X 11" paper.  Score it at 1 3/4" on all sides.  Cut up two sides and fold them up to form the basket.  Add a strip of CS for a handle and something fun on the side.  Here I used the Oval Occasions stamp set.

    For the butterfly basket on the right I used a 6 X 6" square of Butterfly Bijou designer paper.  Unfortunately this paper is sold out now.  They hoped to have enough through May but we all loved it so much they ran out!  I'm so sorry about that.  

    The 6" basket is just slightly larger than the 5 1/2" basket; both work wonderfully for holding treats! 

    You can see the video here.  It's a FB live replay; scroll towards the end to see the basket project.  

    ~~~

    Lots of March Specials!

    Current Host code is PX6ZWGM7

    Order online here

    Retiring Annual Catalog items here; while supplies last!


    And if your order is over $50 you'll also receive a free adhesive package from me 3 sheets of Dimensionals and 1 for die-cuts!

    *If your order is over $150 do not use the code; you'll still receive the gifts! 

    All online orders receive a free PDF of the new Butterfly Bouquet bundle

    with 15 projects!

    Below are the Multipurpose Glue stands we're making. They're $6 each and available in my Shop here.  

    Leave a Reply

    Your email address will not be published. Required fields are marked *

  • Offset Triple-time Stamping with video & measurements


    Before seeing my projects today I need to be sure you know about the Last Chance Sale; click on this link to see it all in my store. 

    There are a ton of items on sale; some up to 60% off!  These are while supplies last and some will disappear within days. 

    *Please check this list carefully so you don't miss anything you really want! 

    Below are a few shockers/surprises that are retiring:

    Click here to see them online.  It is so much easier to see everyone on the list online. 

    Download ENG only Last-Chance-Prodcts-Annual-Catalog-2020-2021

    ~~~~

    On last week Tuesday's FB live I created a bunch of projects featuring the Circle Celebration stamp set in the Spring catalog.  You can see it here. 

    The Triple Time Stamping technique is when you stamp on three pieces of card stock all at once.  I layered just the White pieces in place and adhere them together slightly. This holds them in place while stamping with the fun circle images.

    Then you adhere them to the larger Navy card stock pieces.  Watch the video below to catch my tips.  It's the first project of three in the video. 

    I used the Tailored Tag punch and the Best Year stamp set for the greeting with a few loops of Daffodil Ruched ribbon. 

    The colors in the card above are Night of Navy, Daffodil Delight and Smoky Slate.  It is my Creative Card Color Combo last week. 

    Here is the video; I hope you watch it for these fun projects! 

    ~~~

    Lots of March Specials!

    Current Host code is 9HGVYTBV9

    Order online here

    And if your order is over $50 you'll also receive a free adhesive package from me 3 sheets of Dimensionals and 1 for die-cuts!

    *If your order is over $150 do not use the code; you'll still receive the gifts! 

    All online orders receive a free PDF of the new Butterfly Bouquet bundle

    with 15 projects!

    Below are the Multipurpose Glue stands we're making. They're $6 each and available in my Shop here.  

    Leave a Reply

    Your email address will not be published. Required fields are marked *


Notice: LeeAnn Greff, Independent Stampin’ Up! Demonstrator, Manager. The content of this website is my sole responsibility as an independent Stampin’ Up! demonstrator and the use of, and content of, the classes, services, or products offered on this website is not endorsed by Stampin’ Up! Copyright 2025