/


Latest Post

A unique Puzzle Slider fun fold card with video & free project sheet


I shared this neat fun fold card on last week's Tuesday Live video. Every Tuesday at 11 am CT I host a live class on my Facebook page here.  If you're not on Facebook I upload them to my YouTube channel here too. 

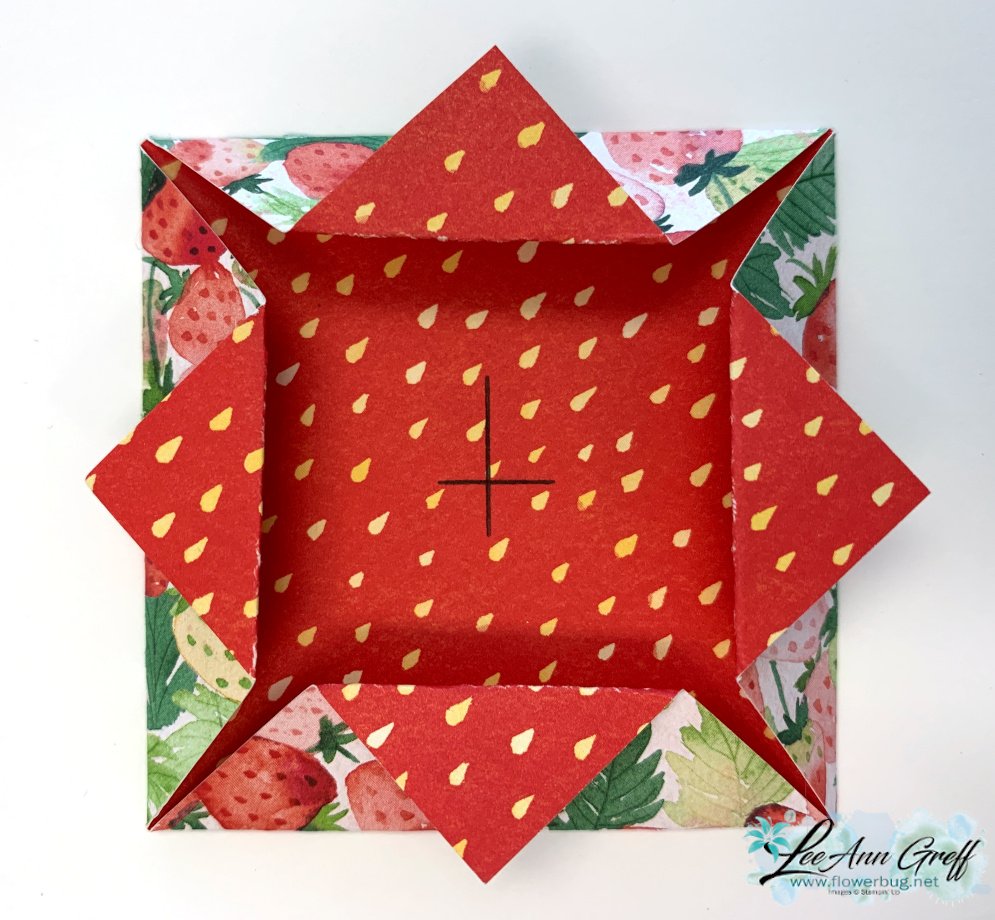
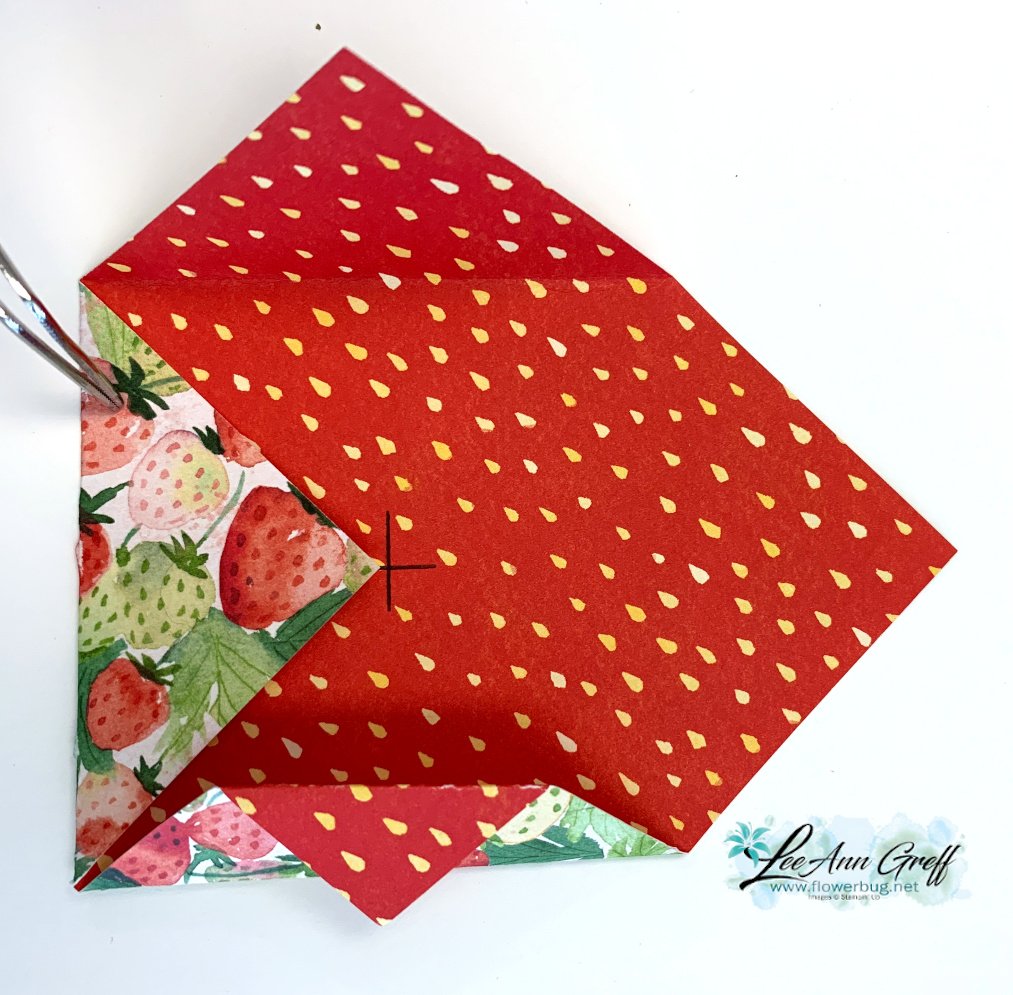
It's called a Puzzle Slider fun fold card

It's quite easy to make & I share how to cut & score and assemble it on my video here.  Or scroll down a bit for the free project sheet you can save & print. 

I chose our new Petunia Pop card stock for my card base & front layer. The pretty designer paper is called Thoughtful Journey and can be seen here. 

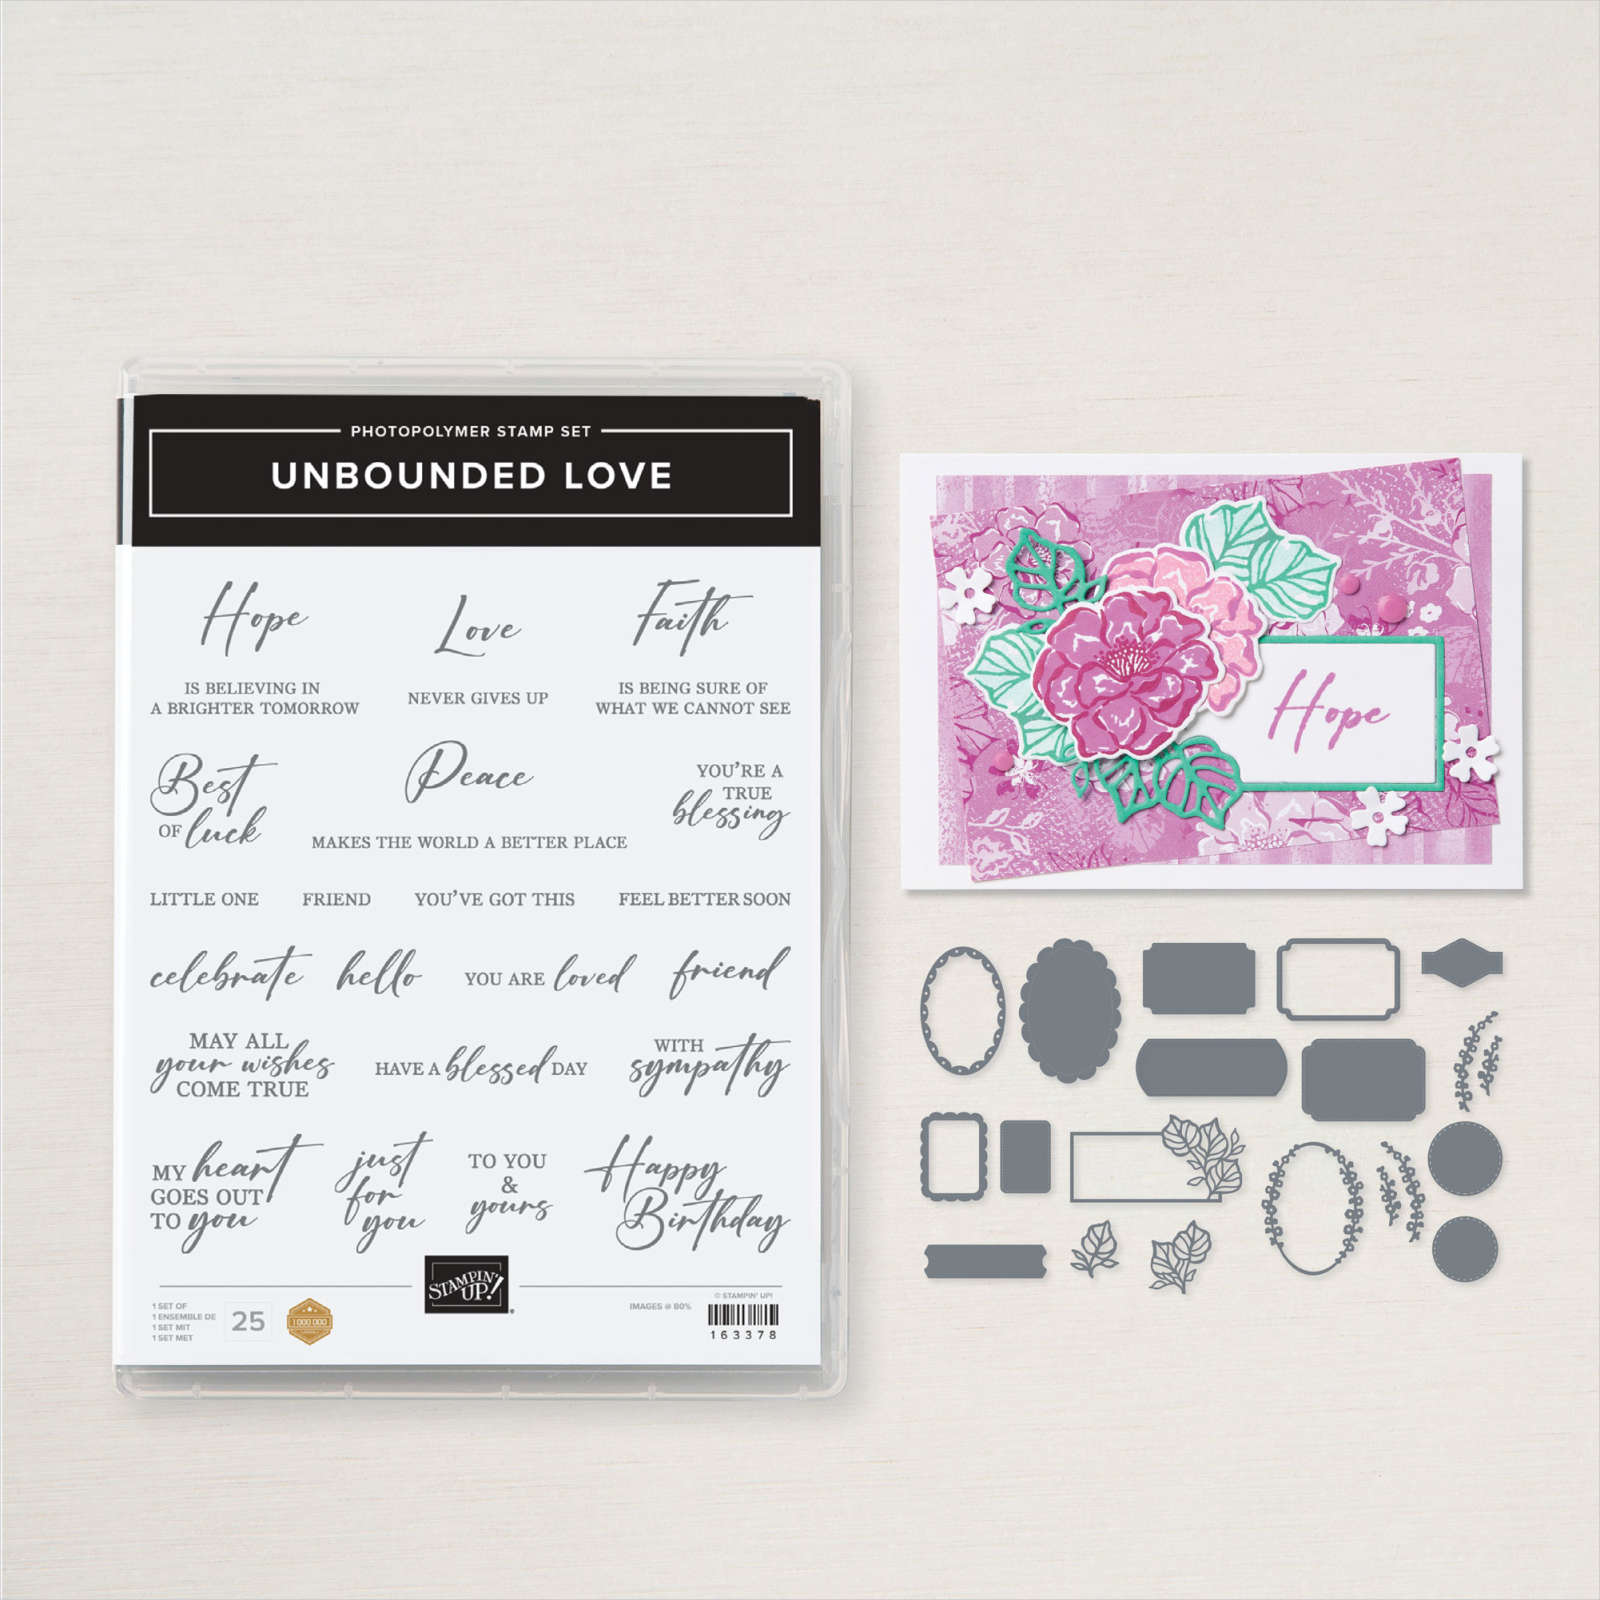
The greeting image and die-cuts are part of the Unbounded Love bundle seen here.  It's my top favorite bundle in the new catalog. 

I created a template for the front two puzzle layers of the card. The card base is 9 1/2" X 4 1/4" score at 1" & 2" from each end.

Click here to download and print the free project sheet: Download Puzzle Slider fun fold card

What do you think?  Are you going to try one of these easy fun fold cards?  

Below is the video to see how it's made; I hope you watch it AND follow me on YouTube!

~~~

May Specials: 

*current host code link:  FCJ937QT or 9AWSF9T9

Click on the pictures above or below to get to my new catalog shares – choose from designer papers or a ribbon share. 

~~~

All online orders in May will receive a free project tutorial and if your order is over $50 I'll also send you a pre-cut card kit!

All Posts

  • Fun Origami Folded Window cards for FB Live Monday!


    Have you made an origami folded window?  They're so easy to do!  I'll be making cards like these on Monday night's FB Live 'Stamp with Me' here. 

    How does 'Stamp with Me' work?  I share the projects a few days before the Live to give you time to prep your pieces.  You use the paper, stamps & ink you have to stamp right along with me!  

    You'll start with a 4" square of Designer Paper.  I chose to use the Berry Delightful paper from the Sale-a-Bration catalog. 

    Then you draw an X in the center. Do this by placing a ruler from corner to corner.  Draw a line.  Do the same once more on the other corners.  This X is where you will bring the DSP point up to.  Press well and then fold back the tip to the fold. Do this on all corners!  


    It looks like the tip hangs off the corner but it doesn't. I added a layer to some of these measuring 3" square.  If you add a stamped layer inside that is 2 3/4" square. 

    The stamps are from the Berry Blessings stamp set; it comes with this super fun designer paper in a bundle.  It's FREE with a $100 order through February 28th.  If you place an order to earn this bundle you'll also receive a free 10 cards kit from me for my 12 X 12" one sheet wonder. See it here. 


    Here's the link to this video.

    ~~~

    February Specials:

    Get the best deal during Sale-a-Bration with purchase of the Starter Kit!   Get $125 in products of your choice for just $99 and FREE shipping too!  

    Plus you get 5 packs of NEW 6" Designer Paper FREE. 


    Go here to read about it


    ~~~

    Current Host code is CGSK9YDR

    Order online here

    All online orders receive both a Hydrangea Hill and Sand & Sea projects PDF!


    ~~~

    Get a package of 150 Resin Hearts from me with an online order over $50 using the host code above. They're adorable and so tiny!

    *If your order is over $150 do not use the code; you'll still receive a gift! 

    Below are the Multipurpose Glue stands we're making. They're $6 each and available in my Shop here.  

    Click here to follow me on Facebook! 

    Leave a Reply

    Your email address will not be published. Required fields are marked *

  • Seashells fun fold card; wow!


    Sharon created this gorgeous 'dutch door' fun-fold card for our February Team swap. 

    I think stamping on the die-cut shell before embossing is the neatest idea!  She used the Friends are Like Seashells bundle with the Seashells 3D embossing folder. 

    Her colors are Blushing Bride with Gray Granite and our new Pearlescent Paper.  This specialty paper is absolutely stunning! See it here. 

    That great texture on the back layer is made with the Painted Texture embossing folder seen here. 

    Measurements: 

    • Gray Granite 8 1/2" X 5 1/4" and trim off 2 3/4" X 4 1/4" on the upper left front. Front is 4" X 2 3/4"
    • Pearlescent paper is also 4" X 2 3/4" 
    • Blushing Bride 4 1/8" X 5 3/8" inside, 2 7/8" X 4 1/8" front
    • Vanilla inside is 2 3/4" X 4" 

    *Remember that if you have a nice wish list February is a great time to whittle it down!  You can choose to order as a customer and earn free Sale-a-Bration items or get the Starter Kit option and get 25% off a $125 order.  And then get 20% off all further purchases! Details in this post or click here.

    Today's the last day to get in on my Sand & Sea cards kit to go.  Click here to get the kit or the tutorial. 


    ~~~

    February Specials:

    Get the best deal during Sale-a-Bration with purchase of the Starter Kit!   Get $125 in products of your choice for just $99 and FREE shipping too!  

    Plus you get 5 packs of NEW 6" Designer Paper FREE. 


    Go here to read about it

    ~~~

    Current Host code is CGSK9YDR

    Order online here

    All online orders receive both a Hydrangea Hill and Sand & Sea projects PDF!


    ~~~

    Get a package of 150 Resin Hearts from me with an online order over $50 using the host code above. They're adorable and so tiny!

    *If your order is over $150 do not use the code; you'll still receive a gift! 

    Below are the Multipurpose Glue stands we're making. They're $6 each and available in my Shop here.  

    Click here to follow me on Facebook! 

    Leave a Reply

    Your email address will not be published. Required fields are marked *

  • Playful & unique cards with Oh So Ombre’ Designer paper!


    Do you have the fabulous Oh So Ombre' Designer Series Paper yet?  If not here are three creative reasons you need it!

    Aren't they fun!  I really wanted to show you how amazing this designer paper is so I played and came up with these neat card ideas.  First is a starburst card in two colors; Bermuda Bay and Blackberry Bliss.  

    I used the fabulous Stitched Star dies and the Oval Occasions stamp set.  Watch the video below to see just how easy it is to make one of these gorgeous cards. 

    Next I played with the Dandy Wishes dies (2021 Spring Catalog) to create these 'Retro' style cards.  I first die-cut a bunch of 'windows' in the White panel.  Then added punched circles of the Oh So Ombre DSP behind them.  Next I textured the entire thing with an embossing folder.  

    For the last card I wanted to use those retro style die-cuts so I created this Ombre panel card.  The stamp set is from Field of Flowers. 

    Thanks for stopping in today; I hope you like these unique cards.  If you do and want to get your own package of Oh So Ombre' Designer Paper you can get it free with a $50 purchase.  click here to order.


    Please follow me on my Facebook page here or my YouTube channel here.  

    ~~~

    February Specials:

    Get the best deal during Sale-a-Bration with purchase of the Starter Kit!   Get $125 in products of your choice for just $99 and FREE shipping too!  

    Plus you get 5 packs of NEW 6" Designer Paper FREE. 


    Go here to read about it

    ~~~

    Current Host code is CGSK9YDR

    Order online here

    All online orders receive both a Hydrangea Hill and Sand & Sea projects PDF!


    ~~~

    Get a package of 150 Resin Hearts from me with an online order over $50 using the host code above. They're adorable and so tiny!

    *If your order is over $150 do not use the code; you'll still receive a gift! 

    Below are the Multipurpose Glue stands we're making. They're $6 each and available in my Shop here.  

    Click here to follow me on Facebook! 

    Leave a Reply

    Your email address will not be published. Required fields are marked *


Notice: LeeAnn Greff, Independent Stampin’ Up! Demonstrator, Manager. The content of this website is my sole responsibility as an independent Stampin’ Up! demonstrator and the use of, and content of, the classes, services, or products offered on this website is not endorsed by Stampin’ Up! Copyright 2025