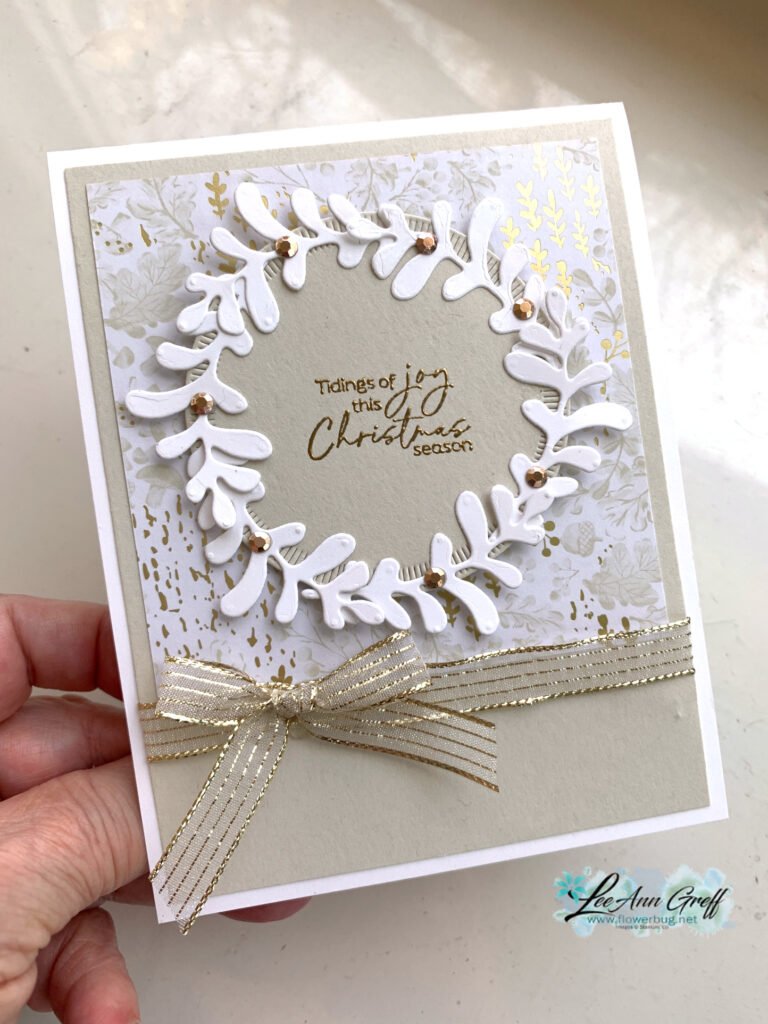
My colors include White, Basic Beige & Gold. Soft, pretty & classy.
Here are the products I used:
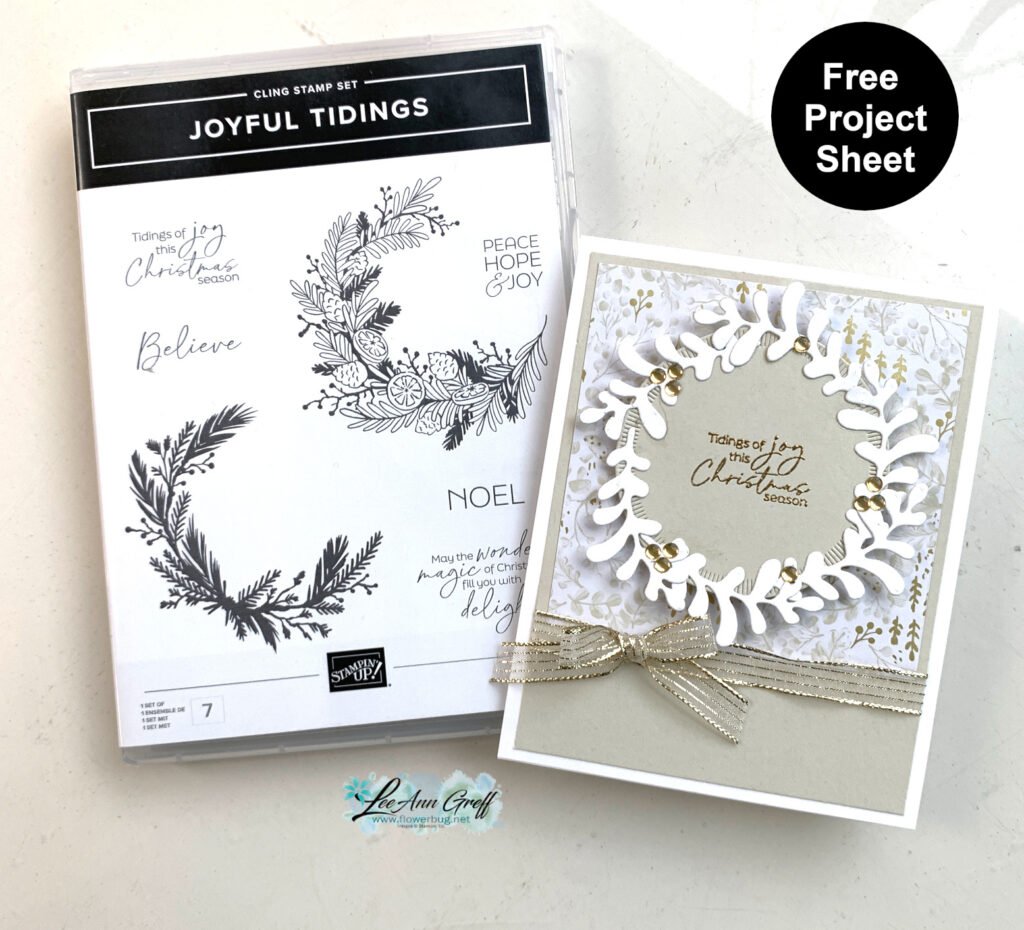
– Gathering Together designer series paper – Gold Striped ribbon – Low-profile dots (now retired) – Gold heat embossing powder – Creative Haven dies seen here for the leaf die-cuts
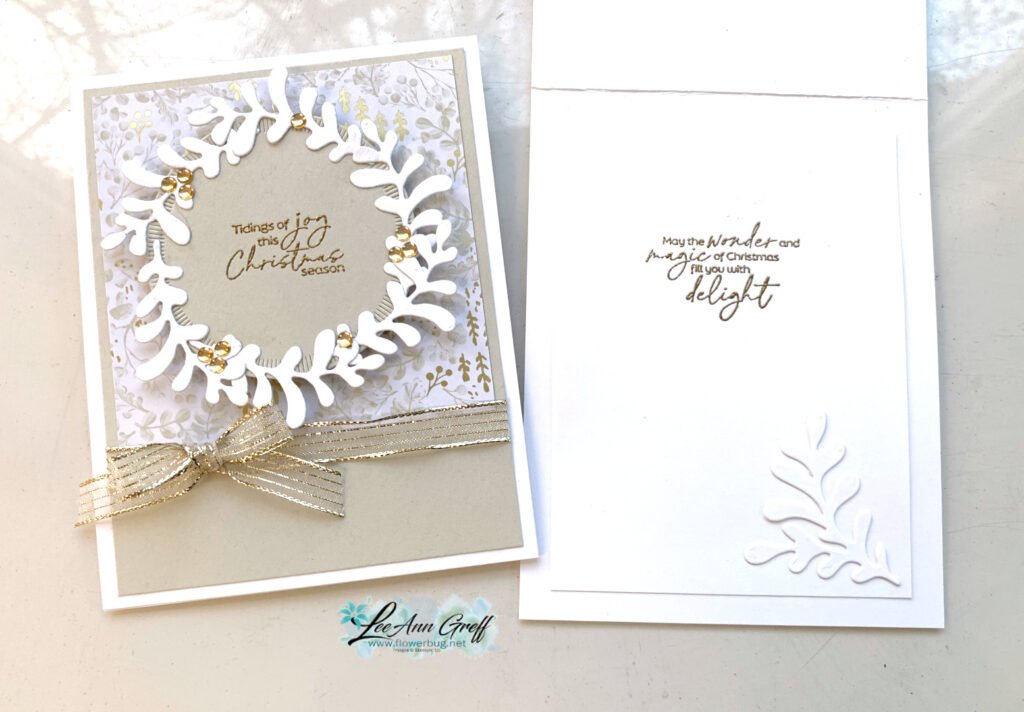
You can also watch the video tutorial below. I shared a neat trick to place the leaf die-cuts on the greeting circle element. Press & Seal wrap saves a ton of time!
~~~
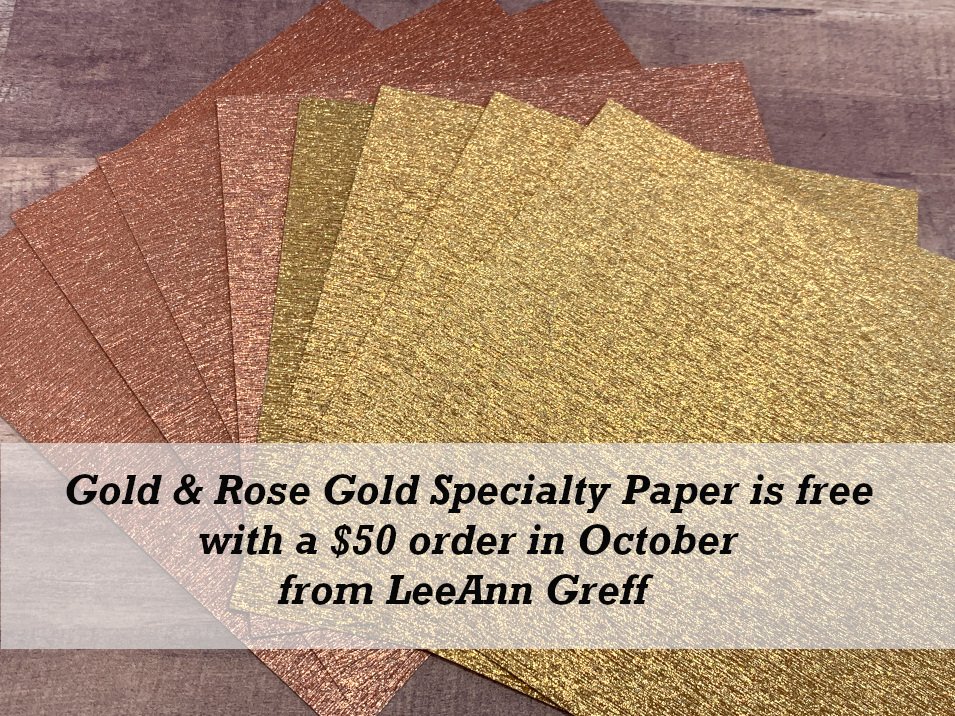
November Specials
New Online products are available on November 4th. See them here.
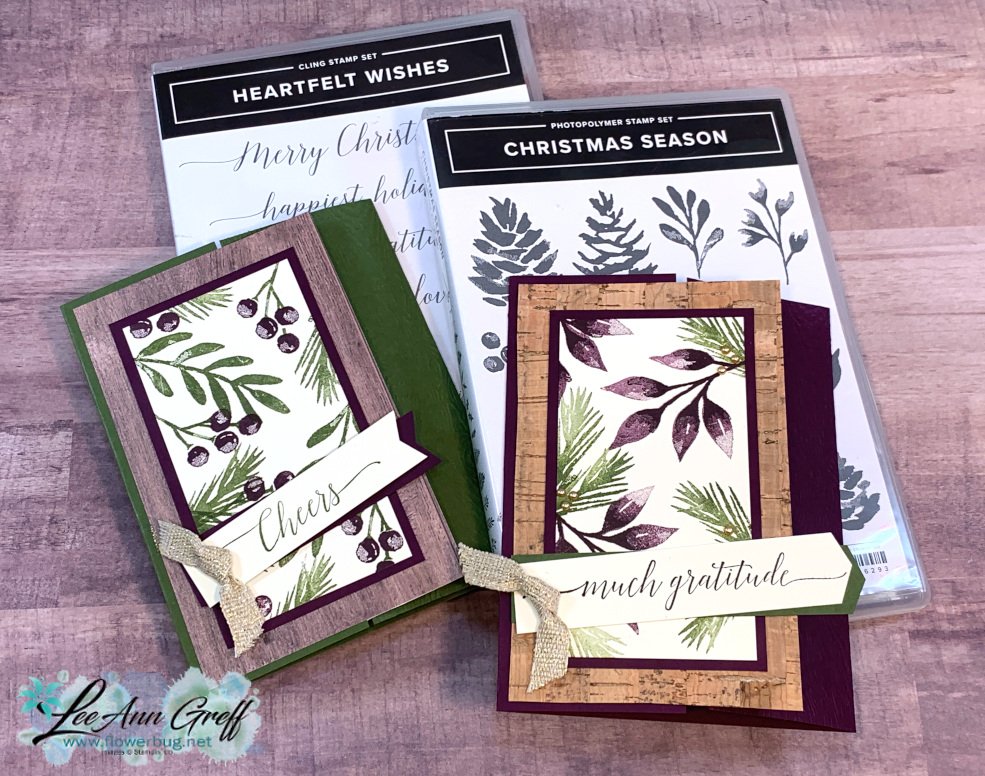
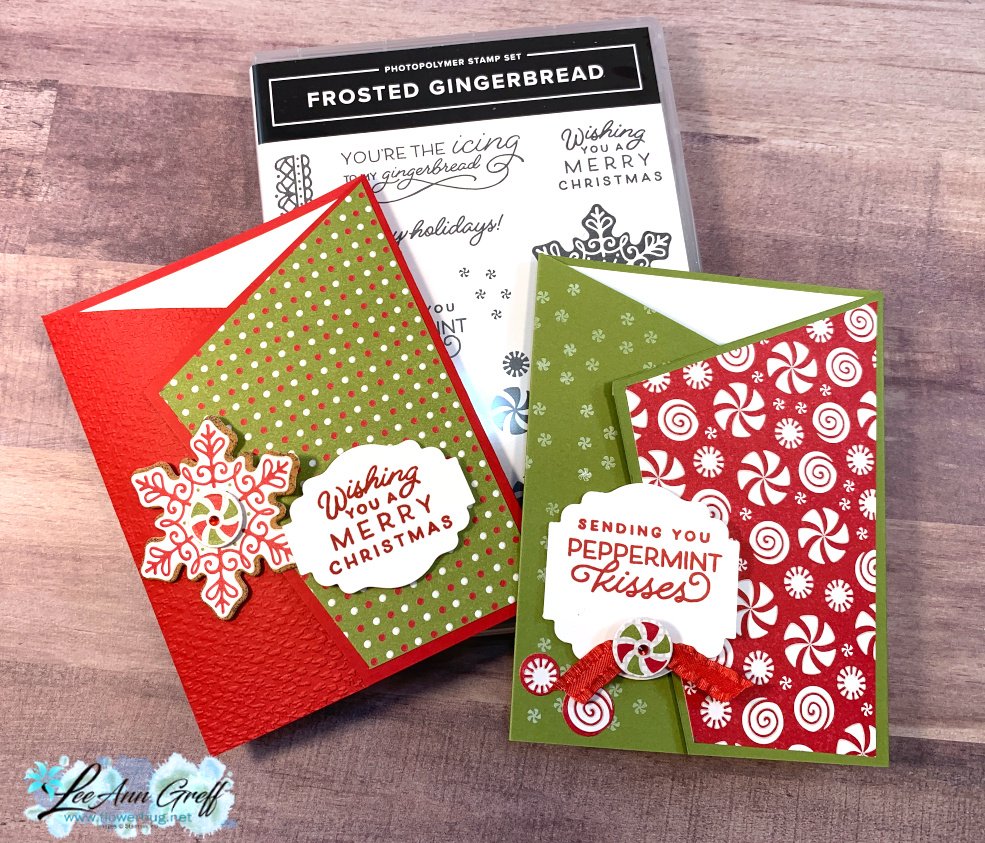
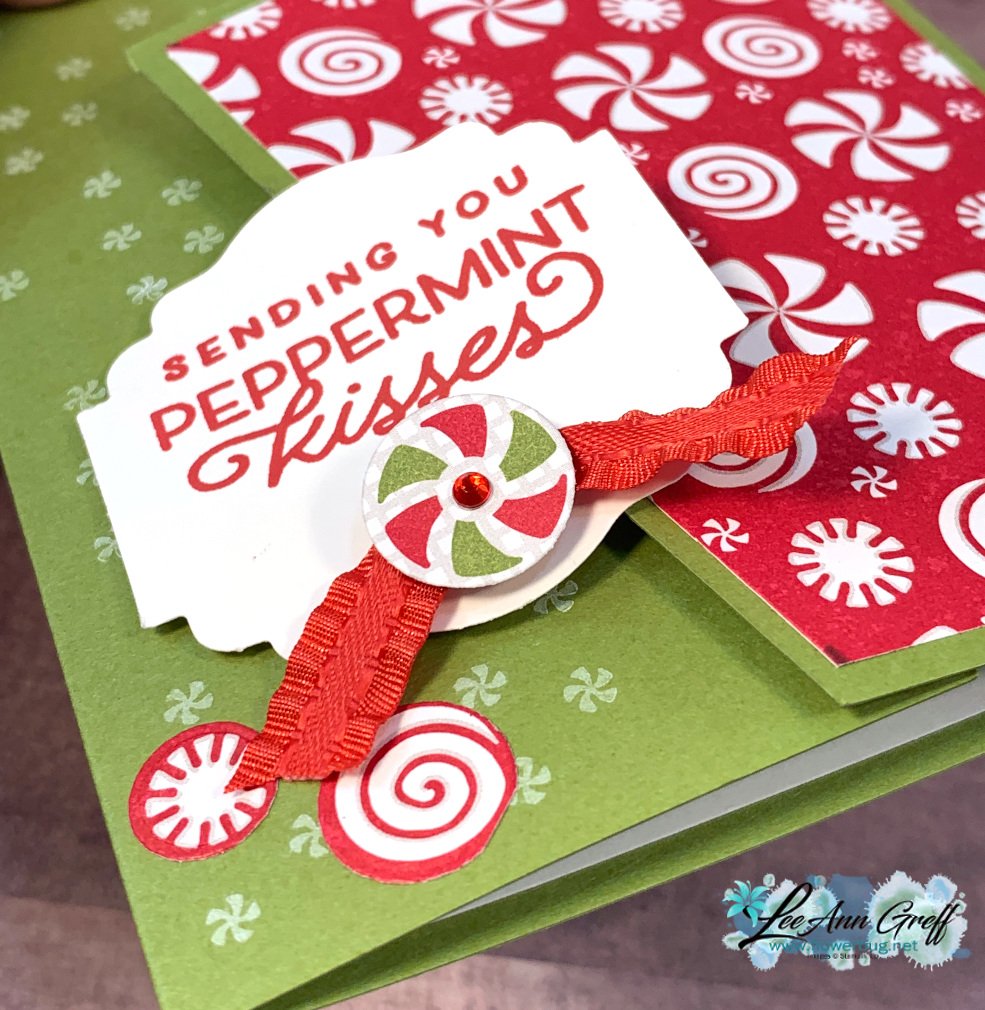
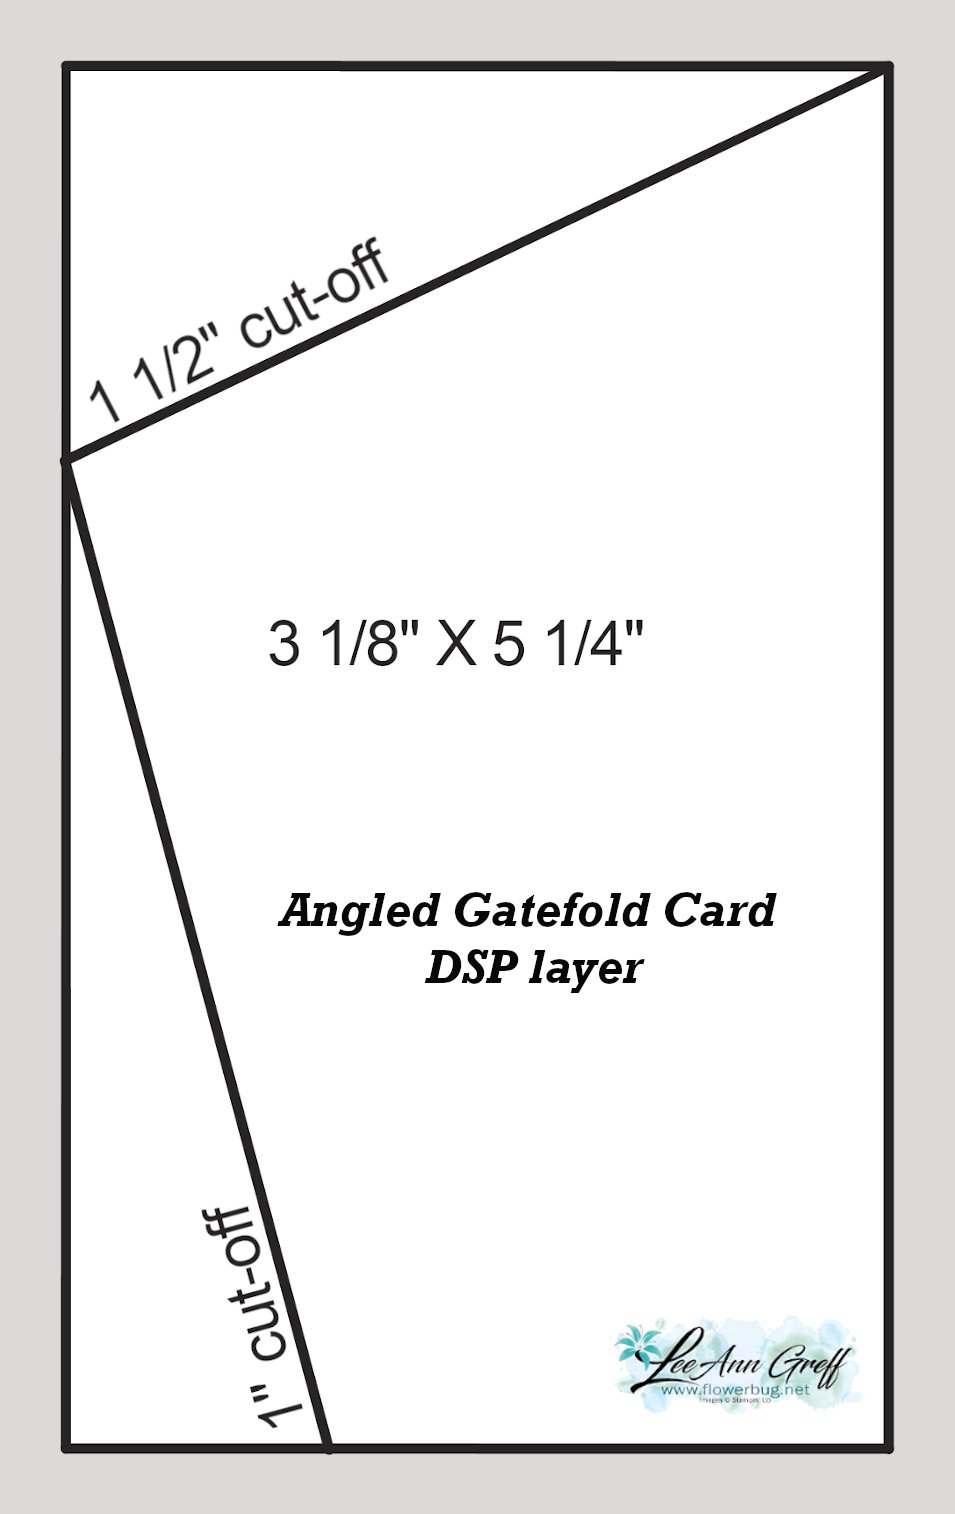
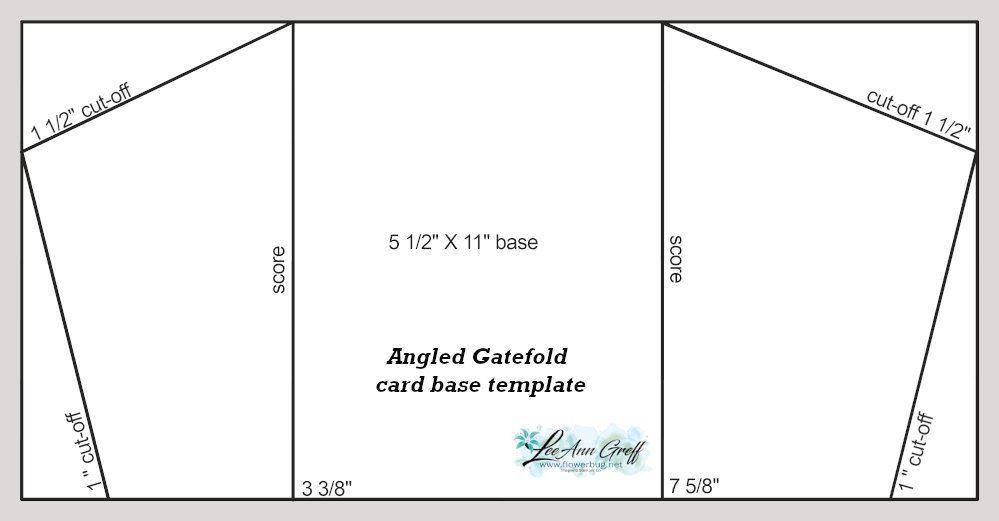
It's actually a gatefold card but the front panel is a piece of designer paper that leaves a reveal of the right edge of the card base which is textured.
For these two cards I chose to use the In Good Taste DSP (Annual Catalog on the left) and Cork paper on the left from the Holiday catalog.
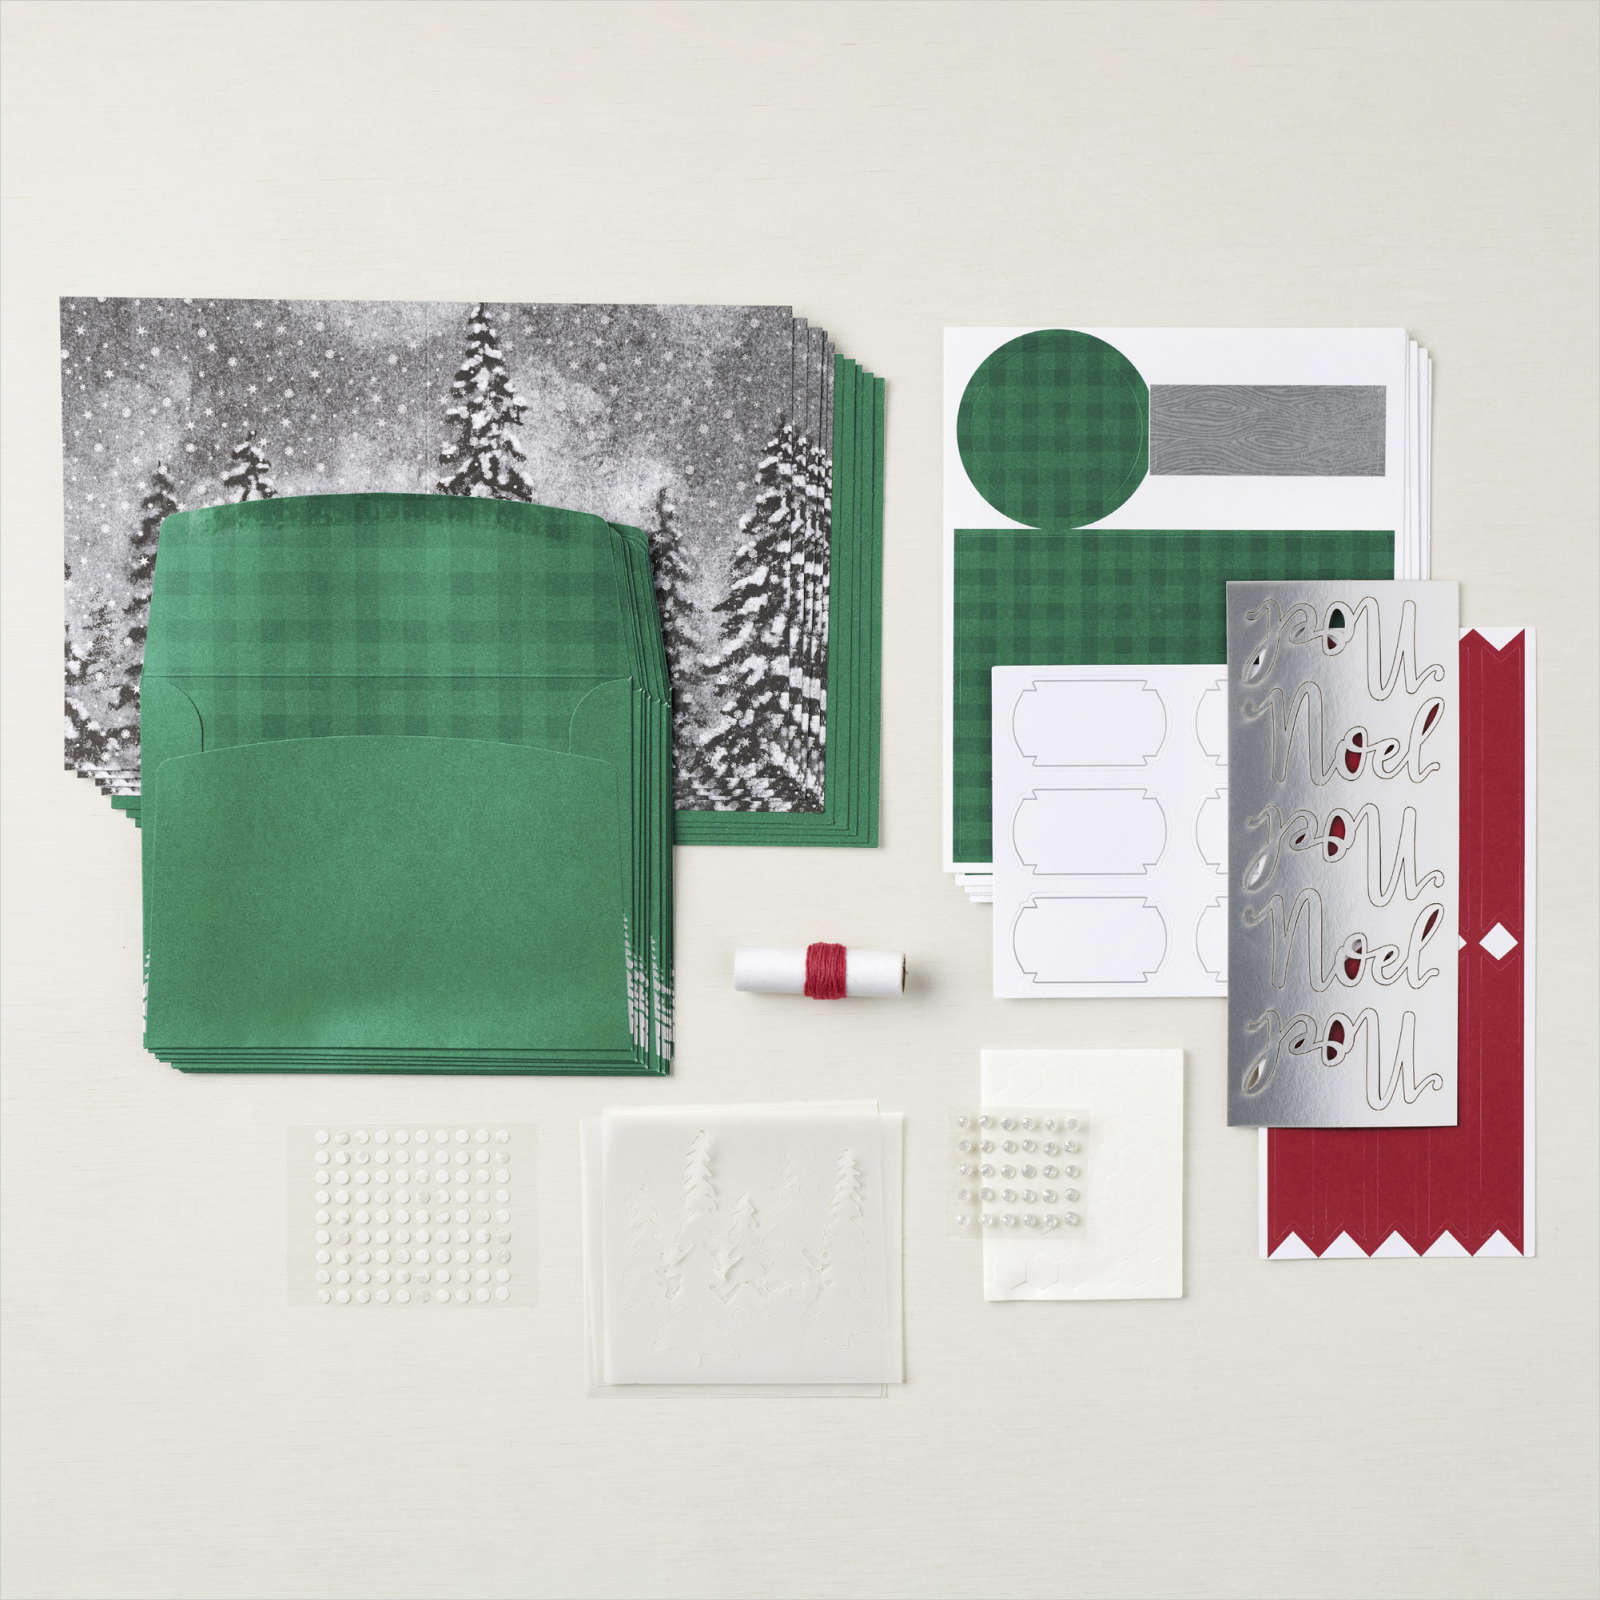
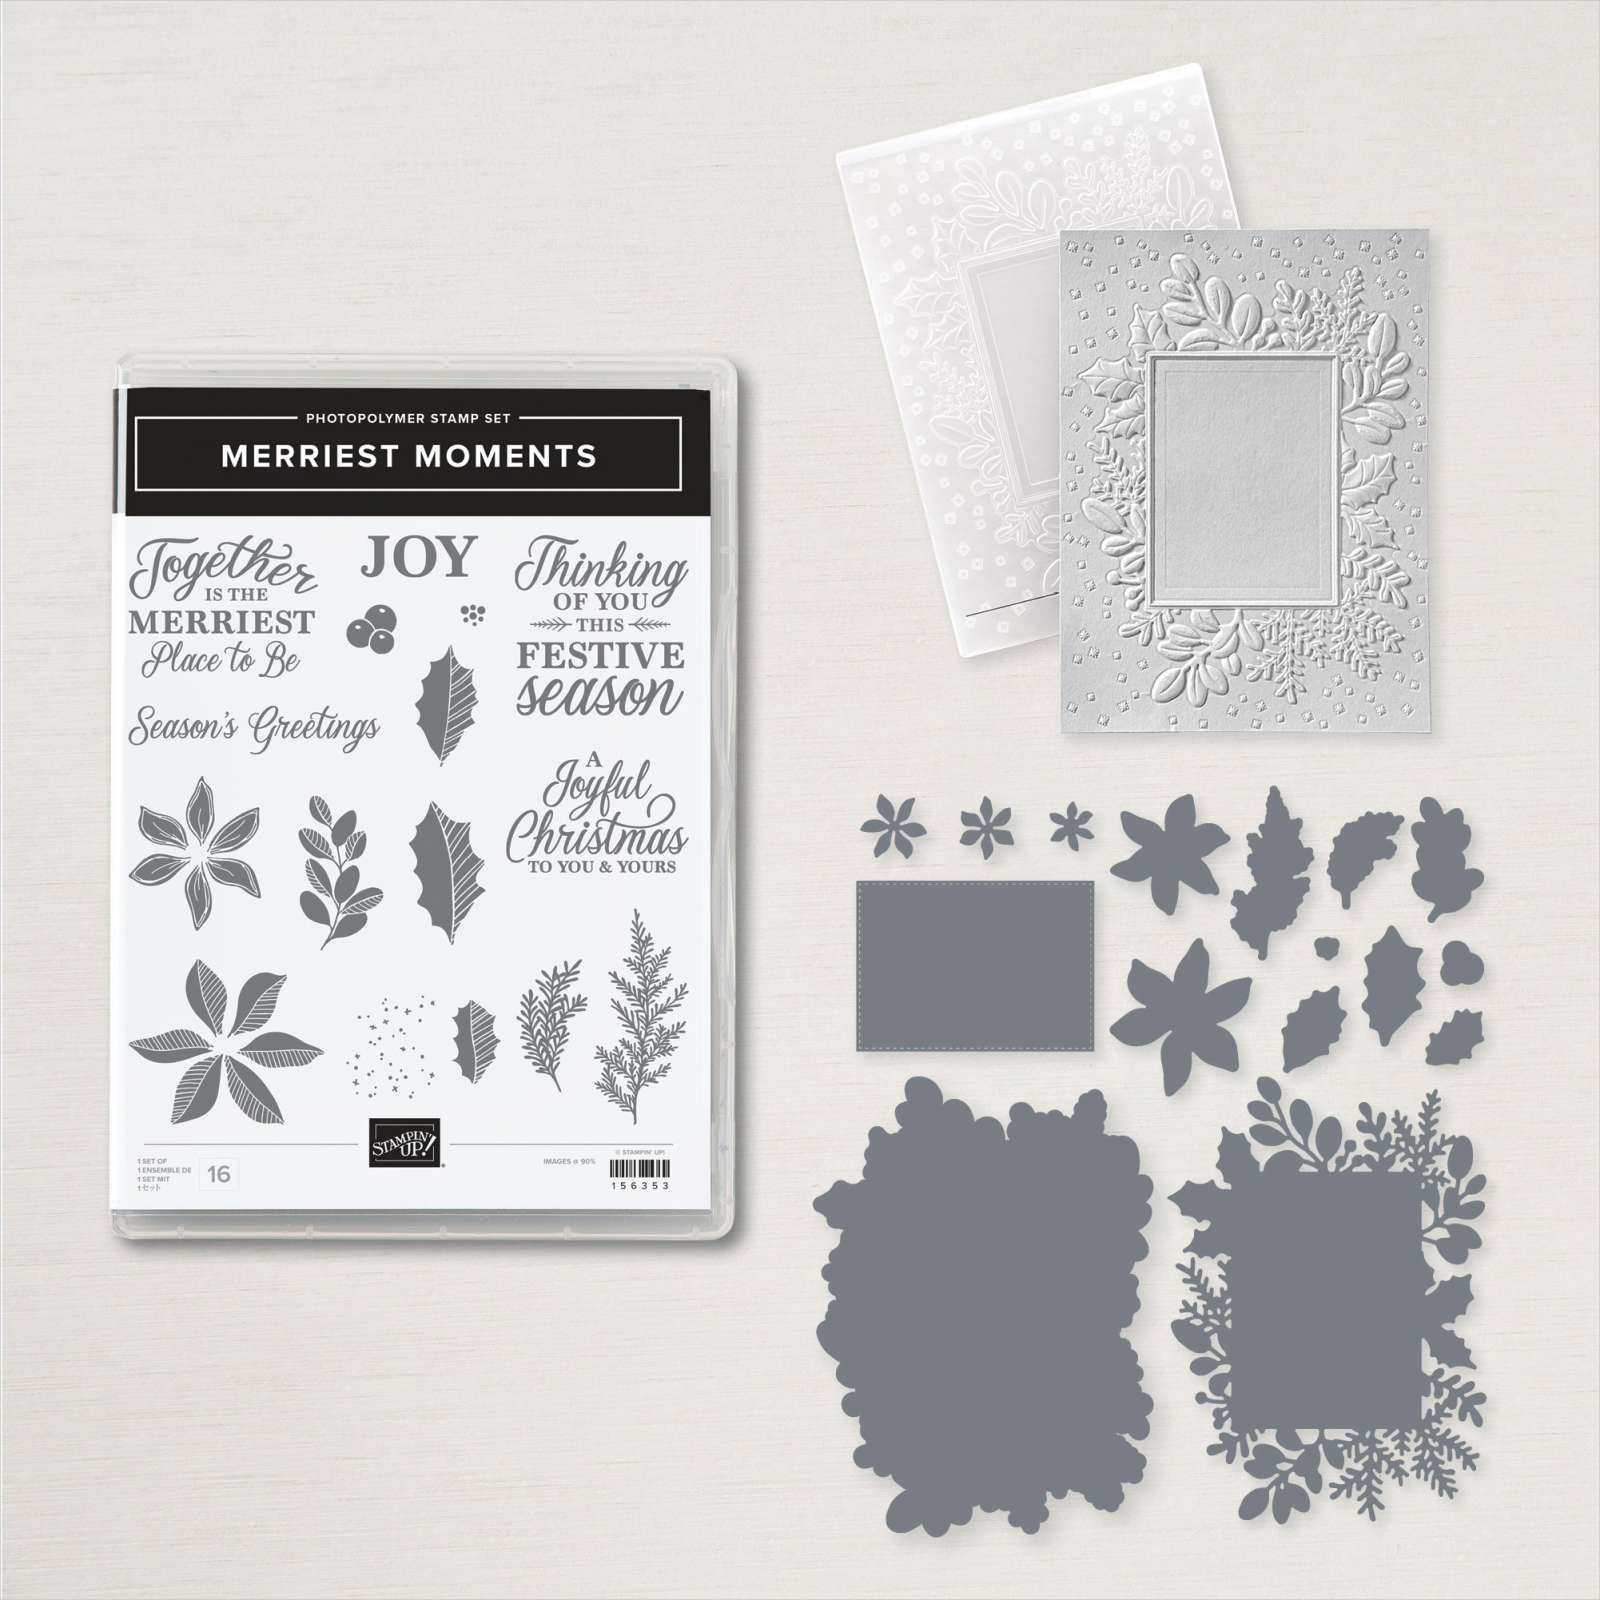
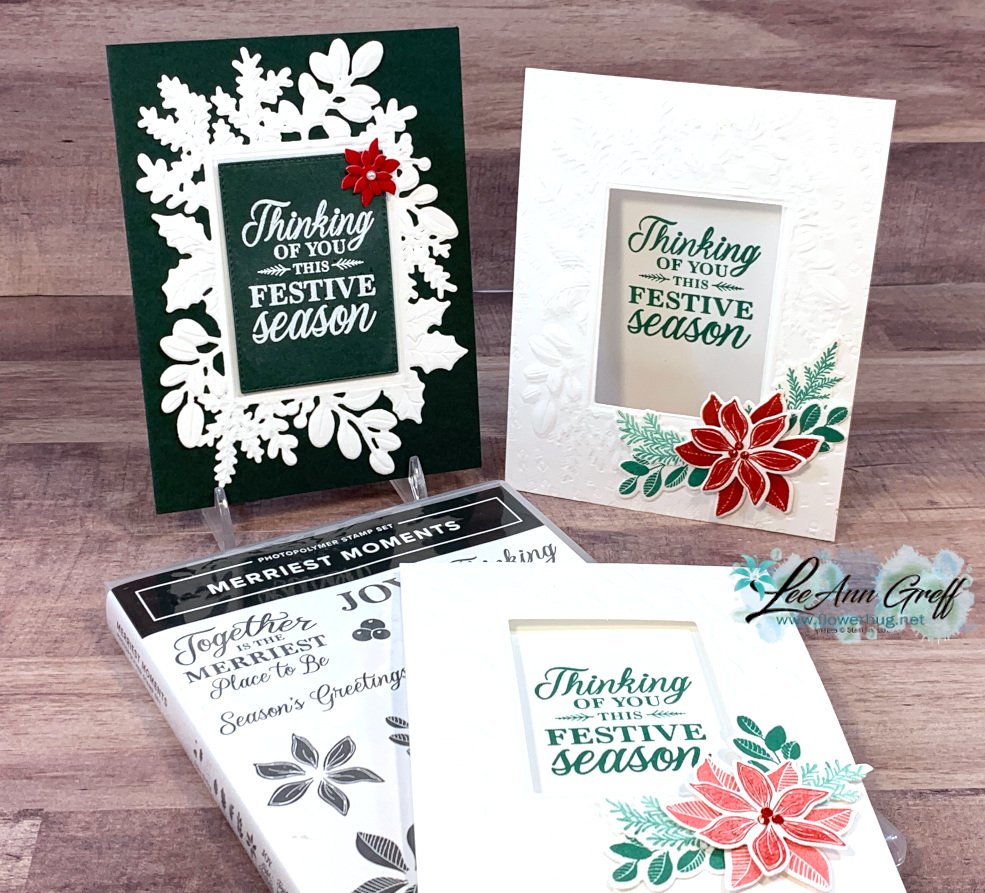
There’s so much you can do with the Merriest Moments bundle!
On this week's FB Live I featured the Merriest Moments bundle seen here – a beautiful bundle that includes a Hybrid embossing folder. This type of folder enables you to die-cut AND emboss at the same time!
However it's important to only use the large outline die inside your Hybrid folder. Do not use the detailed die. You can use that after or before you emboss.
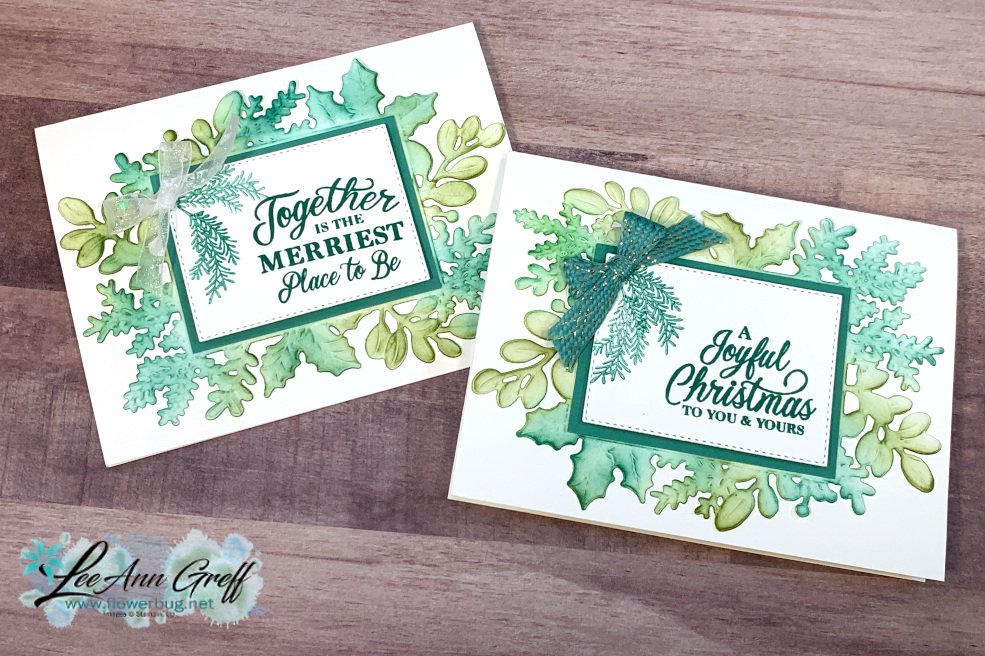
Look at these gorgeous cards in Evening Evergreen, White, Red & Just Jade.
This next card really shows off the stunning die-cut & texture as well as the pretty holiday greeting. That cute baby poinsettia is made from our Red velvet paper and the dies in this bundle. The colors are Evening Evergreen, White and Red.
The set of cards below have a window die-cut in the Thick White card base after texturing. I did run the front back through the Hybrid embossing folder again after I cut the window because it flattened a bit when die-cut. *This is shown in the video below or click here.
I added just a few die-cuts and the greeting to finish them. Simple yet beautiful!
Next is a gorgeous card we made at my October Card Clubs. The pretty die-cut has been sponged with ink before or after it's embossed with the Hybrid embossing folder. Either way works fine.
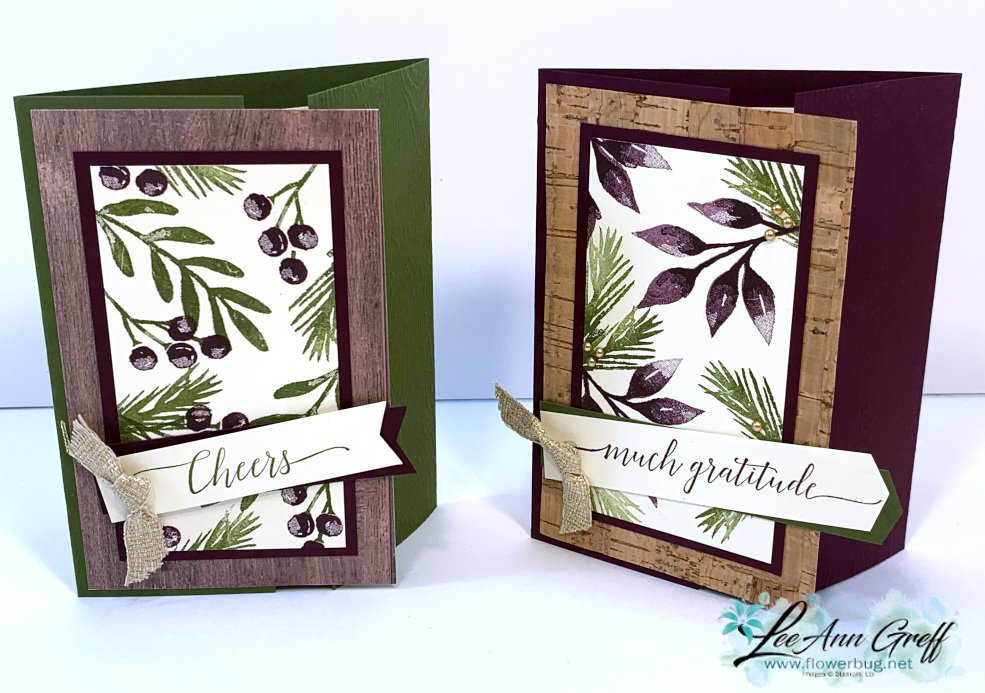
Angled Gatefold card with easy latch closure; the Christmas version
Here's the other set of Angled Gatefold cards I made on last week's Stamp with Me Live. Every other Monday I show a fun or easy way to use your Designer Paper. Don't hoard it; use it! Follow me on Facebook here.
Each card is held closed by the punch or die-cut on the left. Placing your dimensionals on the left edge of each allows you to slip the right card flap between the greeting and the left front flap of the card base. Don't get it? Watch the video below!
Notice: LeeAnn Greff, Independent Stampin’ Up! Demonstrator, Manager. The content of this website is my sole responsibility as an independent Stampin’ Up! demonstrator and the use of, and content of, the classes, services, or products offered on this website is not endorsed by Stampin’ Up! Copyright 2025


Leave a Reply