/


Latest Post

A special fun-fold card with Caring Leaves with video & free project sheet


I shared this unique fun fold card on last week's FB Live video.  It's also uploaded to my YouTube channel too.  

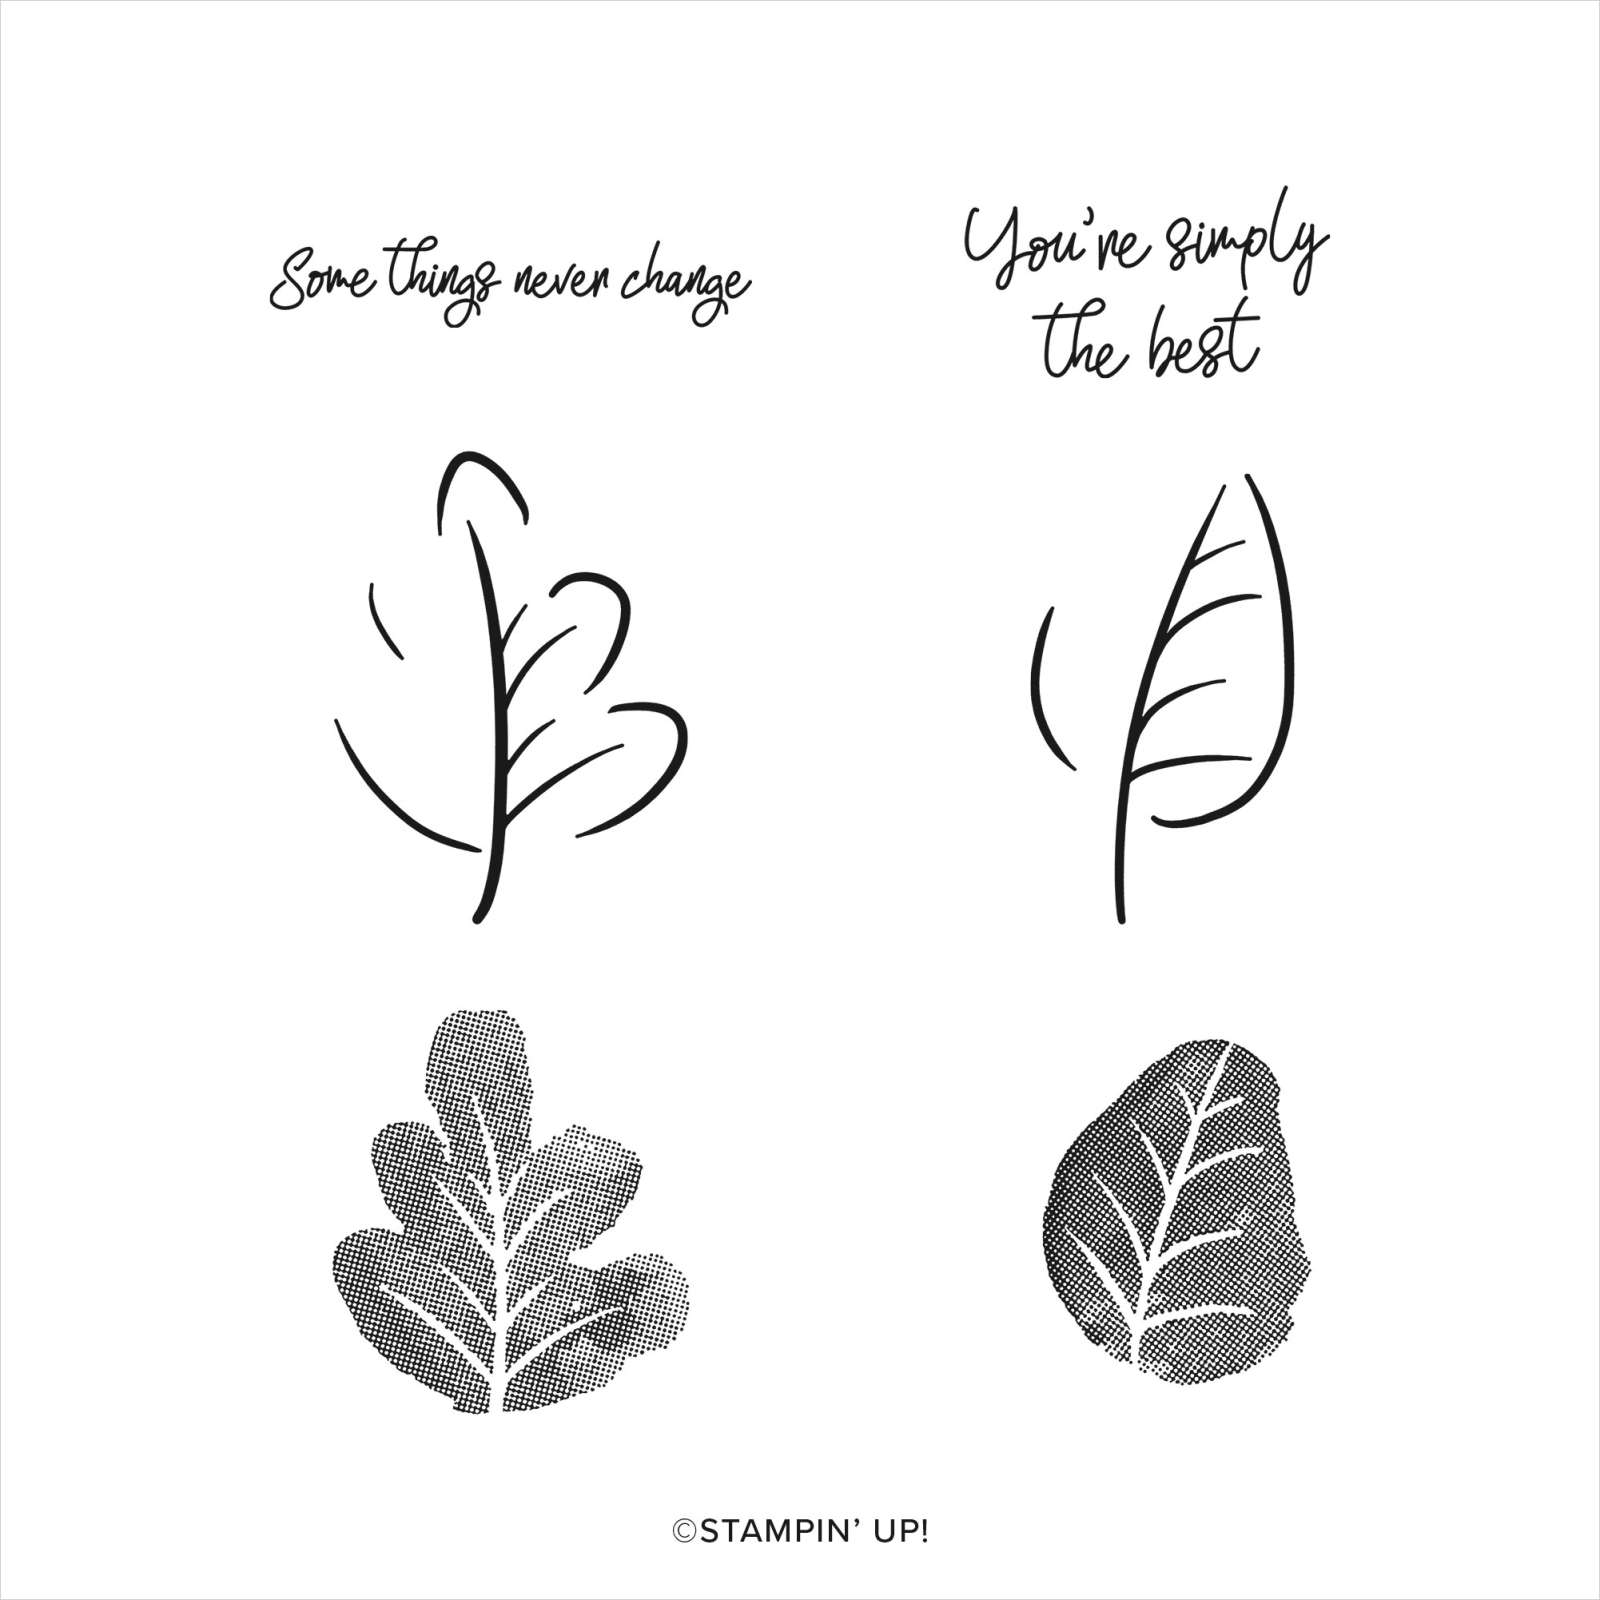
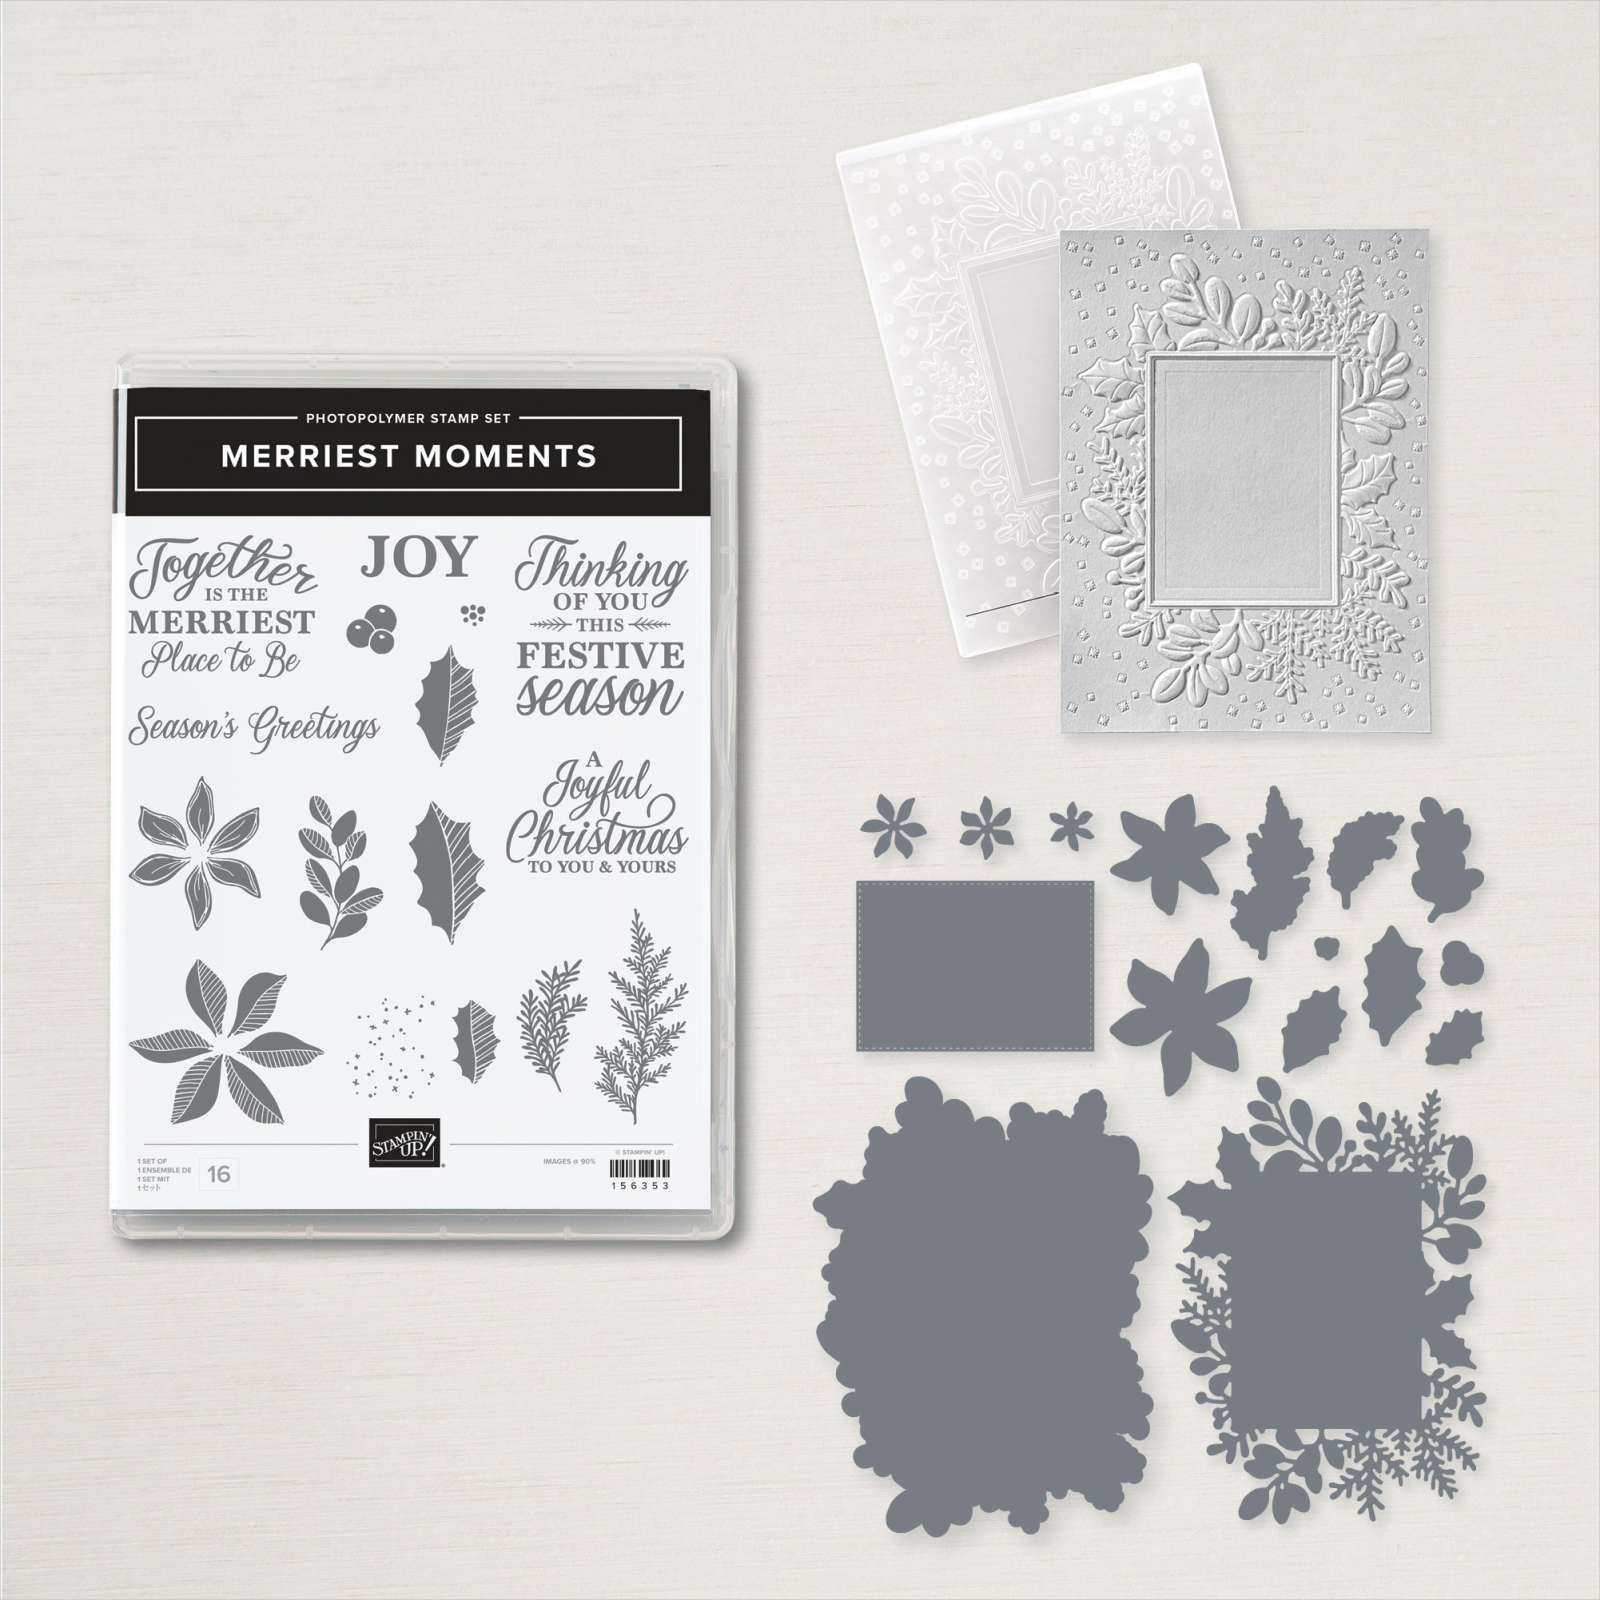
It was one of the projects we made at my October card clubs this month.  The Caring Leaves stamp set is in our current Holiday catalog. See it here.  It's a sweet & simple set that is both Distinktive and a 2-step set. 

You can see the fun fold below. The card base is scored 3 times. The measurements can be found in the free project sheet here. Click on the following link to print it or to download it.  Download Caring Leaves Oct 2024

My colors include Very Vanilla, Copper Clay and Pretty Peacock.  After stamping the front panel we added texture with an embossing folder. I offered the Birch 3D or the Leaf Fall 3D folders. 

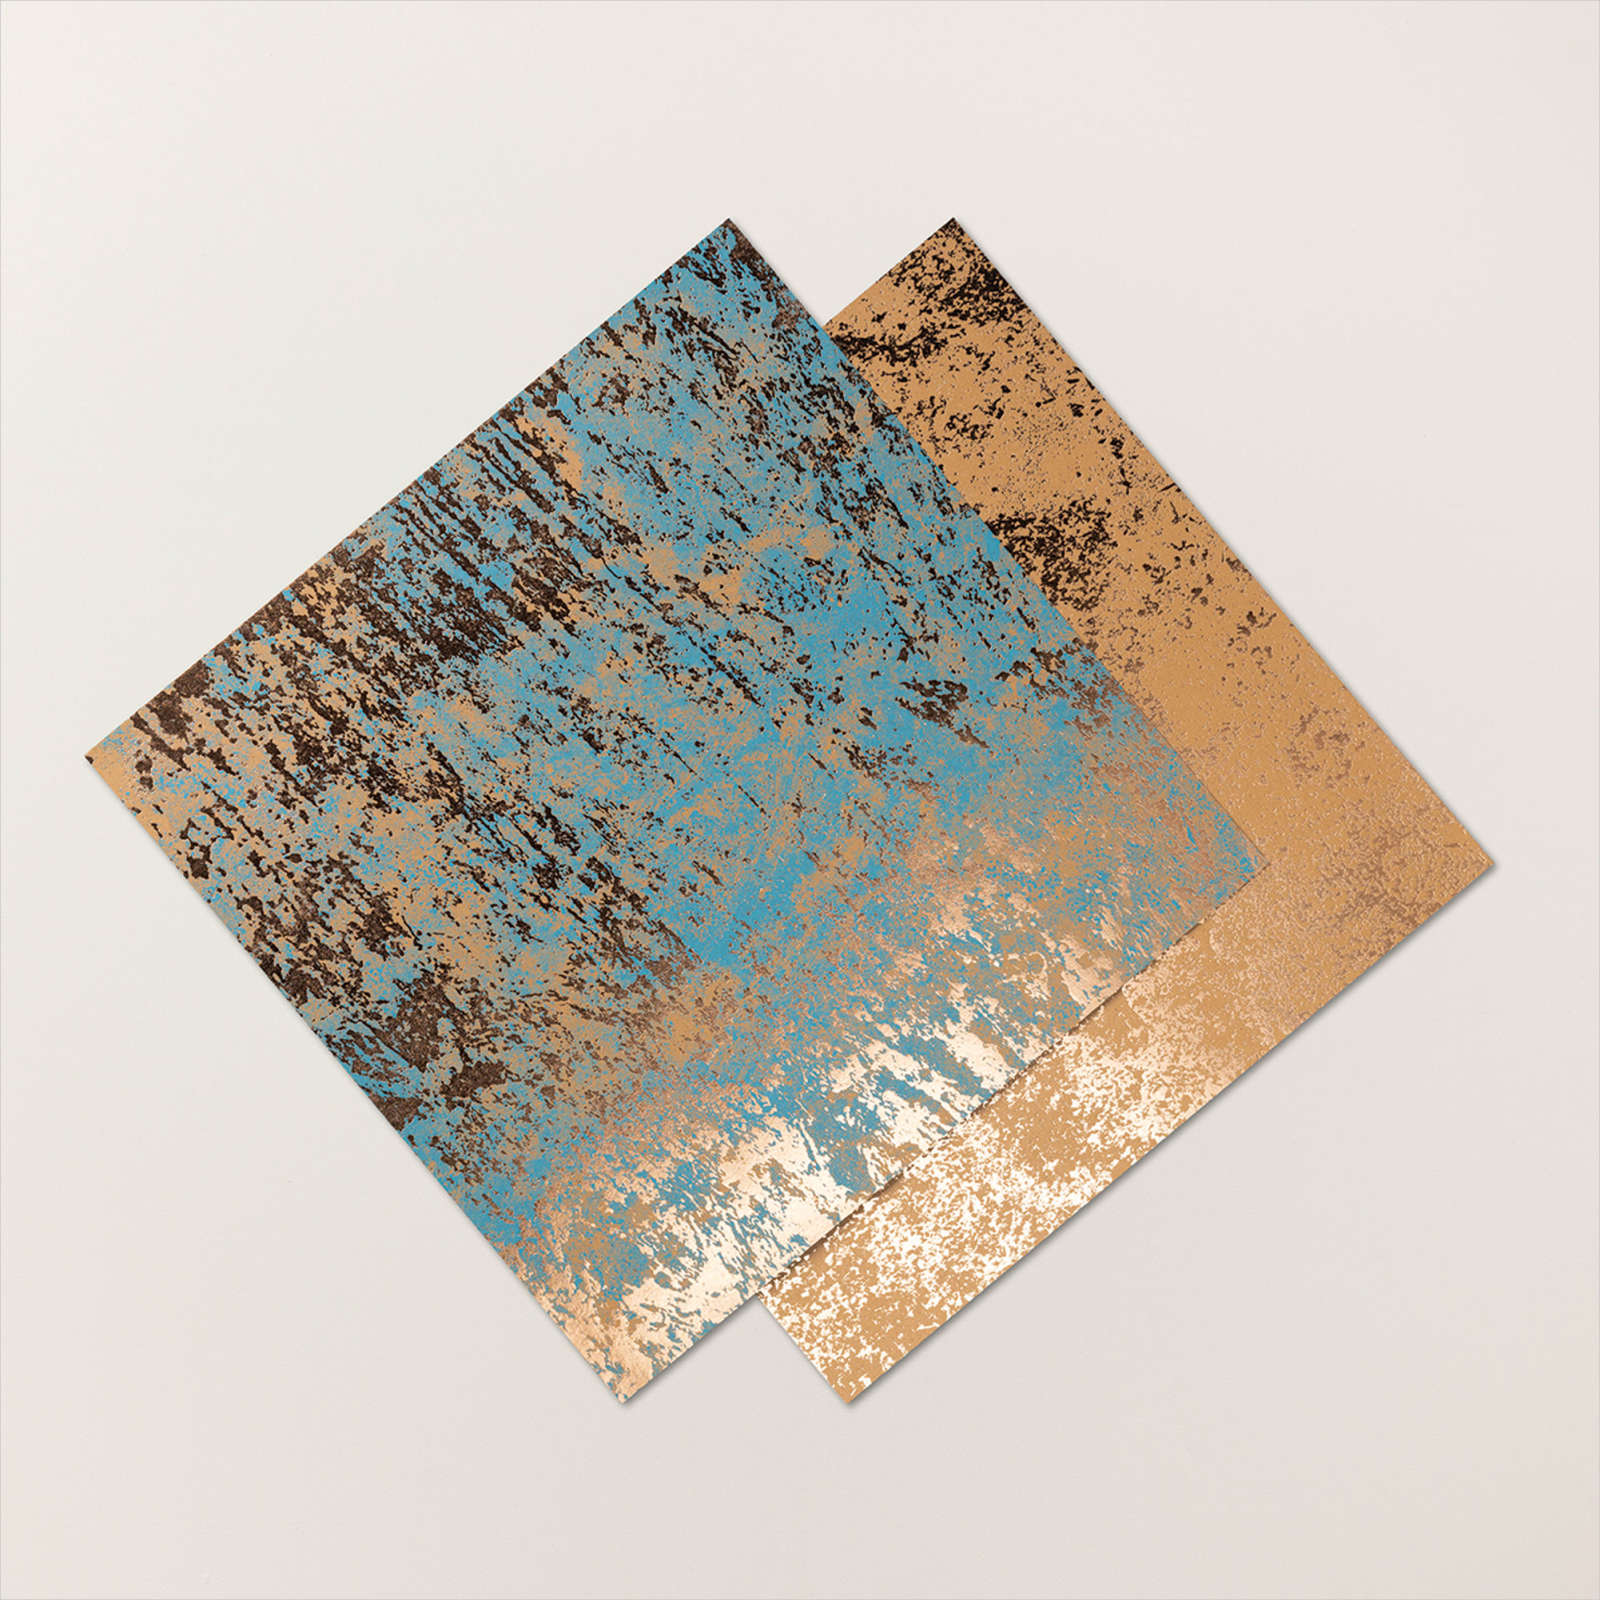
That stunning Pretty Peacock & Copper foil specialty DSP is called Oxidized Copper and can be found here.  It's currently in low inventory though.  

We blended a bit of Copper Clay ink to the front panel and greeting strip after embossing. A blending brush provides a beautiful & smooth color. 

Below you'll find the video; please be sure to follow me on my YouTube Channel here too.  I share one every week on Tuesdays at 11 am CT on my Facebook page.

~~~

October Specials:

*current host code link:  VGUD6UA7

Get a share of Woven Golden Leaves  


~~~

Get an extra $30 in your Starter kit in October!  Click here to read more

~~~

The Kits Collection is on sale!  Check it out here.

~~~

       All online orders in October will receive a free PDF tutorial featuring the Season of Elegance suite

All Posts

  • Christmas Season Gatefold card with a Designer Paper twist; FB Live video!


    We're making these pretty cards tonight on FB Live 'Stamp with Me'.  It's at 7:30 pm CT here.  

    It's actually a gatefold card but the front panel is a piece of designer paper that leaves a reveal of the right edge of the card base which is textured. 

    For these two cards I chose to use the In Good Taste DSP (Annual Catalog on the left) and Cork paper on the left from the Holiday catalog. 

    Or see it on my YouTube channel here on Tuesday. 

    Details:

    • Ink – Mossy Meadow & Blackberry Bliss
    • Card stock – Mossy Meadow, Blackberry Bliss, Very Vanilla, Cork & In Good Taste DSP
    • Stamps – Christmas Season, Heartfelt Wishes – both from the 2021 Holiday Catalog
    • Other – Gold 3/8" Fine Art ribbon, Banners Pick a Punch, Mini glue dots

    Measurements: 

    • Card Base 5 1/2" X 8 1/2" scored at 2 1/8" from each end on the long side
    • DSP 3 1/4" X 5 1/4"
    • Stamped front 2 1/4" X 4 1/4"; inside 3 1/2" X 4 3/4"
    • CS layer 2 1/2" X 4 1/2"
    • Greeting strips 3/4" X 4"

    Here's the recorded video.  

    November's Paper Pumpkin refill kits are available now while supplies last!  It's just $10 for subscribers. 

    Item #159417

    To be eligible to order this item, you must be a Paper Pumpkin subscriber.  Don’t have a subscription? Sign up now!

    ~~~

    October Specials

    Host code: EXBDBRGY

    *click here to order

    Get a free package of Gold & Rose Gold Metallic specialty paper from me with a $50 online order in October! 

    All online orders will receive my October Gingerbread & Peppermint PDF tutorial free! 


    Leave a Reply

    Your email address will not be published. Required fields are marked *

  • There’s so much you can do with the Merriest Moments bundle!


    On this week's FB Live I featured the Merriest Moments bundle seen here – a beautiful bundle that includes a Hybrid embossing folder. This type of folder enables you to die-cut AND emboss at the same time!  

    However it's important to only use the large outline die inside your Hybrid folder.  Do not use the detailed die.  You can use that after or before you emboss. 

    Look at these gorgeous cards in Evening Evergreen, White, Red & Just Jade. 

    This next card really shows off the stunning die-cut & texture as well as the pretty holiday greeting.  That cute baby poinsettia is made from our Red velvet paper and the dies in this bundle.  The colors are Evening Evergreen, White and Red. 

    The set of cards below have a window die-cut in the Thick White card base after texturing.  I did run the front back through the Hybrid embossing folder again after I cut the window because it flattened a bit when die-cut.  *This is shown in the video below or click here. 

    I added just a few die-cuts and the greeting to finish them.  Simple yet beautiful! 

    Next is a gorgeous card we made at my October Card Clubs.  The pretty die-cut has been sponged with ink before or after it's embossed with the Hybrid embossing folder.  Either way works fine. 

    I chose an unlikely combo of Old Olive & Just Jade.  Who knew they'd be so beautiful together?! 

    See this amazing bundle here in my store.   

    Below is the video where I show how to make most of these cards.  I hope you watch it and get inspired to create yourself! 

    ~~~

    October Specials

    Host code: G3FX9NGA

    *click here to order

    Get a free package of Gold & Rose Gold Metallic specialty paper from me with a $50 online order in October! 

    All online orders will receive my October Gingerbread & Peppermint PDF tutorial free! 


    Leave a Reply

    Your email address will not be published. Required fields are marked *

  • Angled Gatefold card with easy latch closure; the Christmas version


    Here's the other set of Angled Gatefold cards I made on last week's Stamp with Me Live.  Every other Monday I show a fun or easy way to use your Designer Paper. Don't hoard it; use it!  Follow me on Facebook here. 

    Each card is held closed by the punch or die-cut on the left. Placing your dimensionals on the left edge of each allows you to slip the right card flap between the greeting and the left front flap of the card base.  Don't get it?  Watch the video below! 

    See how the left flap is under the greeting? 

    Here's the link to the video; or scroll down to watch it here. 

    The colors are traditional red & green – Real Red & Old Olive.  I stamped the left side with the tiny peppermint image using White Craft ink.

    This adorable designer paper is called Gingerbread & Peppermint. It's 6 X 6" and in our Stampin' Up! Holiday catalog.  See it here. 

    Here are the templates; 


    And here's the video below; it's short & you'll find these cards quite easy to make! 

    ~~~

    October Specials

    Host code: G3FX9NGA

    *click here to order

    Get a free package of Gold & Rose Gold Metallic specialty paper from me with a $50 online order in October! 

    All online orders will receive my October PDF tutorial free! 

    This month it features the Gingerbread & Peppermint suite.

    Leave a Reply

    Your email address will not be published. Required fields are marked *


Notice: LeeAnn Greff, Independent Stampin’ Up! Demonstrator, Manager. The content of this website is my sole responsibility as an independent Stampin’ Up! demonstrator and the use of, and content of, the classes, services, or products offered on this website is not endorsed by Stampin’ Up! Copyright 2025