/


Latest Post

A few favorite craft storage tips


I thought I'd share some of my favorite ways to store my stamping products.  Some people enjoy organizing more than creating! 

First is how I store my stamp sets.  In a dresser drawer.  I purchased a few dressers from IKEA many years ago and they've held up very well despite multiple moves.  

Here's a photo of my craft studio.  I am very, very lucky to have such a beautiful room in our home for my business and classes. 


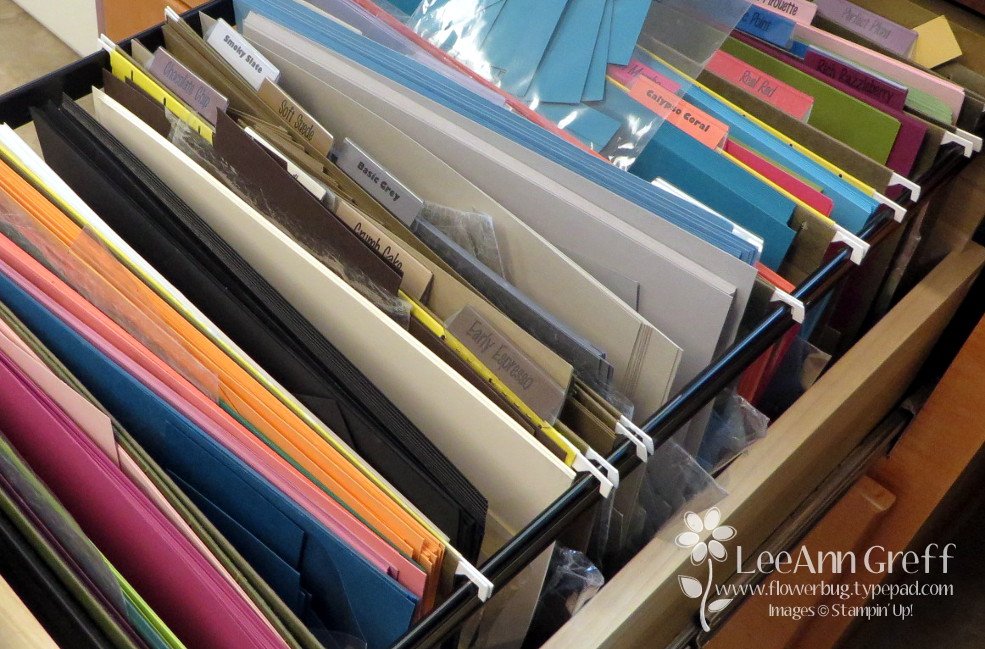
Here's how I store my 8 1/2" X 11" card stock and paper scraps.  In front of each color of card stock I keep a cello bag for the scraps in that color. I've used this method for years and it really helps me use my scraps.
Next is how I store my 12 X 12" designer paper and scrapbook pages. 
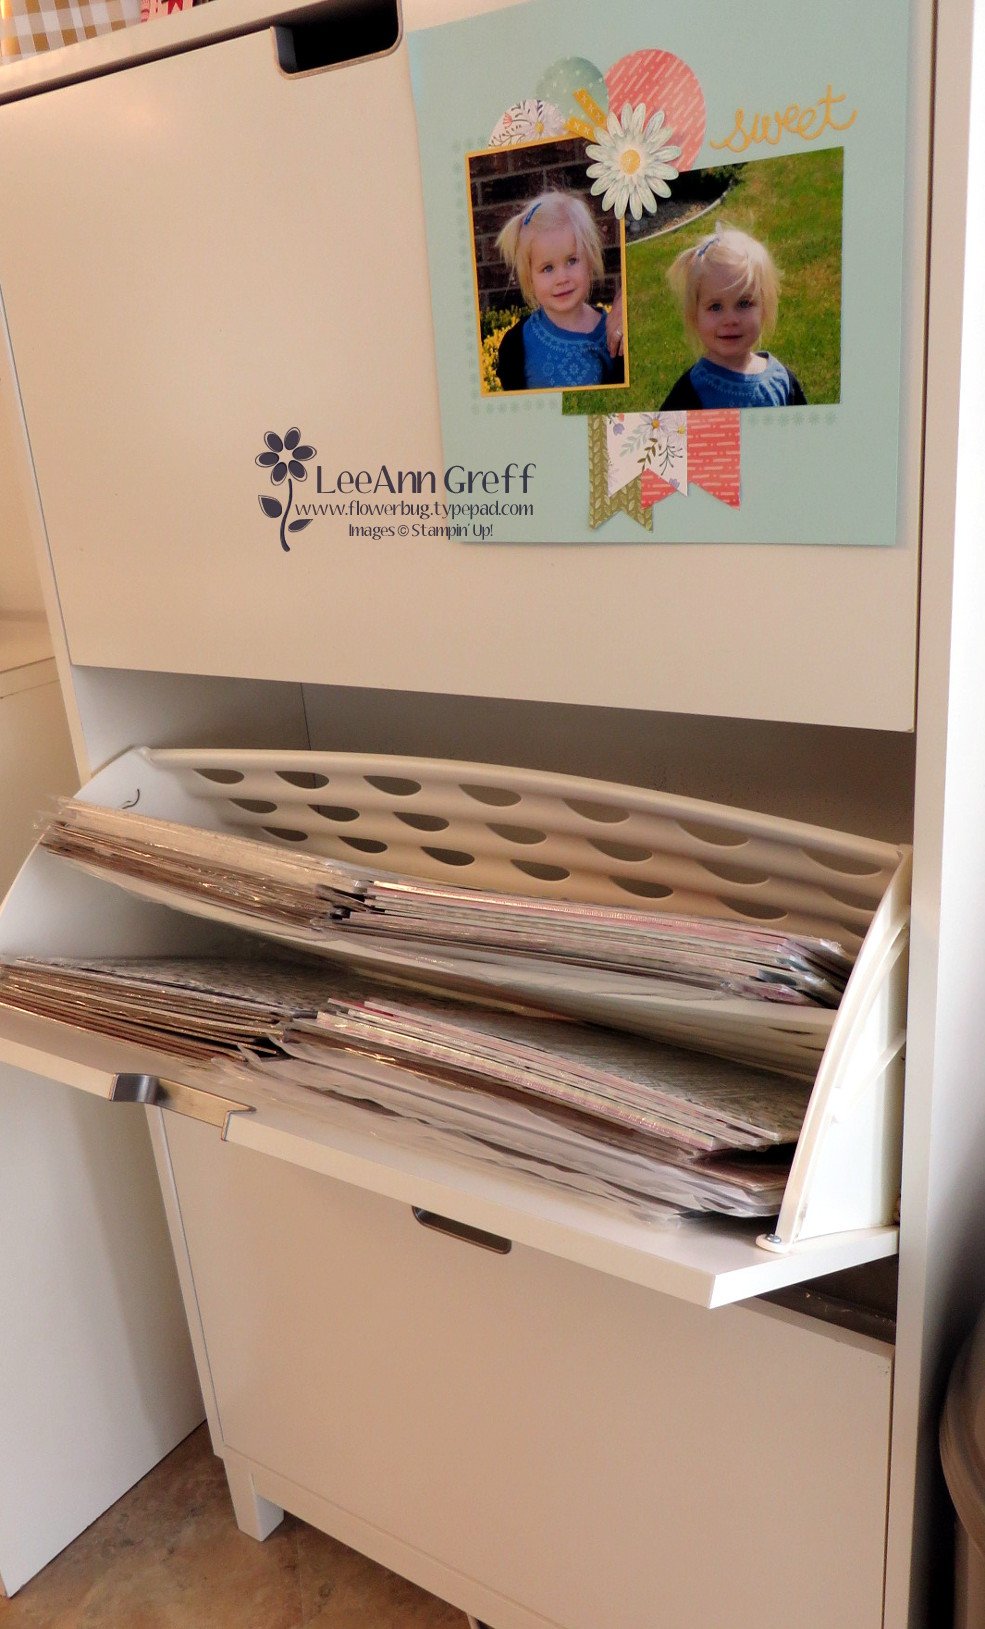
It's a shoe storage cabinet! My 12 X 12" paper fits like it was made just for it!  You can get two stacks side by side in it since it's about 30" wide.    Plus it has a divider to fit even more paper above it.  I love the way the doors hinge open.  There are three doors and it's only about a foot deep.

Lastly here's how I store my inks, markers and ribbon. These are Stampin' Up! storage and they're fully customizable to fit what you need.  Click here to see the options. 

I love that it fits right on my work area for easy reach. As you can see I organize my inks in rainbow order. I'm not sure why my Blends aren't but I know my granddaughter will love to do that for me this week while she's here.  

~~~

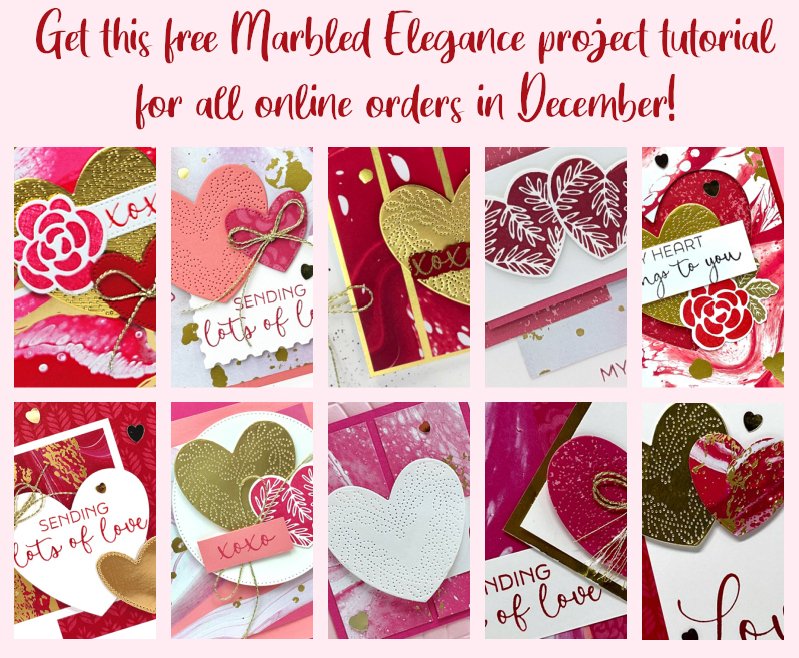
December Specials:

*current host code link:  

P243X6VH

3 new designer papers!

~~~

Available December 3rd; while supplies last!

~~~
~~~

All Posts

  • Fresh, new color combination with Inked &Tiled – fun fold with video tutorial too


    I've been working double time getting ready to leave for our Norway cruise – this year's incentive trip with Stampin' Up!  I'm thrilled to go on this year's trip with my husband.  He's a fabulous traveling partner! 

    Depending on WIFI, I hope to share photos on Facebook and Instagram while we're gone.

    "Fewer than 1% of Stampin’ Up!’s demonstrators worldwide achieve this trip."

    ~~~  

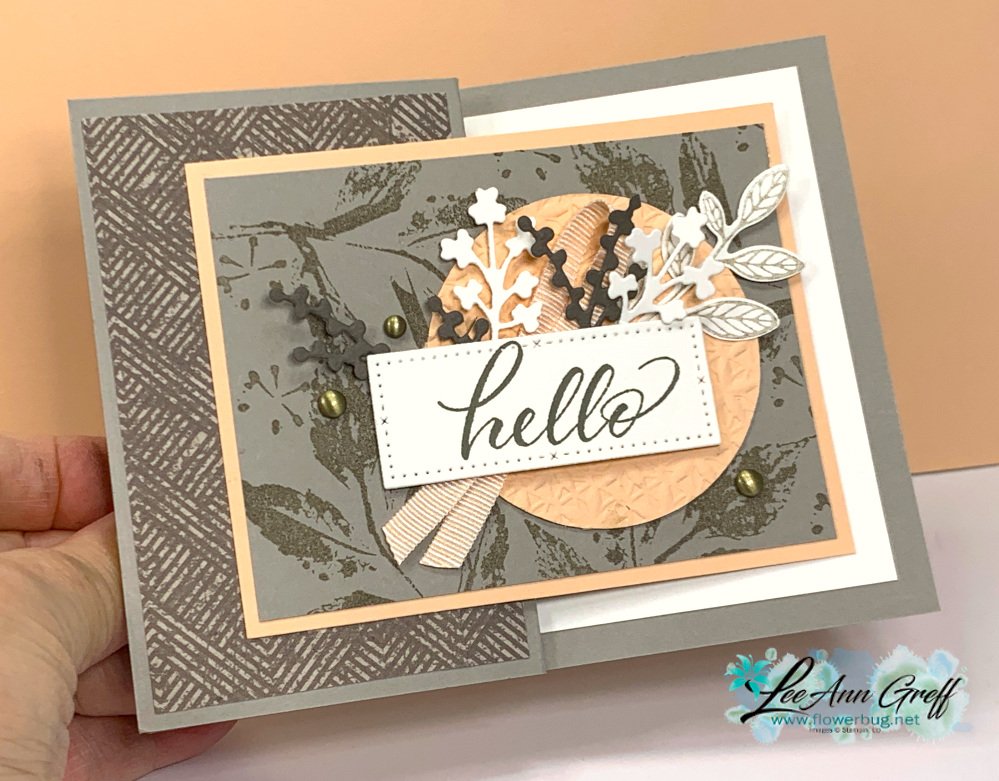
    I'm not usually a Subtles or Neutrals kind of gal but I sure love this beautiful color combination!  It's Gray Granite, Petal Pink with a bit of our new Pebbled Path.  

    What do you think?  I haven't Gray Granite often because I never found a color to pair it with.  But Pebbled Path is gorgeous and among the same color tones. And add Petal Pink and it's beautiful!  

    I stamped the large leaf image repeatedly on the Gray Granite layer. The greeting is on a white die-cut from the Timeless Arrangements dies. I added a few of the pretty die-cuts under the greeting before layering a folded piece of ribbon (Ribbon Duo Combo Pack) and then to the punched & textured Petal Pink circle.  

    My card is an easy Z-fold – 4 1/4" X 11" card base scored at 2 3/4" and 5 1/2".  

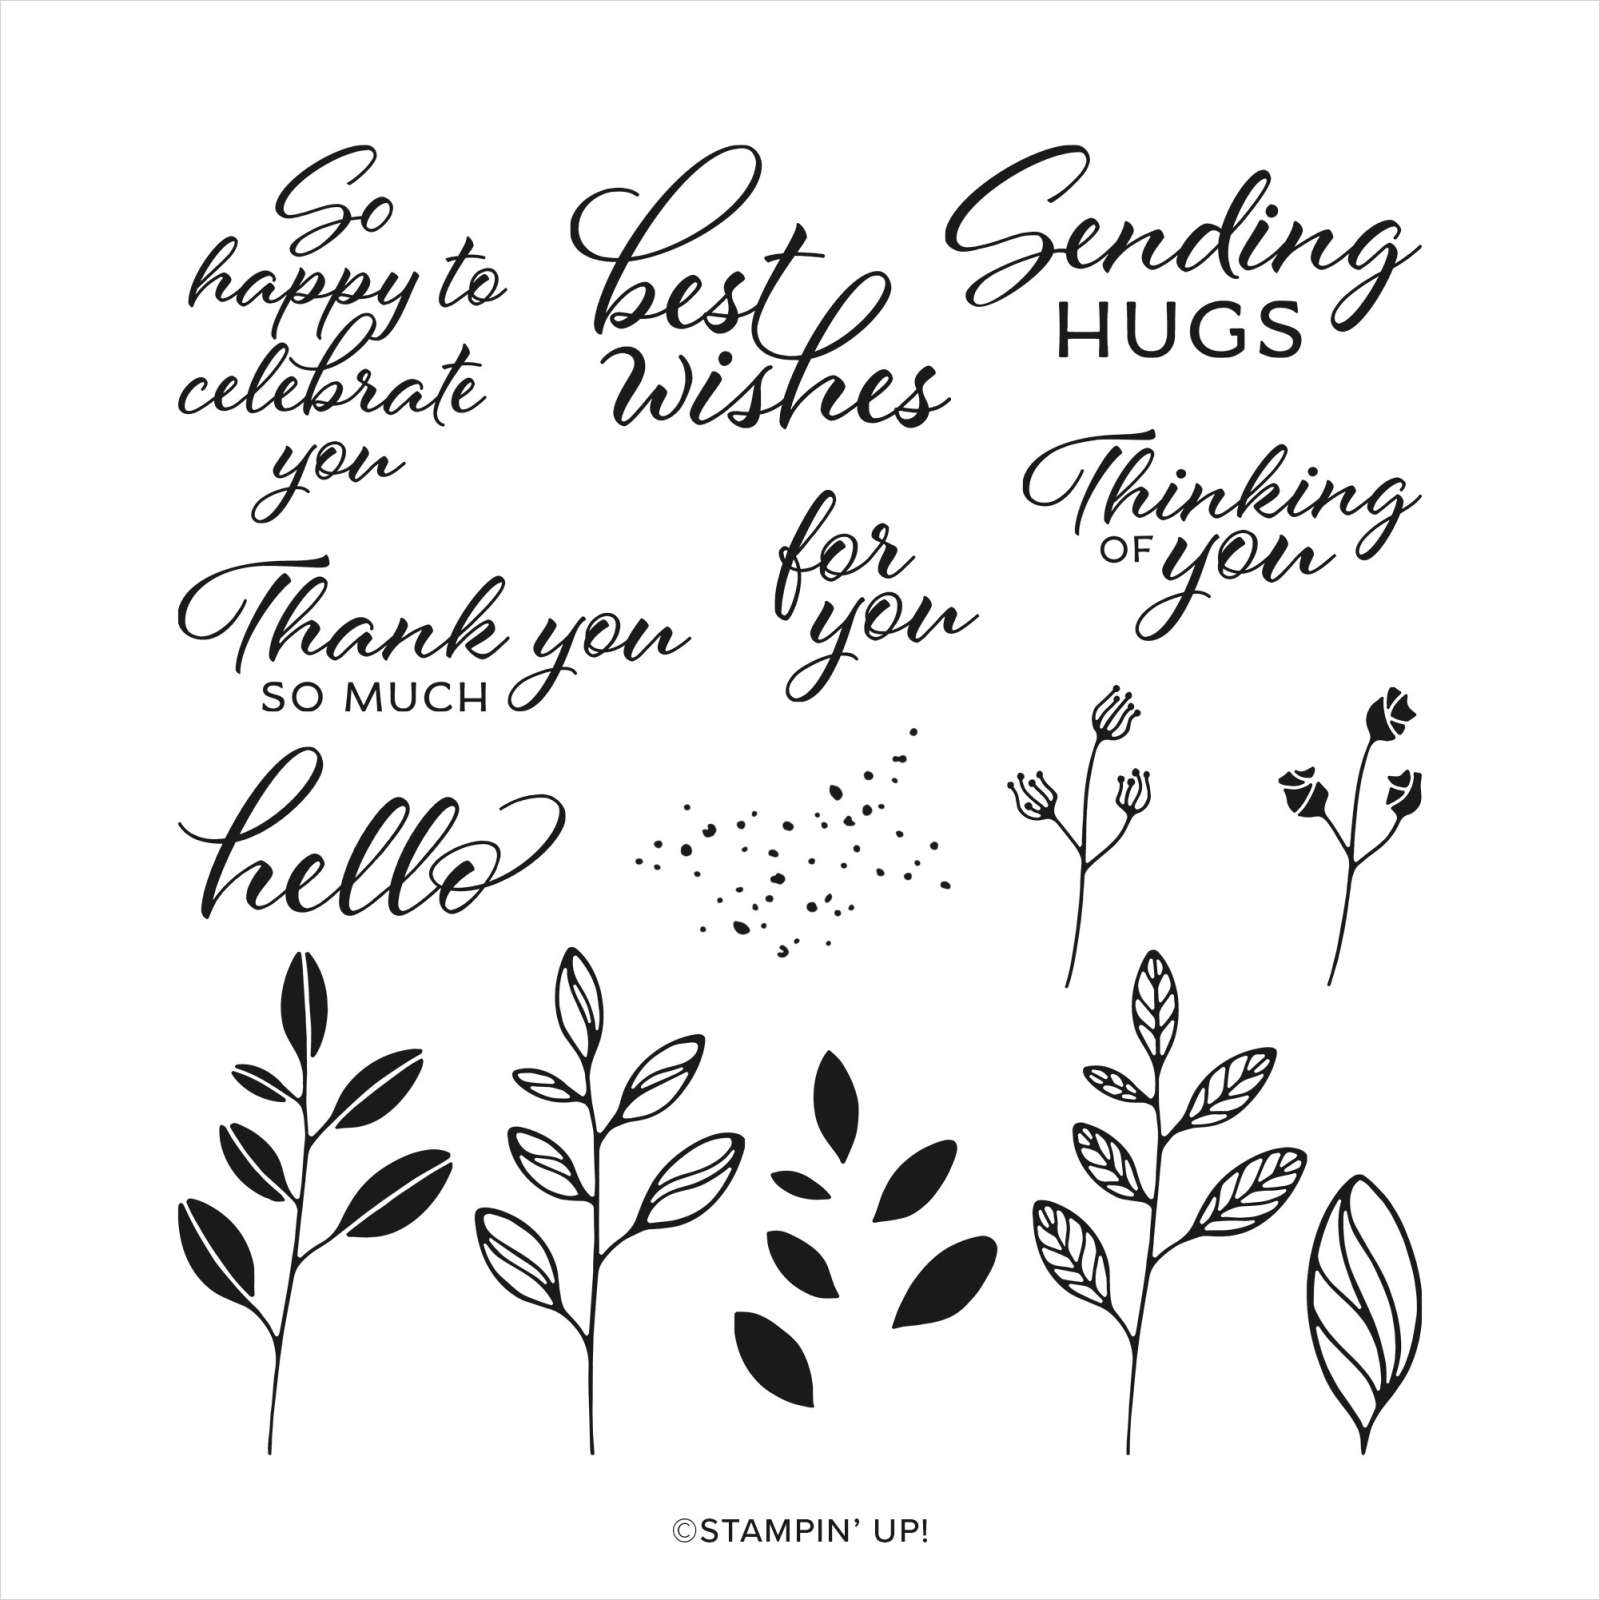
    I added lots of texture with the Timeless Arrangements dies.  The pretty 'Hello' greeting is from the new Layering Leaves stamp set. It's a new favorite and I LOVE that it matches the Bough punch!  See it here.

    Isn't it a beautiful set? 

    Measurements:

    • Card base 4 ¼” X 11” score at 2 ¾” & 5 ½”
    • Earthen Elegance DSP front 2 ¾” X 4”
    • Gray Granite 4” X 3”
    • Petal Pink 3 ¼” X 4 ¼”,  circle 2 ¾”
    • White inside 5” X 3 ¾”

    You can watch me make this card on the video here. Or click on the photo below to watch. 

    ~~~

    May Specials:

    *current host codes: ZHZ6CPYU or AJVB3B3V 

    Get a free updated cardstock color sampler with online orders over $55 using a host code.

    Offer good while supplies last. 

    I have one spot left in my new catalog designer paper share.  

    Get 80 sheets of 6 X 6" DSP – all from the new catalog for just $28.50 plus shipping.  Reserve your spot here. 

    Earn free products with my loyalty rewards! 

    Click here to download yours and earn a $50 shopping spree!

    Leave a Reply

    Your email address will not be published. Required fields are marked *

  • Cheerful Daisies card; perfect for Springtime!


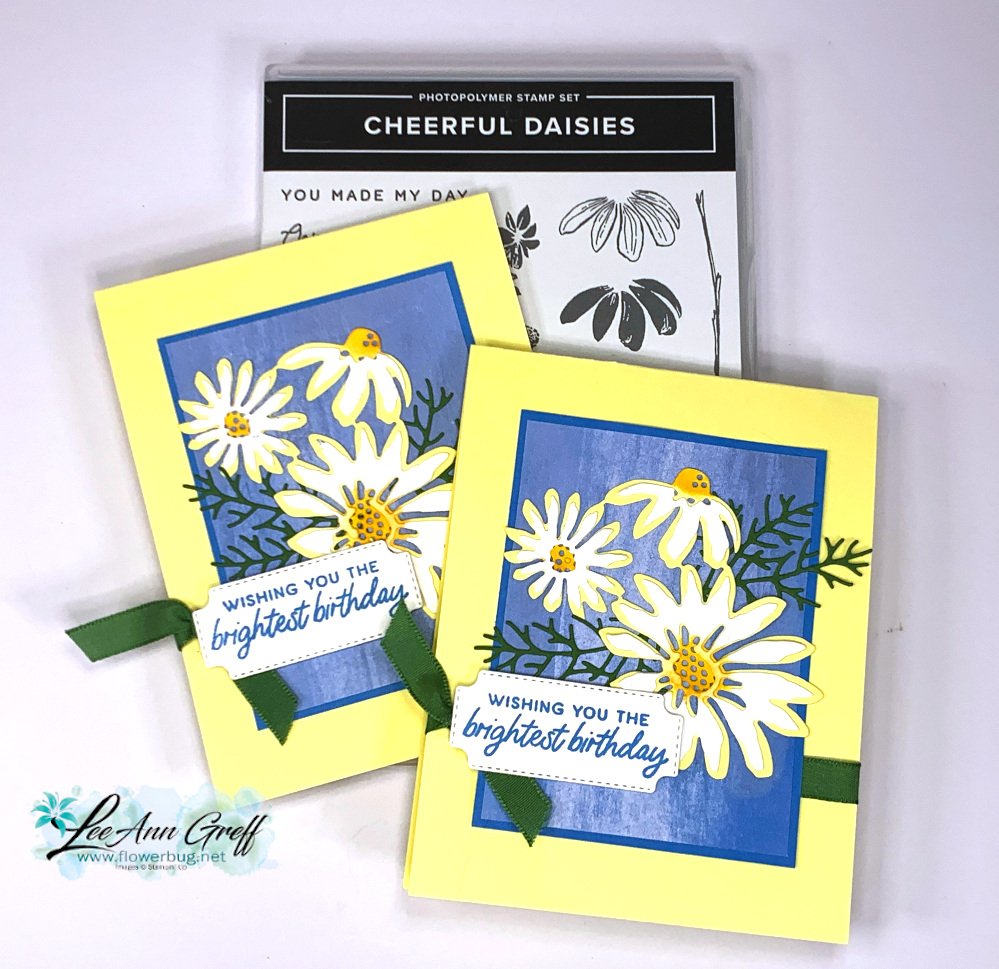
    I'm excited to share this pretty card with you. We made it at my May card clubs. It features the Cheerful Daisy bundle.  

    I absolutely love the colors!  I chose Lemon Lolly, Garden Green, white and the new Azure Afternoon.  I think the blue washed layer from the Fresh as a Daisy designer paper shows off the white & yellow daisies perfectly.  

    Here's how we finished the inside: 

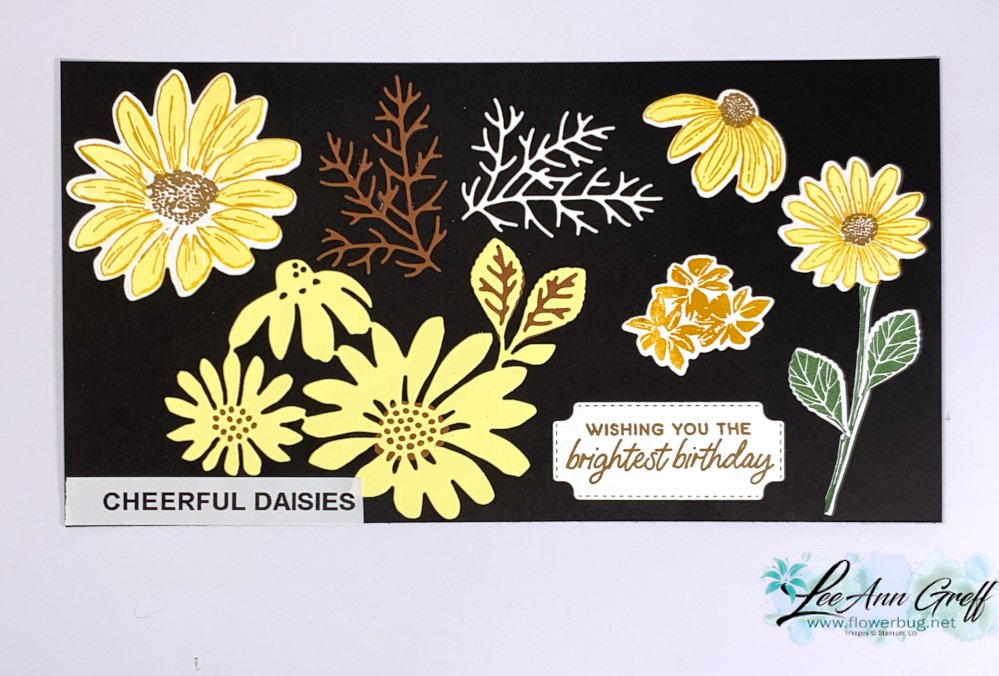
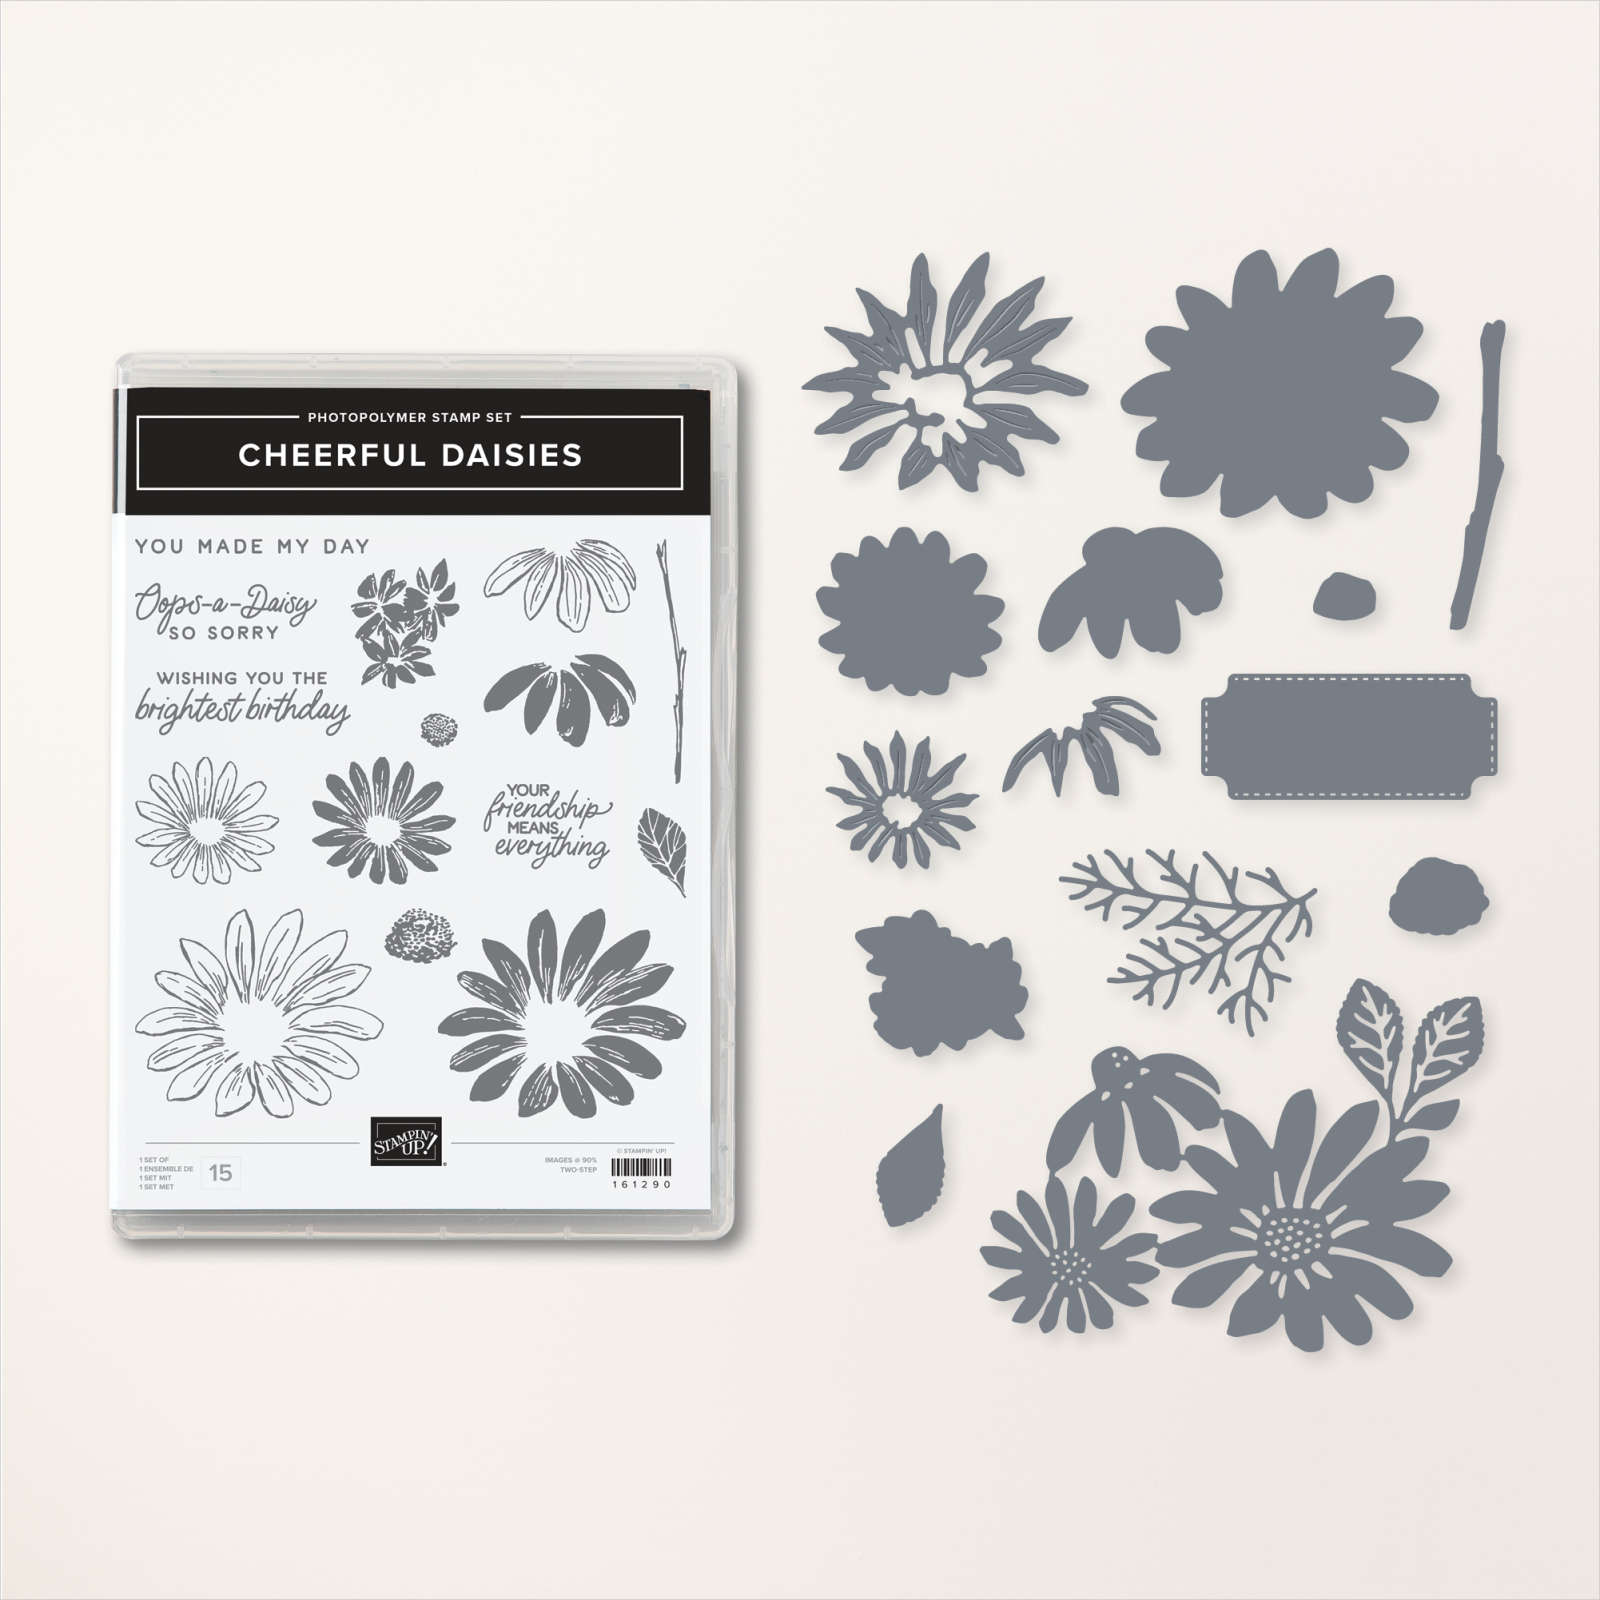
    I sponged extra yellow on the Lemon Lolly daisy centers before adding the White die-cut over them. Here's  a photo of the dies  display I made: I did not add the separate individual daisies that fir over the large yellow die-cut below.  On my card they're white.

    The ribbon wraps all around the card front and ties on the far left.  The greeting covers the knot so you see mostly the ends. 

    Check out that amazing, detailed greenery die-cut!  It even comes out of the die easily.  Love it!  


    See the Cheerful Daisies bundle here; I think it's wonderful!  Best daisy set we've had for awhile. 

    ~~~

    May Specials:

    *current host codes: ZHZ6CPYU or AJVB3B3V 

    Get a free updated cardstock color sampler with online orders over $55 using a host code.

    Offer good while supplies last. 

    I have two spots left in my new catalog designer paper share.  

    Get 80 sheets of 6 X 6" DSP – all from the new catalog for just $28.50 plus shipping.  Reserve your spot here. 

    Earn free products with my loyalty rewards! 

    Click here to download yours and earn a $50 shopping spree!

    Leave a Reply

    Your email address will not be published. Required fields are marked *

  • Quick cards with just ONE sheet of the Fresh as a Daisy designer paper!


    The Fresh as a Daisy designer paper seen here is filled with pretty daisy prints and soft washes of colors – many are our newest In Colors and Core colors! 

    Here are the 4 cards I made from just one sheet!

    This one sheet has a bunch of printed, blocked patterns ready to make fast cards with.  

    One of my favorites is this one; featuring a pretty bouquet of white daisies on our new Bubble Bath pink color. 

    I added a strip of White card stock below, ribbon, a greeting and a pretty foliage die-cut which are both from the Cheerful Daisies bundle. 

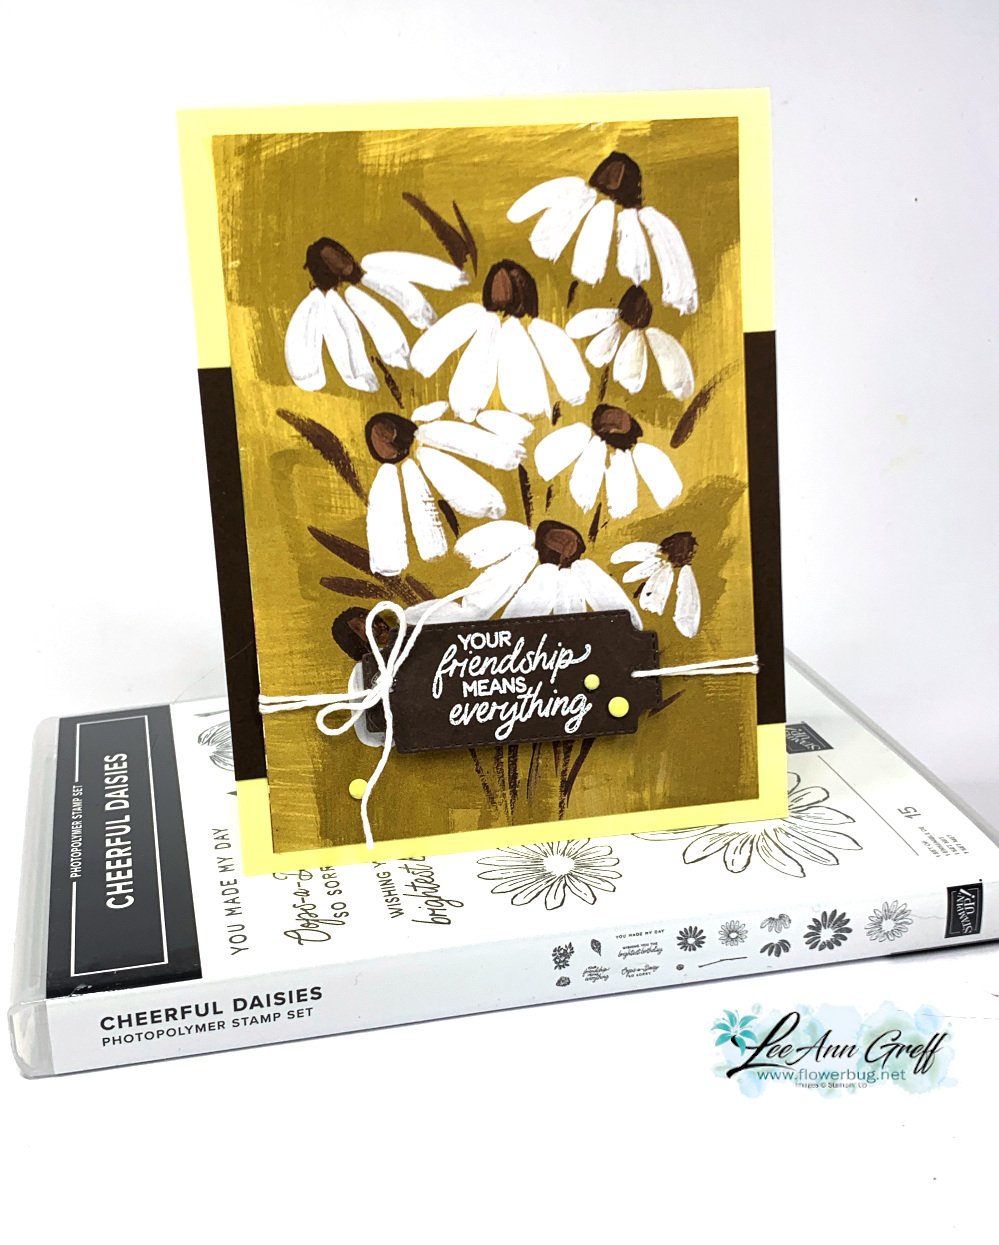
    I LOVE this one!  Again, white daisies on a washed background. I paired this piece over a strip of Early Espresso cardstock on a Lemon Lolly card base.  I heat embossed the greeting in White on the die-cut in the Cheerful Daisies bundle. White twine finished it off! 

    What a gorgeous scenic background this is!  I dd nothing to it but stamp the stems & leaves and added the die-cut daisies, greeting and gems.  The colors are Copper Clay with Crushed Curry. 

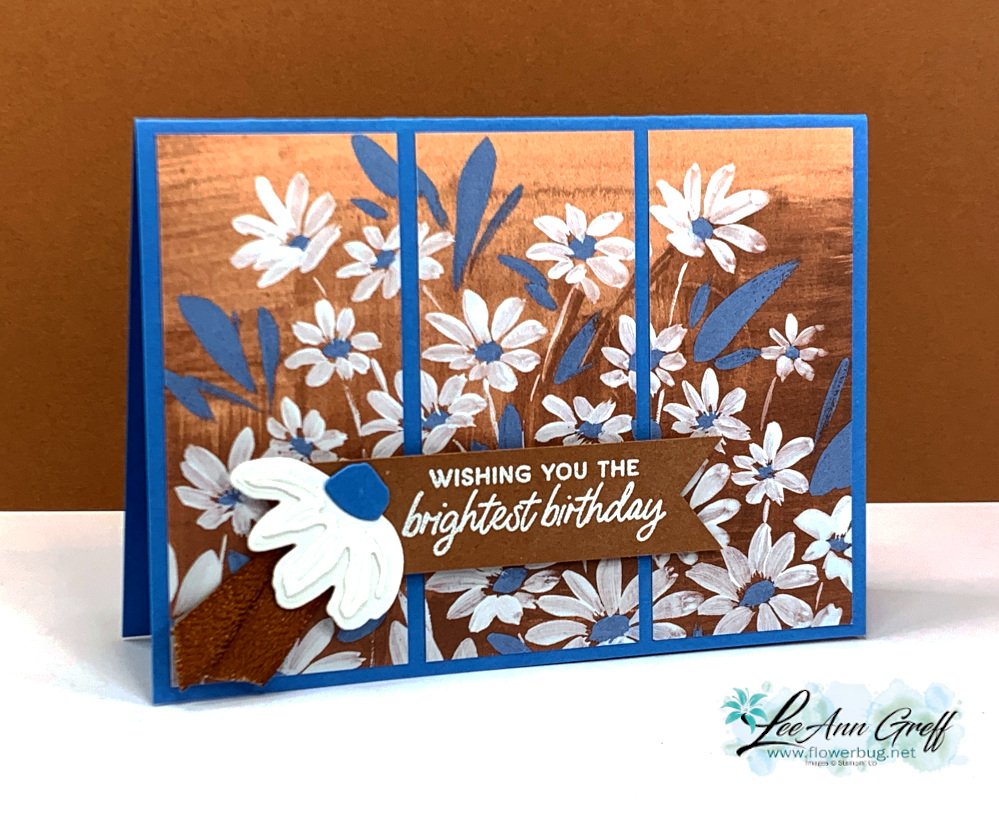
    Lastly is this pretty triple-panel card in Azure Afternoon with Copper Clay.  I cut the daisy panel into three pieces measuring  1 5/8" X 4" tall. 

    Again I heat embossed the greeting in White embossing powder onto a piece of Copper Clay card stock. I added a die-cut daisy to the side. 

    I'm featuring this pretty paper in one of my May card kits to go. I have a limited supply of them so grab yours while you can.  See it here.  

    Which one of these is your favorite?  

    ~~~

    May Specials:

    *current host codes: ZHZ6CPYU or AJVB3B3V 

    Get a free updated cardstock color sampler with online orders over $55 using a host code.

    Offer good through May 17th  

    My new catalog designer paper share is open for a limited time. 

    Get 80 sheets of 6 X 6" DSP – all from the new catalog for just $28.50 plus shipping.  Reserve your spot here. 

    Earn free products with my loyalty rewards! 

    Click here to download yours and earn a $50 shopping spree!

    Leave a Reply

    Your email address will not be published. Required fields are marked *


Notice: LeeAnn Greff, Independent Stampin’ Up! Demonstrator, Manager. The content of this website is my sole responsibility as an independent Stampin’ Up! demonstrator and the use of, and content of, the classes, services, or products offered on this website is not endorsed by Stampin’ Up! Copyright 2025