/


Latest Post

Amazing WOW projects with Hey Chuck; Part 2


Each month one of my Flowerbug's Team is featured as an Artist of the Month.  For July Annette chose the adorable Hey Chuck bundle seen here.  I know you'll be amazed at her fabulous projects I'll be sharing. 

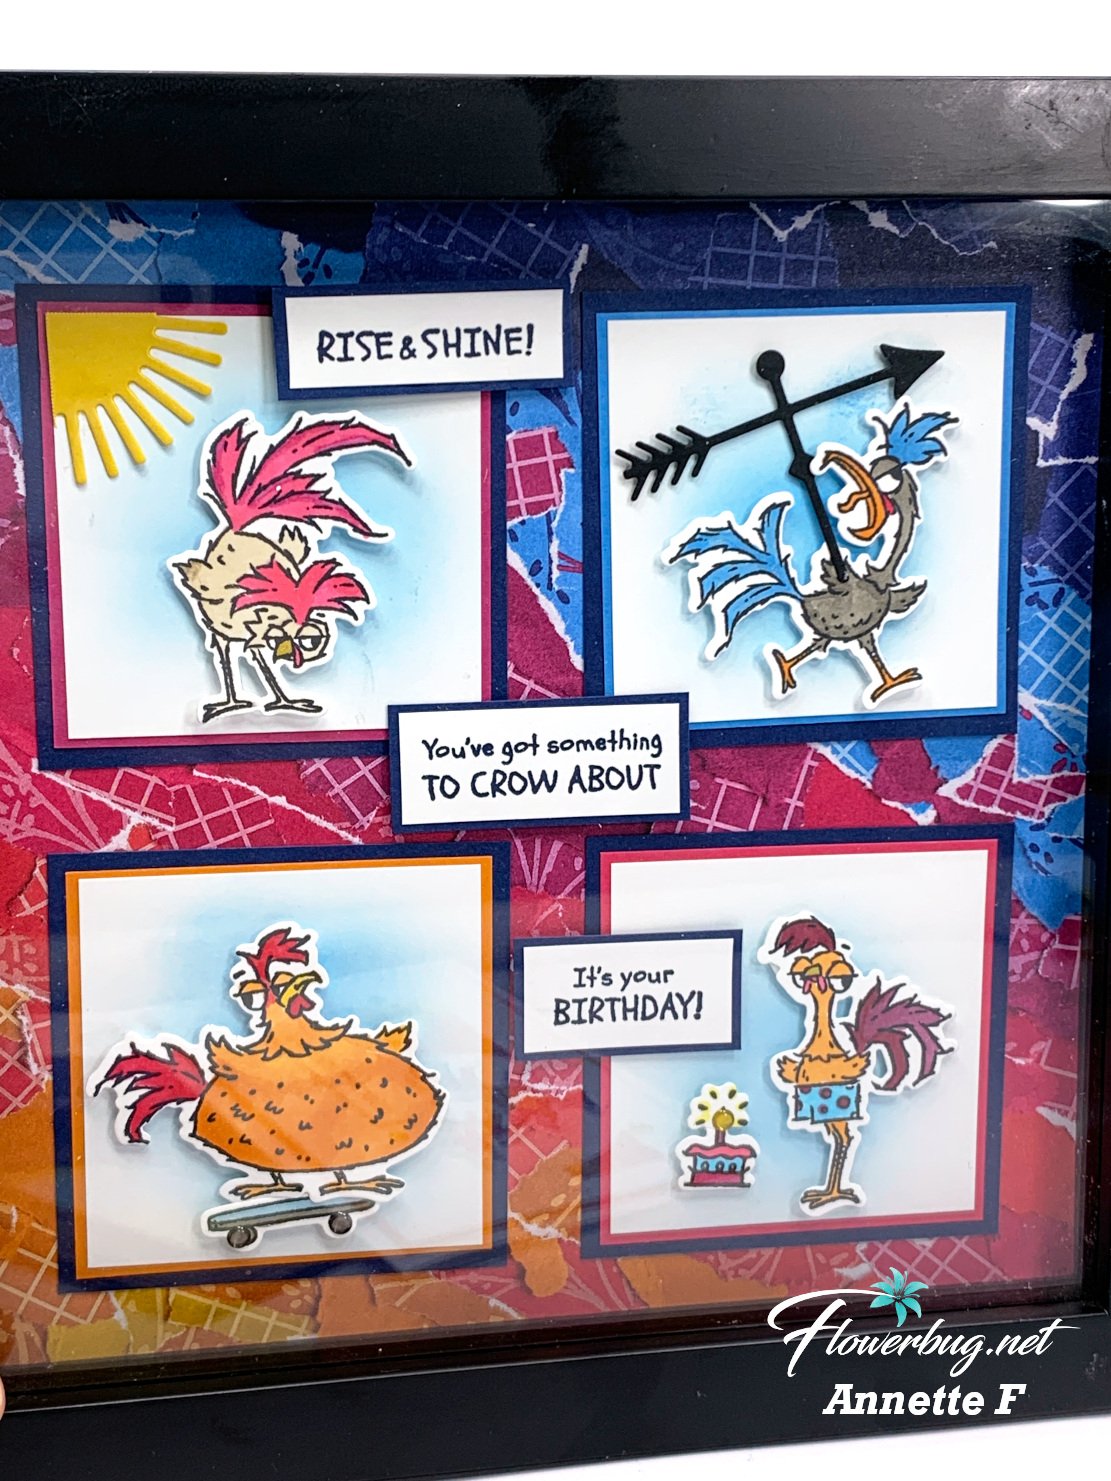
First up today is a stunning framed sampler.  

Just look at her incredible scenes!  I think the bit of blue behind each image sets them off incredibly. 

Sampler details:

  • She used Azure Afternoon ink and blending brushes to add a bit of blue behind her die-cut rooster scenes. 
  • The designer paper behind it all is the Masterfully Made designer series paper seen here. 
  • She colored the images with Blends markers and popped them up on the squares. 
  • Her 4 white squares measure 2 5/8", colored squares are 2 3/4" and the black are 2 7/8" squares 
  • The black frame is 9" in size; the glass opening is 7 1/2" 
Here's the Hey Chuck bundle she used.  The dies are back now and available!

~~~

Look at this hilarious rooster!  And the perfect greeting for him….. 


She used the Dots & Spots die for her background and that strip of the Masterfully Made DSP is a perfect addition to this card and her color choices. The white on white theme makes the image pop! 

The dimension she achieved by popping up the rooster and the greeting with Dimensionals makes such a difference to this card.  

Details:

  • Dots & Spots white layers are 5" X 3 3/4", Pumpkin Pie layer is 5 1/8" X 3 7/8"
  • Stitched circle is from the Stylish Shapes dies
  • DSP strip is 4" X 1"

~~~

Next is a fun fold card featuring the Glorious Gingham designer paper.  
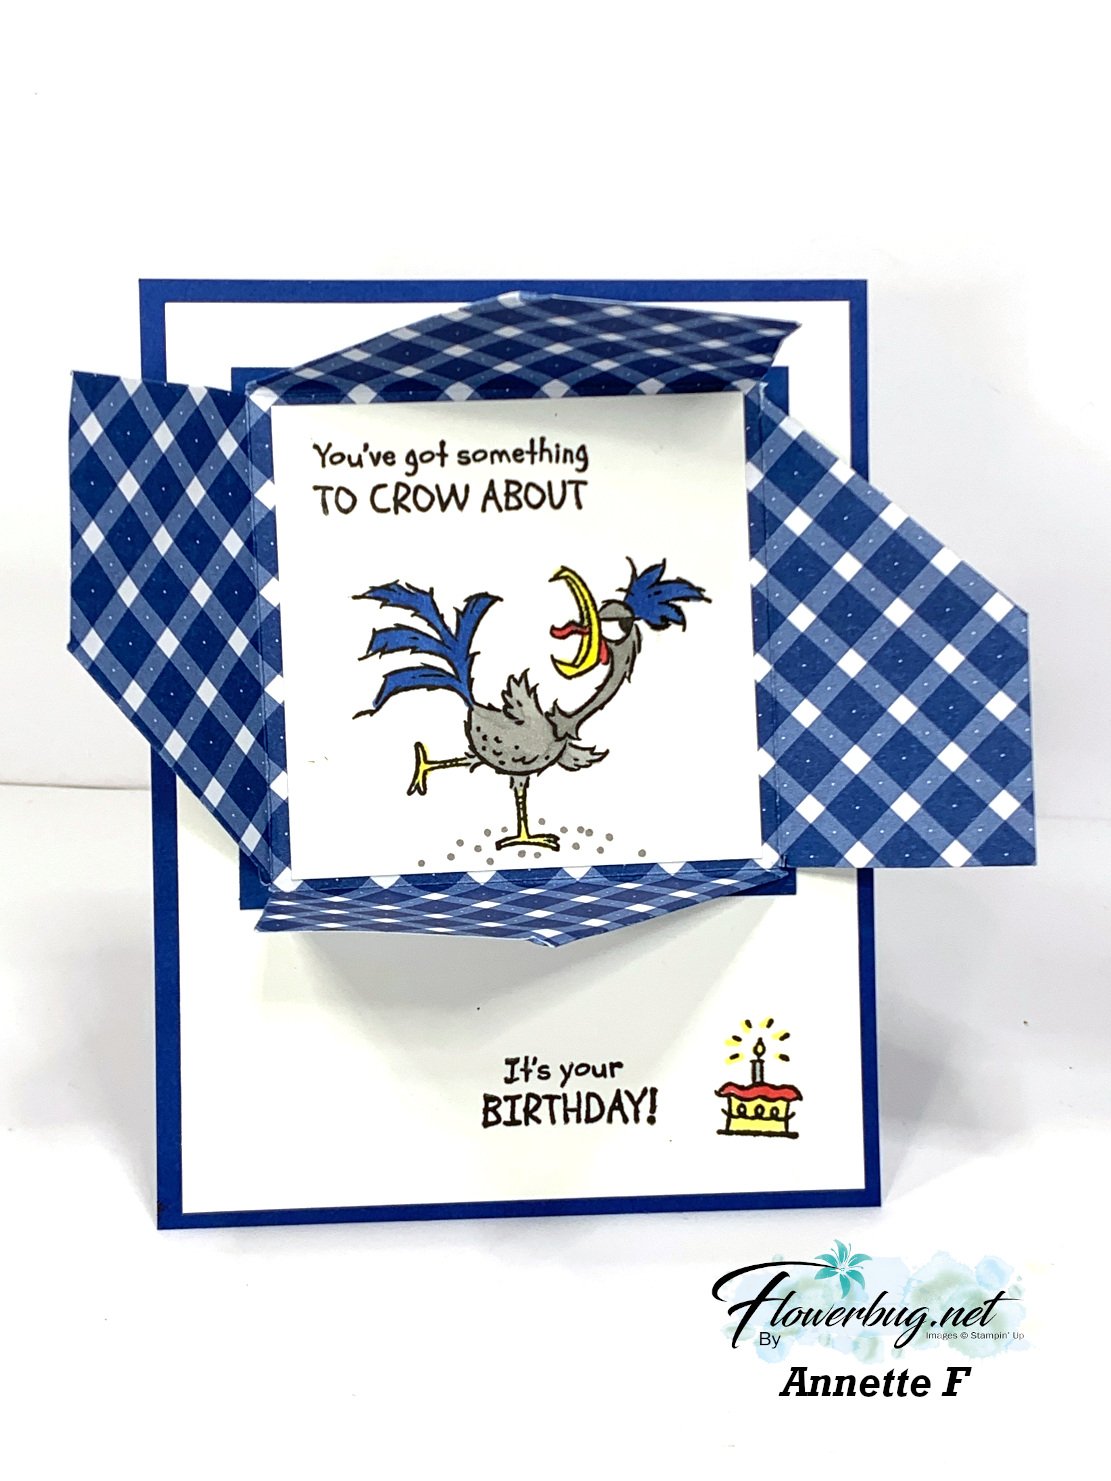

She got the idea from Karen Titus.  The DSP is 6" square and you score and cut it to fold in on itself.  Here's what it looks like when it's closed up: 


I'll be sharing how to make one of these cards very soon!  


More to come tomorrow! 

~~~

August Specials: 

 *current host codes: KY99RPXP 
ShopwithLeeAnn.com

Redeem your Bonus Days coupons in August!  

Free Gift with orders in August: 

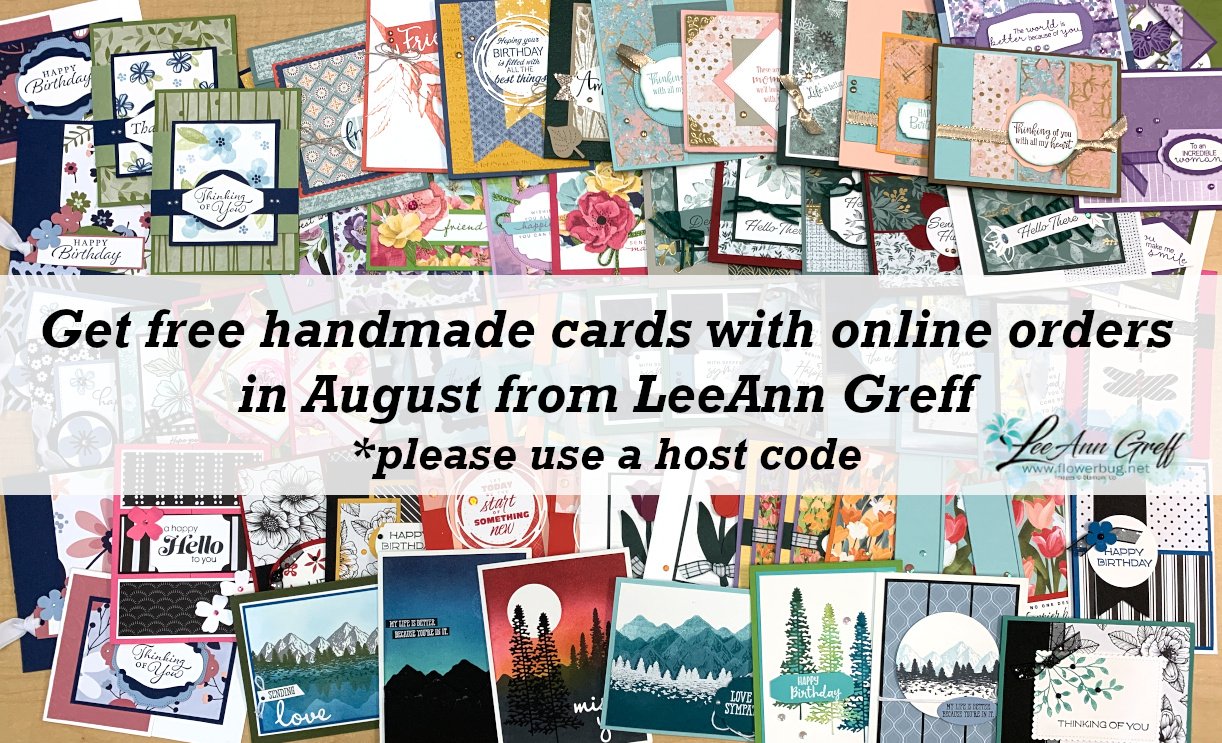
Get a pack of at least 5 beautiful cards with orders over $50 this month. 

The more you order the more cards you get!

*cards are previous card kits to go; over the top and many fun folds.  
 

All Posts

  • Holiday & Sale-a-Bration Catalog Tour; Part 2


    Tuesday I shared the 2nd half of my live catalog tour; the last half of the Holiday catalog and the new Sale-a-Bration catalog too!

    You'll see lots and lots of swaps & samples.  Plus actual products and tips as well.  I hope you enjoy it! 

    click on the photo below to watch it.  Or click here to see it on YouTube. 

    ~~~

    August Specials

    Host code: UTDM9JQG

    *click here to order

    All online orders will receive a free PDF tutorial filled with projects featuring

    the Harvest Meadow Suite!

    Get the Cute Star Adhesive-Backed Sequins with a $50 online order from me in August! Use this host code: 7JB43RUH

    Order here


    Get a Free Bundle  from the Holiday Catalog when you choose the Starter kit!  Pick out $125 in product of your choice for just $99 and shipping is free!  

    Leave a Reply

    Your email address will not be published. Required fields are marked *

  • Get a free bundle from the Holiday Catalog!


    During Sale-a-Bration you can pick out a free bundle with purchase of the Stampin' Up! starter kit.  It's the current promotion happening now through September 30th. Click here to print out the flyer below. 

    Did you know that ….

    • you get $125 in product of your choice for $99 and shipping is FREE!? 
    • you can enjoy a 20% discount (and up to 25%) on all of your Stampin' Up! orders?
    • you can pre-order from new catalogs a month early?  
    • you don't have to place an order until December 2021 to stay active? 
    • you do not have to hold events or sell product?  True! You can simply enjoy the discount yourself.

    Below is a sample of a possible Starter Kit. I gathered $125 in product and a free Holiday Catalog bundle.

    I have never had a demonstrator join my team and regret it.  They all love it as long as they stay active.  Some people stay a while and others do not.  I hope you stay awhile but if you don't, that's fine too.  There is no pressure to continue once you decide to leave.  You simply stop placing orders. 

    I have many people take advantage of this deal just to stock up on essentials or to get items on their long wishlist. Then when they're stocked up, they stop ordering. It's just that simple! No pressure to sell or hold events. Just enjoy the 20% discount while you can. Email me with any questions you have. 

    Click here to read more about it or join my Flowerbug's Team.  We are a friendly and creative bunch and we'd love to have you!


    ~~~

    August Specials

    Host code: UTDM9JQG

    *click here to order

    All online orders will receive a free PDF tutorial filled with projects featuring

    the Harvest Meadow Suite!

    Get the Cute Star Adhesive-Backed Sequins with a $50 online order from me in August! Use this host code: 7JB43RUH

    Order here

    Leave a Reply

    Your email address will not be published. Required fields are marked *

  • Ombre Blending with Decorative Masks; an easy technique!


    If you struggle to get a smooth blend I have a few suggestions for you.  We made this striking card at a class this weekend.  Everyone loved it and they all turned out fabulous!

    Details:

    • The colors here are Crushed Curry, Pumpkin Pie and Cherry Cobbler; with a bit of gold glitz thrown in.
    • The leaves are die-cut from the Intricate Leaves dies seen here. 
    • The greeting is from the Thinking, Thanks & Peace stamp set in the Holiday catalog. I love this greeting!  See it here.

    Here are some tips & suggestions for perfect Ombre' blending:

    • Use out Blending Brushes; they really do make a smooth blend easier.
    • Choose colors that are similar in hue. For instance blues and greens, or yellows to reds.  
    • Blend over a Decorative Mask – see them all here.  The patterned stencils/masks seem to break up any inconsistencies in your blending. 
    • Here I added color onto Crumb Cake card stock; that also helps and would be a a good color to practice on. 
    • I start out with the lightest color and work my way downward; in this case at an angle.  
    • I leave a tiny space between colors and make sure to blend/connect them by going into the previous color just a bit before moving. 

    ~~~

    August Specials

    Host code: UTDM9JQG

    *click here to order

    All online orders will receive a free PDF tutorial filled with projects featuring

    the Harvest Meadow Suite!

    Get the Cute Star Adhesive-Backed Sequins with a $50 online order from me in August! Use this host code: 7JB43RUH

    Order here


    Get a free bundle from the Holiday Catalog when you choose the Starter kit!  Pick out $125 in product of your choice for just $99 and shipping is free!  

    Leave a Reply

    Your email address will not be published. Required fields are marked *


Notice: LeeAnn Greff, Independent Stampin’ Up! Demonstrator, Manager. The content of this website is my sole responsibility as an independent Stampin’ Up! demonstrator and the use of, and content of, the classes, services, or products offered on this website is not endorsed by Stampin’ Up! Copyright 2025