National Scrapbook Day is Saturday, May 3rd and Stampin' Up! is celebrating by offering double reward points for 2 days!

For example when you place a $50 order you'd normally get $5 in Stampin' Rewards. On Friday and Saturday you'll earn $10! This is super exciting!
In order to bank rewards for your orders you do have to opt in. This is so easy. Simply log in to your SU online account and click on your name in the upper right and opt in there. Here's a simple graphic.

Here's a quick video explaining the new rewards system. If you place online orders I hope you take time to watch it.
~~~
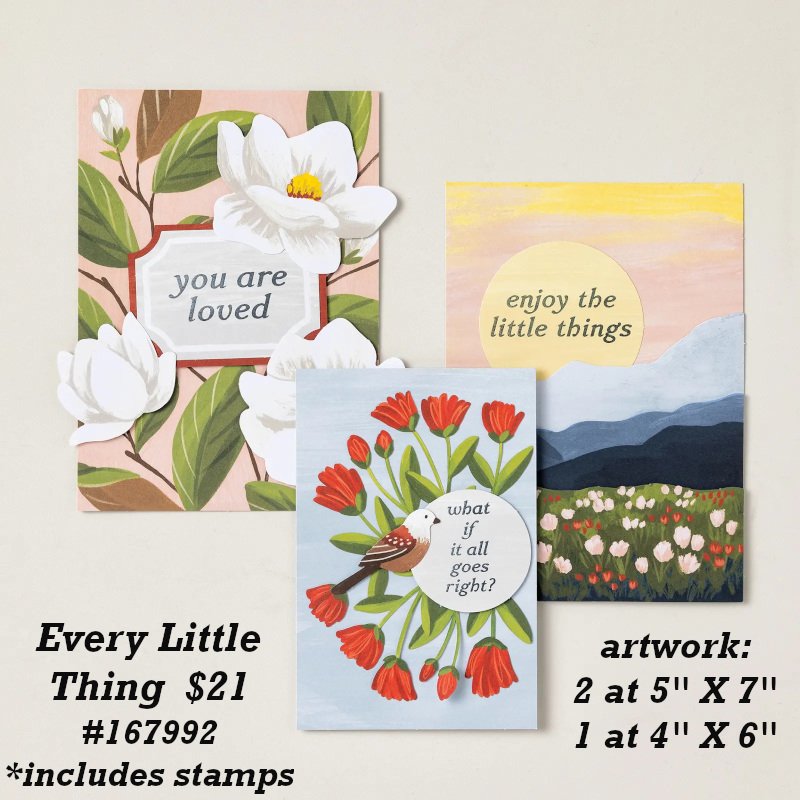
May Specials
Reserve the In Color bundle by May 6th!

Don't miss the deals in the Last Chance list here!

*host codes have been discontinued; no need to add one.
Now you'll earn host rewards on all orders over $20!
~~~
Get my Florals in Bloom PDF tutorial free with any online order in May!

Get a free PDF tutorial of your choice with any order over $55 at my shop here


Leave a Reply