/


Latest Post

WOW fun fold swap cards with the Beary Cute bundle!


Look at these three fabulous swaps that all feature the Beary Cute bundle.  All so different which shows how versatile this bundle can be.  

First is an amazing fun fold card made by Candace.  
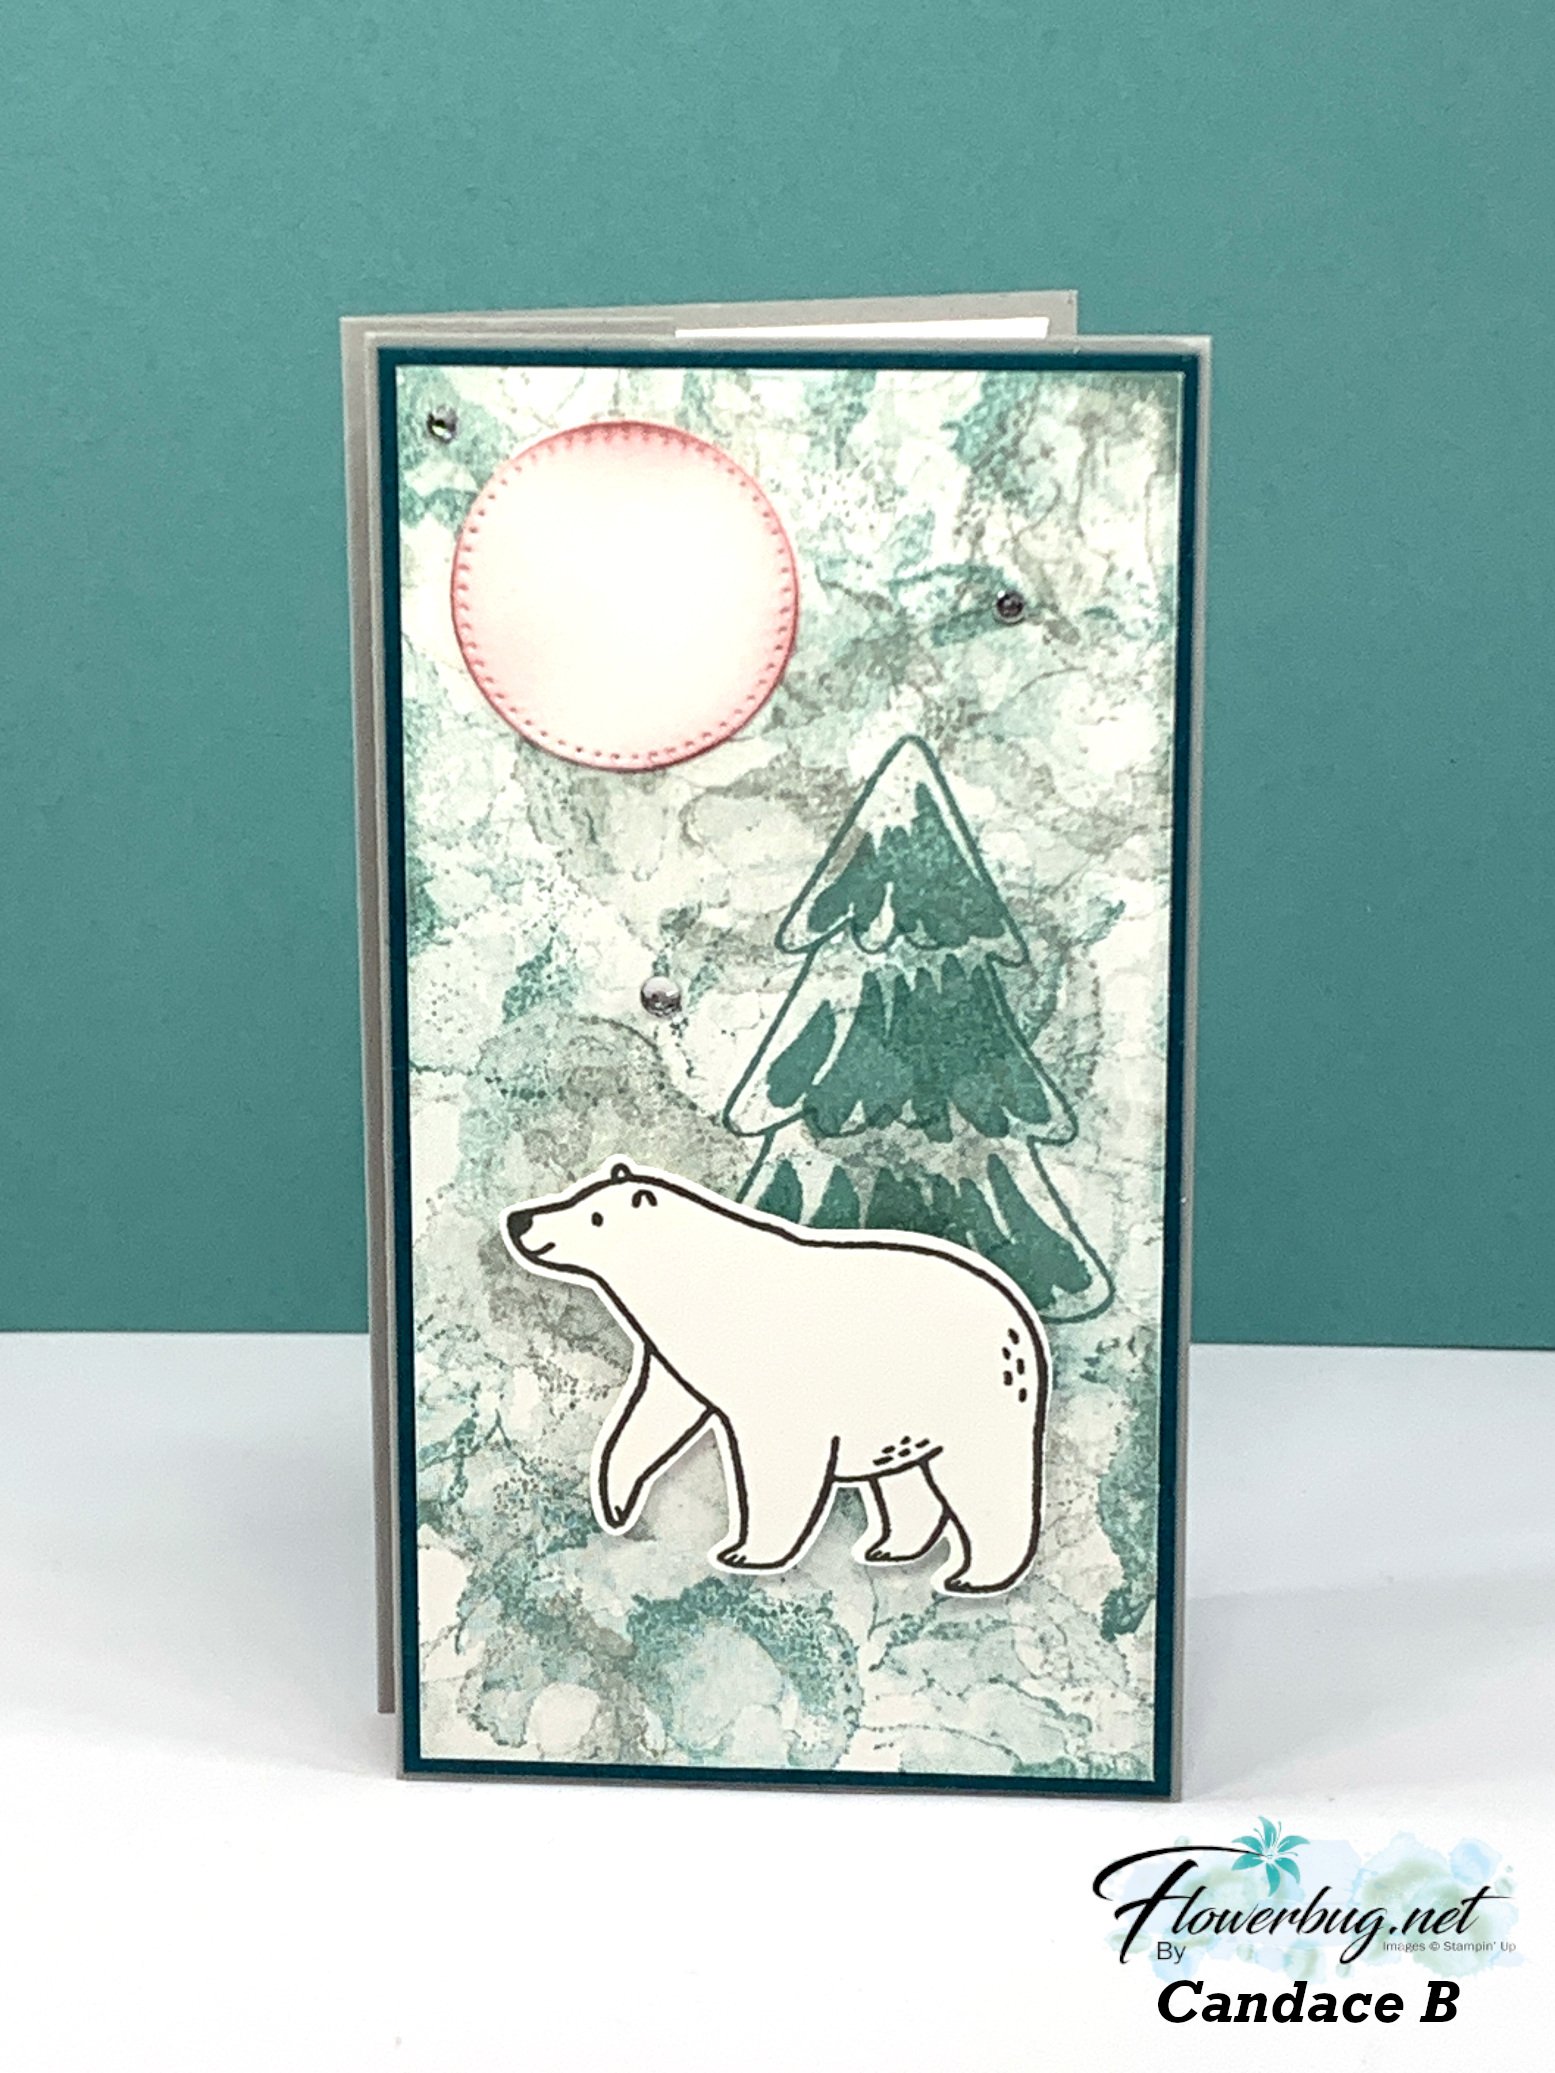
She stamped her neat background using stamps from Artistically Inked. I know it doesn't look like a fun fold; but look what you see once you open it up!  

So fun!  And not that difficult either. I created a similar card on this week's Live video. I'll share it and a free project sheet next week.  

Measurements:

  • Card base 8 1/2" X 5 1/2" score at 3", 4 1/4", 5 1/2" 
  • front white 2 3/4" X 5 1/4", inside white 2 3/4" X 5 1/4"
  • Pretty Peacock front 2 7/8" X 5 3/8"
  • White inside greeting layers 2 3/4" X 1 1/2"
  • Smoky Slate greeting layers 2 7/8" X 1 3/4" 

She used Pretty Peacock, Basic Gray and Lost Lagoon for her inks.  All stamps are from the Beary Cute stamp set. 

Next is a fun & bright card made by Tracey:

She chose to feature the Merry, Bold & Bright designer paper here, focusing on the blues and green patterns.  She broke up the busy tree paper with a striped piece under the greeting and bow. Neat! 

Here's the inside view.  The greetings are from the Christmas Classics set. 

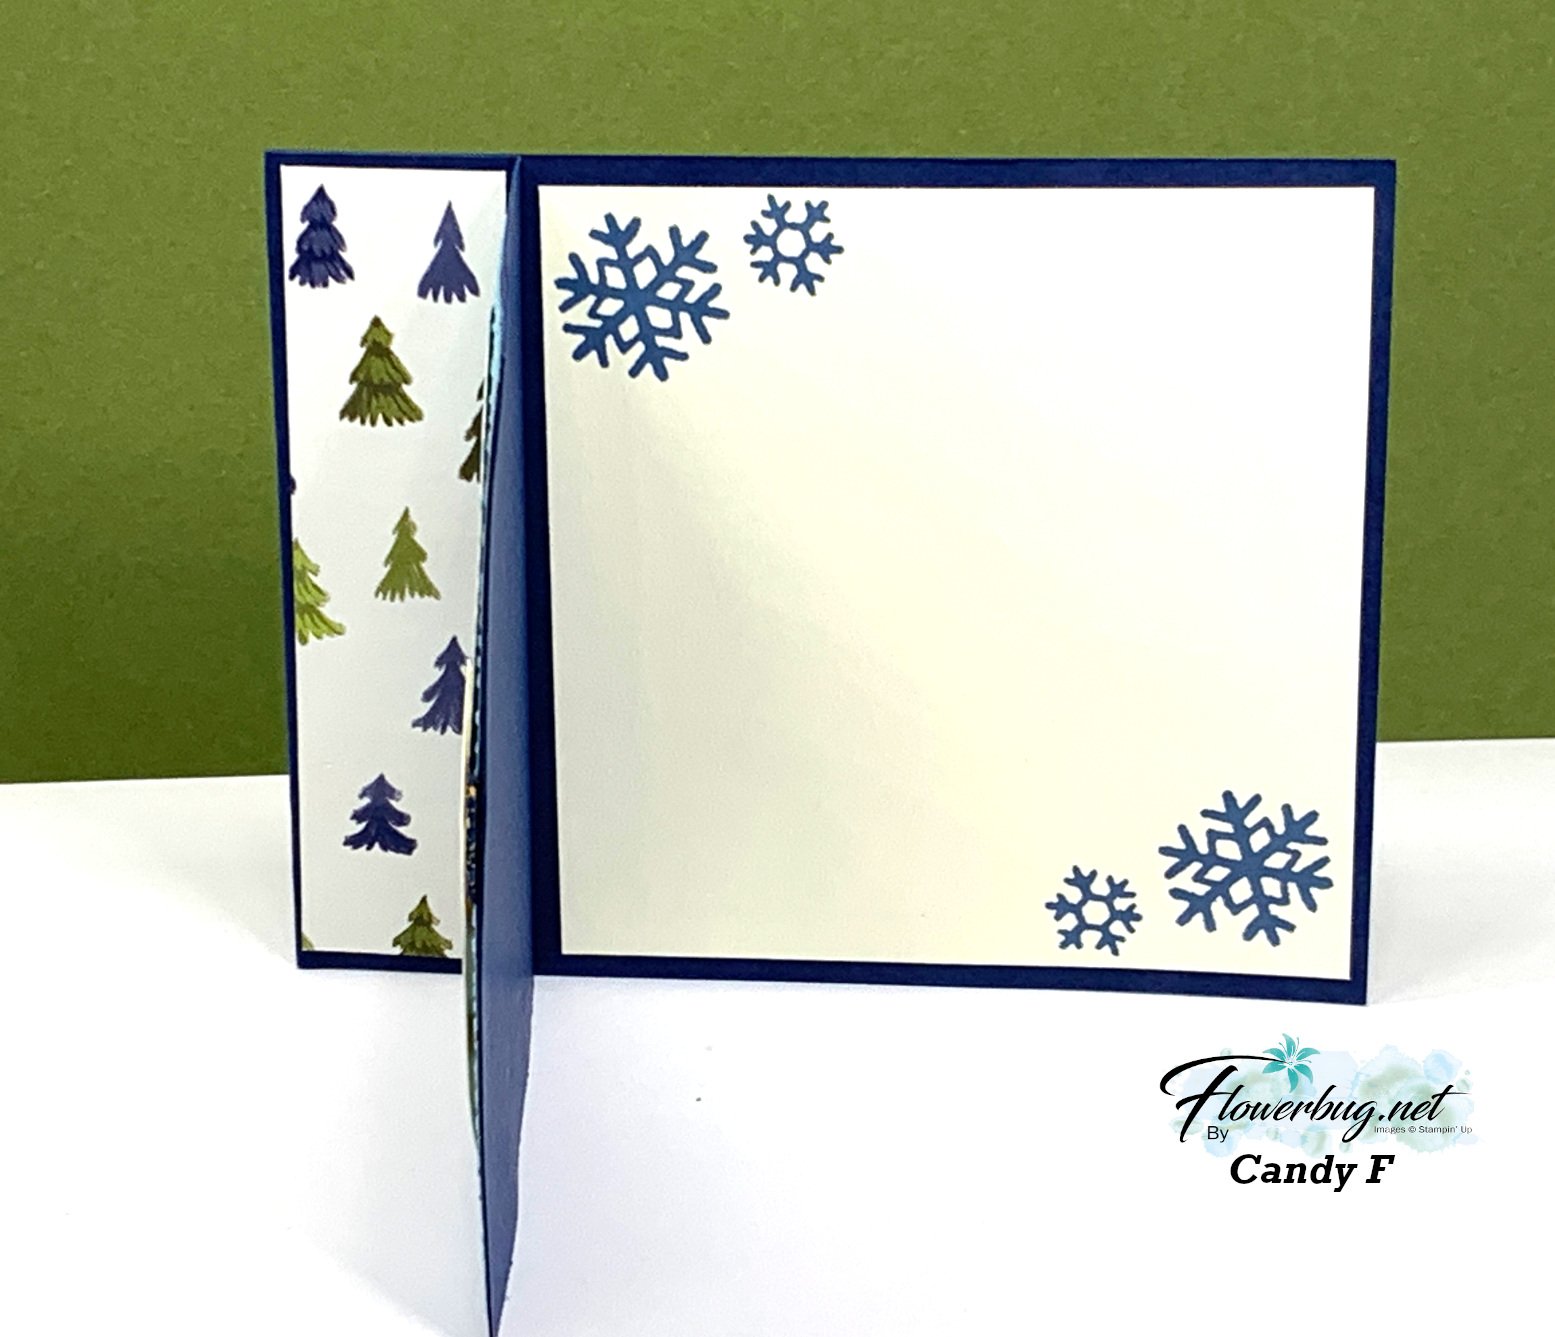
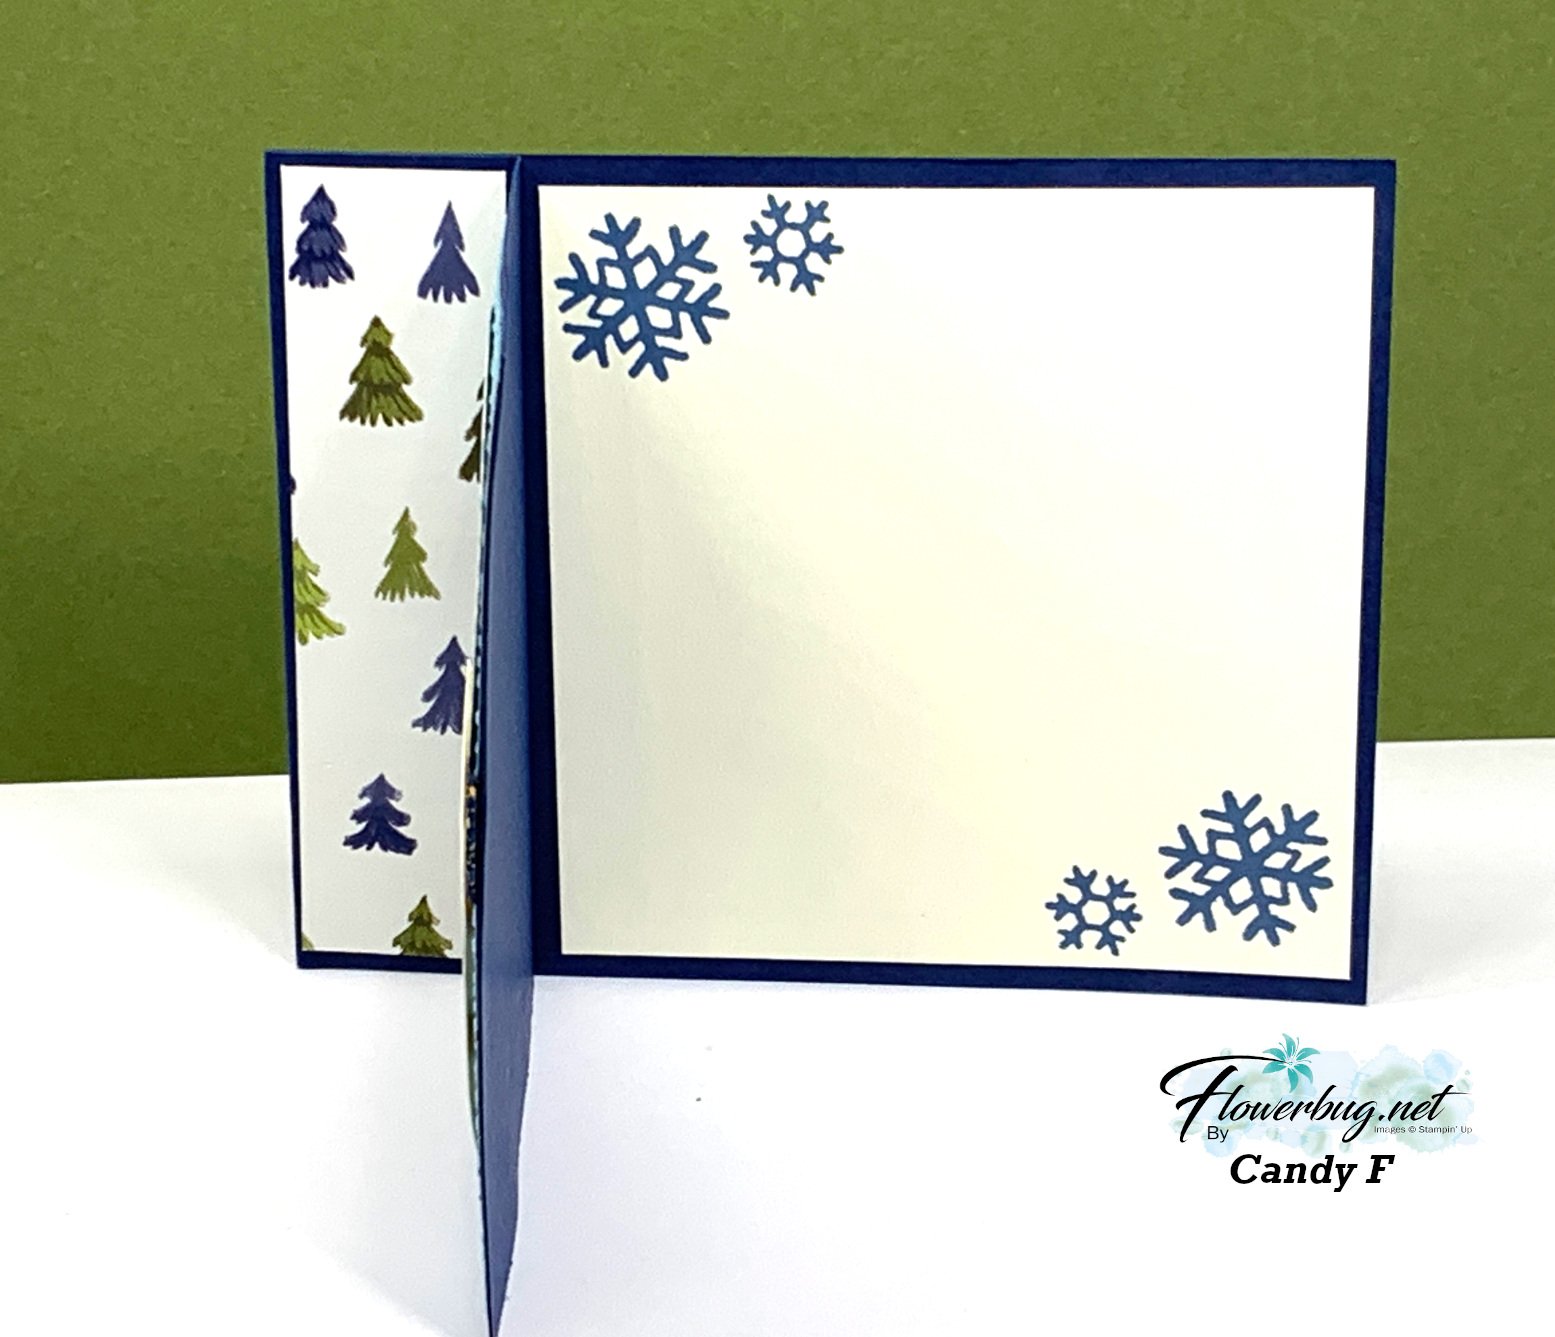
Next up is a neat book-binding card made by Candy.  

She used the Beary Christmas designer paper and stamps from the Beary Cute bundle. 

Products used:

  • Beary Cute bundle
  • Night of Navy, White, Crumb Cake and Balmy Blue card stock
  • Inks – Balmy Blue, Night of Navy, Misty Moonlight (scarf) and Mossy Meadow
  • Deckled circles dies, Navy & Gold glittered ribbon, Snowflake Sky 3D embossing folder.

Measurements:

  • Night of Navy card base 11" X 4 1/4" score at 4 1/4" & 5 1/2"
  • Balmy blue and White inside 4" square
  • DSP strip 1 1/8" X 4"


Unfortunately the Bear punch is unavailable right now; it will be back the first week in November though. See this bundle here. 
Love to make cards & swap?  Join my Flowerbug's Team in October with the Starter Kit deal seen below and be a part of the fun! 

More Team swaps coming tomorrow; stop back in! 

~~~

October Specials: 

Amazing Starter Kit choices! 

Choose one and enjoy the 20% discount on all future orders! Click here

*current host code: HTHK4TQU or Y7VMN2TC

*Get free glitter gems with online orders over $55 (Please use a host code)

All Posts

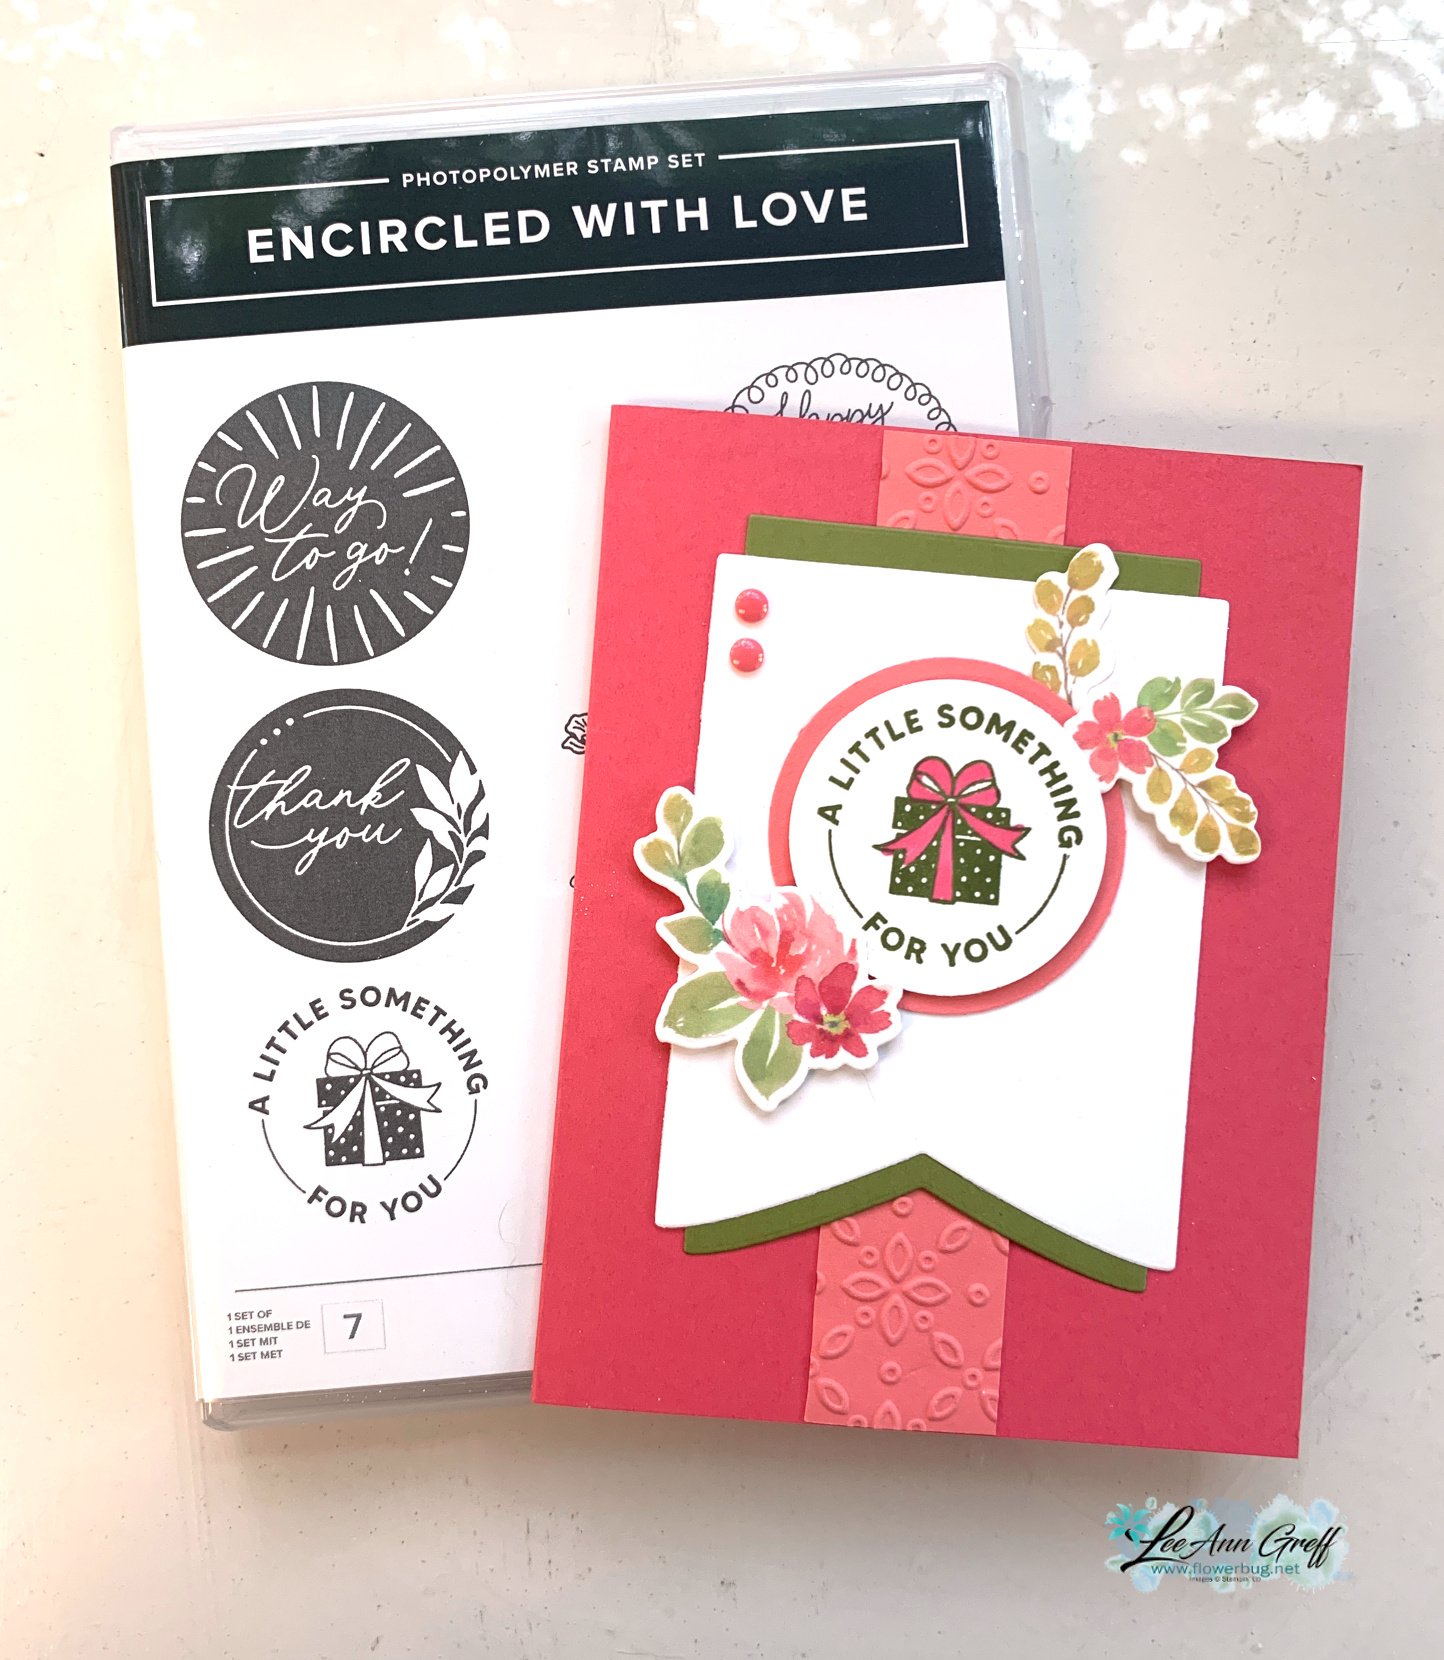
  • Encircled with Love meets Extraordinary Washi tape – video & free project sheet too!


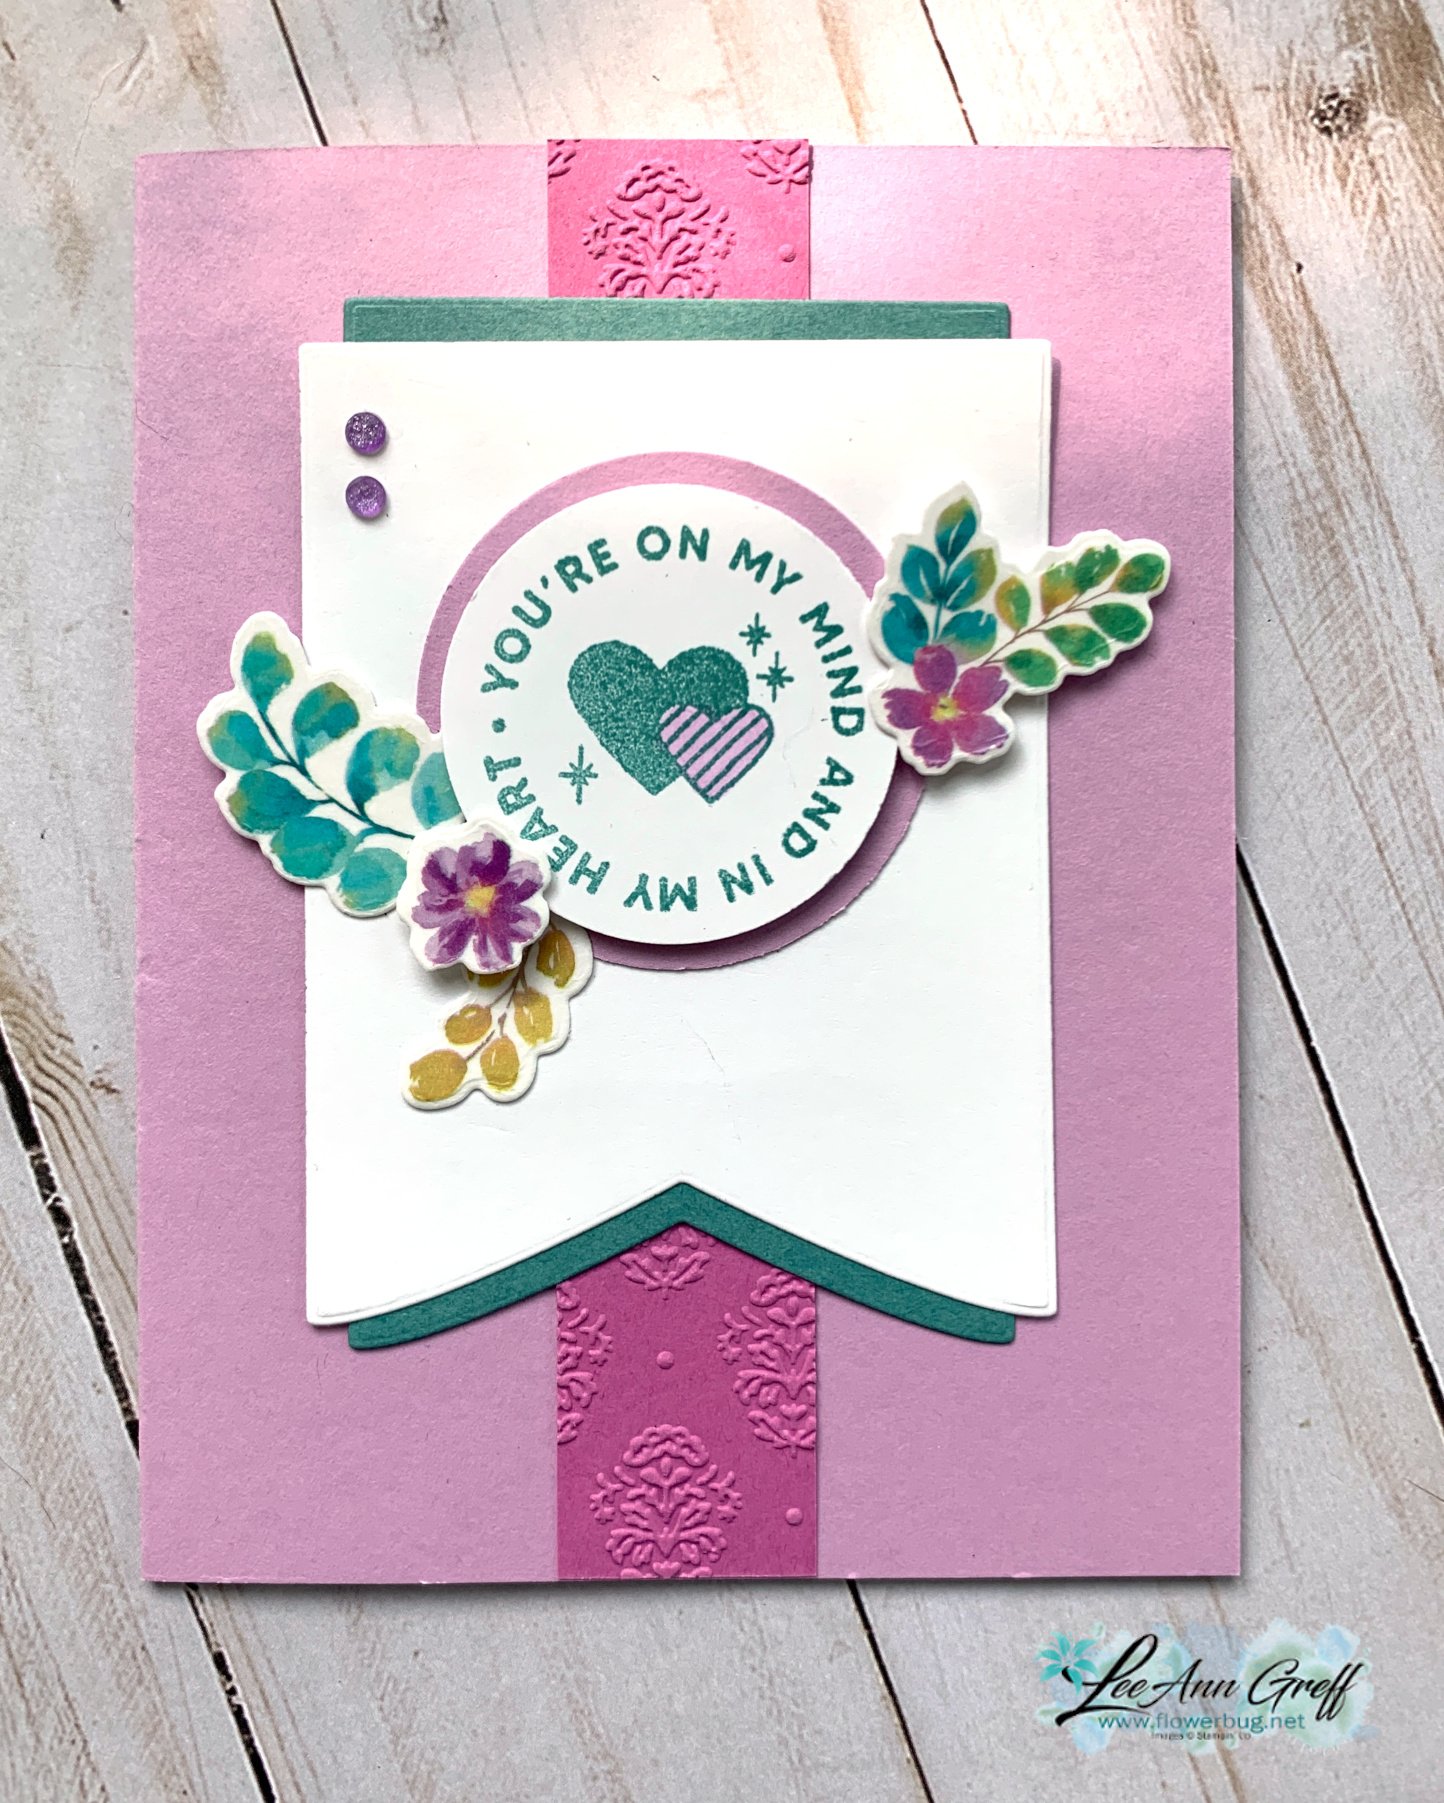
    Here is one of the cards I shared on last week's Live video: 

    There are quite a few products involved for such a simple card:

    I have two versions to share with you; which do you prefer?   

    Fresh Freesia/Petunia Pop/Lost Lagoon    or      Strawberry Slush/Flirty Flamingo/Old Olive? 

    The Extraordinary Washi Tape has been out of stock for awhile now; it should be back this week!  See it here.  

    Here's the free project sheet for these cards:  Click on the following link to print or download it. Download Encircled with Love Banner cards


    Below is the video tutorial for this card and one for a shaker card tutorial.  Watch to get the tips for success on making shaker cards!

    ~~~

    July Specials:


    New Online Exclusives are here!  Click here

    ~~~

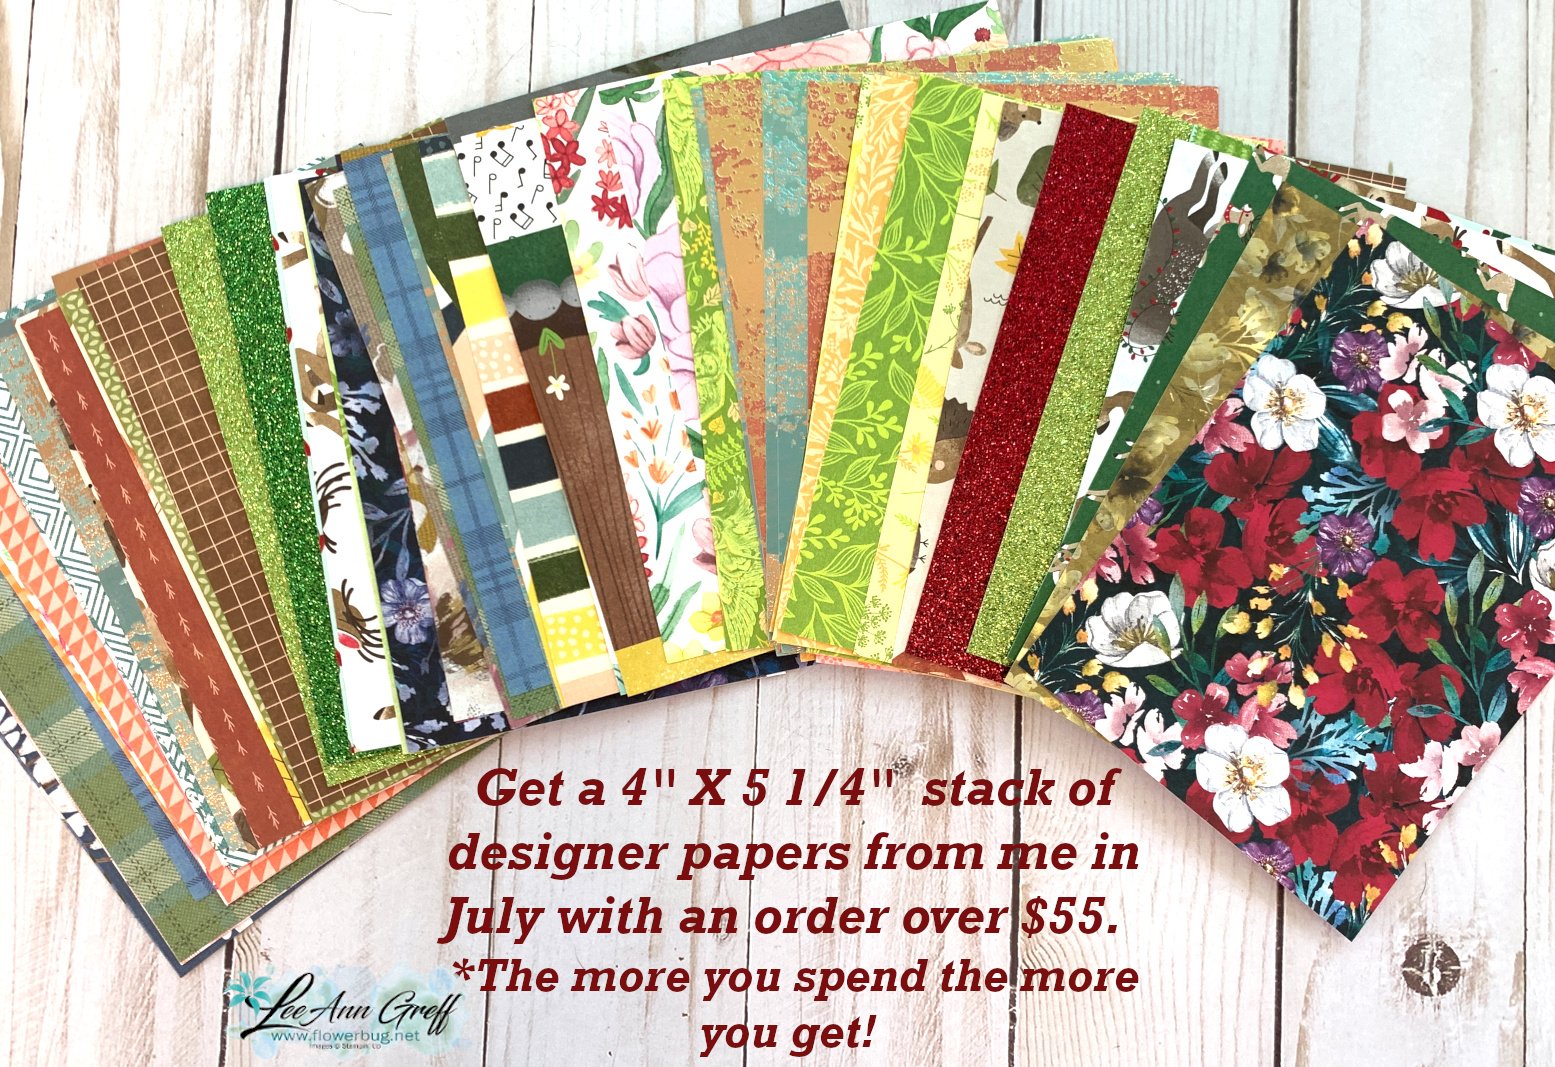
    Get my Turtle-y Cute PDF tutorial free with any online order in July!

    Leave a Reply

    Your email address will not be published. Required fields are marked *

  • Best Tips for successful Shaker Cards with video tutorial!


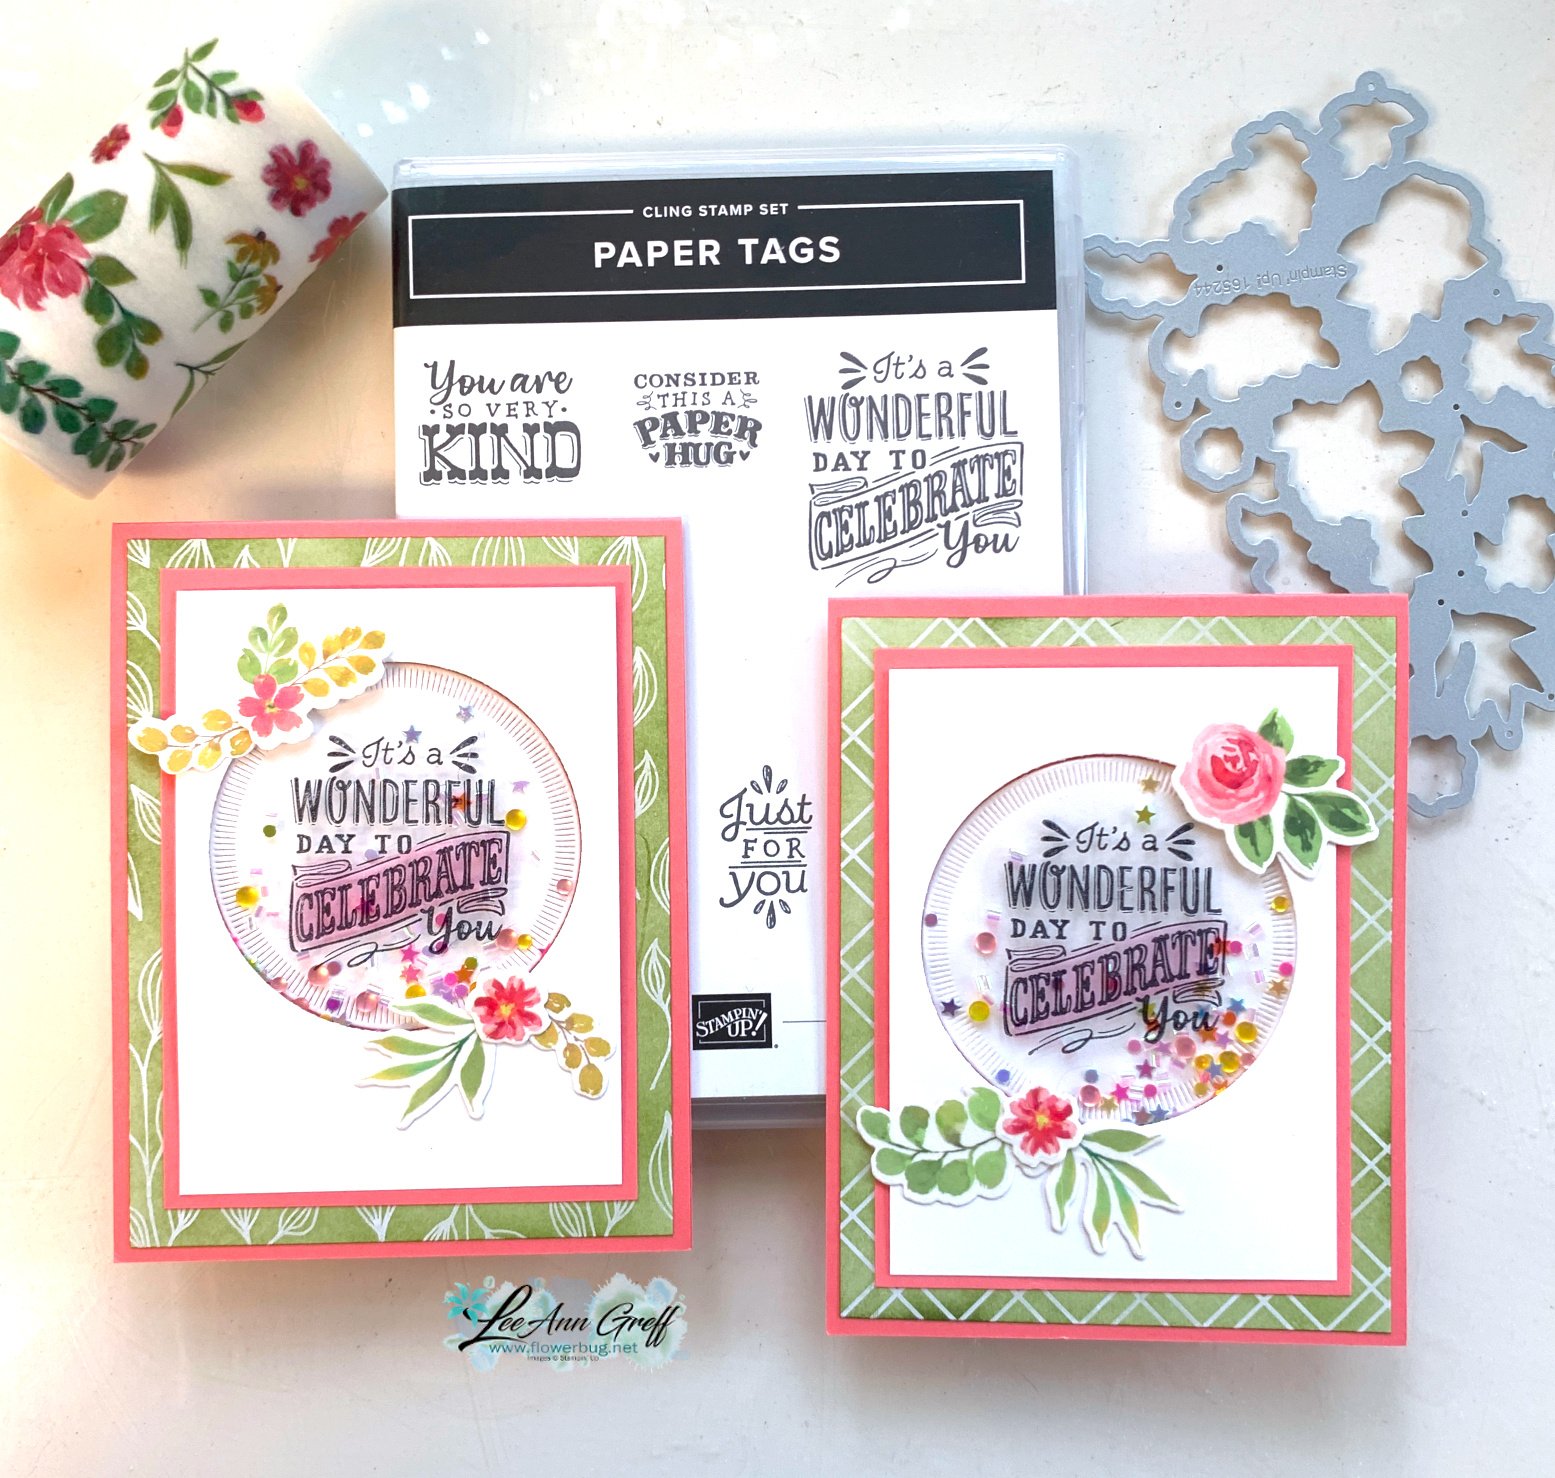
    Who wouldn't like to receive a shaker card?!  They're fun, shakable and hard to resist playing with. 

    I made a bunch of these for our July Team card swap featuring 'window sheets'. I love the fact that I could get multiple, colorful die-cut flowers with the Extraordinary Floral Washi Tape and the coordinating die-cut. Just add it to another piece of cardstock and die-cut. So fast & EASY! 

    Notice the sponged green designer paper above. That is the Irresistible Designs 12" DSP seen here.  I added Olive ink to it with a Blending Brush; the printed embossed designs 'resist' the ink.  Pretty cool! 

    I used the Paper Tags stamp set – stamping the greeting directly onto the window sheet with Black Stazon ink. Then I turned it over to add a bit of Flirty Flamingo blends marker on the 'celebrate' part.  

    My colors include Flirty Flamingo, Old Olive and White for a fresh floral card design. Want to know the steps to achieve a shaker card?  Best to grab the free project sheet below or watch the video tutorial. 

    Here's the free project sheet with measurements for you. Click on the following link to print or download it.  Download Paper Tags Shaker Card


    Below is the video tutorial for this neat shaker card.  Watch to get the tips for success on making one plus another pretty card featuring the Extraordinary Floral washi tape. 

    ~~~

    July Specials:


    New Online Exclusives are here!  Click here

    ~~~

    Get my Turtle-y Cute PDF tutorial free with any online order in July!

    Leave a Reply

    Your email address will not be published. Required fields are marked *

  • Another ‘WOW’ card swap with the Beautiful Butterflies stained glass technique


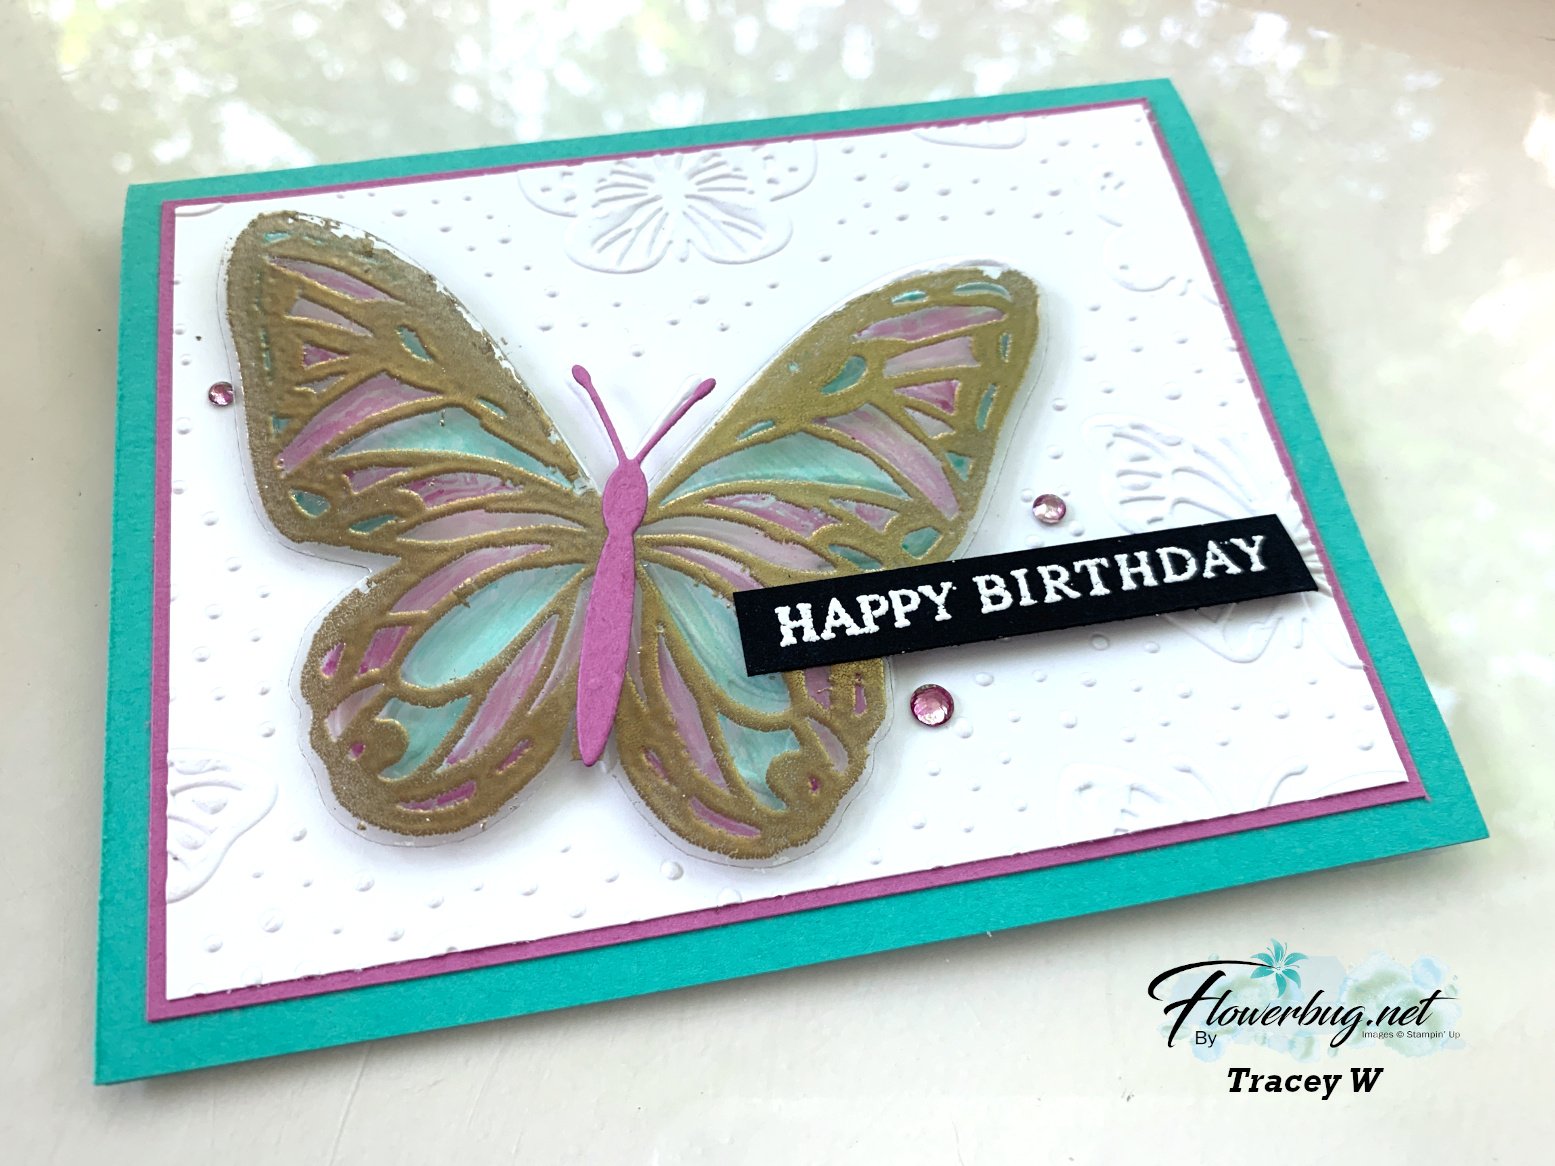
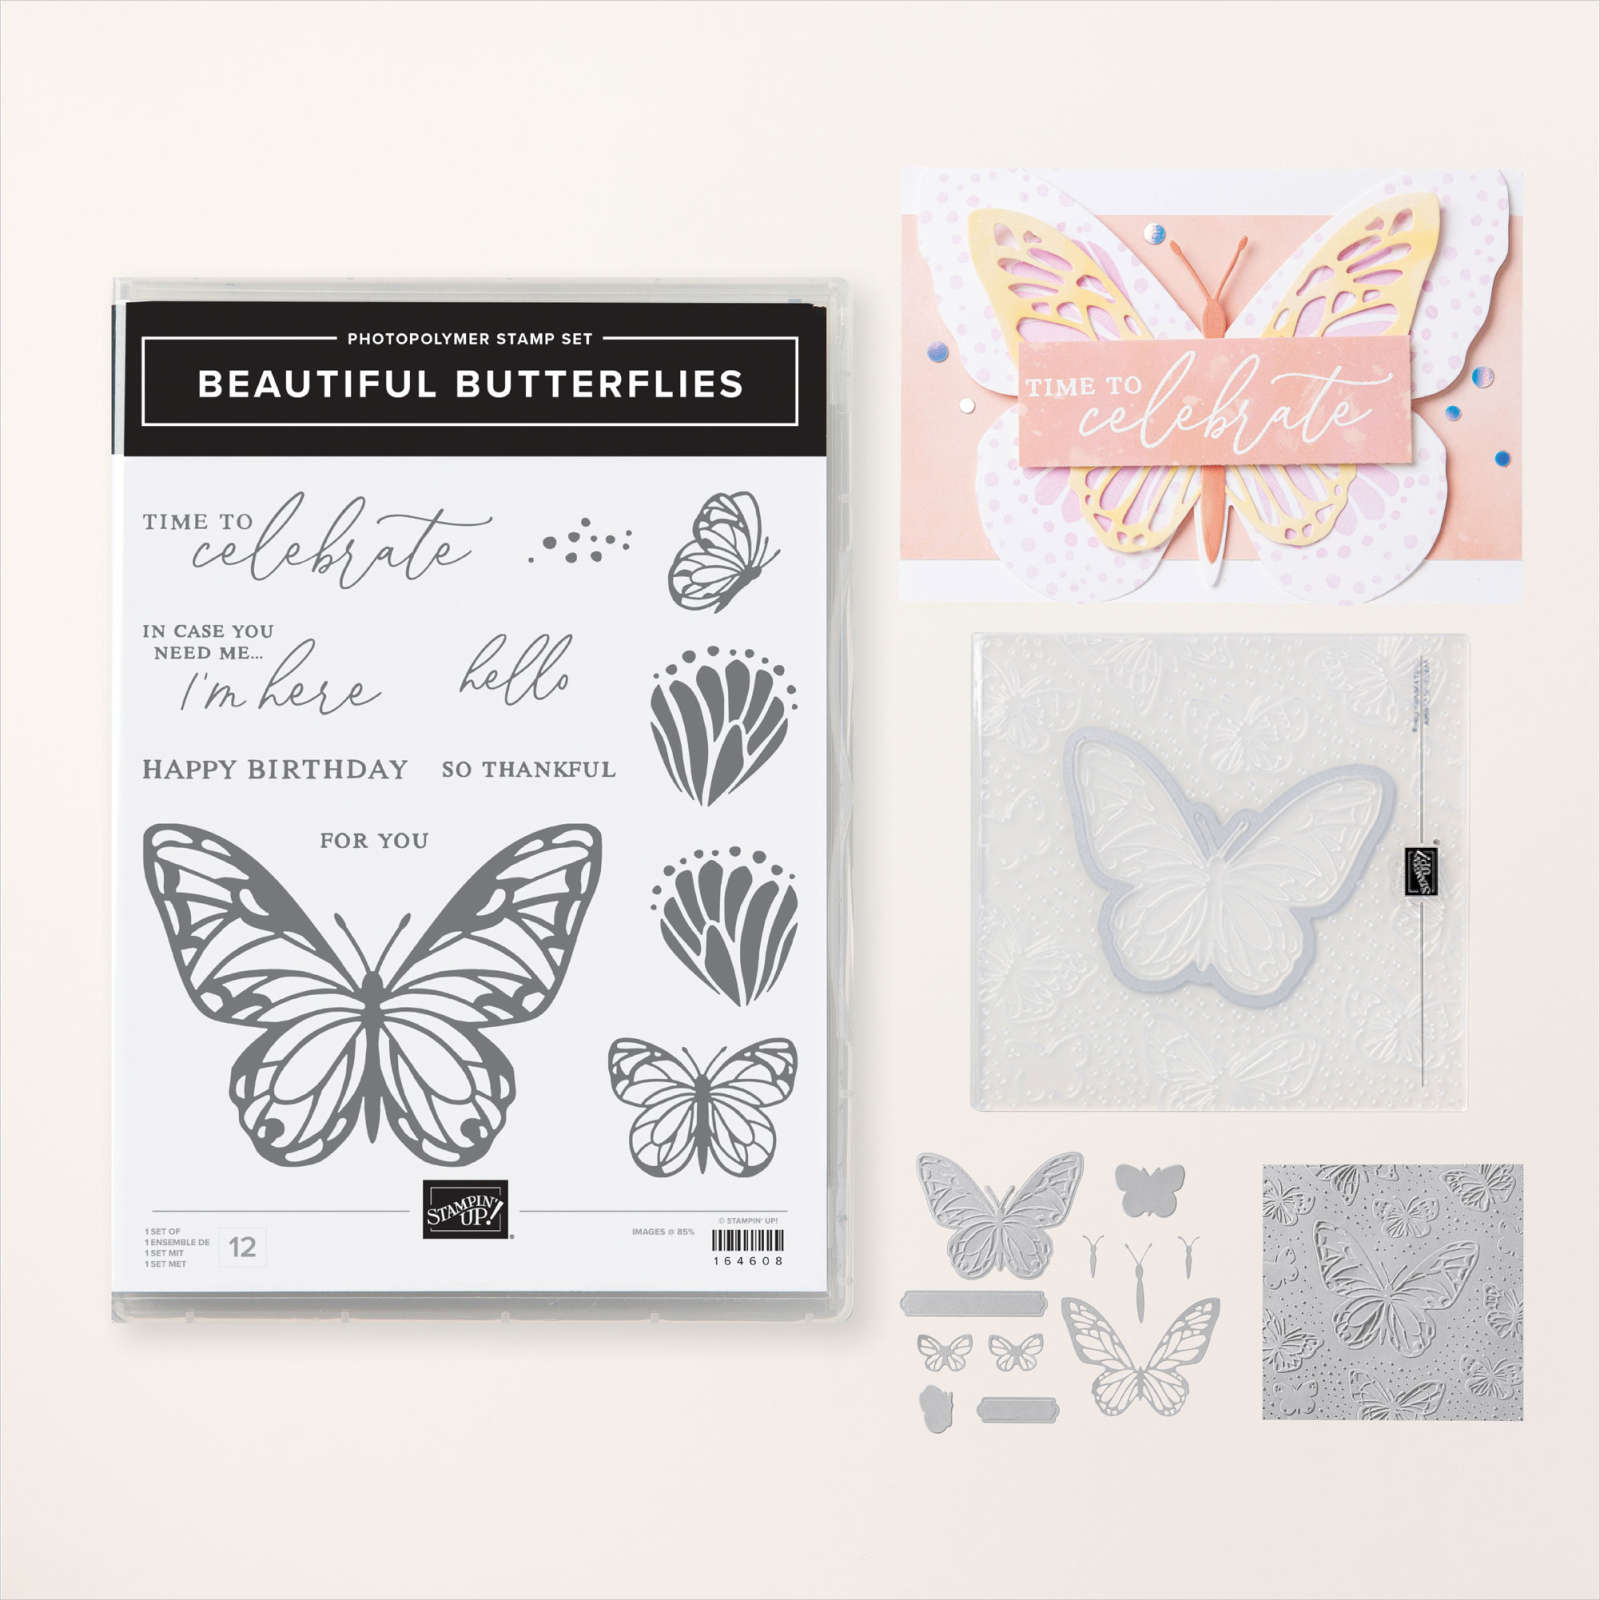
    Today I have another stunning Team card swap made by Tracey featuring Window Sheets. She featured the Beautiful Butterflies bundle seen here:

    Her colors include Shy Shamrock with Petunia Pop, Black, White & Gold embossing. 

    Here's how she made this card:

    1. Texture the White layer with the Hybrid embossing folder; add to the Petunia layer and the card base. 
    2. Ink the butterfly image in Versamark and stamp on the Window sheet. Heat emboss with Gold embossing powder. Die-cut with the coordinating die.  *she did say some of the embossing powder on the edge frayed off when it went through the die-cut.  
    3. Color the back of the butterfly with Blends markers.  Adhere to the White cardstock layer with Foam Strip adhesive in the center only. Add the center 'body' die-cut.
    4. Heat emboss the greeting onto the Black strip with White embossing powder.  Finish with gems. 

    Here's the full bundle that includes stamps, dies and a Hybrid embossing folder. What is a 'Hybrid Embossing folder?  It's where you can cut AND emboss/texture at the same time!

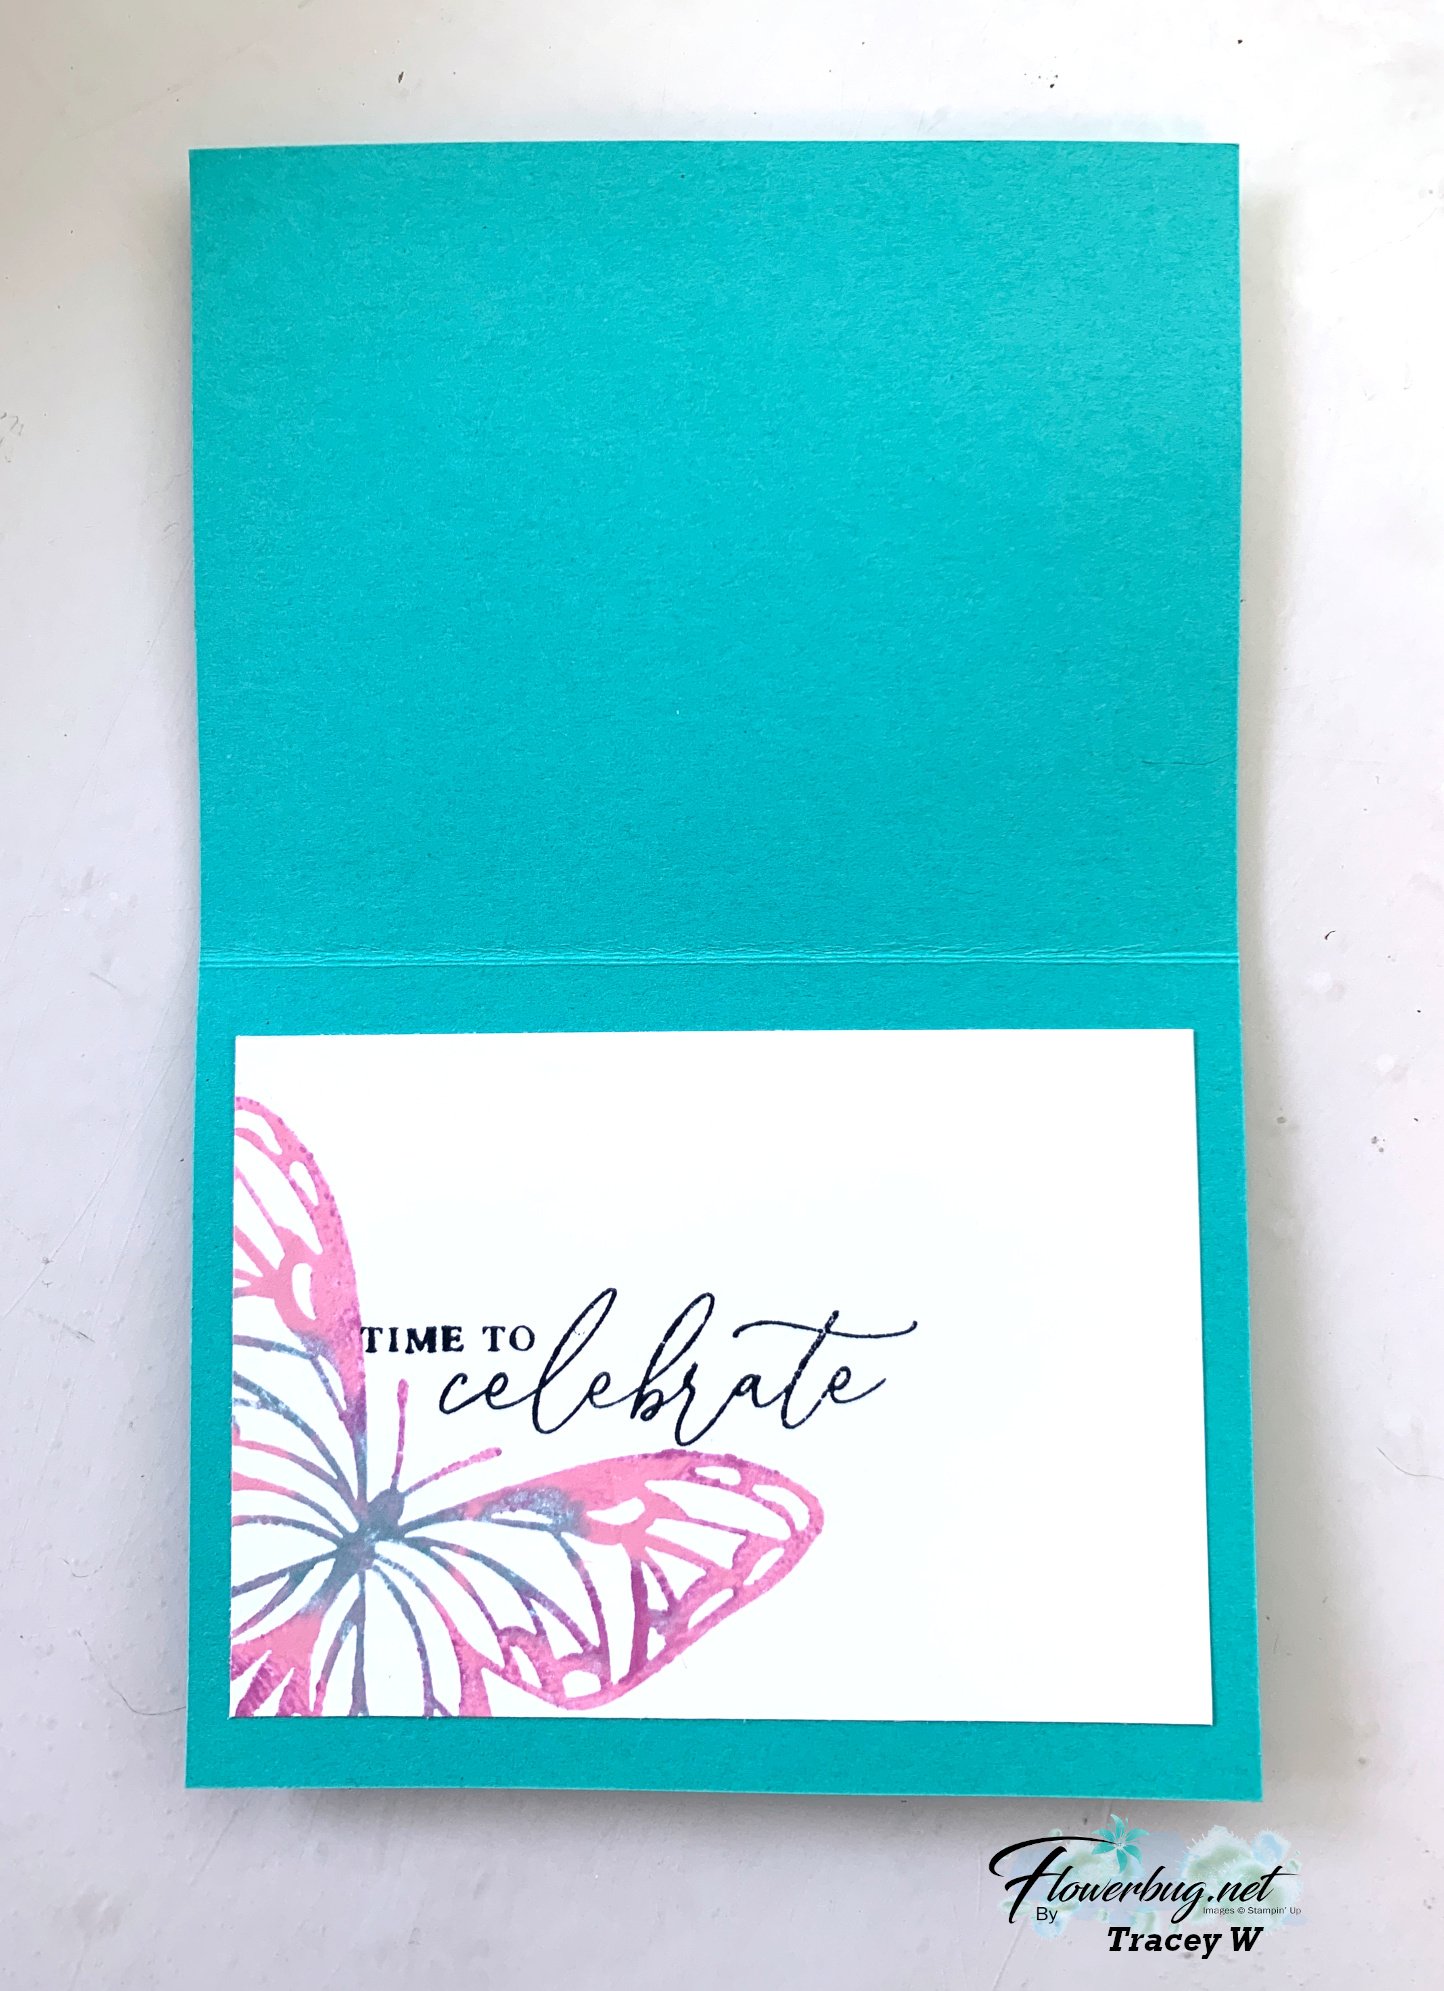
    And look how she finished the inside!  She used the Baby Wipe technique to achieve a multi-colored butterfly. 

    Thanks so much for your gorgeous card Tracey! 

    ~~~

    July Specials:

    New Online Exclusives are here!  

    ~~~

    Last Chance List has been updated!  see it all here. Don't miss out on the deals!

    ~~~

    Get my Turtle-y Cute PDF tutorial free with any online order in July!

    Leave a Reply

    Your email address will not be published. Required fields are marked *


Notice: LeeAnn Greff, Independent Stampin’ Up! Demonstrator, Manager. The content of this website is my sole responsibility as an independent Stampin’ Up! demonstrator and the use of, and content of, the classes, services, or products offered on this website is not endorsed by Stampin’ Up! Copyright 2025