/


Latest Post

Wow! Check out the Magic in This Night Samplers! Remember Punch Art Wednesday?


If you've followed me for awhile you may remember I used to do a Punch Art Wednesday post almost every week!  I loved creating things with punches.  But I've gotten away from that since my business has grown. But I think you'll find some great punch art in these projects!

My Flowerbug's Team decided to do a Halloween sampler swap for a home decor piece.  We chose to use the Magic in This Night designer paper as our theme & colors.  I had enough pieces to create 2 of them. Look at these!  

Isn't it incredible?  Each so unique and all together create a fabulous home decor piece! 
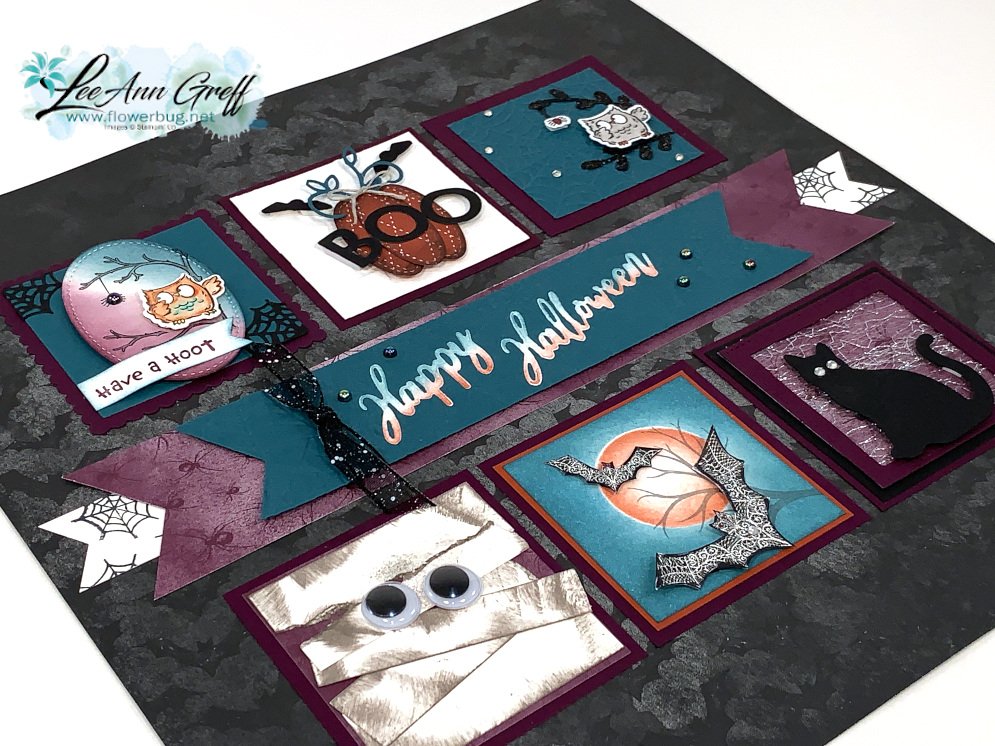
These 3" squares are adhered to a full 12" sheet of the Magic in This Night designer paper. I'll try to give some details on these squares. 

I created the banners from the Word Wishes dies in White card stock.  I sponged the upper and lower areas with Pretty Peacock & Cajun Craze inks.  I stamped spider webs from the Banner Year stamp set on the White strip. 

A mummy made from sponged White CS strips, a sponged night sky & masked moon with fussy cut bats from the Designer Paper and a punched cat on a Metallic Mesh ribbon background.
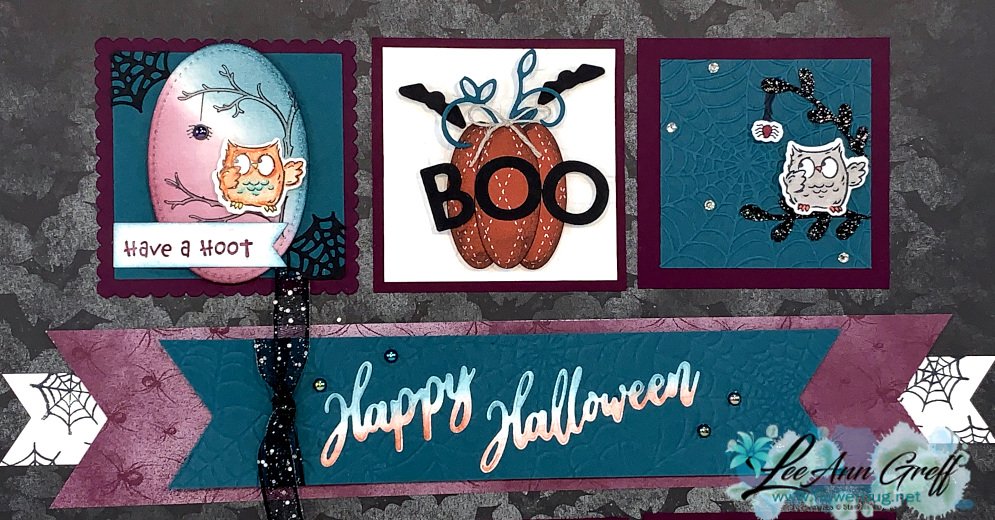
An owl from the Have a Hoot bundle, a punched pumpkin with the Playful Alphabet BOO and another owl on a Cobweb textured background with Black Glimmer branches.

Below is an entirely different sampler!   
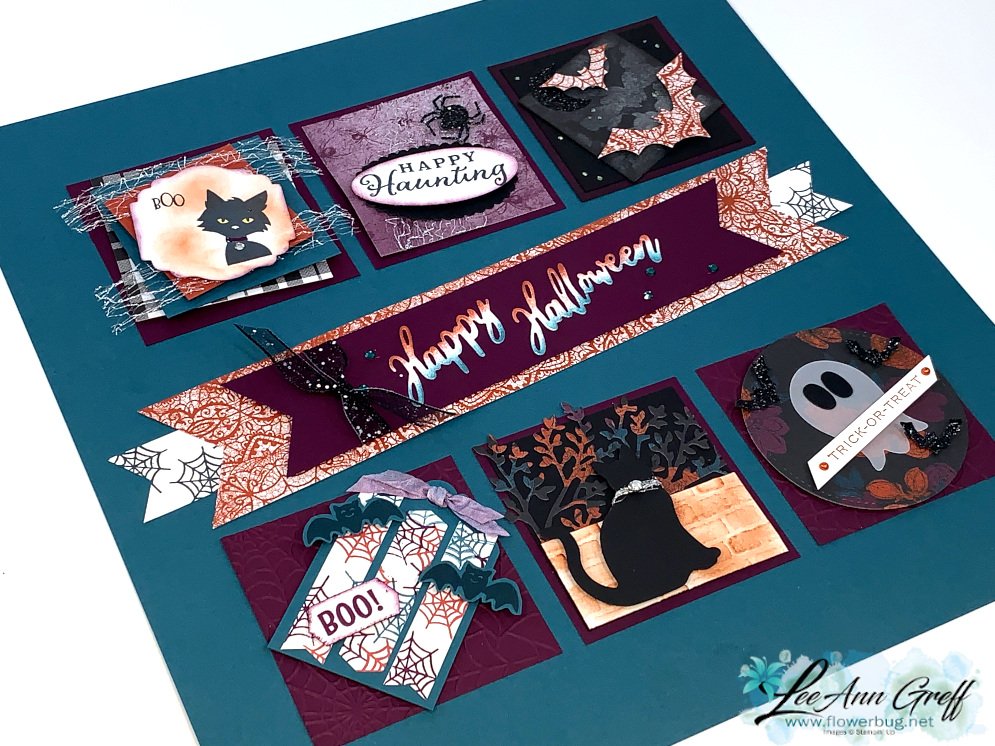
These sampler squares are adhered to a 12 X 12" sheet of Pretty Peacock card stock. 

From left to right; the first one is made with the Ghoulish Goodies stamp set, second is from the Banner Year and far right are bats fussy cut from the Designer Paper. 

Left is a tag made with the Banner Year stamp set, the cat is on a die-cut from the Sweet Silhouettes dies & a textured brick 'wall' and last on the right is a punched ghost made with the Tulip punch!  The eyes are from the 0's in the Playful Alphabet dies and the greeting from Hallows Night Magic set.

I LOVE seeing what my talented Team members create for our swaps.  If you'd like to join my Team we'd love to have you; whether you like to swap or not!  Click here to purchase the starter kit!  The Get & Go Promotion is a fabulous deal and it ends in just 6 days!!  Read about it here. 

~~~

Current Host code is HYSHW6QB

Get a free package of All the Trimming embellishments in September with an

online order over $55. 

*Remember that if your order is over $99 you should consider purchasing the Starter kit here.

And if it's over $150 you should definitely get the Starter kit.  

Order online here

 Get my Beautiful Autumn pdf tutorial free with any online order in September!


It includes directions, photos and measurements for 13 cards!
All Posts

  • Celebrate Sunflowers Triple Panel Card with video!


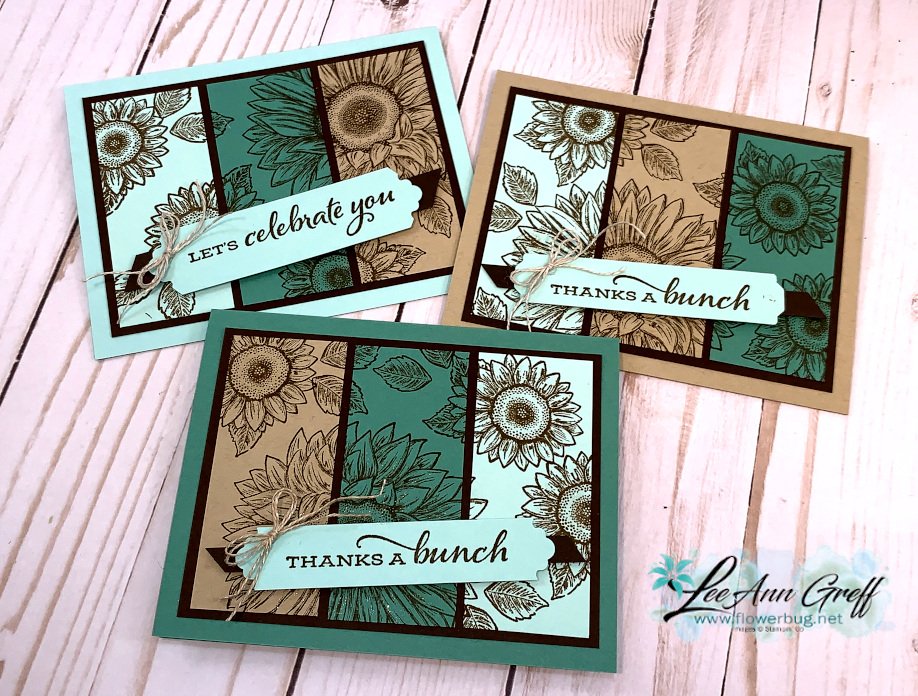
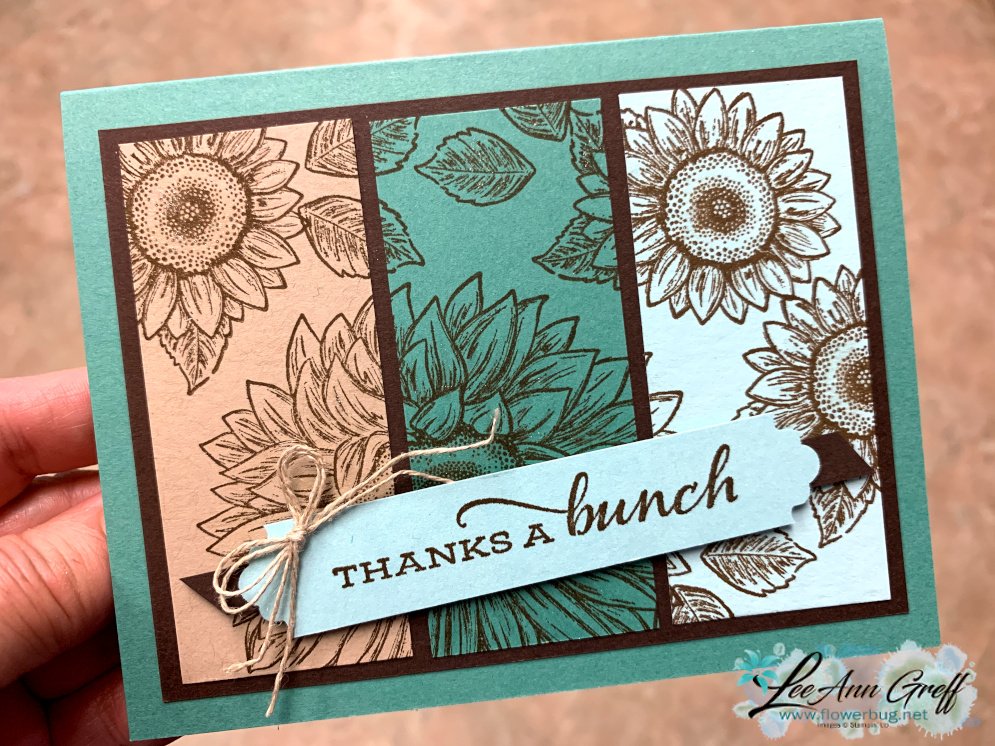
    I made this card on Facebook Live last night on my weekly Monday night 'Stamp with Me'.  It's such a fun technique!  

    I love blues and browns together and chose to use Just Jade, Early Espresso, Crumb Cake and Pool Party with the Celebrate Sunflowers stamp set (seen here).  What do you think of this color combination? One of my favorite things about creating is coming up with unique color combos.  

    I have some great tips on doing this technique.

    • Start out with three colors of card stock measuring 3 1/2" X 4 1/2". 
    • Cut these into three strips 1 1/2" wide. 
    • Lay them together and adhere a piece of copy paper to the back side to keep them held together while stamping. 
    • Stamp large and small images all over the three colors of card stock with Soft Suede ink. *Always stamp the largest image first! 
    • Or use Designer Series Paper instead of stamps! 
    • Adhere to the Early Espresso layer (4 3/4" X 5").  Then to the full 5 1/2" X 8 1/2" card base. 

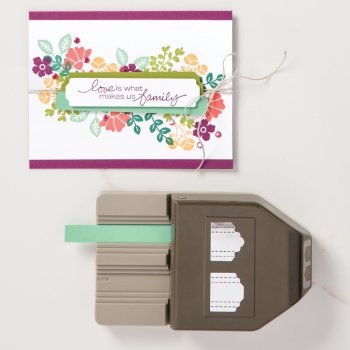
    The pool party greeting strips are either 3/4" or 1" wide by about 4" long.  I used the new Pick a Punch (seen here) on the ends and added a thin strip (about 1/4") of Early Espresso card stock under it as an accent.  I finished it with a double bow made with our Linen Thread. 

    You can watch this video here: 

    ~~~

    The new catalog is here!!! 

    Get my Lovely You pdf tutorial free with any online order in June


    It includes directions, photos and measurements for 10 cards!


    June Host code is 7H2FW9FG

    Get a free pkg. of Elegant Faceted Gems from me if your order is over $55. 

    Order online here


    Leave a Reply

    Your email address will not be published. Required fields are marked *

  • Blossoms in Bloom; another pretty cards duo


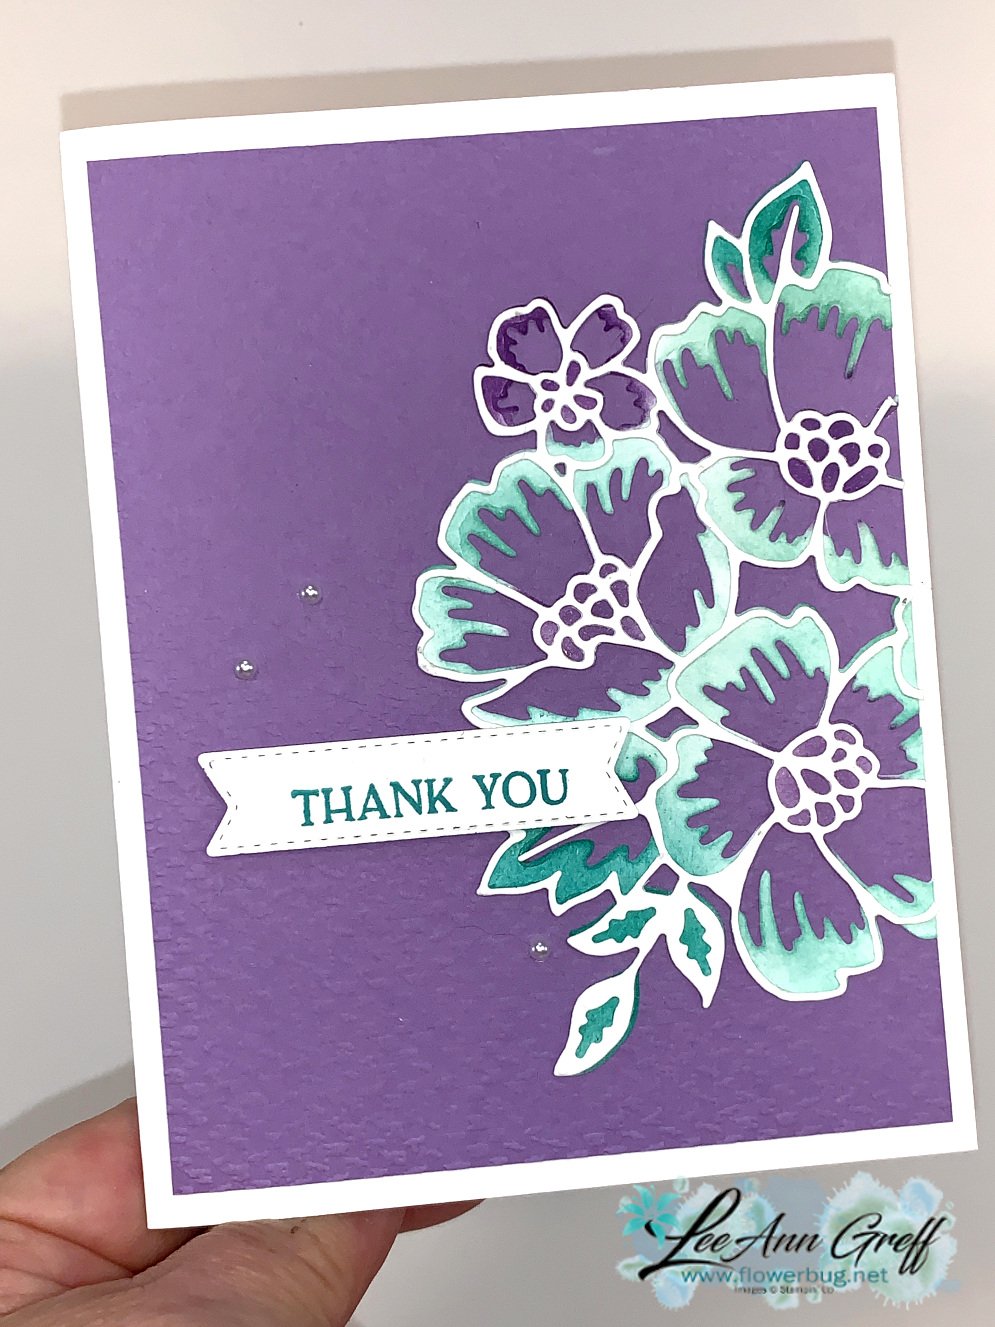
    Today I have a pair of cards made with the 'Split Technique'. This is where you stamp or die-cut once to get two cards.  

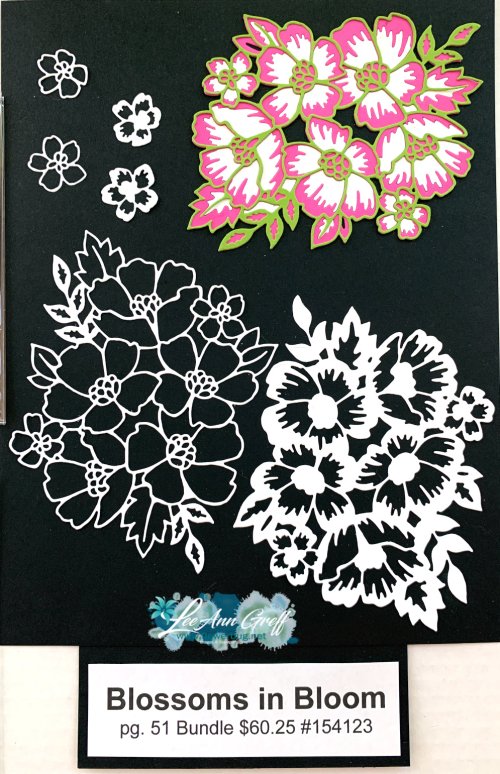
    I used the Blossoms in Bloom bundle seen here, cutting out two sets of floral dies. I'm sharing lots of projects featuring this incredible bundle this week. 

    I sponged the thicker die-cut with Highland Heather, Coastal Cabana and Bermuda Bay.  Then I adhered the thin die-cut over the sponged one using liquid multipurpose adhesive.  Next I cut the full, layered die-cut in half so I could place each half on a card.

    What do you think of this color combination?  I like to find unique combinations when I play with Stampin' Up!'s gorgeous variety of colors.  

    The Many Layered Blossoms dies includes two large dies and several smaller flowers.  The two large dies include both a finely cut and a thicker blossom die for effortless layering.  I cut out once of each; both from Whisper White card stock. 


    The Highland Heather layer is textured with the new Tasteful Textile 3D embossing folder.  It's very subtle and gives a delicate textile pattern. 

    The greeting die-cut banner is from the Tasteful Labels dies; stamped in Bermuda Bay ink. 

    ~~~

    The new catalog is here!!! 

    Get my Lovely You pdf tutorial free with any online order in June


    It includes directions, photos and measurements for 10 cards!


    June Host code is 7H2FW9FG

    Get a free pkg. of Elegant Faceted Gems from me if your order is over $55. 

    Order online here


    Leave a Reply

    Your email address will not be published. Required fields are marked *

  • Forever Fern video; an easy trio of gorgeous cards


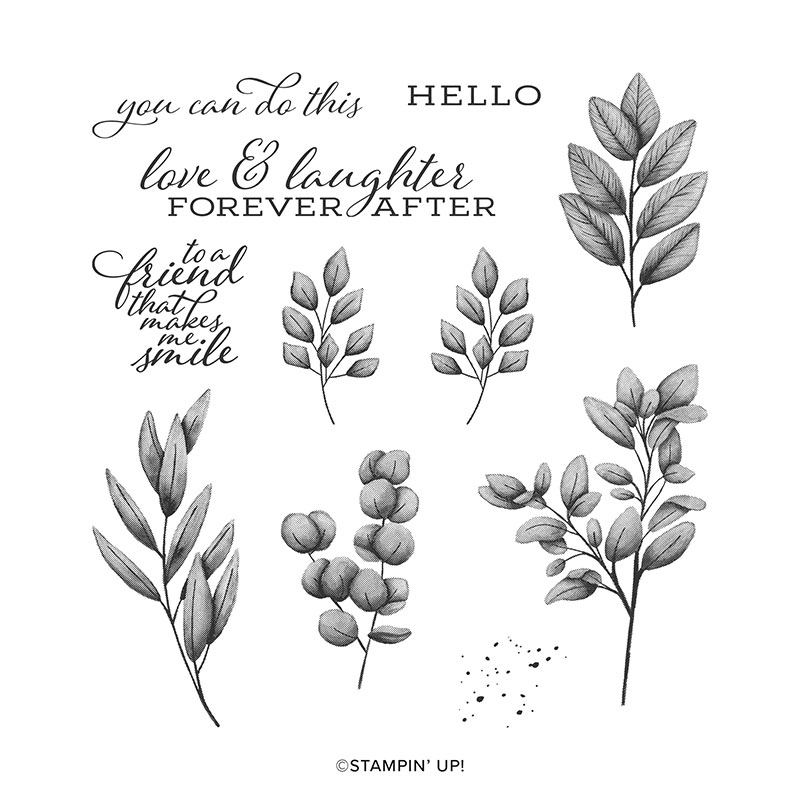
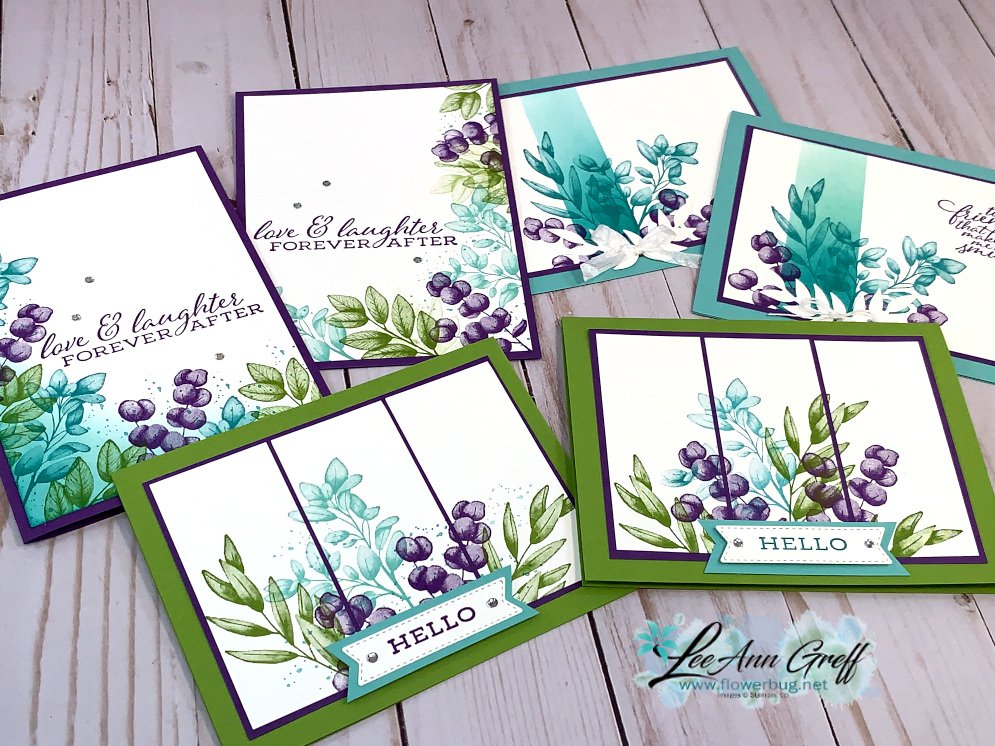
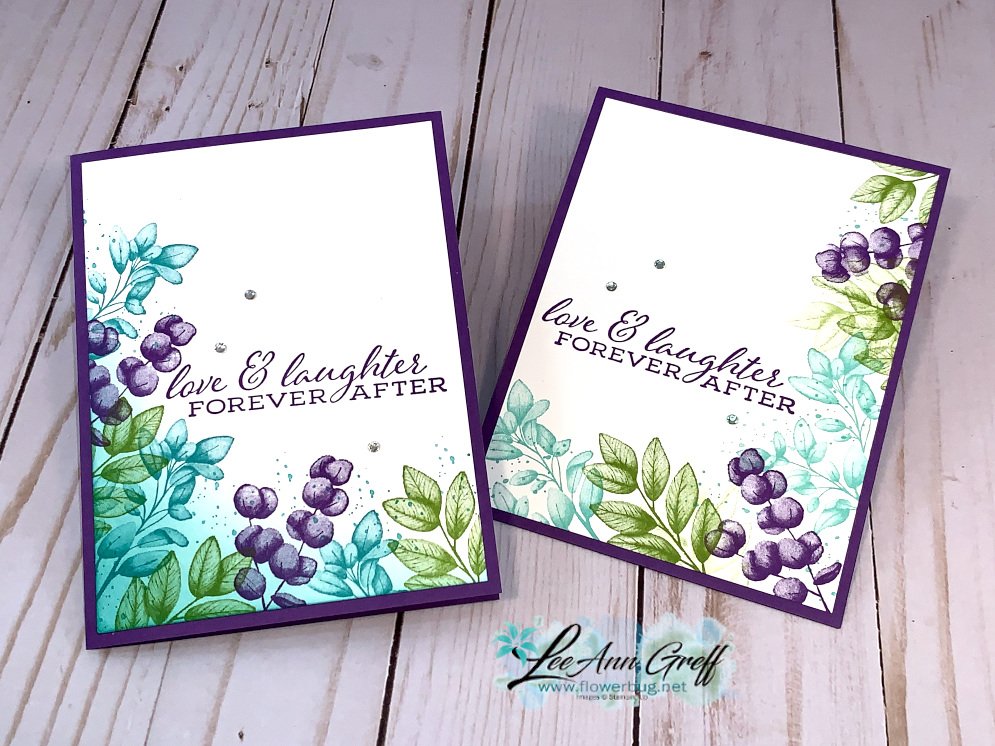
    I can't stop playing with the Forever Fern stamp set!  It's so easy to make beautiful cards with and with some of my favorite 'go to' color combos.

    If you like this set of cards check out another stunning set here; it has a kit to go option while supplies last! And a project tutorial available here. 

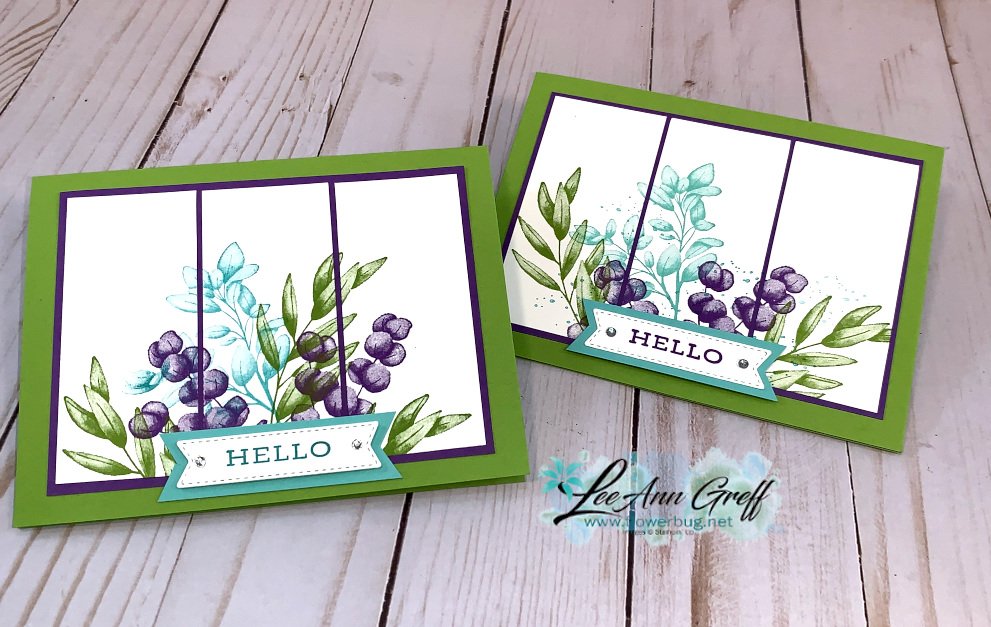
    I made these cards and recorded it on video so you could see how fast they can be.  There are three different card layouts all using the same three colors.  Granny Apple Green, Gorgeous Grape and Bermuda Bay inks with these same card stock colors plus Coastal Cabana and Whisper White.  

    The White greeting die is from the Tasteful Labels dies.  I hand cut the larger one. 

    Measurements for this card:

    • Granny Apple Green 5 1/2" X 8 1/2" card base
    • Gorgeous  Grape  3 3/4" X 5"
    • Whisper White 3 pieces at 3 1/2" X 1 1/2"

    I used a masking & sponging technique here and added a die-cut from the Flourishing Fern dies too.

    Measurements:

    • Coastal Cabana card base 5 1/2" X 8 1/2"
    • White 3 1/2" X 4 3/4"
    • Gorgeous Grape 3 5/8" X 4 7/8"

    A simple card base of Gorgeous Grape 5 1/2" X 8 1/2" and White at 5 1/4" X 4".  Did you catch that I sponged the corner of the left one?  Which do you prefer? 

    ~~~

    June Specials

    The new catalog is here!!!  


    Get my Lovely You pdf tutorial free with any online order in June

    It includes directions, photos and measurements for 10 cards!


    June Host code is 7H2FW9FG

    Get a free pkg. of Elegant Faceted Gems from me if your order is over $55. 

    Order online here

    Leave a Reply

    Your email address will not be published. Required fields are marked *


Notice: LeeAnn Greff, Independent Stampin’ Up! Demonstrator, Manager. The content of this website is my sole responsibility as an independent Stampin’ Up! demonstrator and the use of, and content of, the classes, services, or products offered on this website is not endorsed by Stampin’ Up! Copyright 2025