/


Latest Post

Witty-Cisms Fun-Fold card


The Witty-Cisms stamp set is a great all occasions set with fun images and cute greetings to match.  See it here. I created this cute card for a recent online card swap.

It's a fun fold card with a double opening.  The Real Red flap is scored and the scored edge is adhered under the inside White layer.  The Granny Apple Green main card is standard size but 1" is cut off the right edge to reveal the White inside.  The new Coastal Weave embossing folder was used on the front.  This embossing folder is the one I'm giving to all online orders over $65 in January.  

Sometimes with this type of fold I add the designer paper to the inside right edge so it shows from the front. This time I added it to the very front along with a stitched scalloped edge piece die-cut with the Stitched Be Mine dies seen here.  

Here are the measurements:

  • Granny Apple Green main card 7 1/2" X 5 1/2" scored at 4 1/4".  
  • White inside 4" X 5 1/4"
  • Real Red 4" X 2 1/2"
  • Black 2 1/4" X 3 1/4"
  • 1" X 5 1/2" Granny Apple Green gingham DSP; *from the Brights 6 X 6" DSP pack seen here. 

And more details: 

  • I added a butterfly die-cut from the upcoming Nature's Thoughts dies.  They'll be available in February in the Coordination Product Release.
  • I stamped the main image three times; once on the White punch and again on Real Red for the strawberry and again on scraps of Green. These are cut out and popped up on the main image.
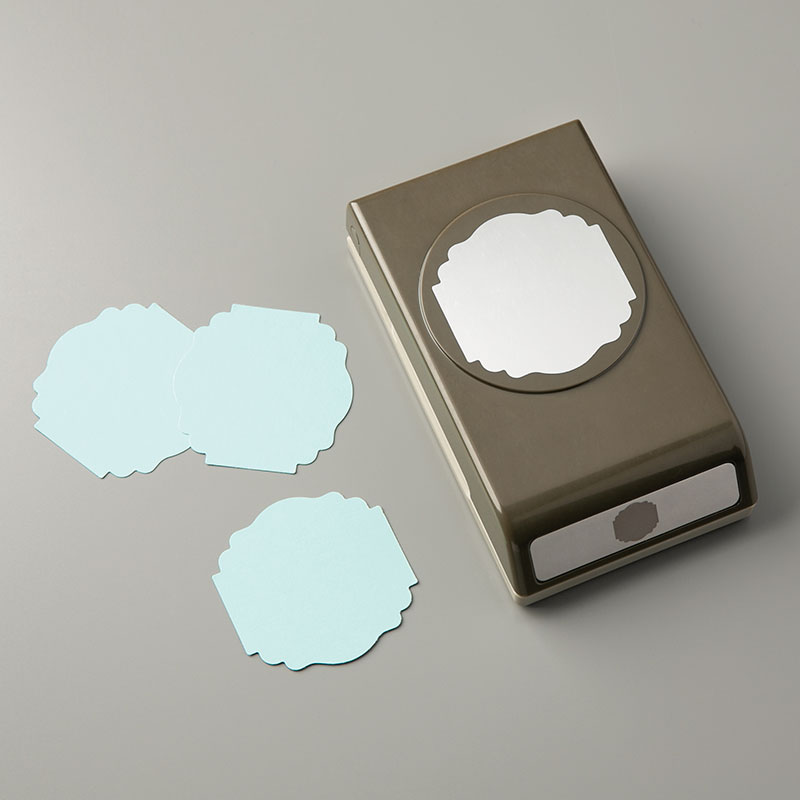
  • White label is the new Label Me Lovely punch seen here.  I love this new punch!  A 1 3/4" circle punch fits inside it for layering. And oval shapes do as well! 

You can find these items in my online store here. 

~~~

Three January Specials just for you besides Sale-a-Braton! 

    1. All January online orders will earn a ticket in the drawing for a free Little Ladybug stamp set!

Order online here

2. All online orders will receive a 10 cards pdf tutorial in an email.

3. And if your order is over $65 you'll get a free Coastal Weave embossing folder too!

January Host Code is GEEFZCZV

Order online here

All Posts

  • Merry Christmas to you!


    Merry Christmas! I hope you are able to spend it with loved ones.

    It’s my favorite time for our family! Our kids are coming as usual and we have a good time playing games, making puzzles, lots of sweet treats and good meals too. We also play Minute to Win It games and have an appetizer showdown too!

    Leave a Reply

    Your email address will not be published. Required fields are marked *

  • Pretty Bridge fold card with Snowflake Kisses with free project sheet & video tutorial


    I shared this pretty card on last week’s Live video. It features the Elegant Pine Snowflake designer paper and the Snowflake Kisses bundle.

    My colors include Pretty Peacock, White & Lost Lagoon above. The Elegant Pine Snowflake designer paper is beautiful and can be seen here.

    I created a second card with Secret Sea as the card base instead of Pretty Peacock. Which do you prefer?

    This card is a bridge fun fold layout. It starts out with a 5 1/2″ X 8 1/2″ card base but requires two extra cuts from the center score line down 1 1/8″ from each edge. It’s easy with our Paper Trimmer. Watch the video below to see how it’s done.

    I created a free project sheet for you with photos and measurements. Click here to print or download it.

    I hope you try one. If you haven’t made one before please watch the video below. They are quite fun to make & open!

    The photo below shows the card closed, the main panel lifted and the inside! Tip: We used a handmade stencil to sponge snowflakes on the inside. *cut snowflakes from a piece of card stock and sponge or blend ink through the windows.

    Below is the video tutorial which includes a second card with this bundle. I hope you watch it! Don’t forget to subscribe to my YouTube channel here.

    *You’ll receive a PDF with multiple projects featuring this product
    after the 20th of the month.
    ~~~

    The Last Chance list has been updated!
    Click here to shop.

    Get a free PDF tutorial with any online order from me in December!

    Leave a Reply

    Your email address will not be published. Required fields are marked *

  • Save time on finishing the inside of your cards with this trick!


    I’m excited to share these stunning snowflake cards with you today. We made them at my card clubs in December.
    Living in North Dakota, we usually see a lot of snow in the winter so these cards are great for many occasions.

    I used the Snowflake Kisses bundle seen here. It’s filled with wonderful greeting images and lots of snowflake dies.

    My colors include Pretty Peacock with Cloud Cover and Gorgeous Grape with Fresh Freesia. I think blues & purples are perfect for snowflakes. We used a blending brush to add more color to the large snowflake die-cut.

    After creating the cards above I thought I’d try combining the colors on the large die-cut.

    Isn’t that pretty? I just love combining Gorgeous Grape with Pretty Peacock on the Fresh Freesia die-cut. Blending Brushes make this a breeze!

    Look how we finished the inside.

    I wanted to add snowflakes to the inside of the card but didn’t want to die-cut tons of them for my club gals. So I came up with creating a snowflake stencil.
    I cut multiple snowflakes from a piece of card stock and we used Blending Brushes to add pretty snowflakes to our White layer. I truly love the effect it gives.

    If you’d like the free project sheet for this card click here. You can download or print it.

    See how this card is made in the video below. I also shared a second Snowflake Kisses fun fold card.

    *You’ll receive a PDF with multiple projects featuring this product
    after the 20th of the month.
    ~~~

    The Last Chance list has been updated!
    Click here to shop.

    Get a free PDF tutorial with any online order from me in December!

    Leave a Reply

    Your email address will not be published. Required fields are marked *


Notice: LeeAnn Greff, Independent Stampin’ Up! Demonstrator, Manager. The content of this website is my sole responsibility as an independent Stampin’ Up! demonstrator and the use of, and content of, the classes, services, or products offered on this website is not endorsed by Stampin’ Up! Copyright 2025