Wishes all Around Christmas card with video & free project sheet
I hope you all enjoyed your Thanksgiving holiday weekend. We sure did! We spent it with our kids – playing games, making puzzles and of course enjoying wonderful food.
~~~
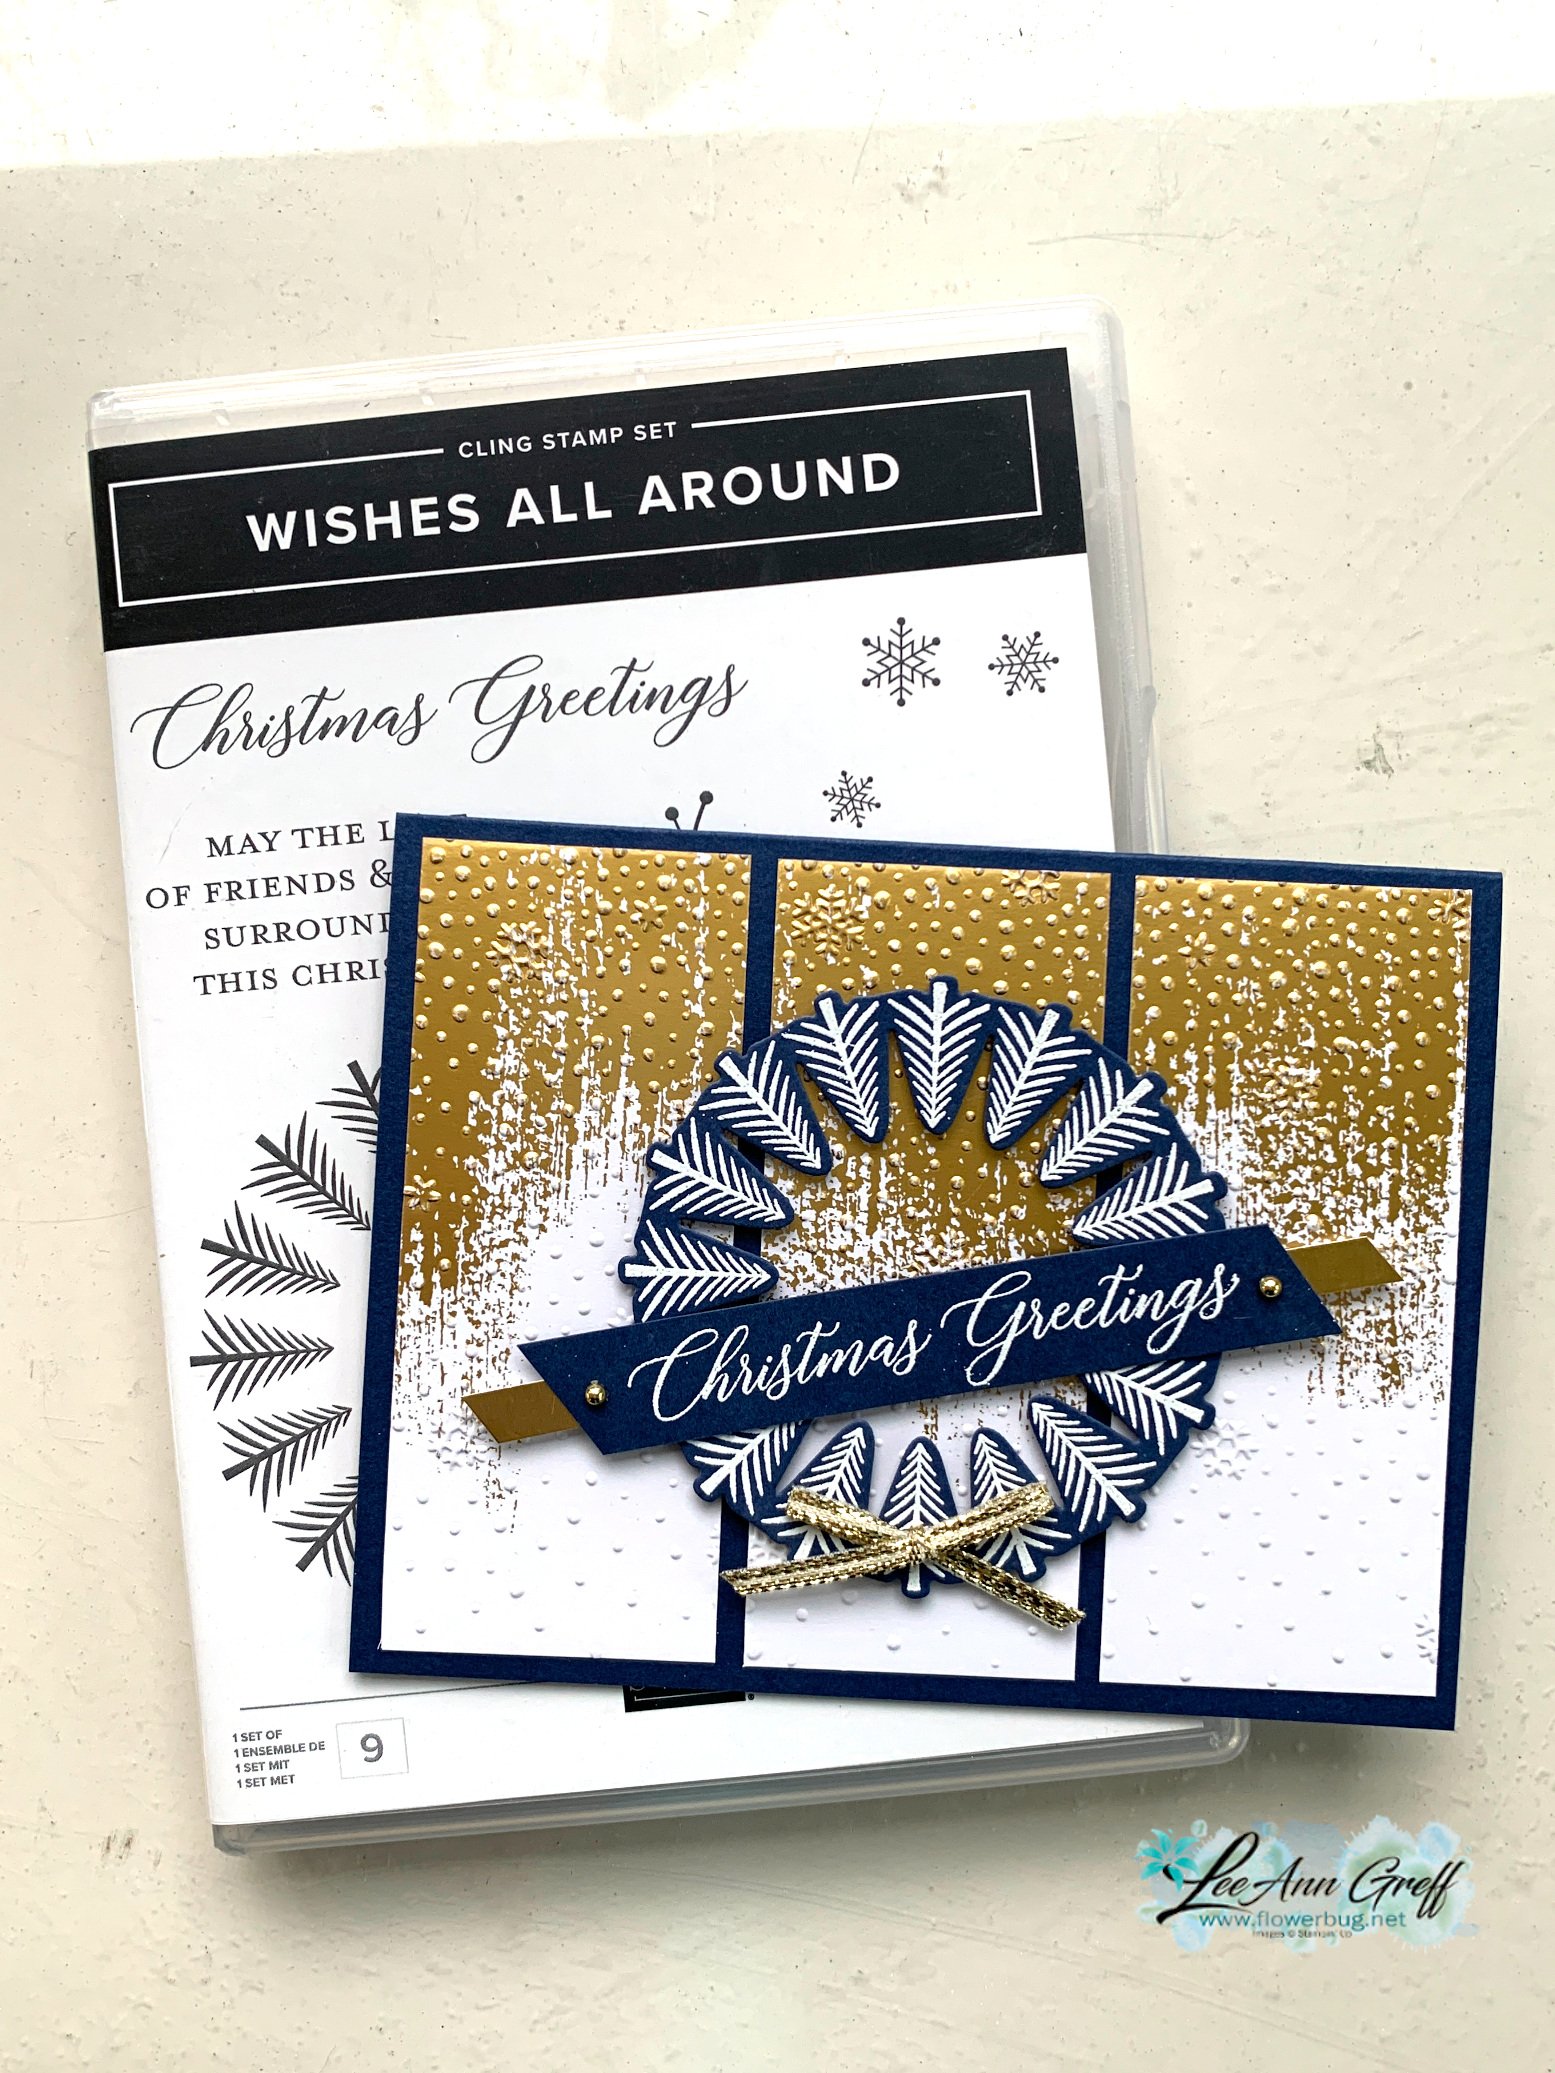
Have you noticed the Wishes All Around bundle in the 2023 Holiday catalog?
I've always loved wreaths. In fact I used to collect them and put them up at Christmas time on a big wall in my dining room.
I thought this Wishes All Around stamp bundle seen here had a wide variety of pretty stamps and wonderful dies.
I heat embossed the tree wreath image in White embossing powder and die-cut it with the coordinating dies. I added it onto three cut panels from the Brushed Gold Cards & envelopes; each one cut at 1 5/8" X 4" and added to my Navy card base. These panels are textured with the Snowflake Sky 3D embossing folder.
Here's a photo of this sweet bundle. As you can see it has three die-cut wreaths, snowflakes, trees and stems/berries. All meant to coordinate with the stamp set.
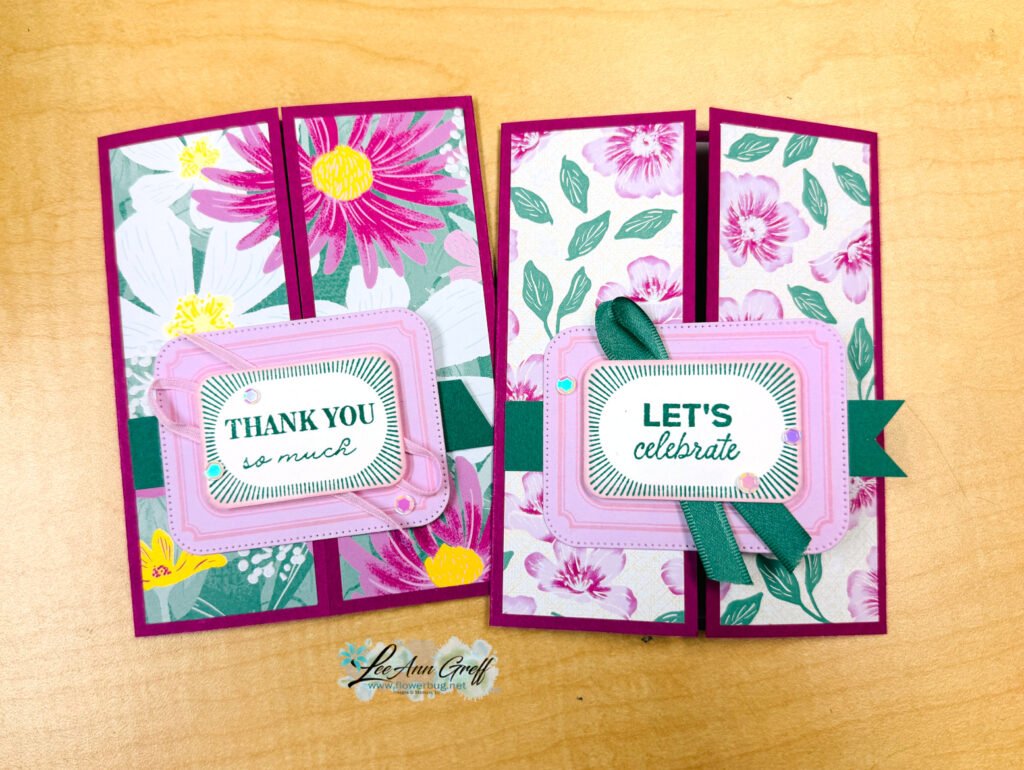
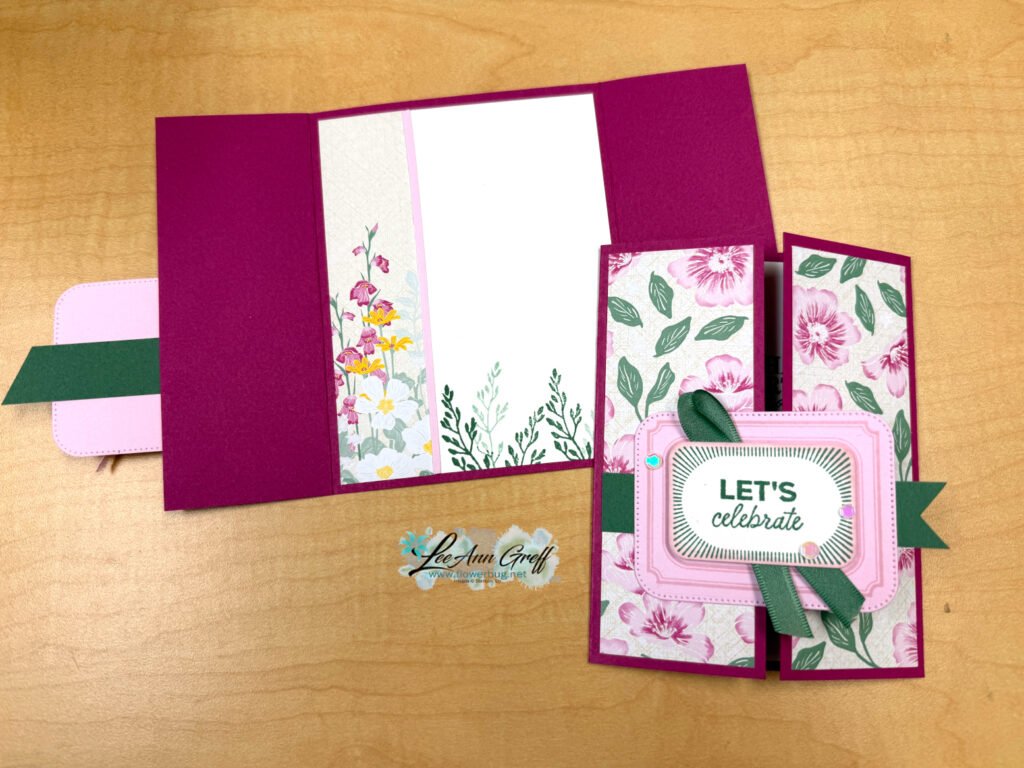
It’s a simple gatefold card. I matched most of the DSP so it created a full panel on the front. This DSP has fussy or flocked areas on it. It does feel velvety!
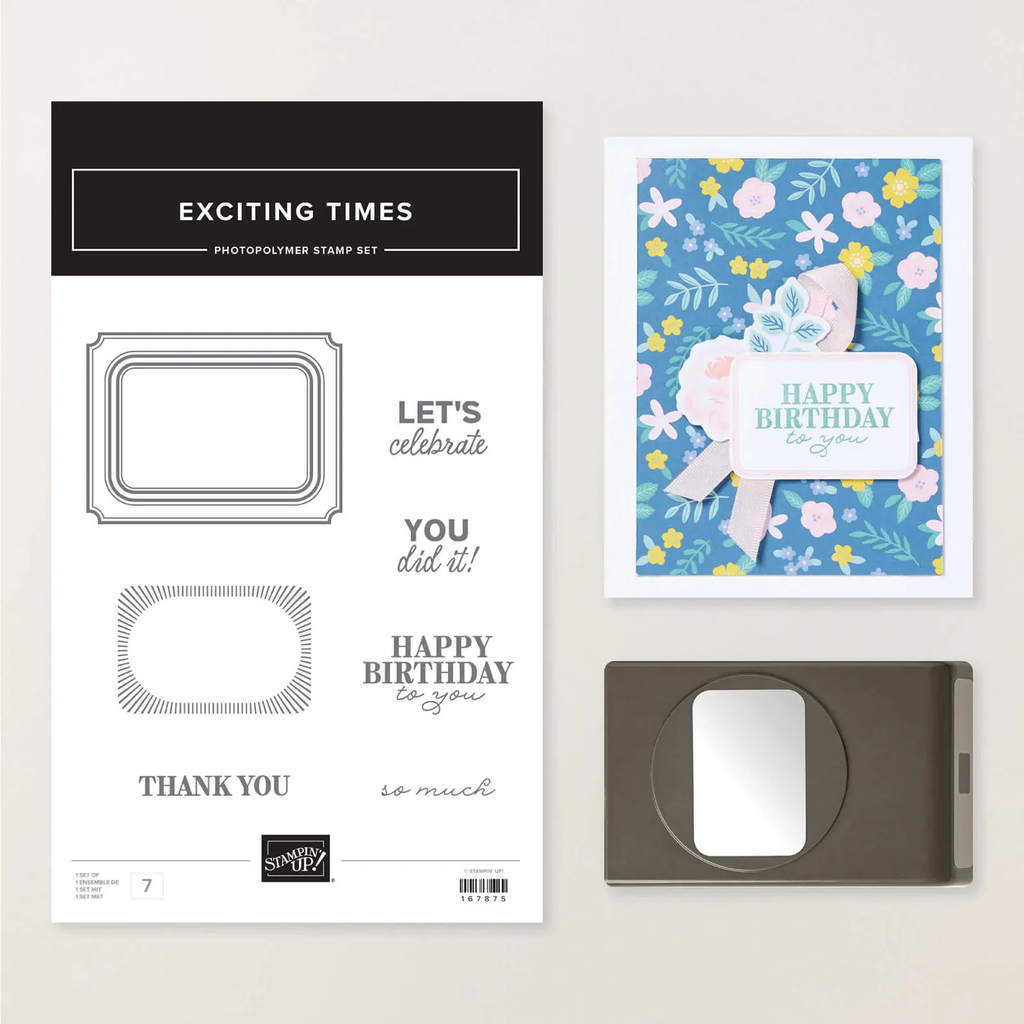
I also used the new Exciting Times punch bundle for the center. You can see it here.
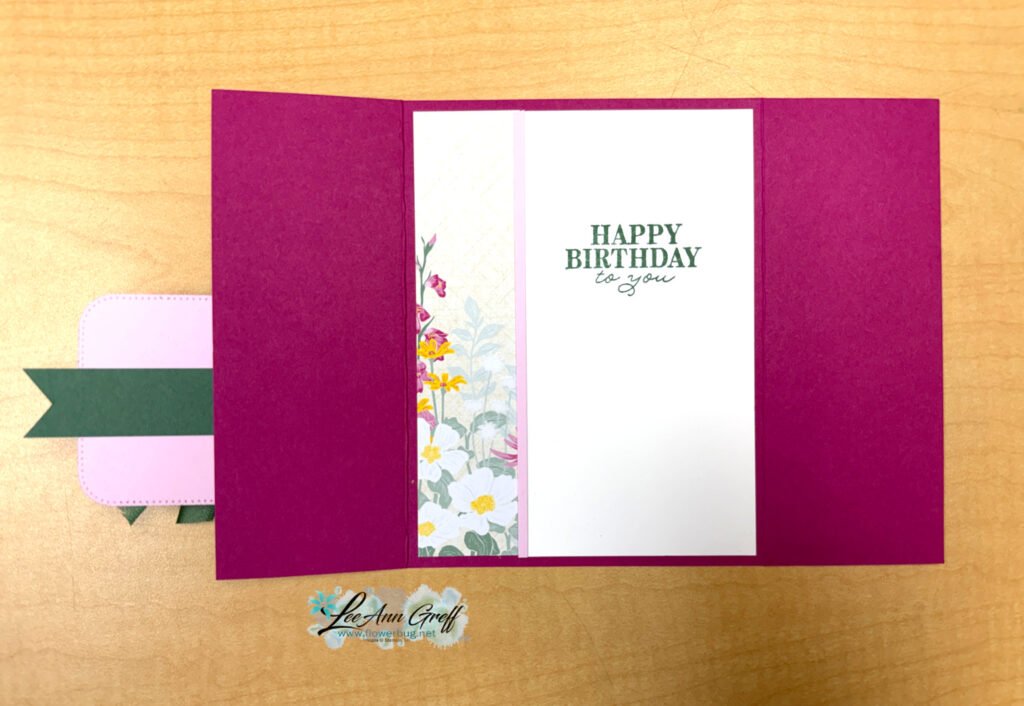
Here’s what the inside looks like. I added a strip of the DSP along with the white for stamping and signing. Then added a skinny divider of Bubble Bath for a little accent color.
I created a free project sheet for this card; click here to download or print it. Remember it’s a great idea to save these on your computer for easy access.
The video tutorial for this card and one more neat fun fold is below. Thanks for popping in today!
August Specials:
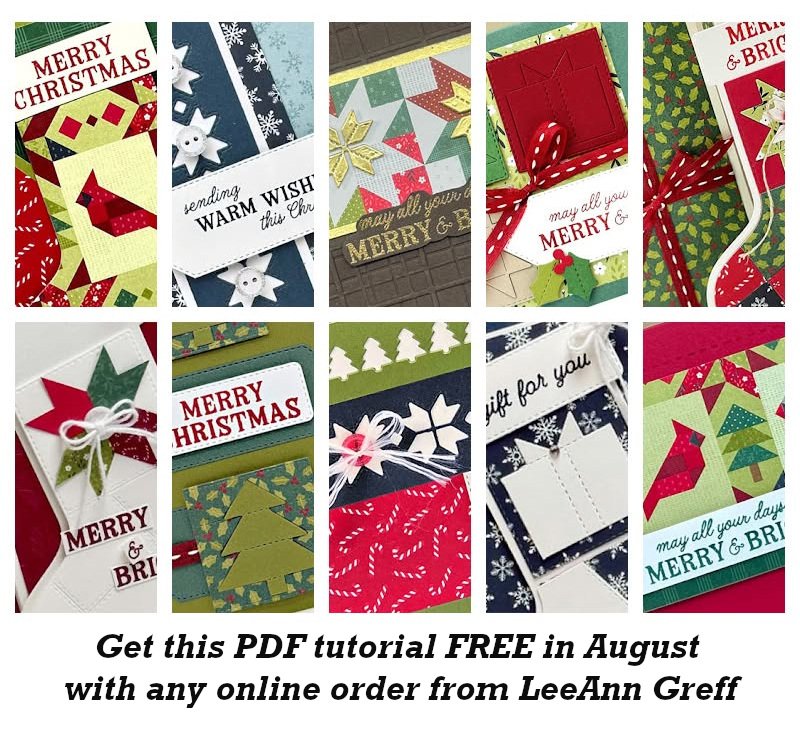
Get this PDF FREE with any online order in August!
If you haven’t watched my recent videos you may not know that we have moved from Minot, ND to Bismarck, ND this month. It’s been a super busy time of downsizing, selling excess, packing and moving.
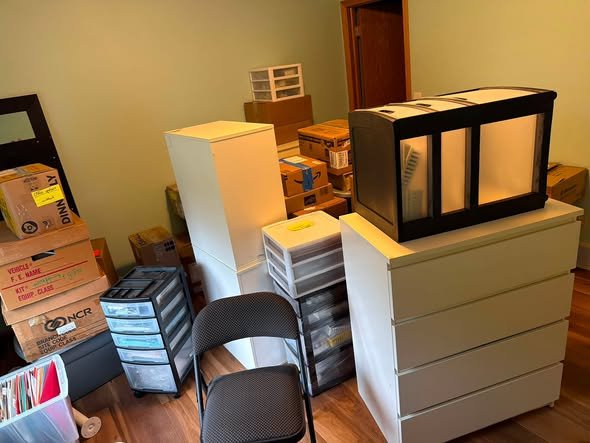
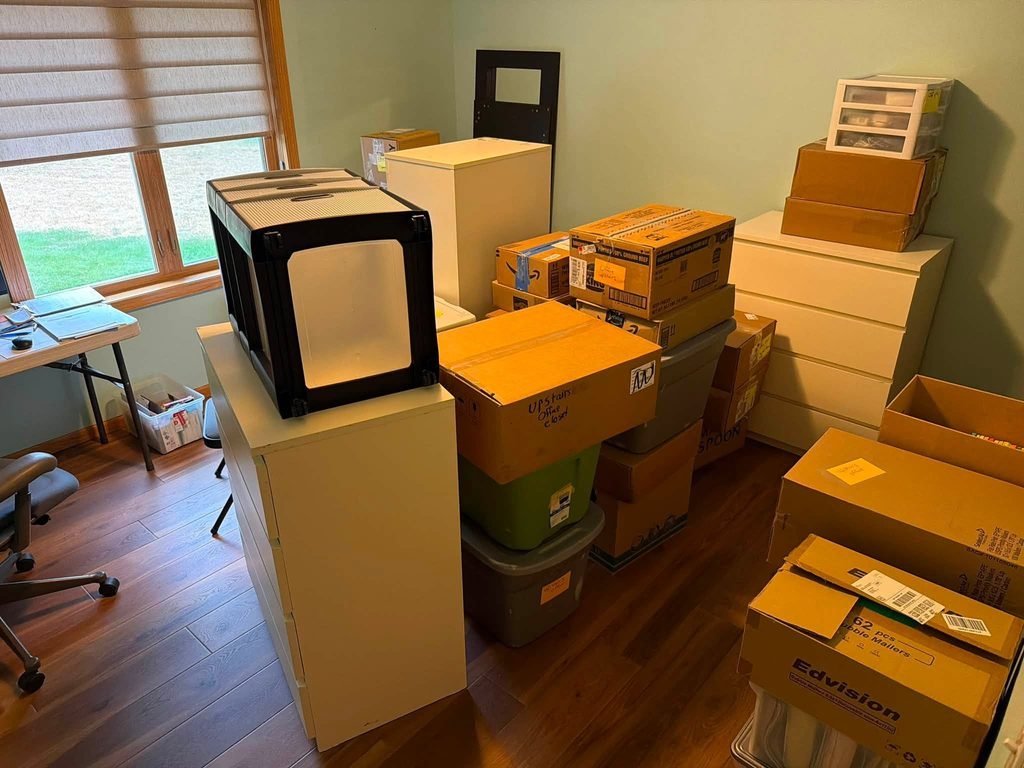
Why did we move? Well, there are many reasons but mostly my husband retired and we moved to be closer to our son and other family. It was very difficult to leave our beautiful home but we will love our new home too. Here’s a picture of my office/craft room before I was able to unpack. I’ll share new photos once I’m settled.
In that back doorway is a walk in closet; that will help with storage! I did find a nice L shaped desk and hope to get that set up today; then I can really set up my room.
This is why I’ve been missing in action lately; it’s hard to do both stamping/business and moving/getting settled. So I’m taking a bit of a break in August. Have patience with me; I’ll be back to blogging and videos soon!
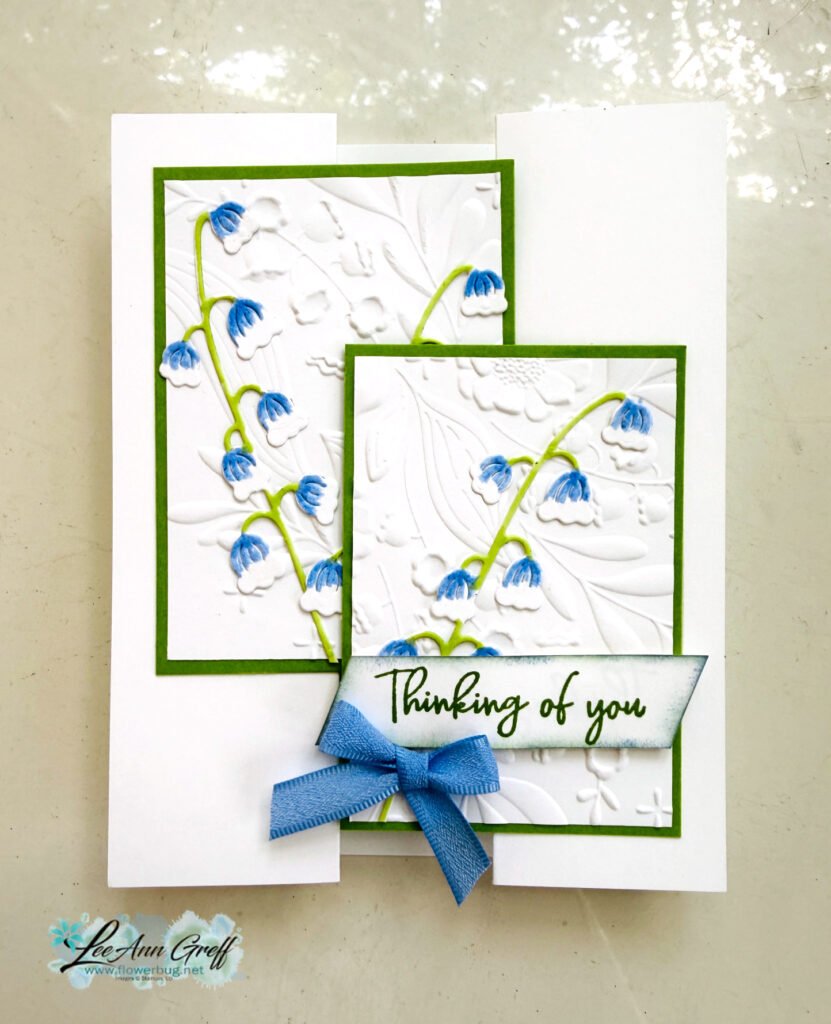
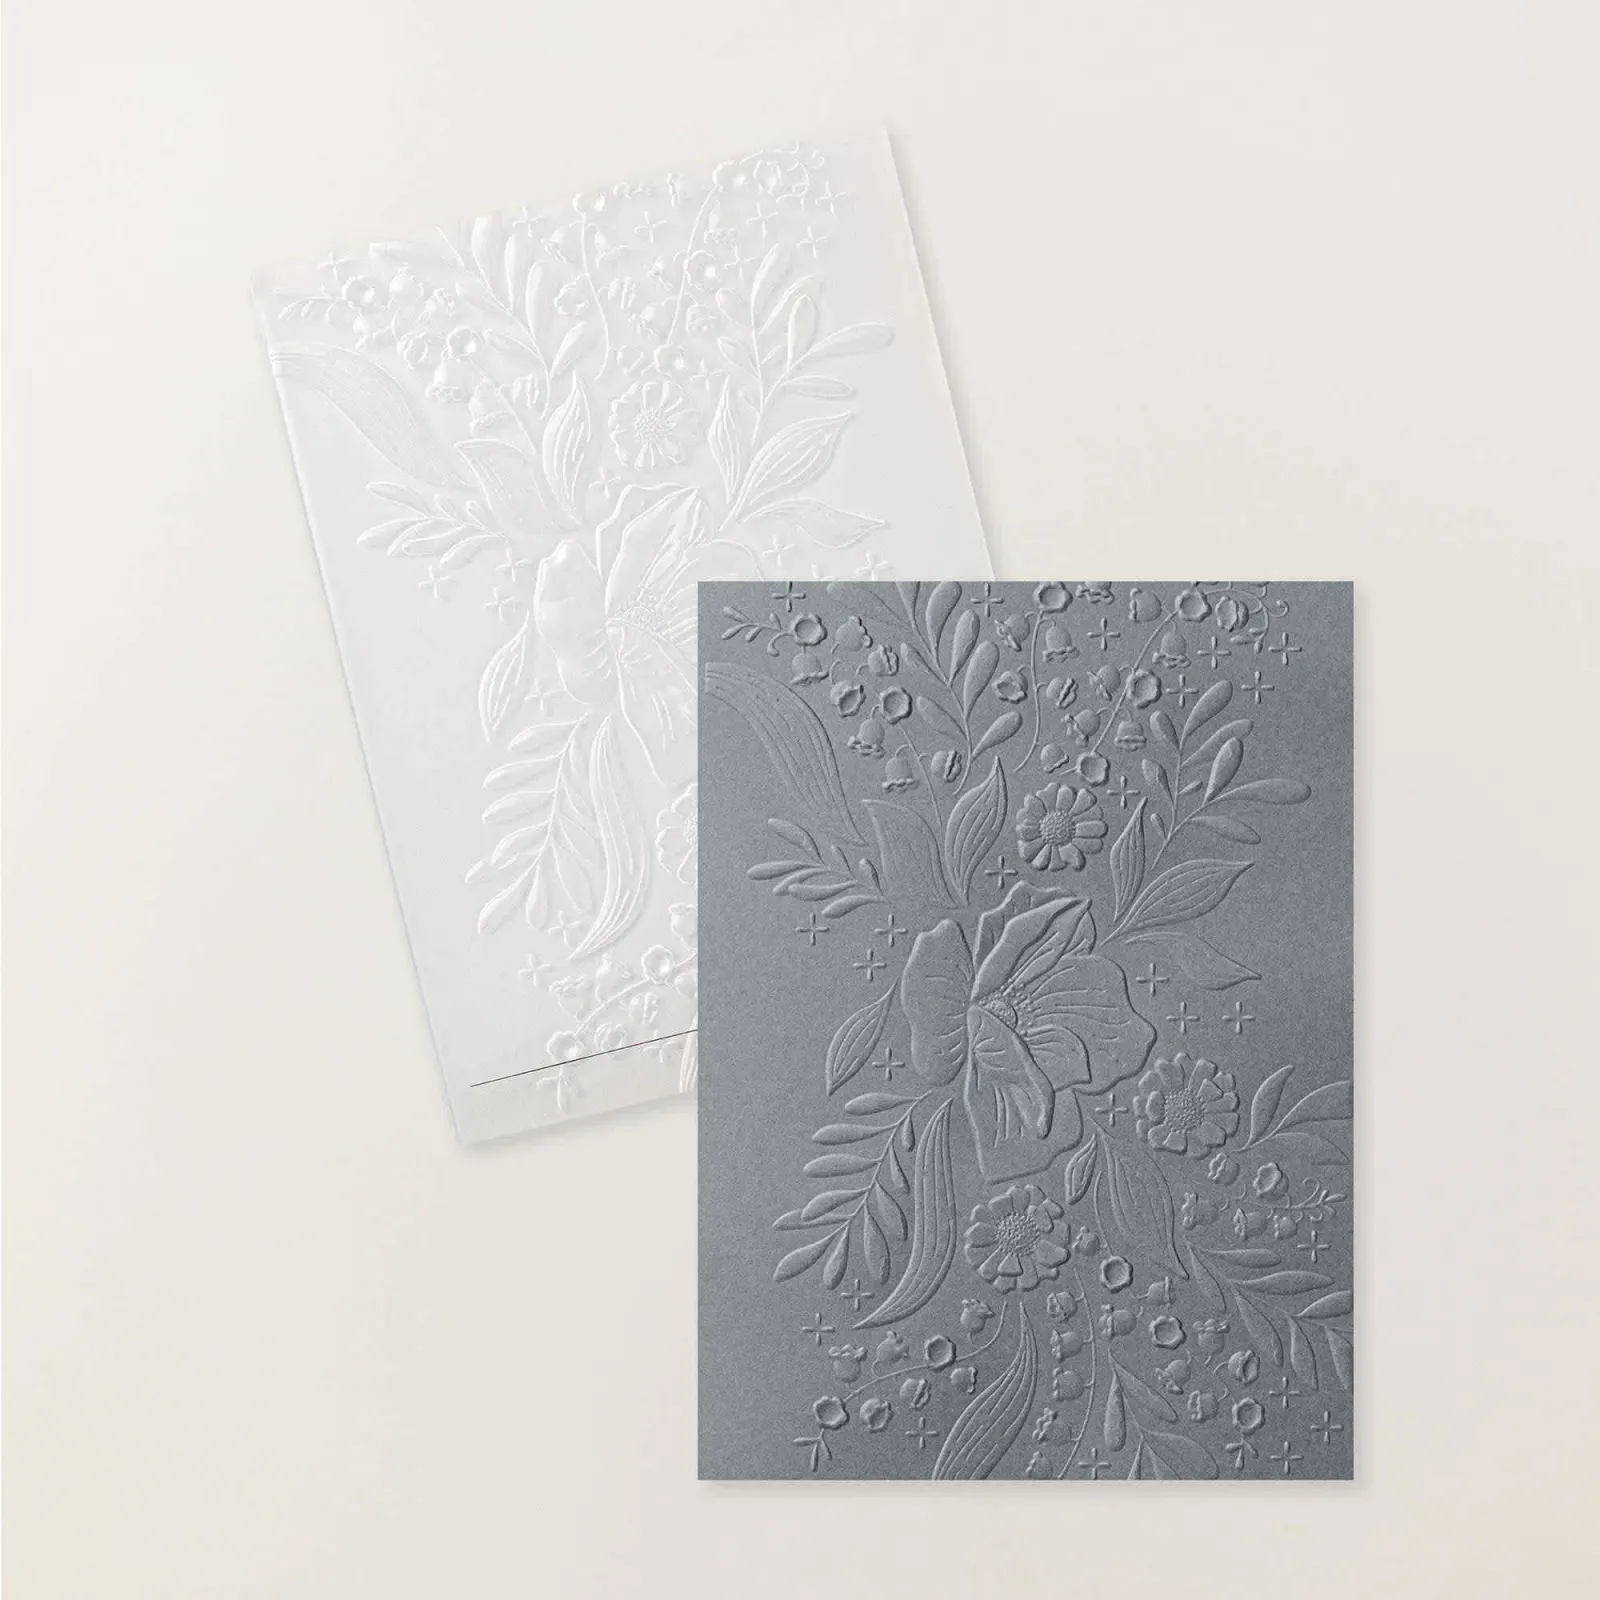
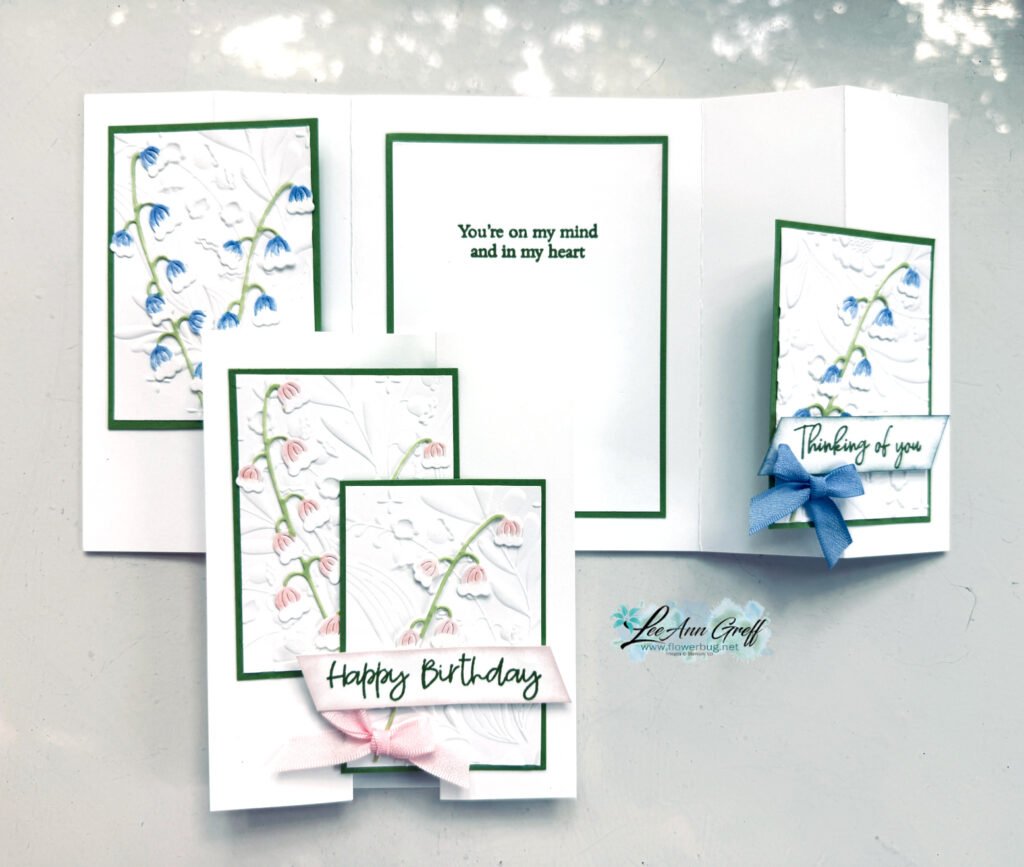
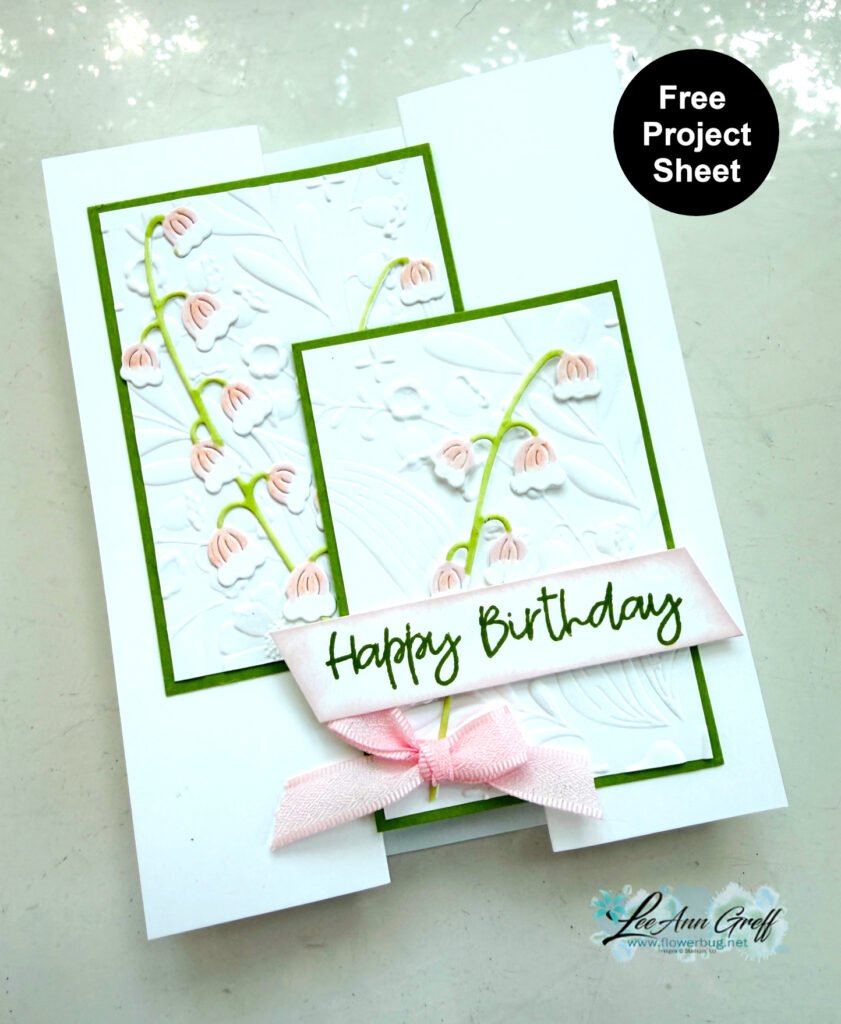
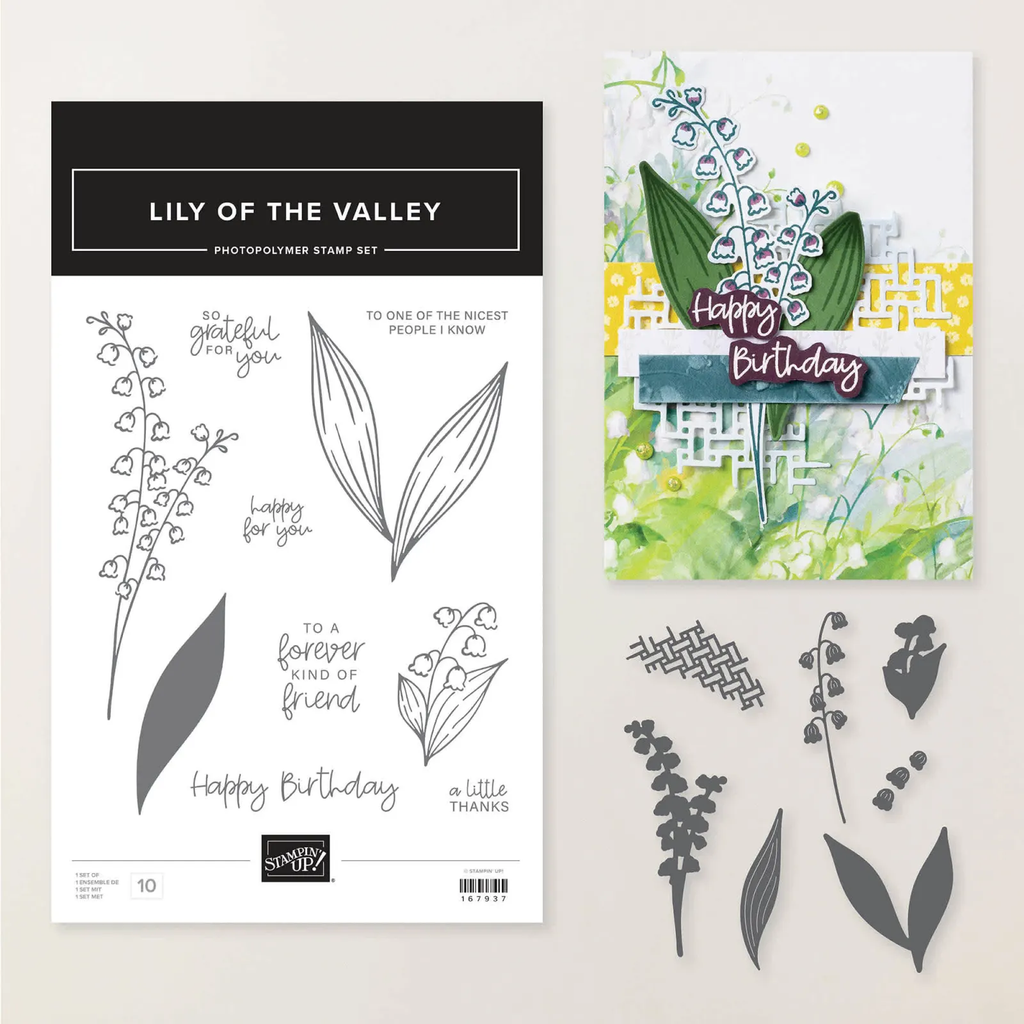
My colors here are White with Hydrangea Hue and Granny Apple Green. I colored the Lily of the Valley die-cuts with both Blends markers and tried the new Shimmer Brushes too. The gorgeous textured layers are made with the Floral Spray 3D embossing folder; it’s back in stock now!See it here.
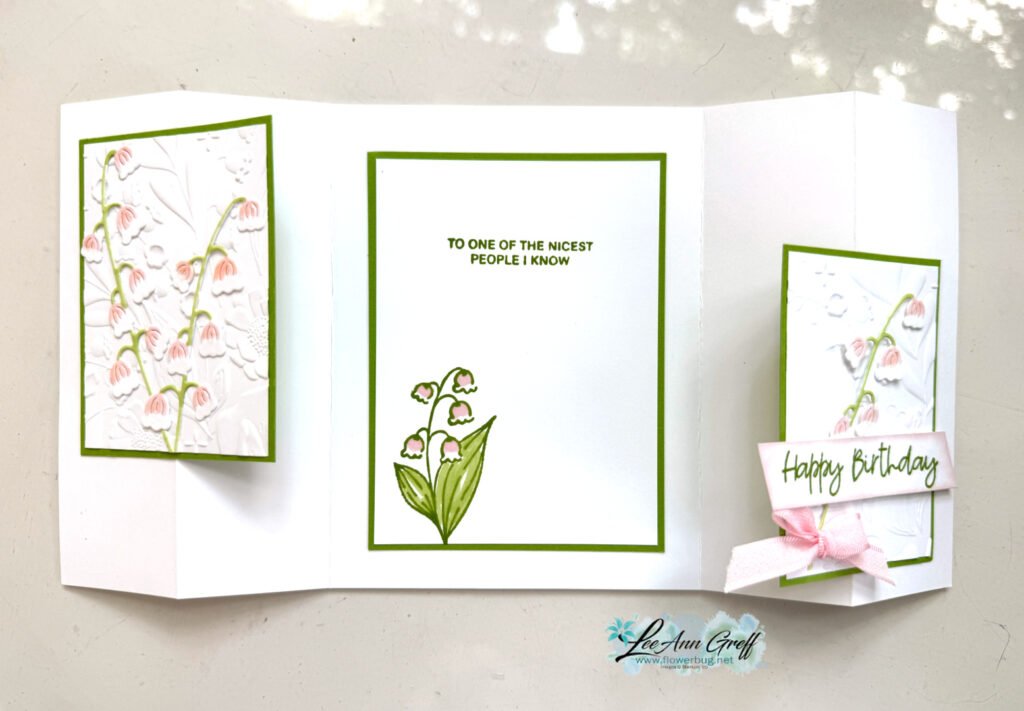
Look closely at the layers in my photo above and note how the upper left piece tucks under the right lower piece. That’s why it’s called a crossover fold; it actually locks together to lay mostly flat. You can see how it’s made in the video below.
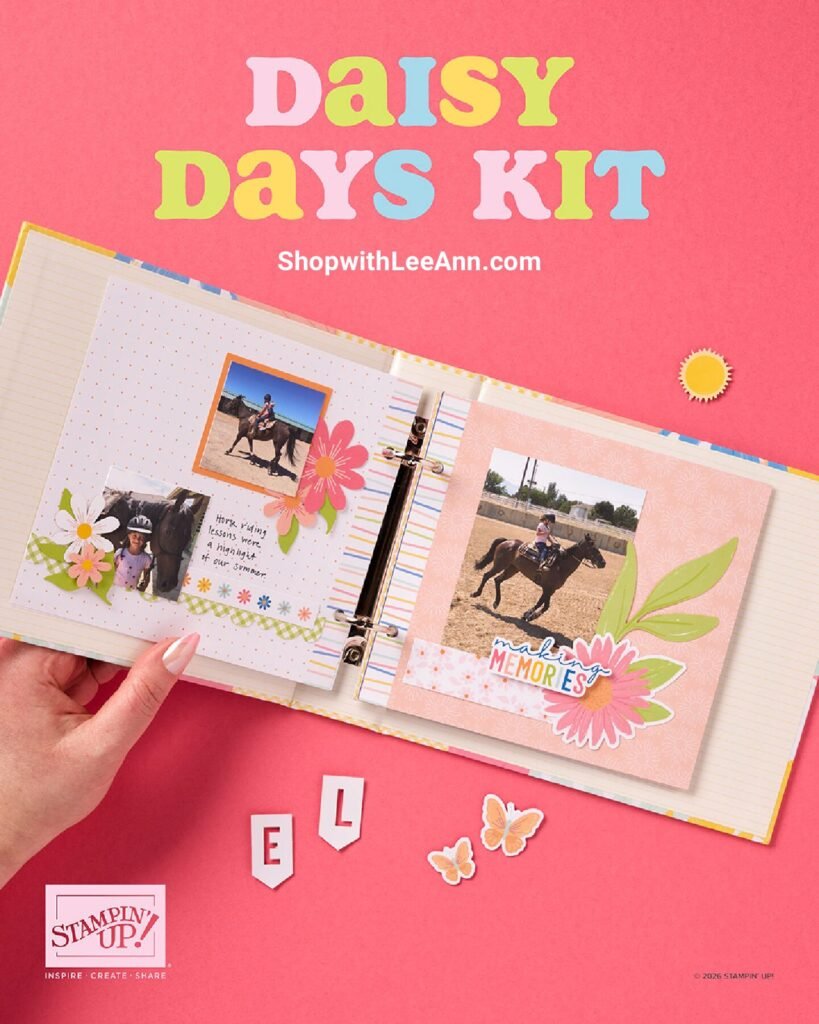
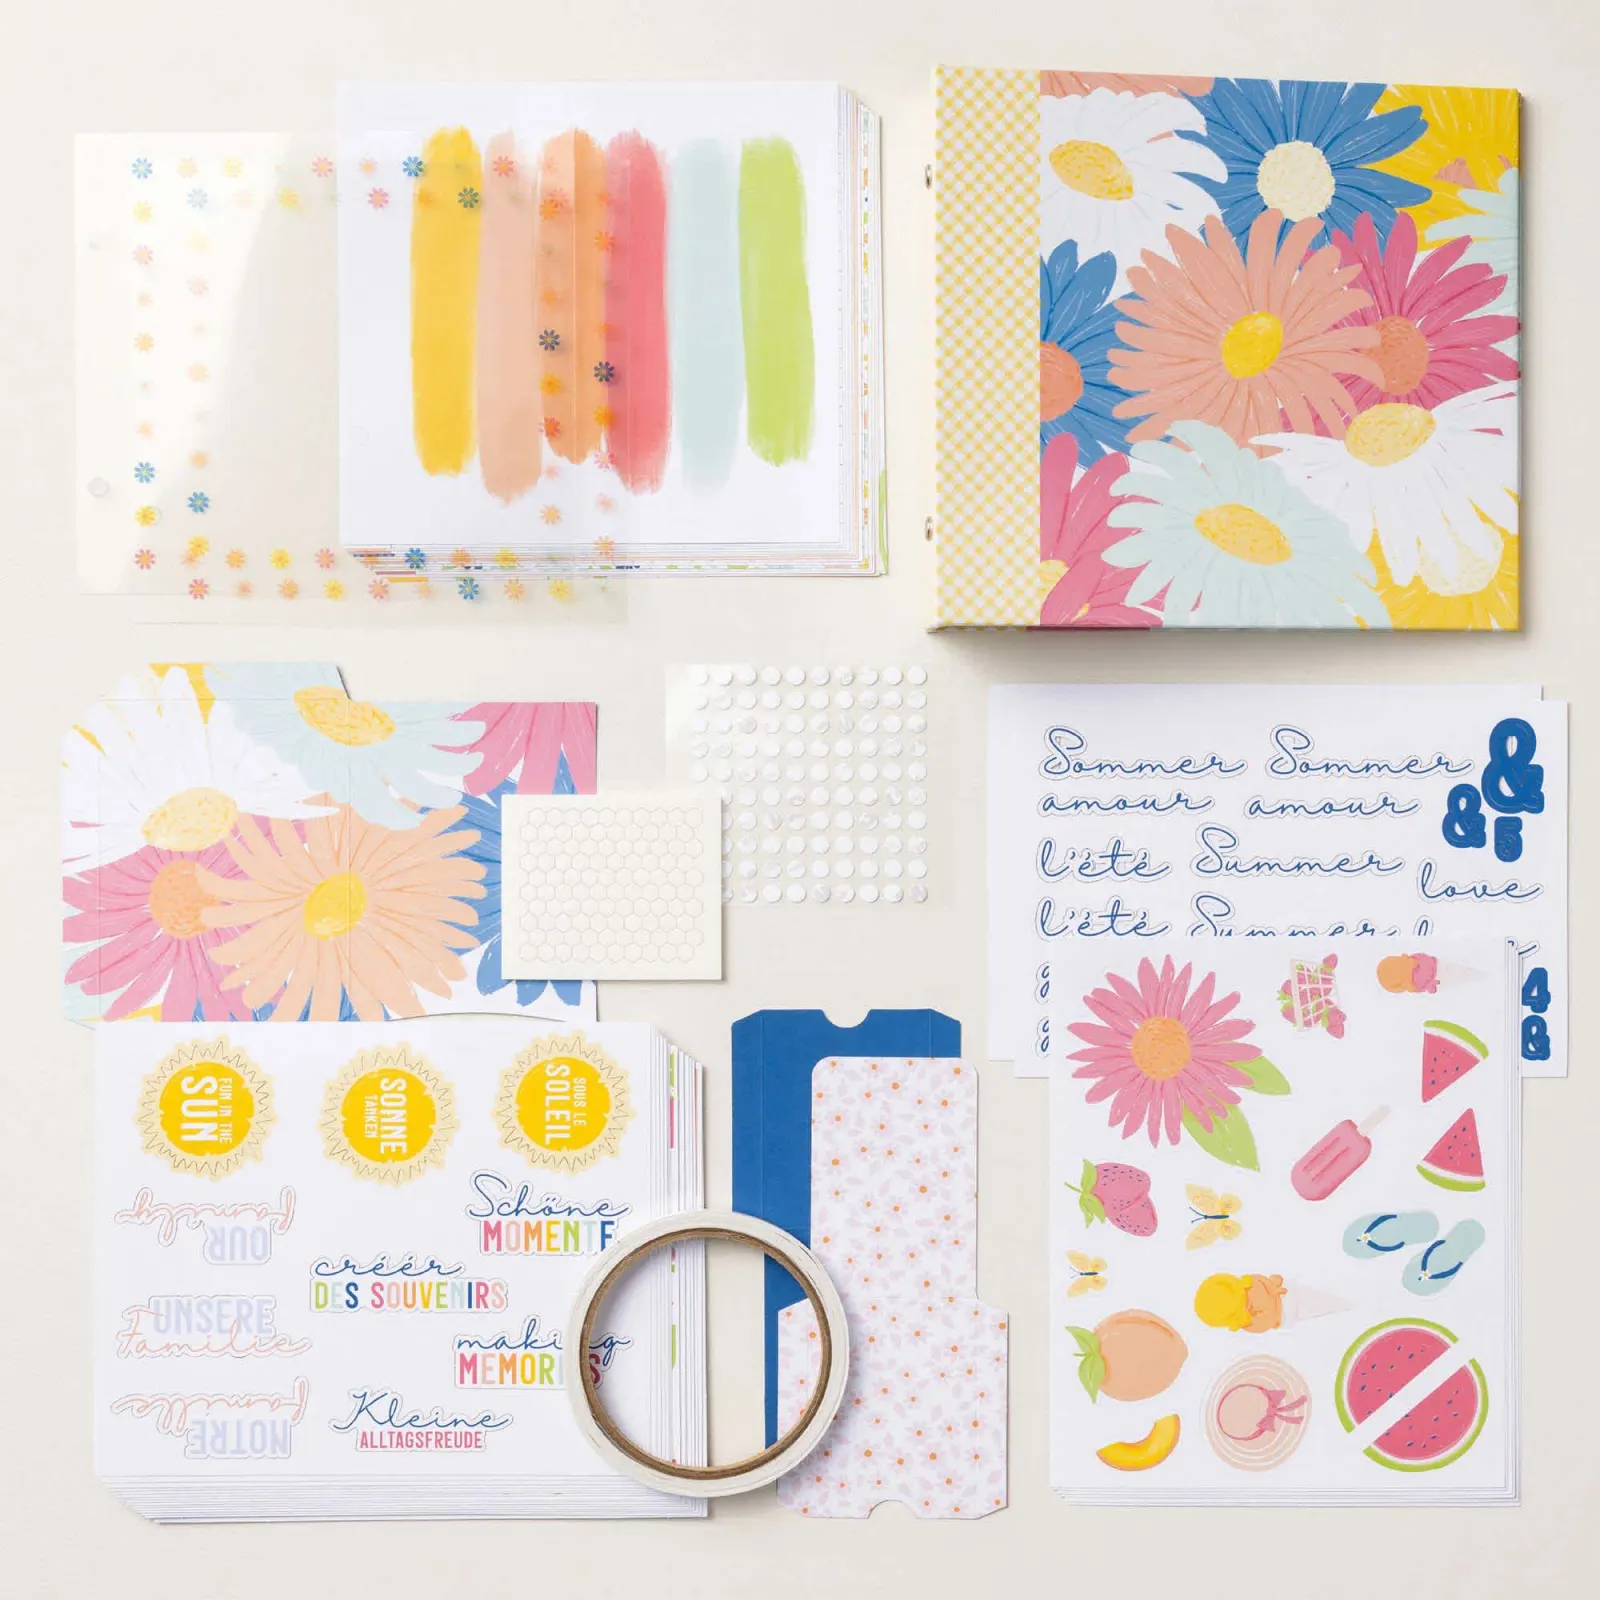
DETAILS – Makes 1 album with 28 pages – Album size: 7-3/4″ x 7″ x 1-7/8″ – Page size: 6.5″ x 6″ – Colors: Blueberry Bushel, Crisp Cantaloupe, Crushed Curry, Granny Apple Green, Pool Party, Strawberry Slush, Timid Tiger – Sentiments printed in English, French, and German
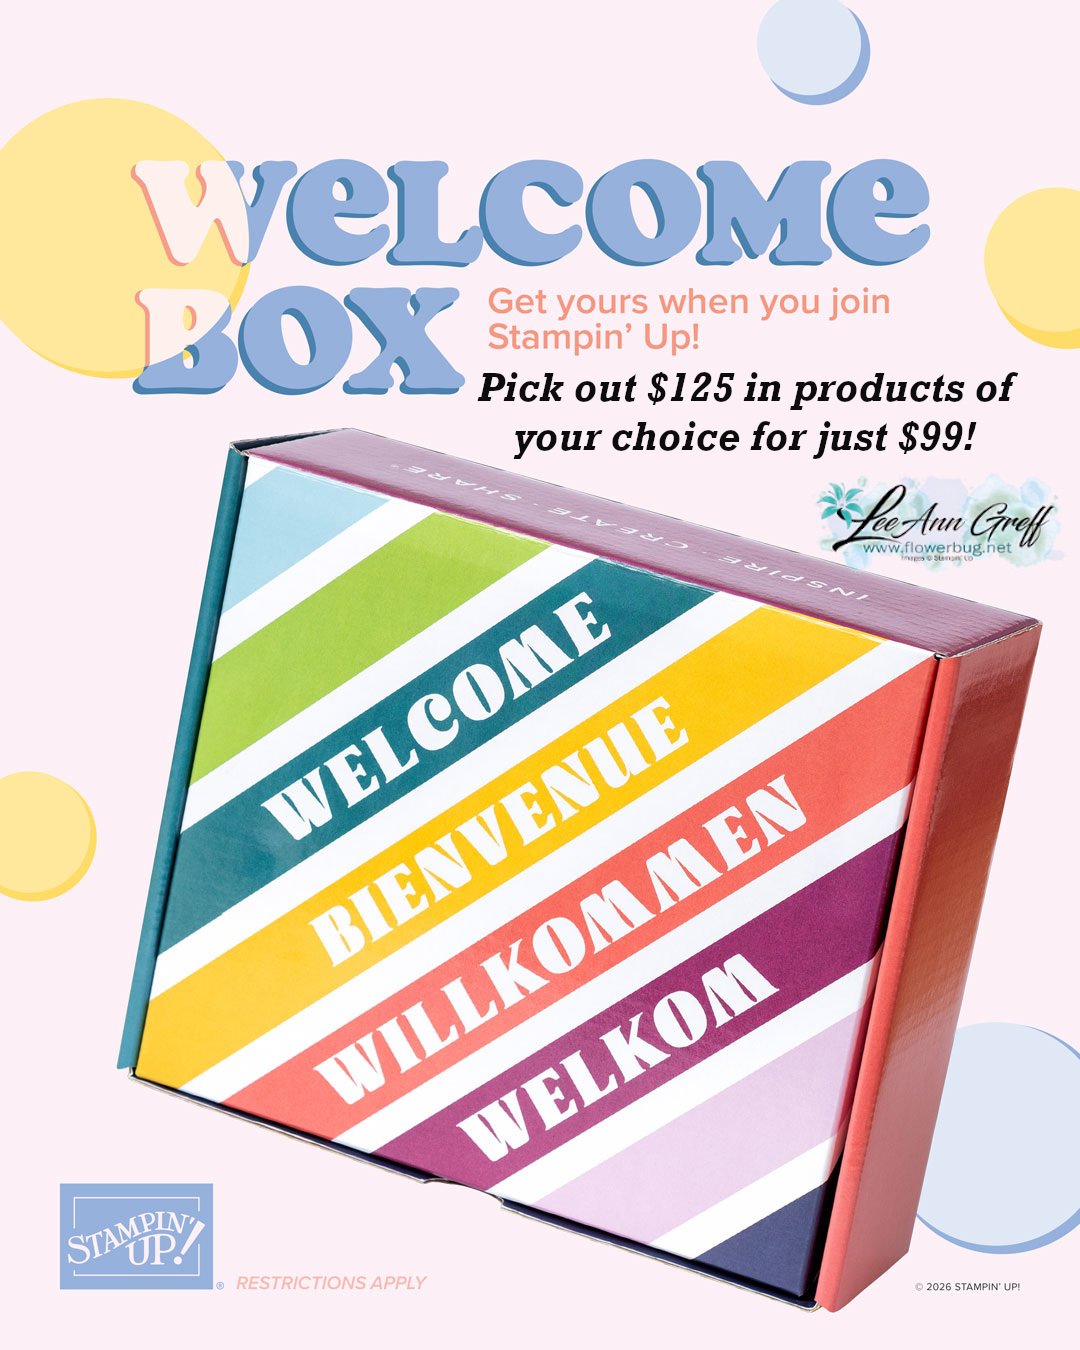
This is super exciting news! All first-time demonstrators (beginning July 1, 2026) will receive a surprise Welcome Box—a gesture of appreciation and a warm welcome into the global Stampin’ Up! creative community.
Notice: LeeAnn Greff, Independent Stampin’ Up! Demonstrator, Manager. The content of this website is my sole responsibility as an independent Stampin’ Up! demonstrator and the use of, and content of, the classes, services, or products offered on this website is not endorsed by Stampin’ Up! Copyright 2025

















Leave a Reply