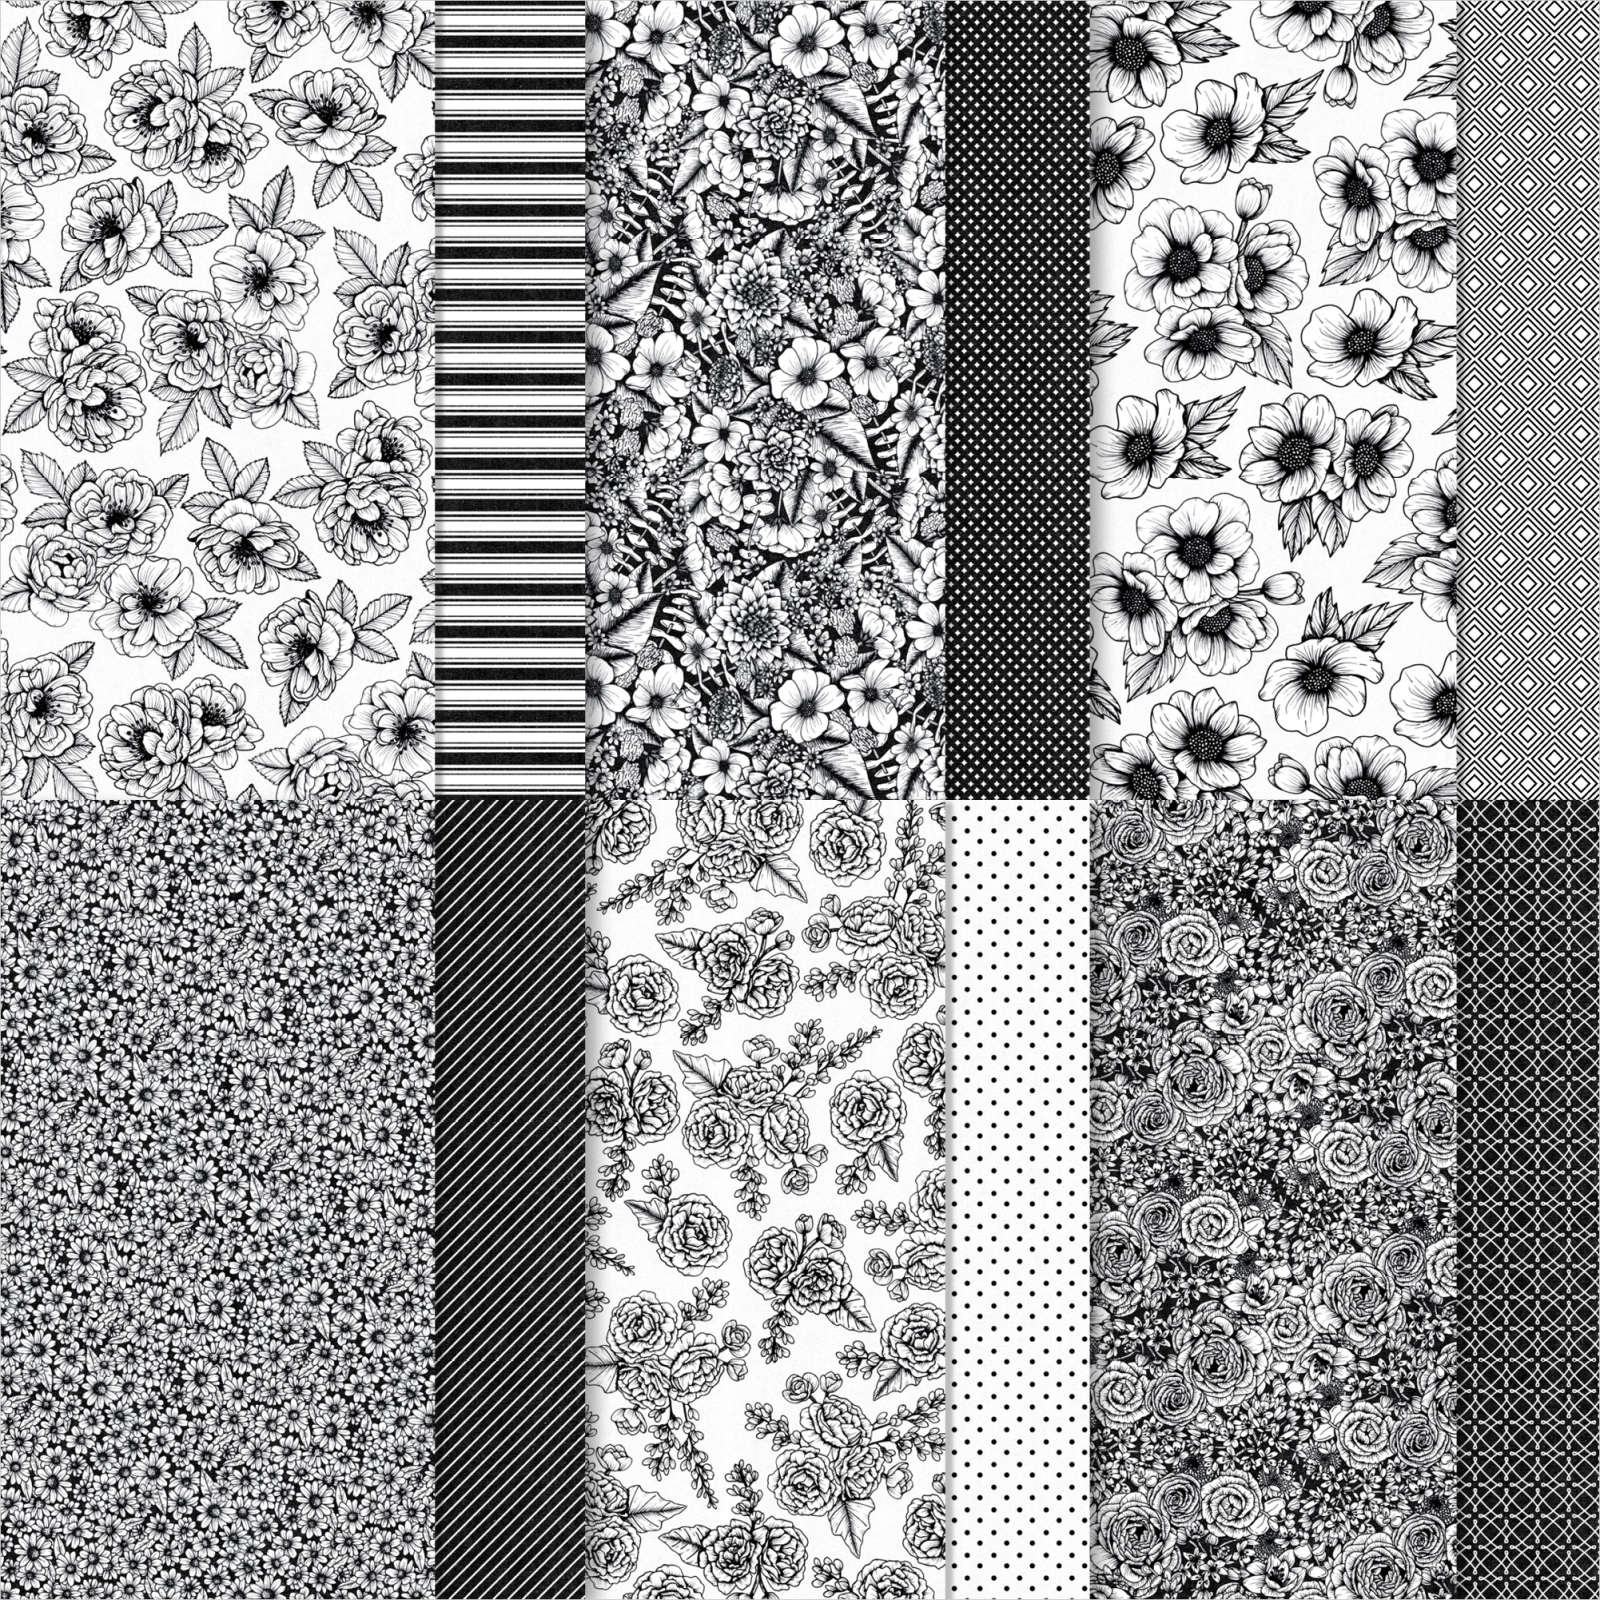
I was so happy when I saw the True Love designer paper in the new Spring Catalog. I absolutely LOVE black & white prints in our papers! I find it's the most versatile to use since you can add ANY COLOR you want to it and Black and White makes it POP!
If you like to fussy cut or color you'll fall in love with this pretty paper.
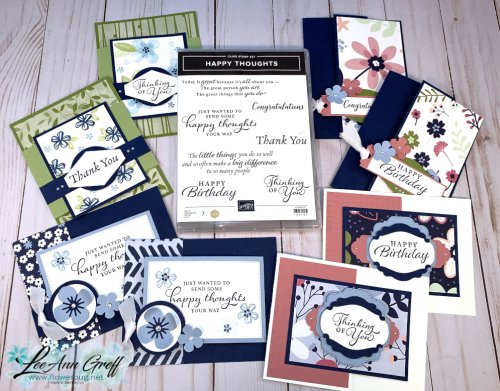
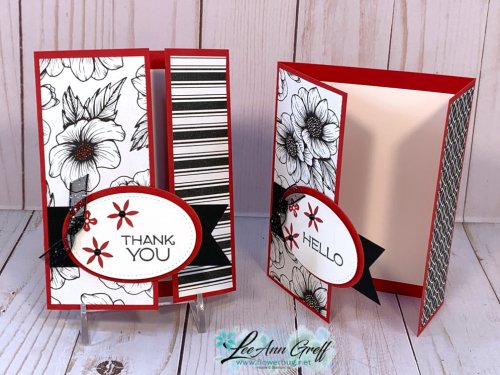
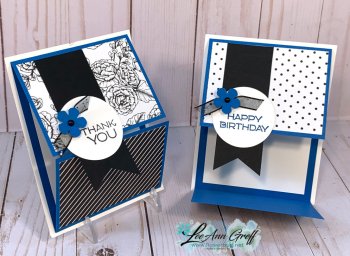
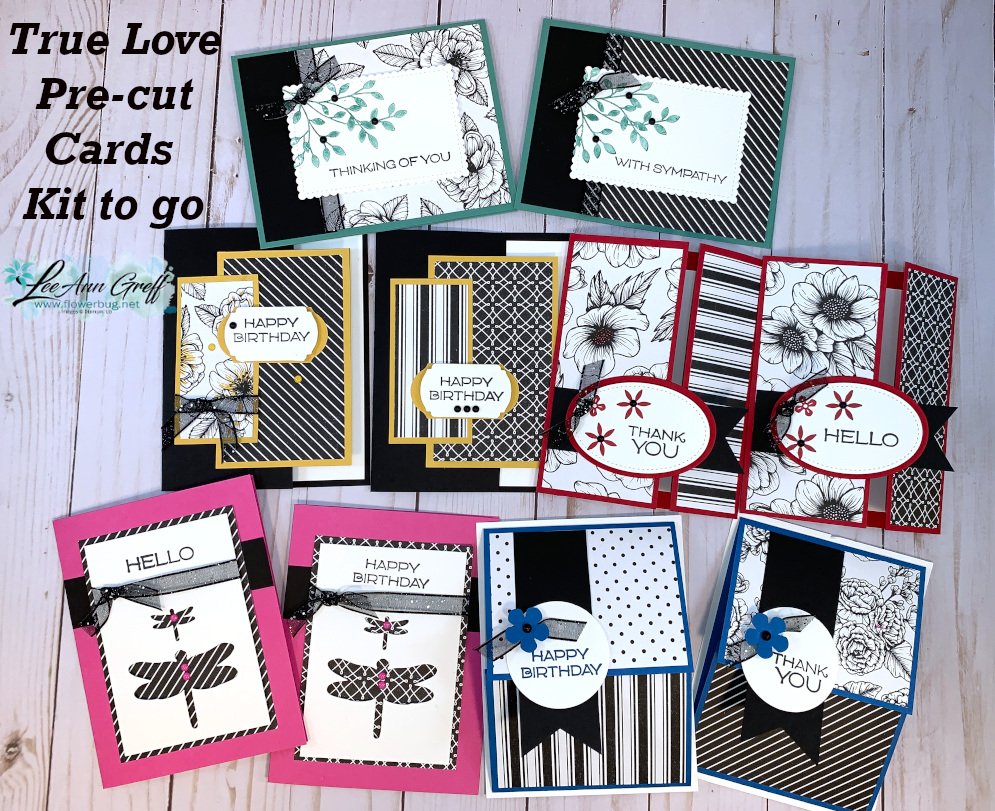
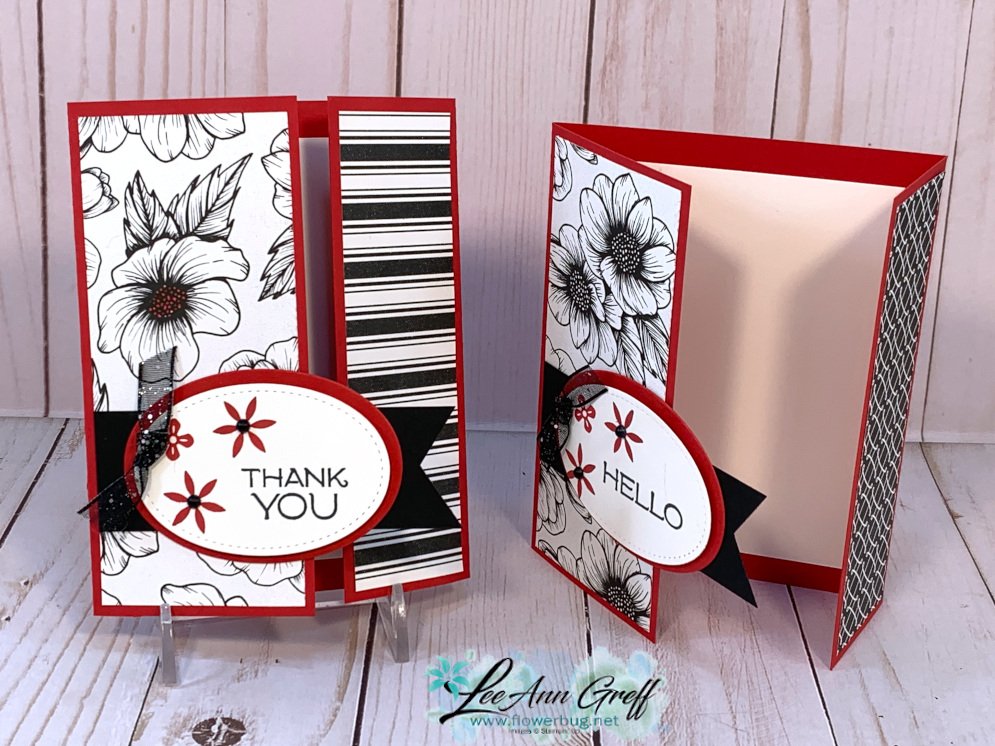
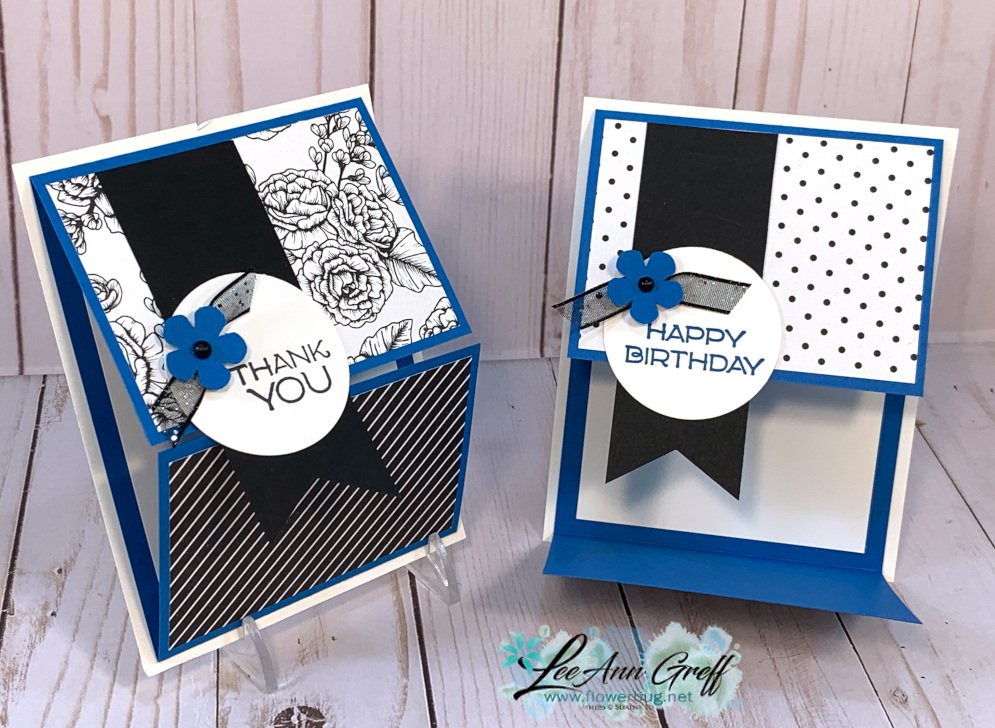
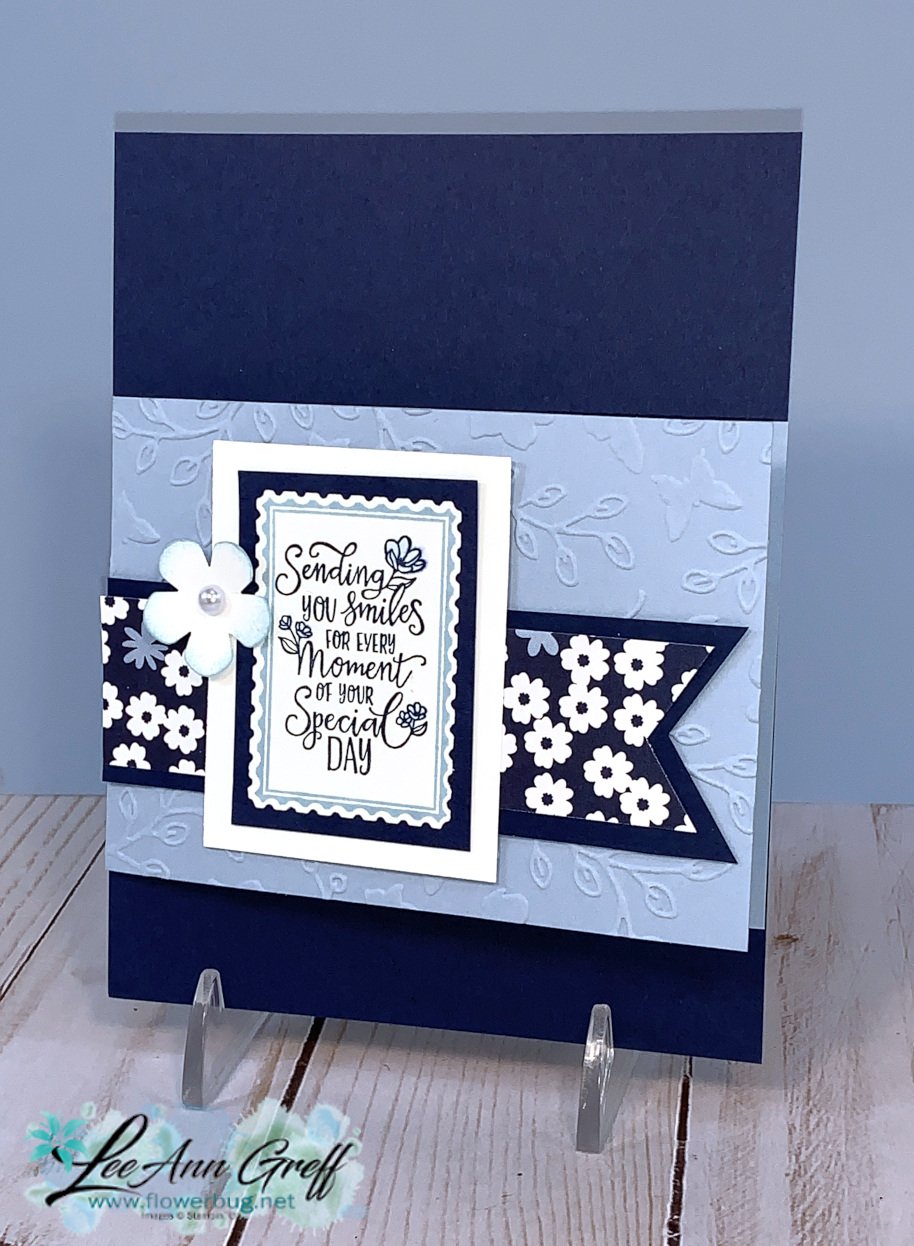
Look at these pretty cards! And you can color the floral images with markers OR fussy cut them out to add beautiful detail to the cards.
I created 5 cards; two of each design for a total of 10 cards. Three of the five designs are unique fun folds too. *see photo below
You'll receive all pre-cut, punched & die-cut pieces, 1/2 package of True Love Designer paper (6" X 12"), black glittered ribbon, Black matte gems and a share of 2020-22 In Color enamel dots so you can finish these cards at home.
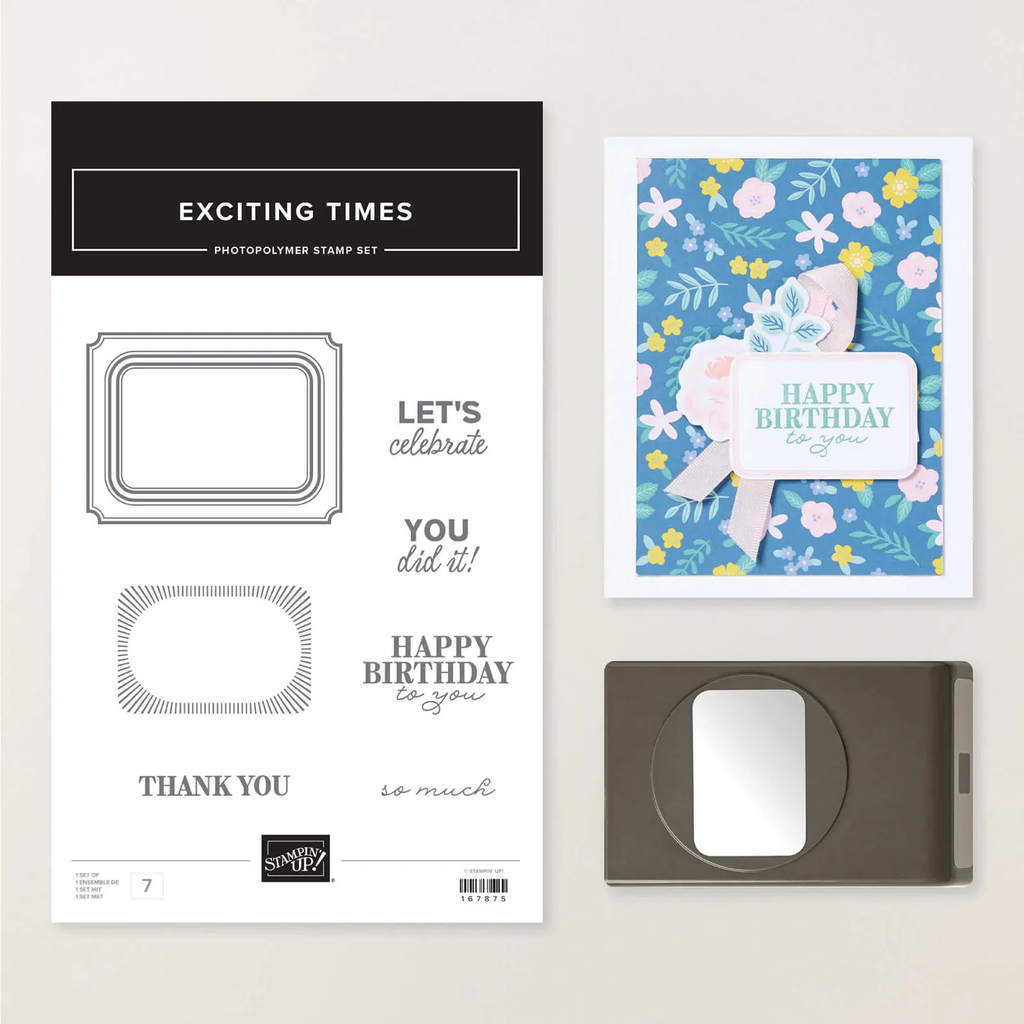
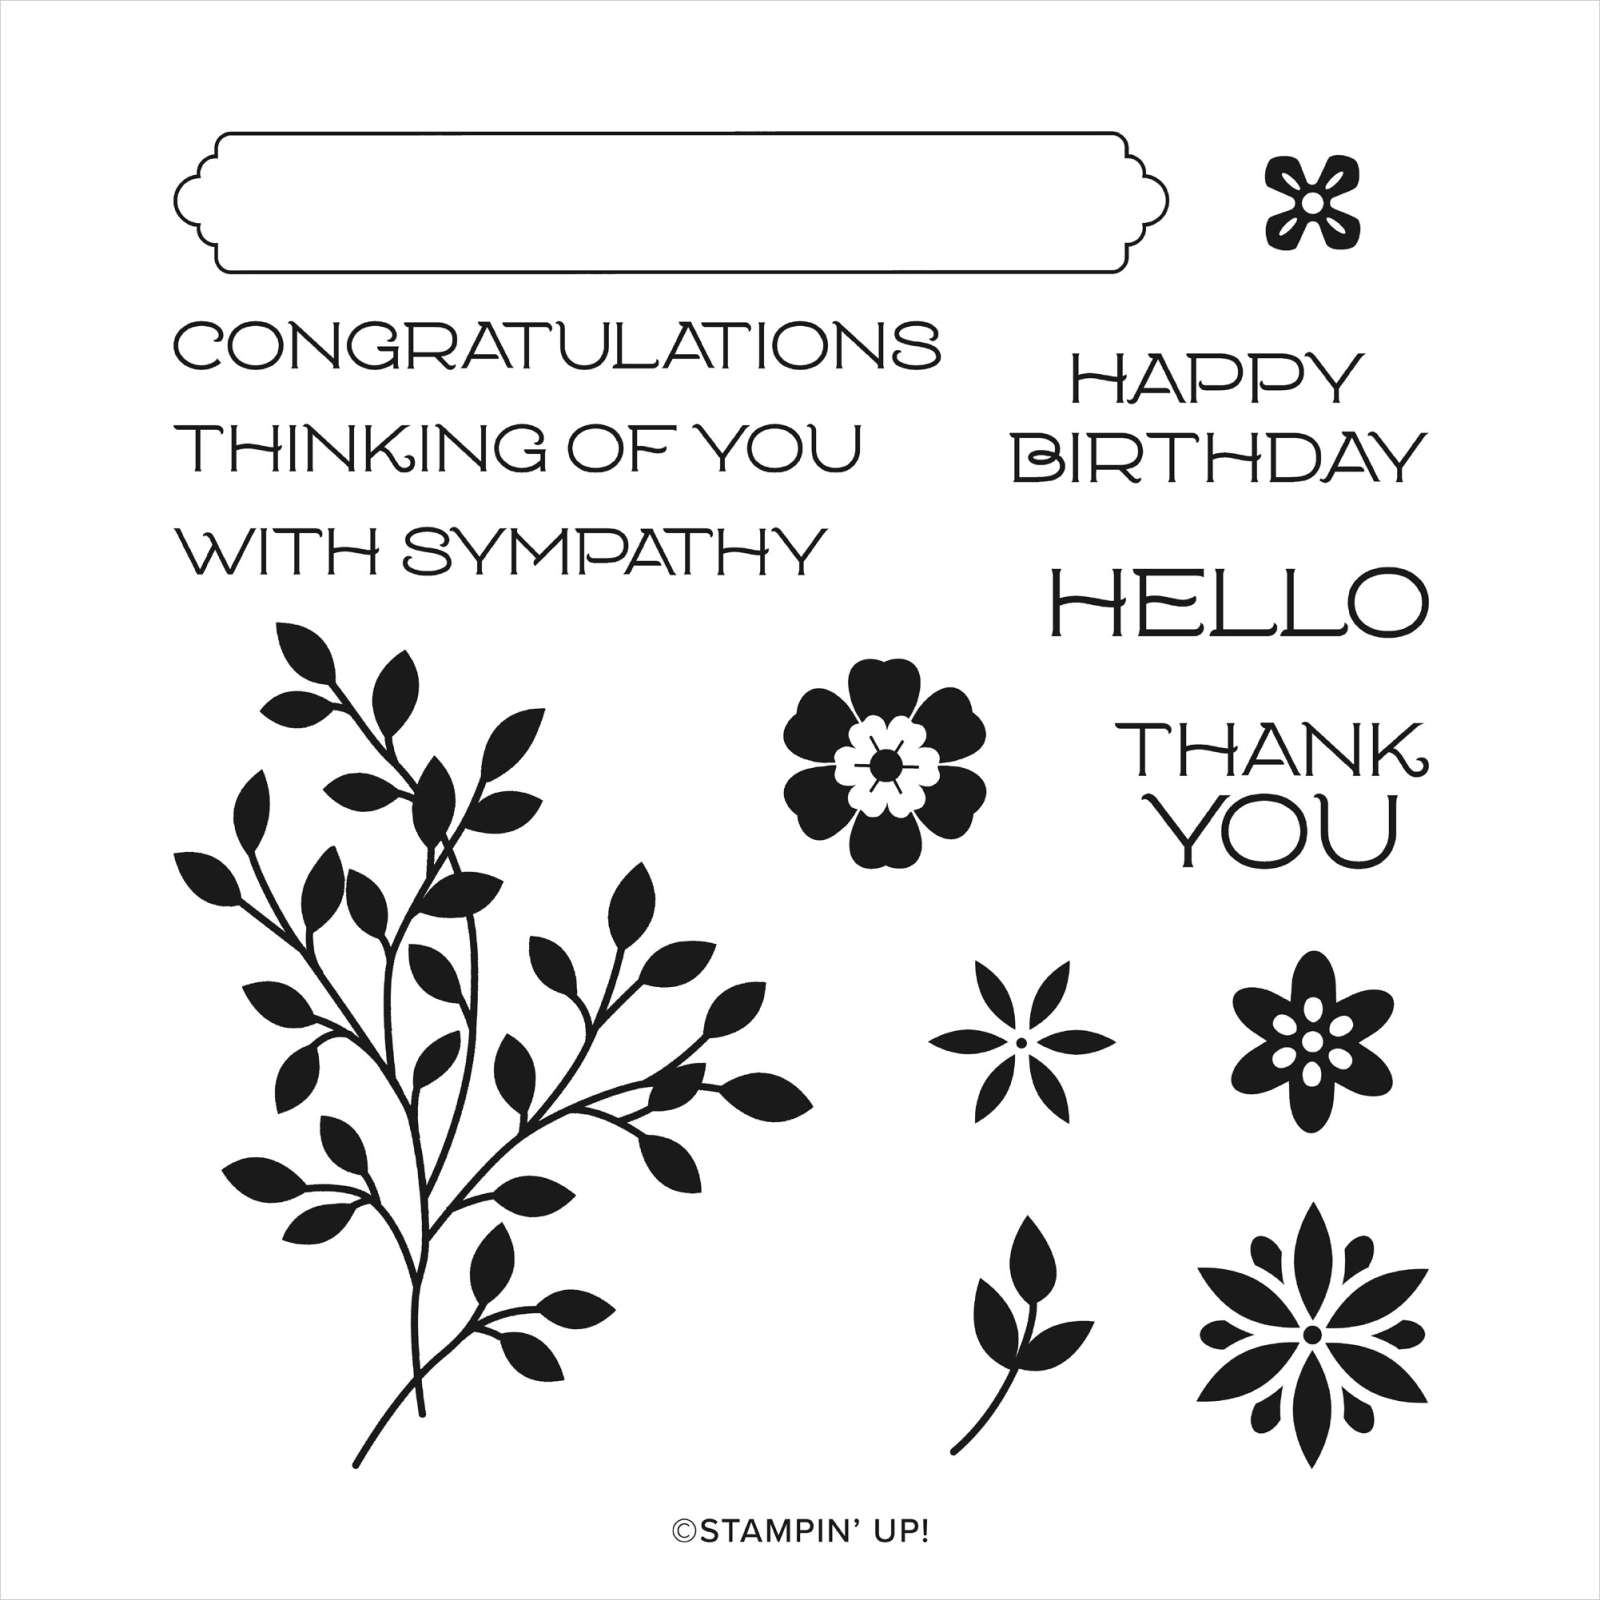
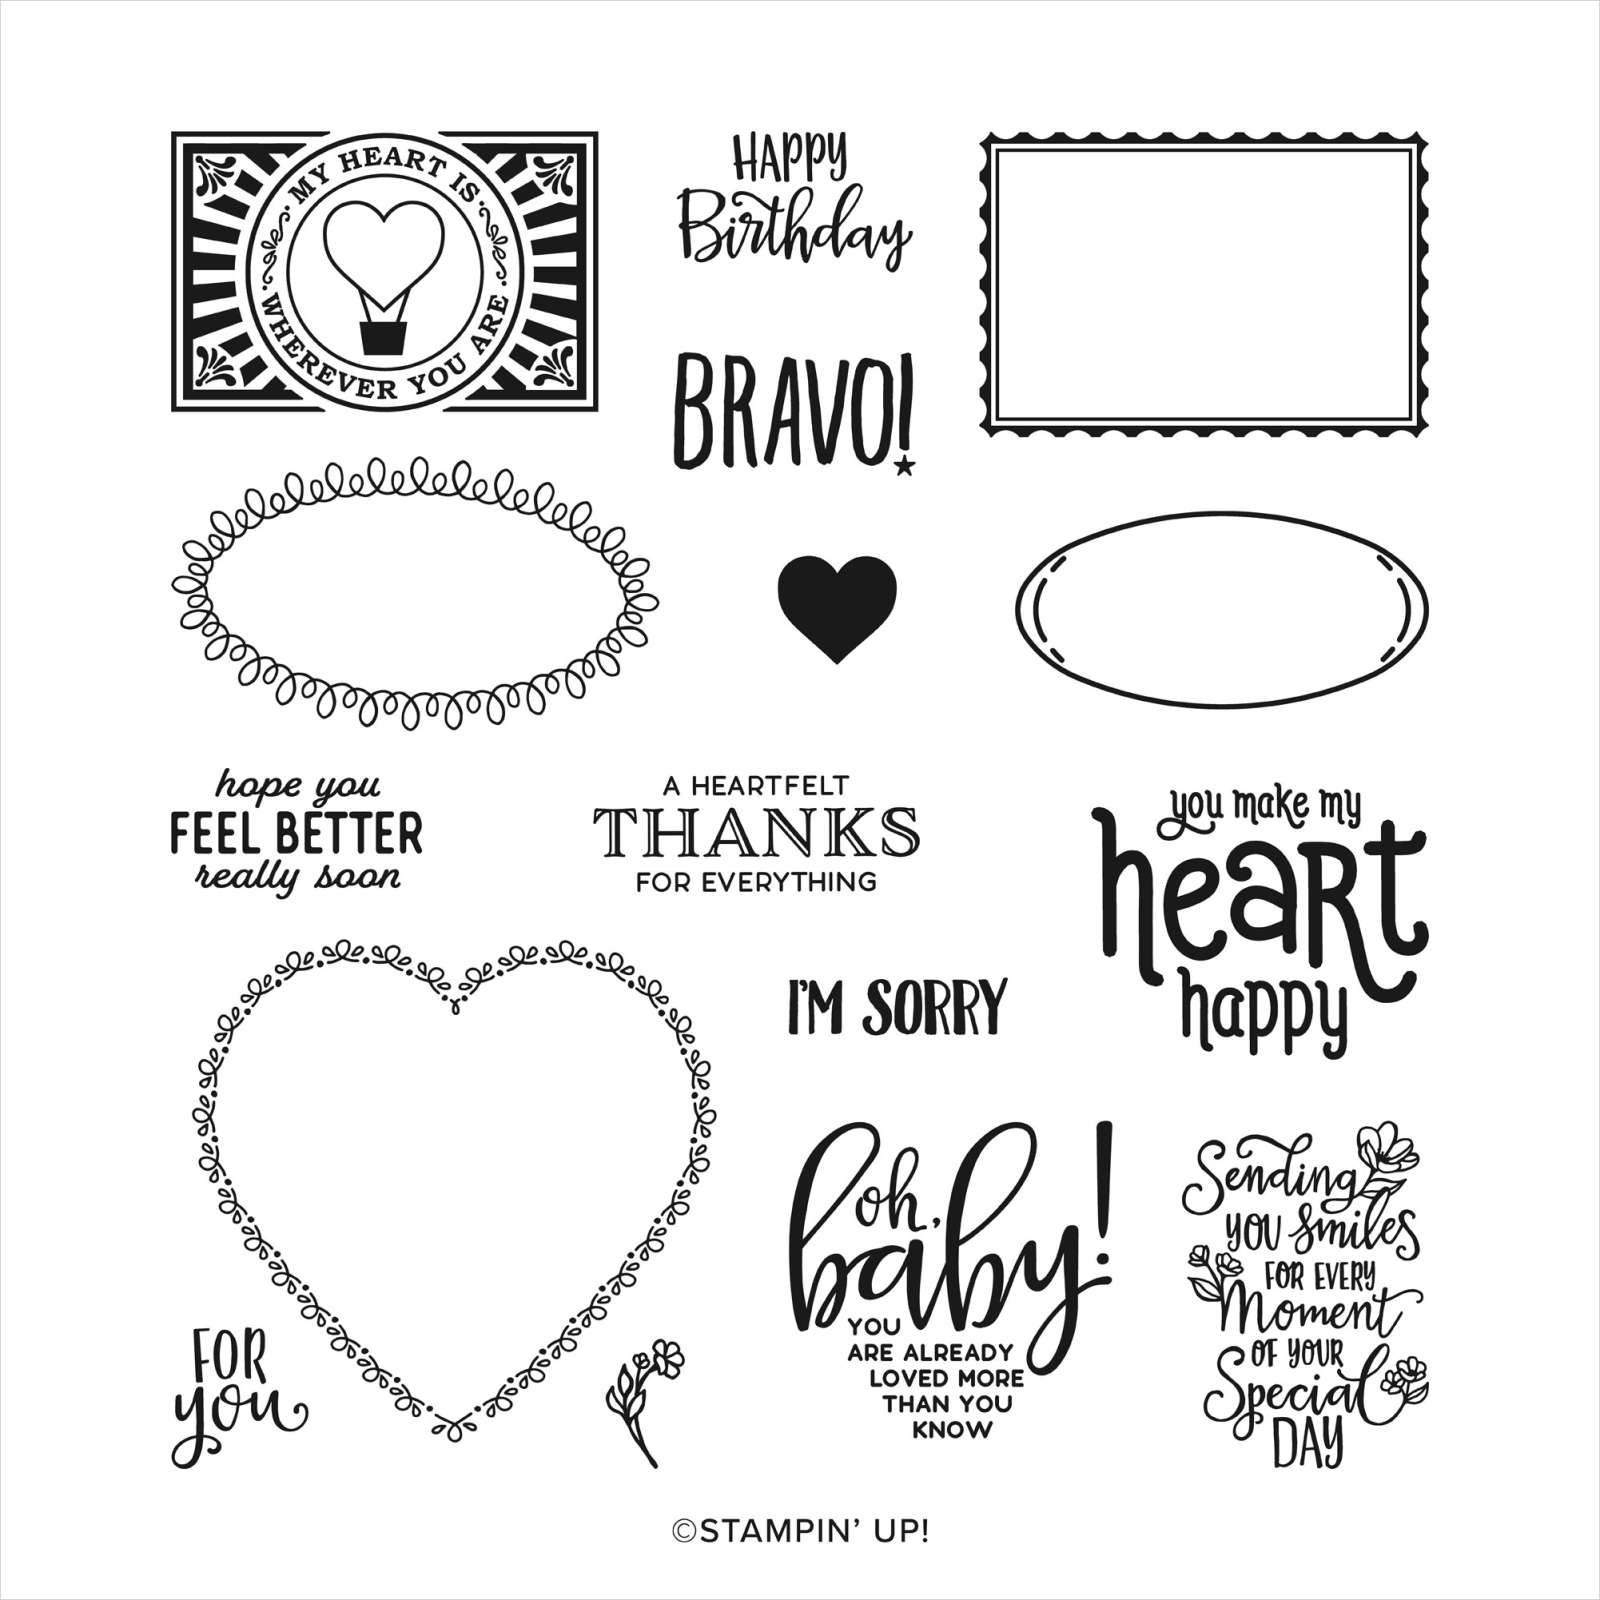
I chose to use the Vine Design stamp set since it's full of a wide variety of greetings and the lovely vine and floral images too. You can add on either the stamp set or bundle at an extra 10%! It fits in the package and costs nothing extra in shipping costs. And if you do you can choose a free Sale-a-Bration choice also.
I used Black, Real Red and Just Jade inks. Remember you'll stamp your own images.
How do my kits to go work?
- Once you pay you'll be on the list to receive the kit. They are shipped out at the end of the month.
- Then you'll receive the PDF instructions in an email; immediately upon payment. It includes photos, measurements (to make more!), a supplies list and step by step directions.
- You'll use my measurements to cut your new designer paper for each card. Don't worry; I keep the measurements easy!
- You'll use the instructions and the supplies in your kit to complete the cards.
My subscribers LOVE these kits to go and many choose to receive them automatically each month. They're 'subscribers' and get an extra surprise in their package every few months. Click below to subscribe; it's $36 a month. $8.50 is shipping and $20 of that is actual Stampin' Up! product!
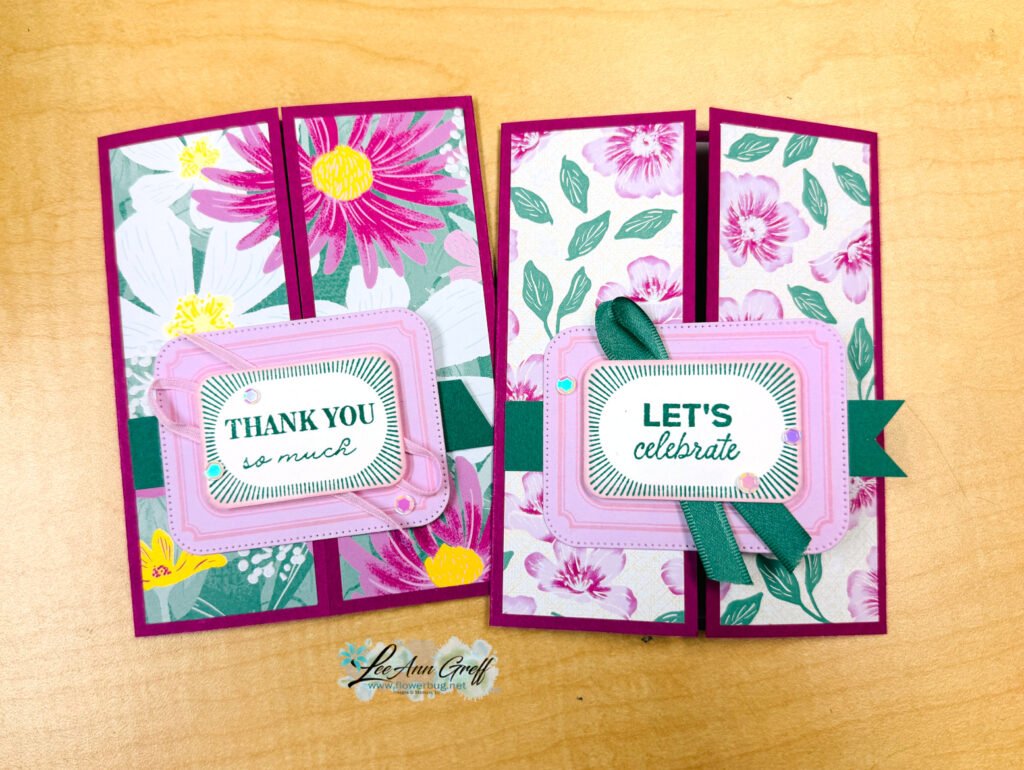
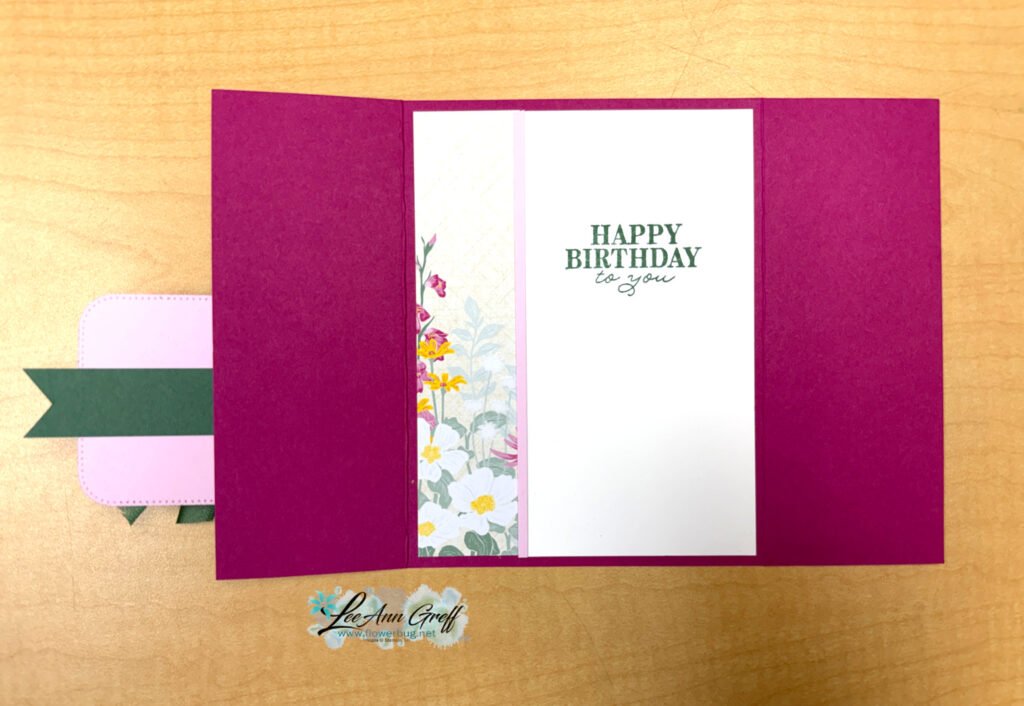
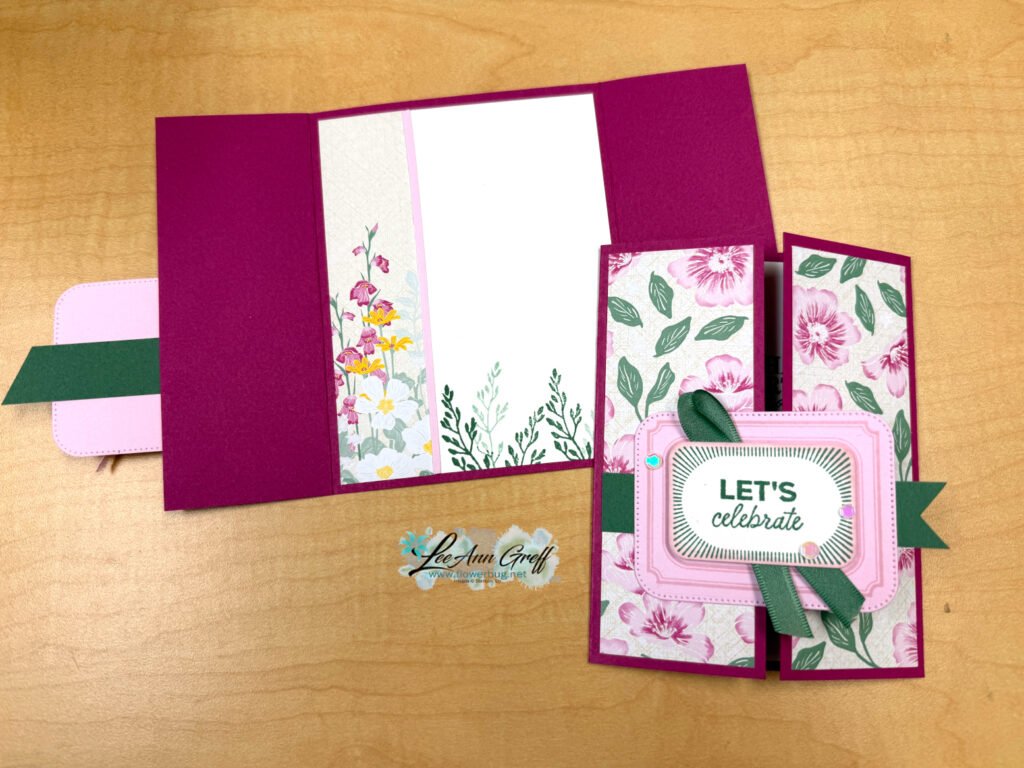
Here are close up photos of two of the fun fold cards in this kit:
**Remember these kits are mailed out at the end of January via Priority mail.
~~~
Current Host code is JQAFYSUW
Order online here
Get a package of 200 Pastel Pearls from me with an online order over $50 using the host code above.
*If your order is over $150 do not use the code; you'll still receive a gift!
Below are the Multipurpose Glue stands we're making. They're $6 each and available in my Shop here.




















Leave a Reply