/


Latest Post

Use your nesting dies to create a designer paper window – video & free project sheet


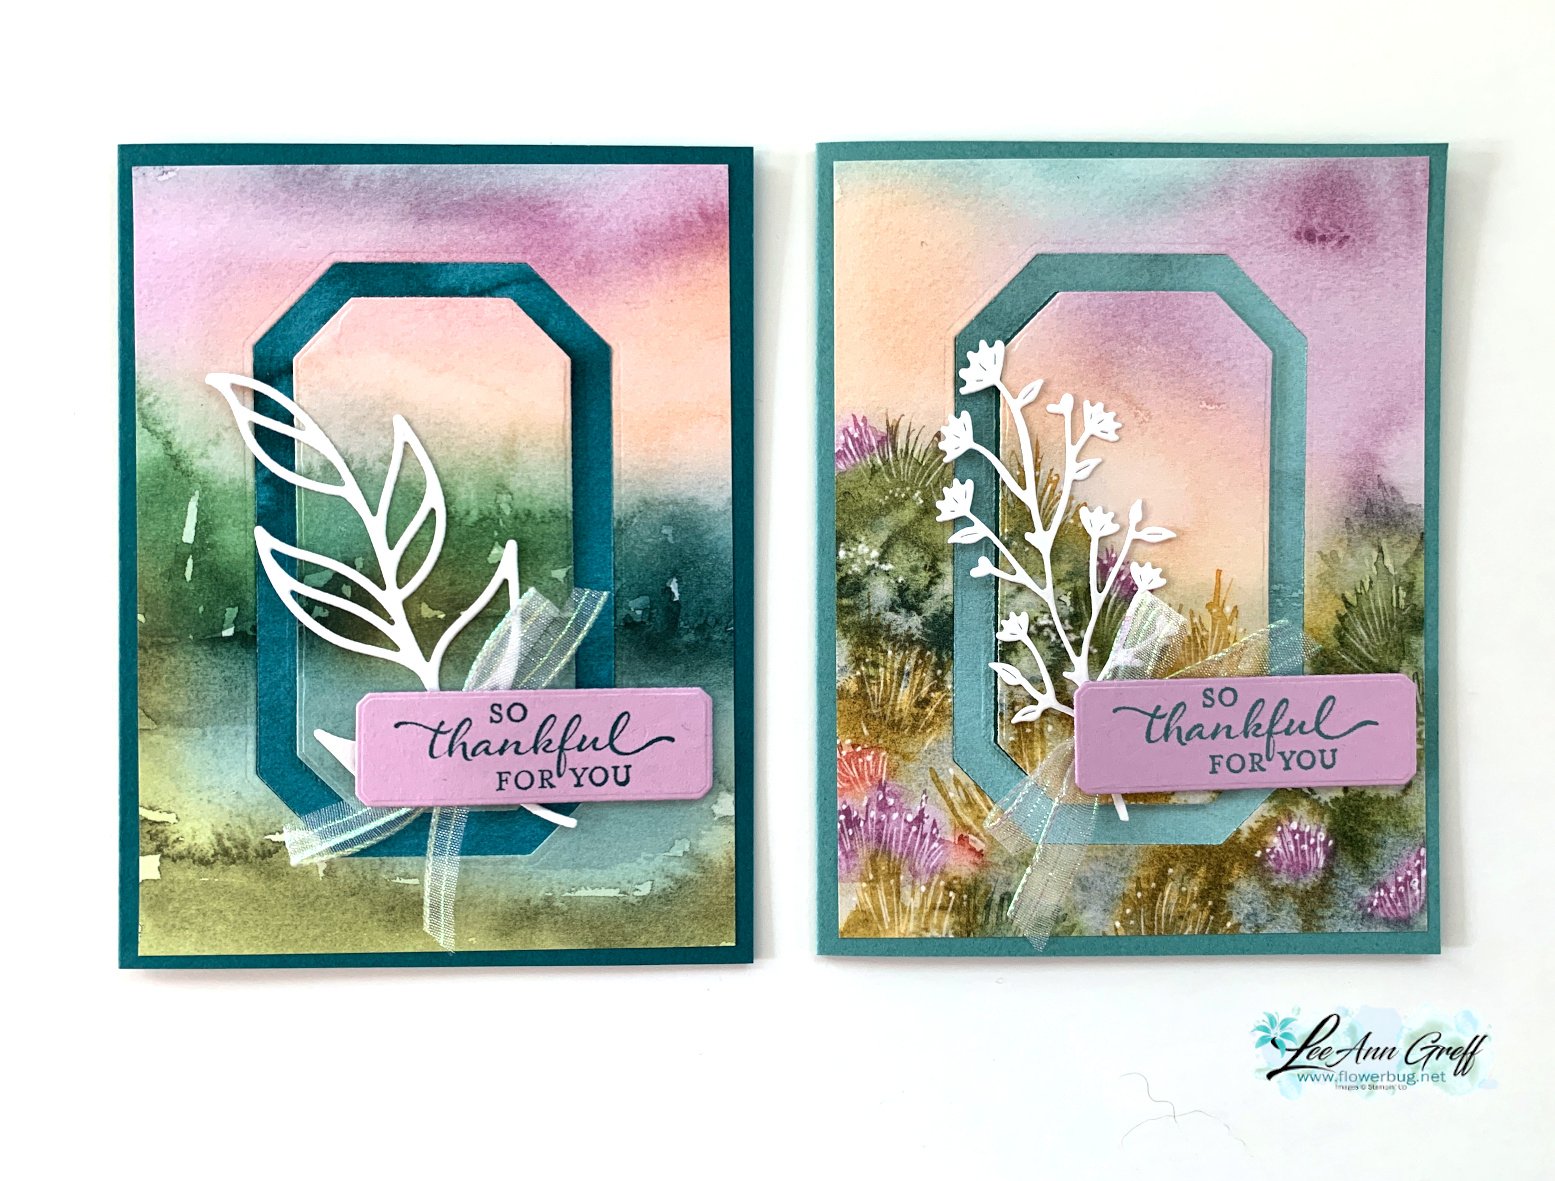
On last week's Live video I shared a neat way to use nesting dies to create a frame with your double sided designer series paper. 

I chose to feature the Thoughtful Moments DSP with this neat technique. Simply choose two dies that are the same shape and about 1/4-1/2" apart.  Die-cut and then flip over the narrow frame to reveal the opposite side of the Designer Series Paper. It's so neat! 

**This Designer Paper and many more will be on sale starting Tuesday, August 6th! Details will be shared tomorrow. 

The leaf die is from the Friends for Life dies. My nesting dies are called Countryside Corners and can be seen here.
Tip – be sure the color of the opposite side of your paper coordinates with the front. I chose the card base to match the frame – Pretty Peacock. My greeting is in Fresh Freesia. 

Here are both cards shown on the video; the second card on the right has a Lost Lagoon frame & card base.  The White die-cut on the right card is from the Thoughtful Wishes bundle.
Here's the free project sheet you can download or print: Download Thoughtful Journey Window card

The designer paper for these cards is 4" X 5 1/4" which leaves a 2" strip for another project.  I wanted to share a quick card to use up that leftover piece:
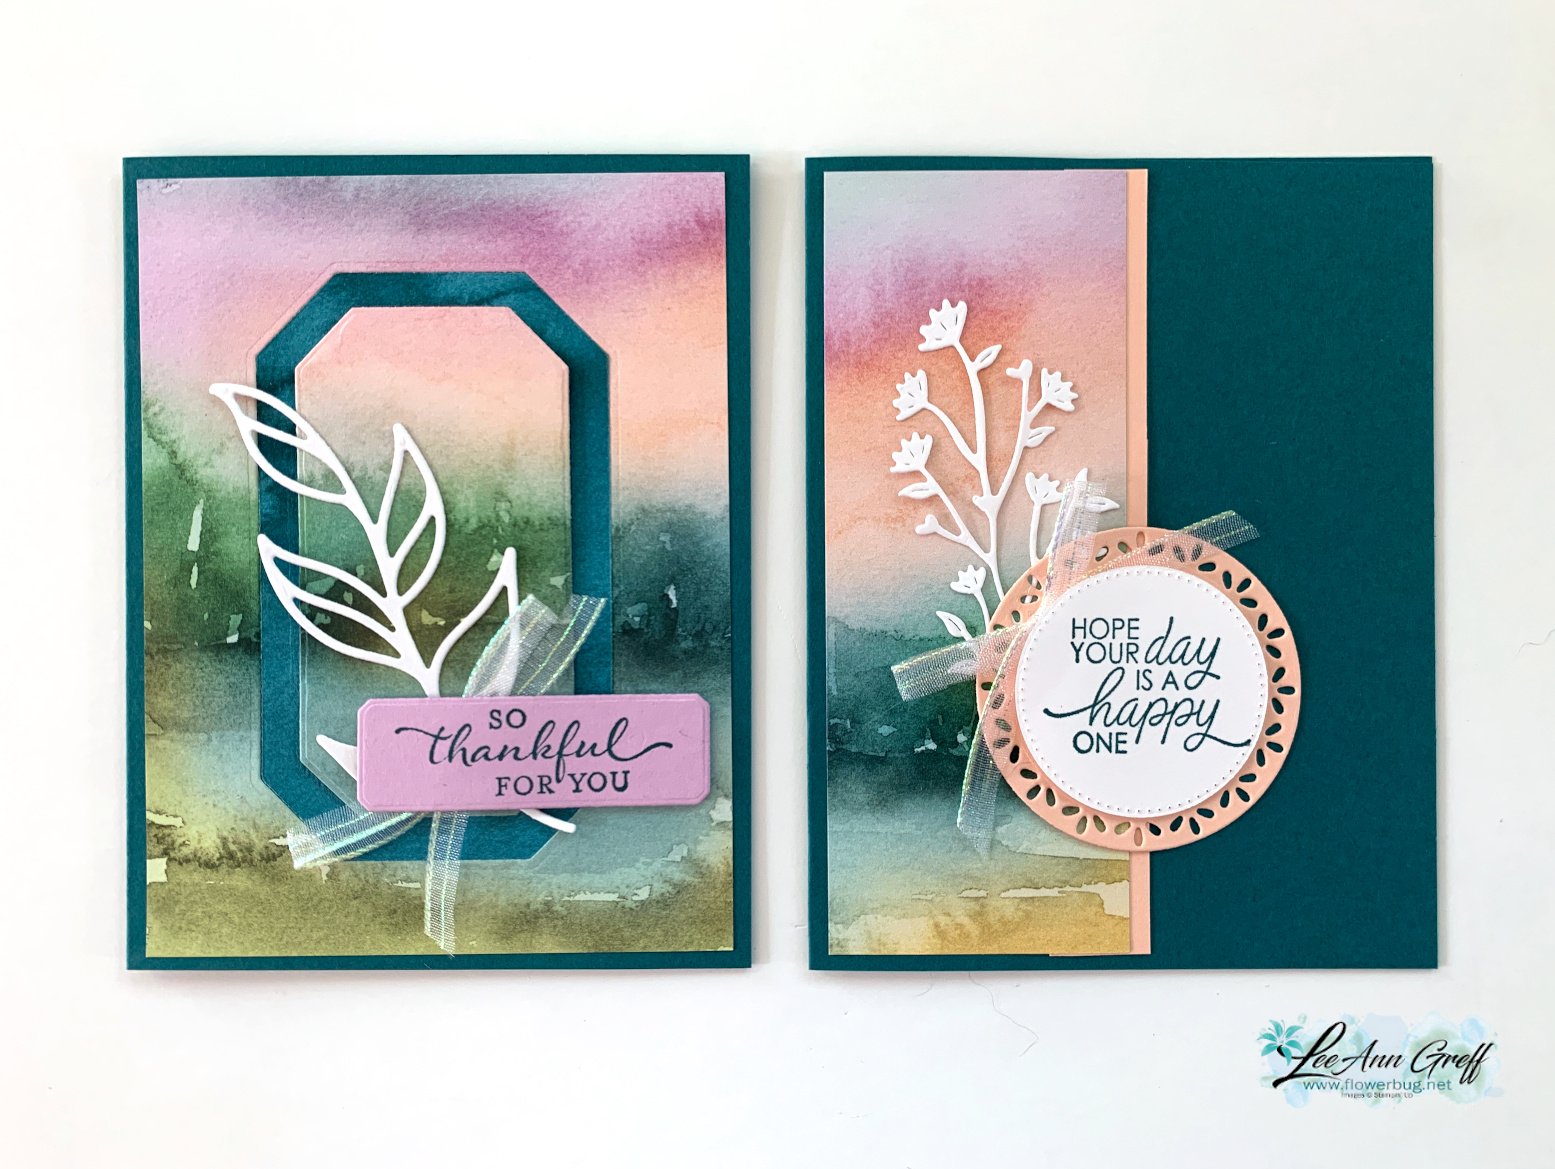
I simply added it to the card base with a coordinating card stock strip on the edge. Then added layering circles for my greeting.

If you're wondering about the ribbon, it's the pretty Iridescent 1/2" striped trim seen here.  I cut it in half to get 1/4" thick trim. It has been unavailable for awhile but it's back now.

Here are all 4 cards I shared in the video you can see here. 

Here's the video below to see how this is done plus another card idea with the beautiful Thoughtful Journey designer paper.  I'll share the second card Wednesday. 

~~~

August Specials:

*current host code link: BDGBJHAE
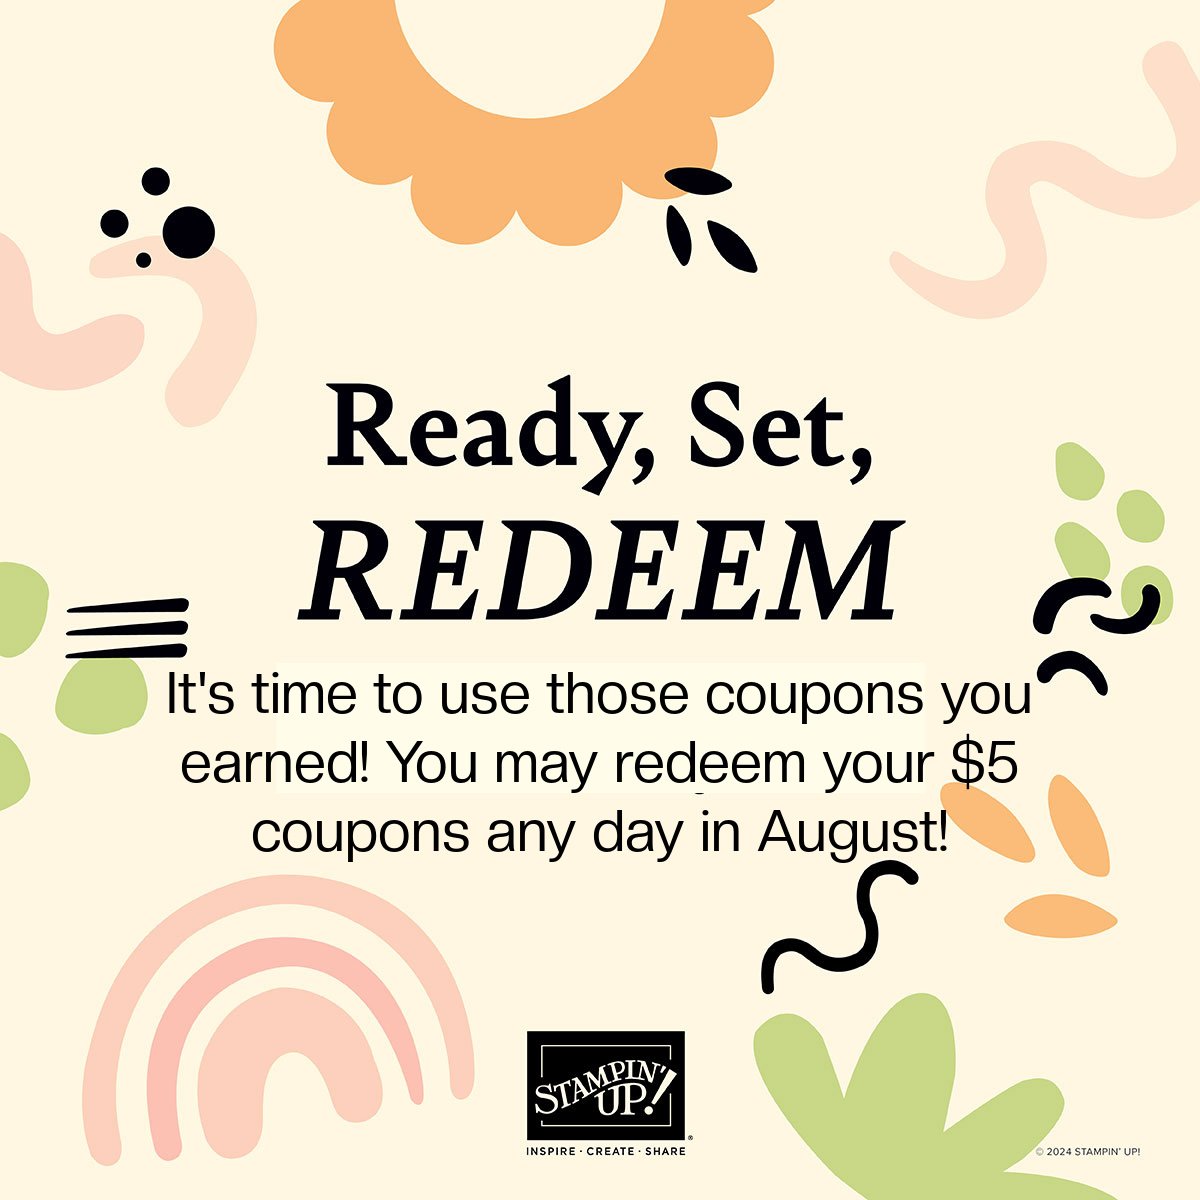

Redeem your $5 coupon now! 

~~~

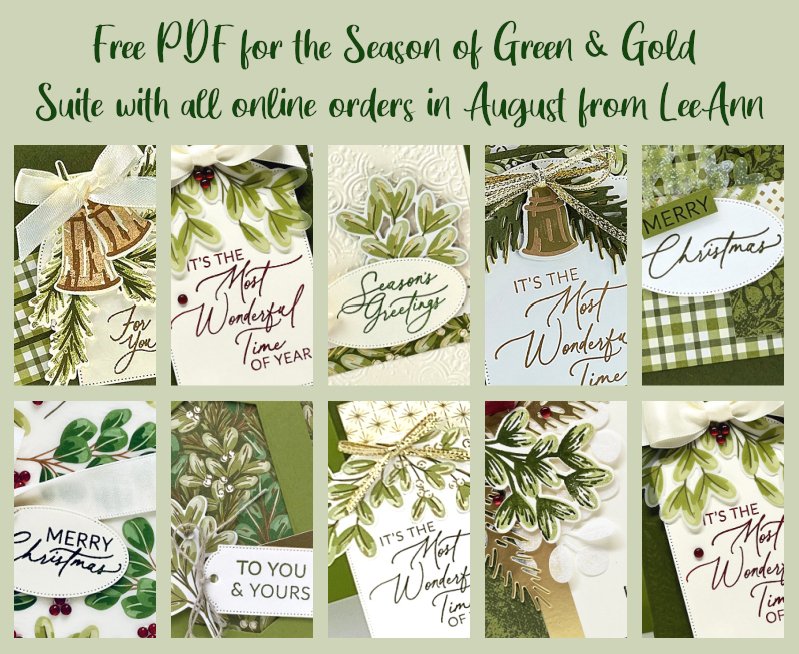
All online orders will receive a free PDF tutorial featuring the

Season of Green & Gold suite
All Posts

  • Impressions Abloom In Color card with free project sheet & video


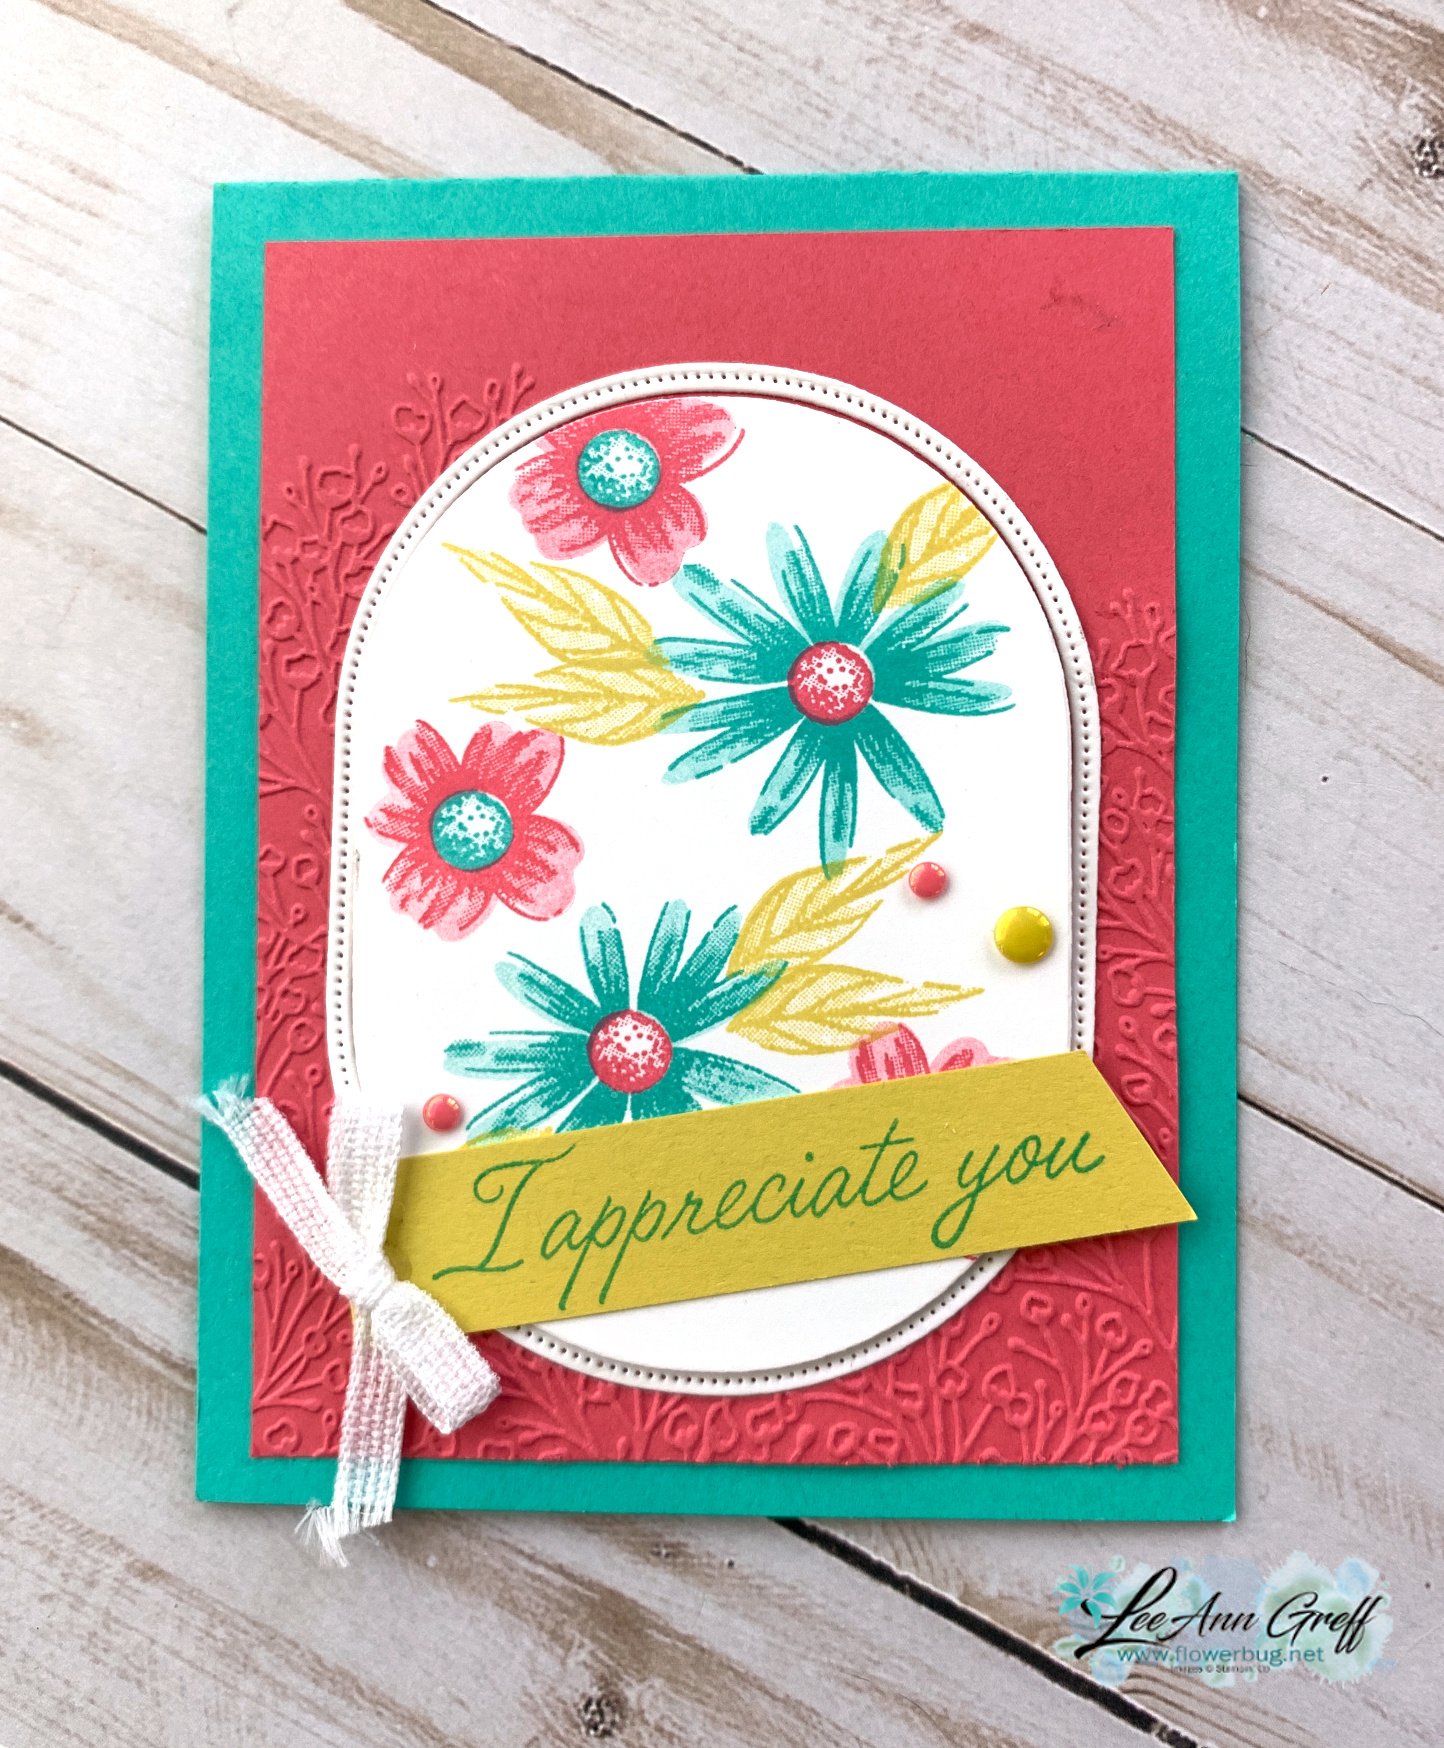
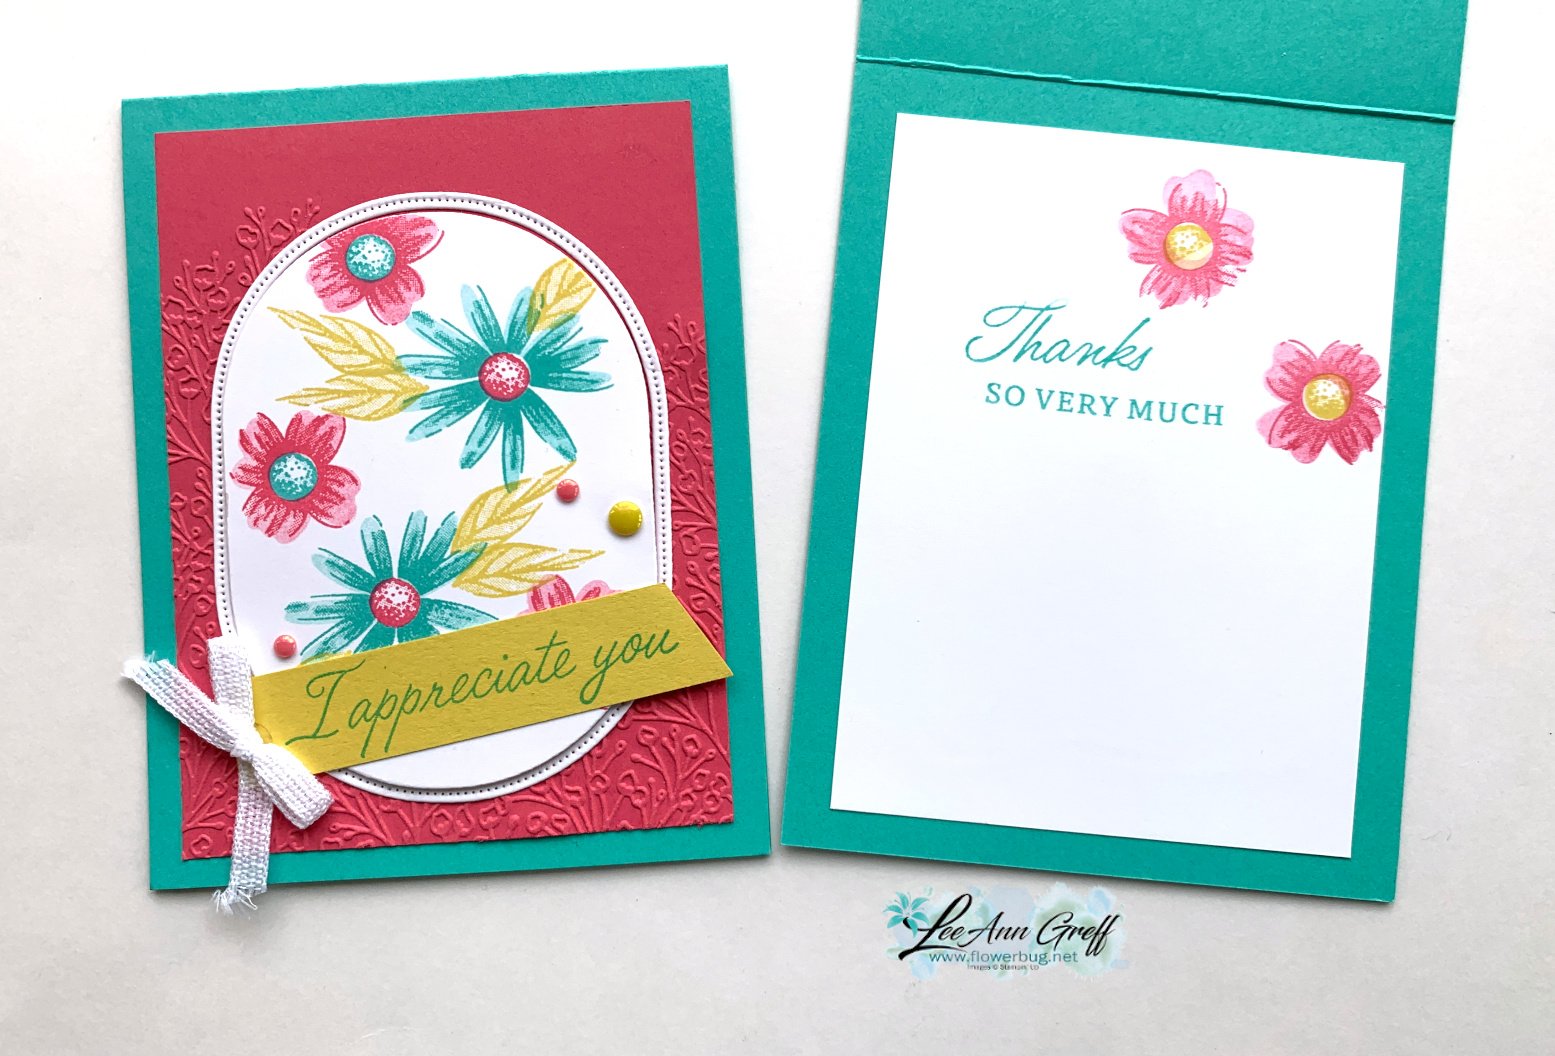
    I shared this pretty card on last week's Live video.  We made it at my card clubs in May.  

    It features two of our newest In Colors – Strawberry Slush and Darling Duckling.  The card base is Summer Splash.  I think these colors are fabulous together. 

    The Strawberry Slush layer was embossed with the new Pressed Flowers embossing folder.  It's part of this suite and can be seen here.  

    I popped up the stamped oval and adhered the stitched frame flat. I added our new 2025-27 In Color flat pearls. They're awesome and can be found here.  They come in the previous In Colors as well. 

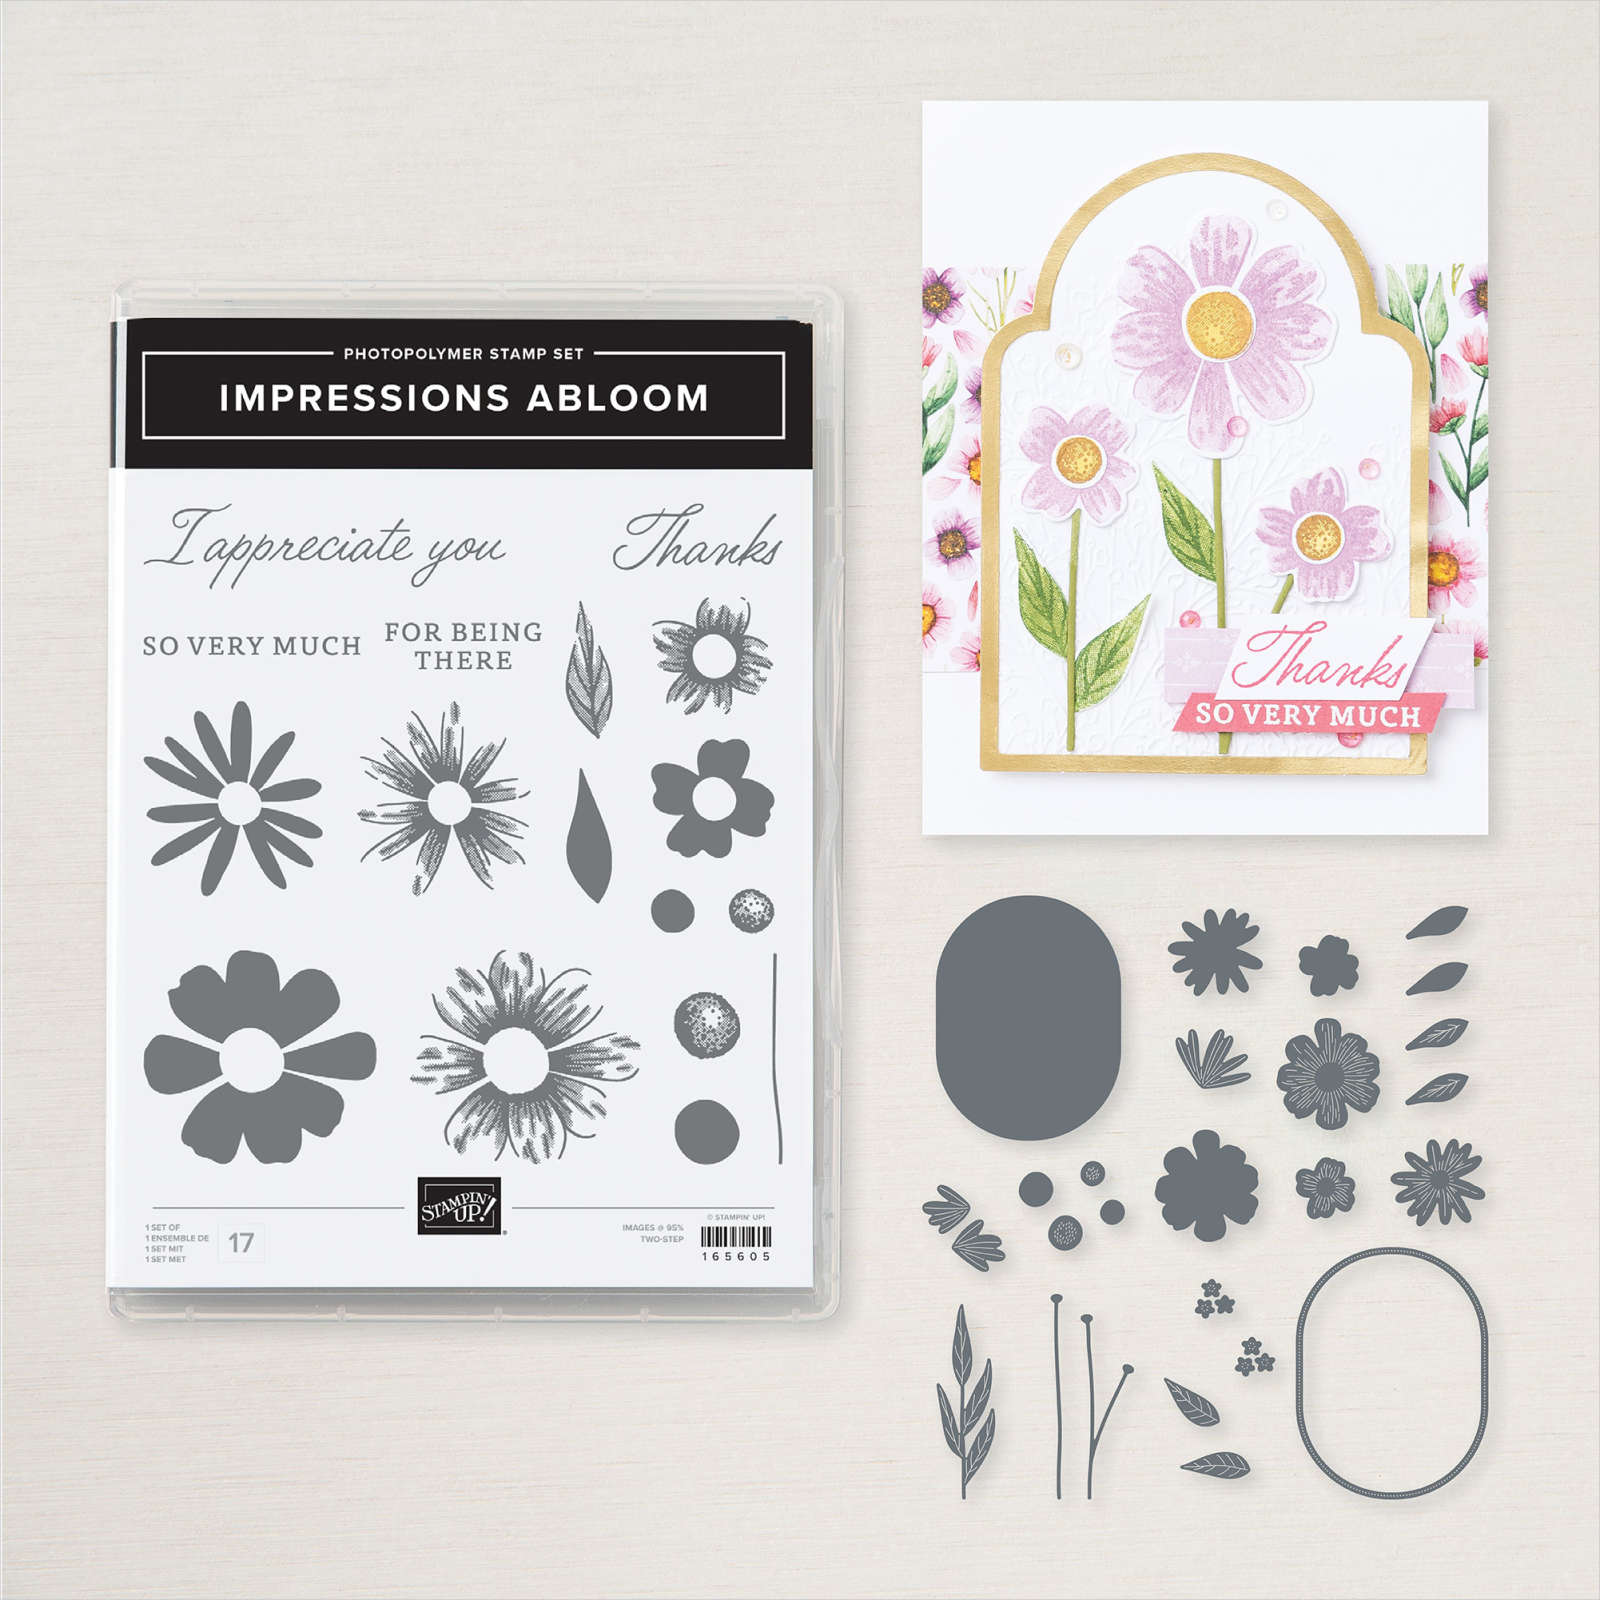
    The Impressions Abloom bundle has it all; floral and greeting images with fabulous, coordinating dies.  I'll be sharing a few cards made with it this week to convince you how great it is.  

    This stamp set is both a 2-step set and distinktive which means it gives multiple hues of color with one inking.  

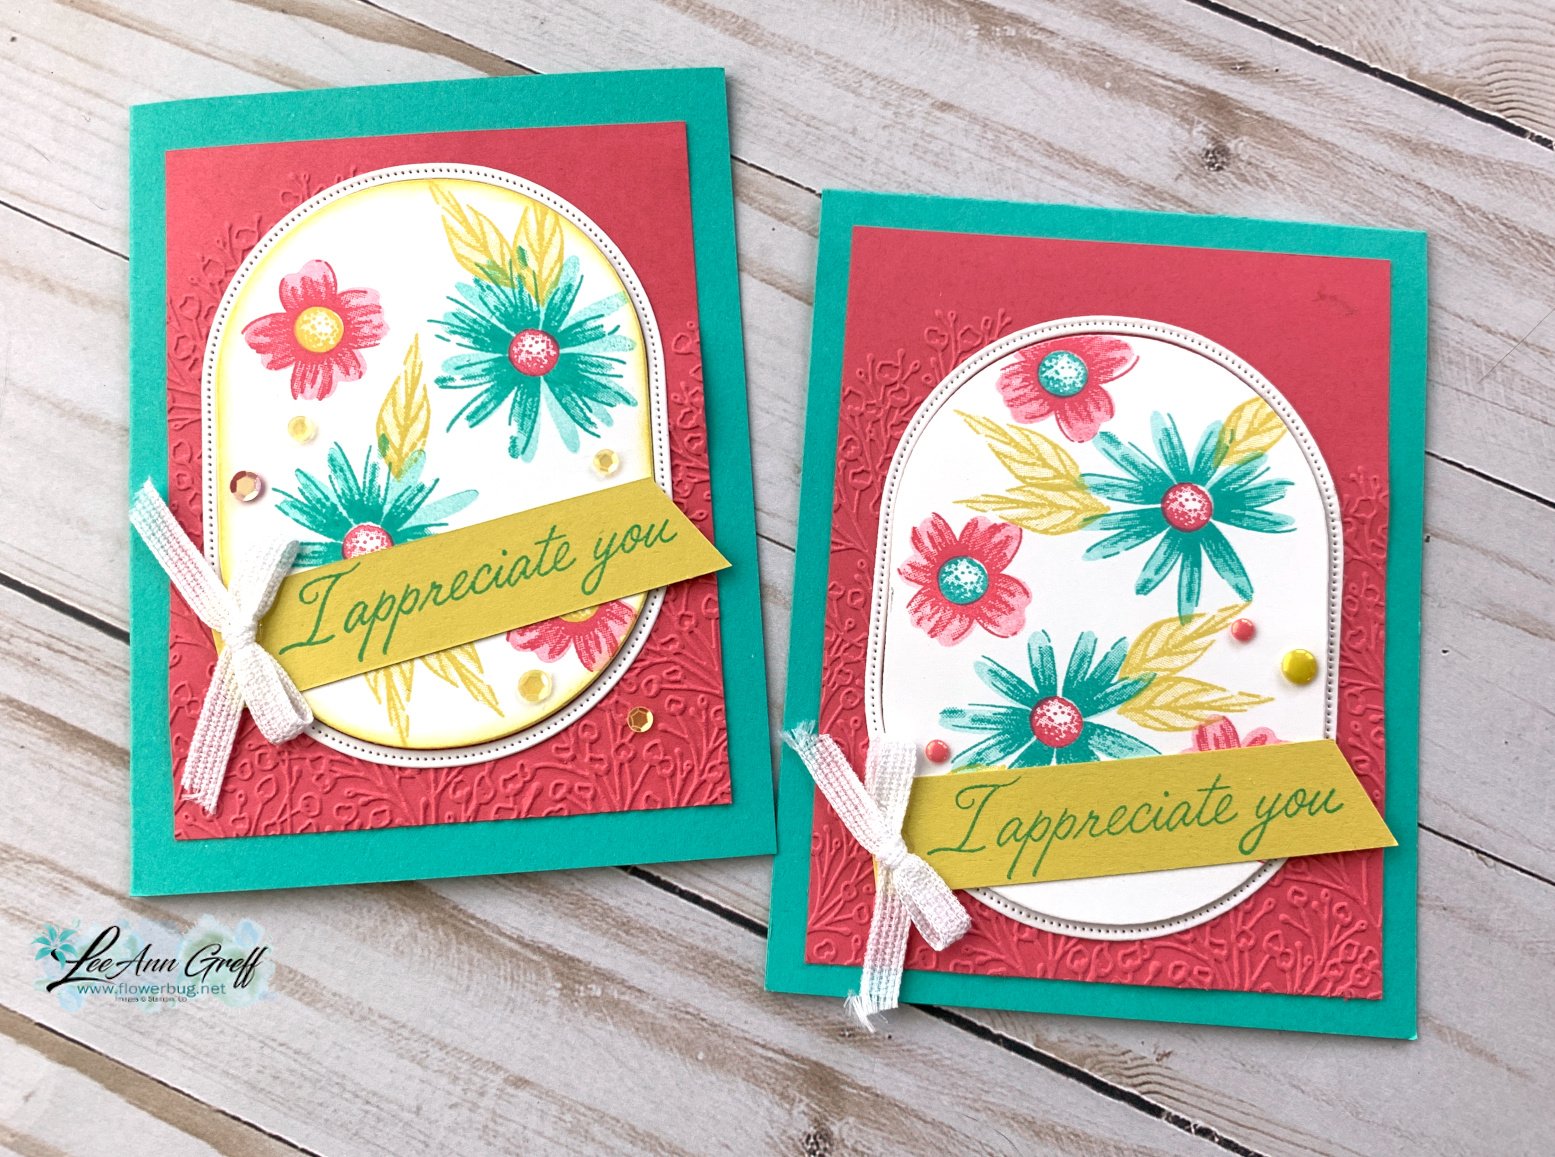
    Look at the Summer Splash flowers on each card. They're different. The card on the left was done by not matching up the flower images. It gives the look of a fuller flower compared to the card on the right.  Lots of options! 

    Here is the free project sheet for this card. Click on the following link to print or download it. Download May Impressions Abloom card

    Below is the video tutorial for this card and one more using this wonderful bundle.  I hope you watch it; don't forget to subscribe to my YouTube channel too! 

    ~~~

    May Specials

    Starter kit deal! 

    Reserve my new Designer Paper Share here

    Get $166 in product of your choice for just $99 with free shipping! Click here!


    Earn free card kits in May with online orders! Get 4 kits with a $60 order and orders over $80 receive all 6 cards. All you need are greetings, gems and adhesives to assemble. 

    Order here 


    Get my Florals in Bloom PDF tutorial free with any online order in May!

    Leave a Reply

    Your email address will not be published. Required fields are marked *

  • An exciting Scrapbook kit available Wednesday with 12 layouts!


    I'm super excited to share this fabulous scrapbooking kit with you.  If you're a scrap-booker you'll love this opportunity! 

    Month by Month Album Retreat 2025 Kit

    To make the 12-spread album, you’ll want to purchase the Month by Month Album Retreat 2025 kit. Everyone who purchases a kit will receive an email in early July with a link to the exclusive Facebook page where the live event will stream.

    We only have a limited number of kits, so make sure to order yours ASAP when the ordering period begins on May 28!

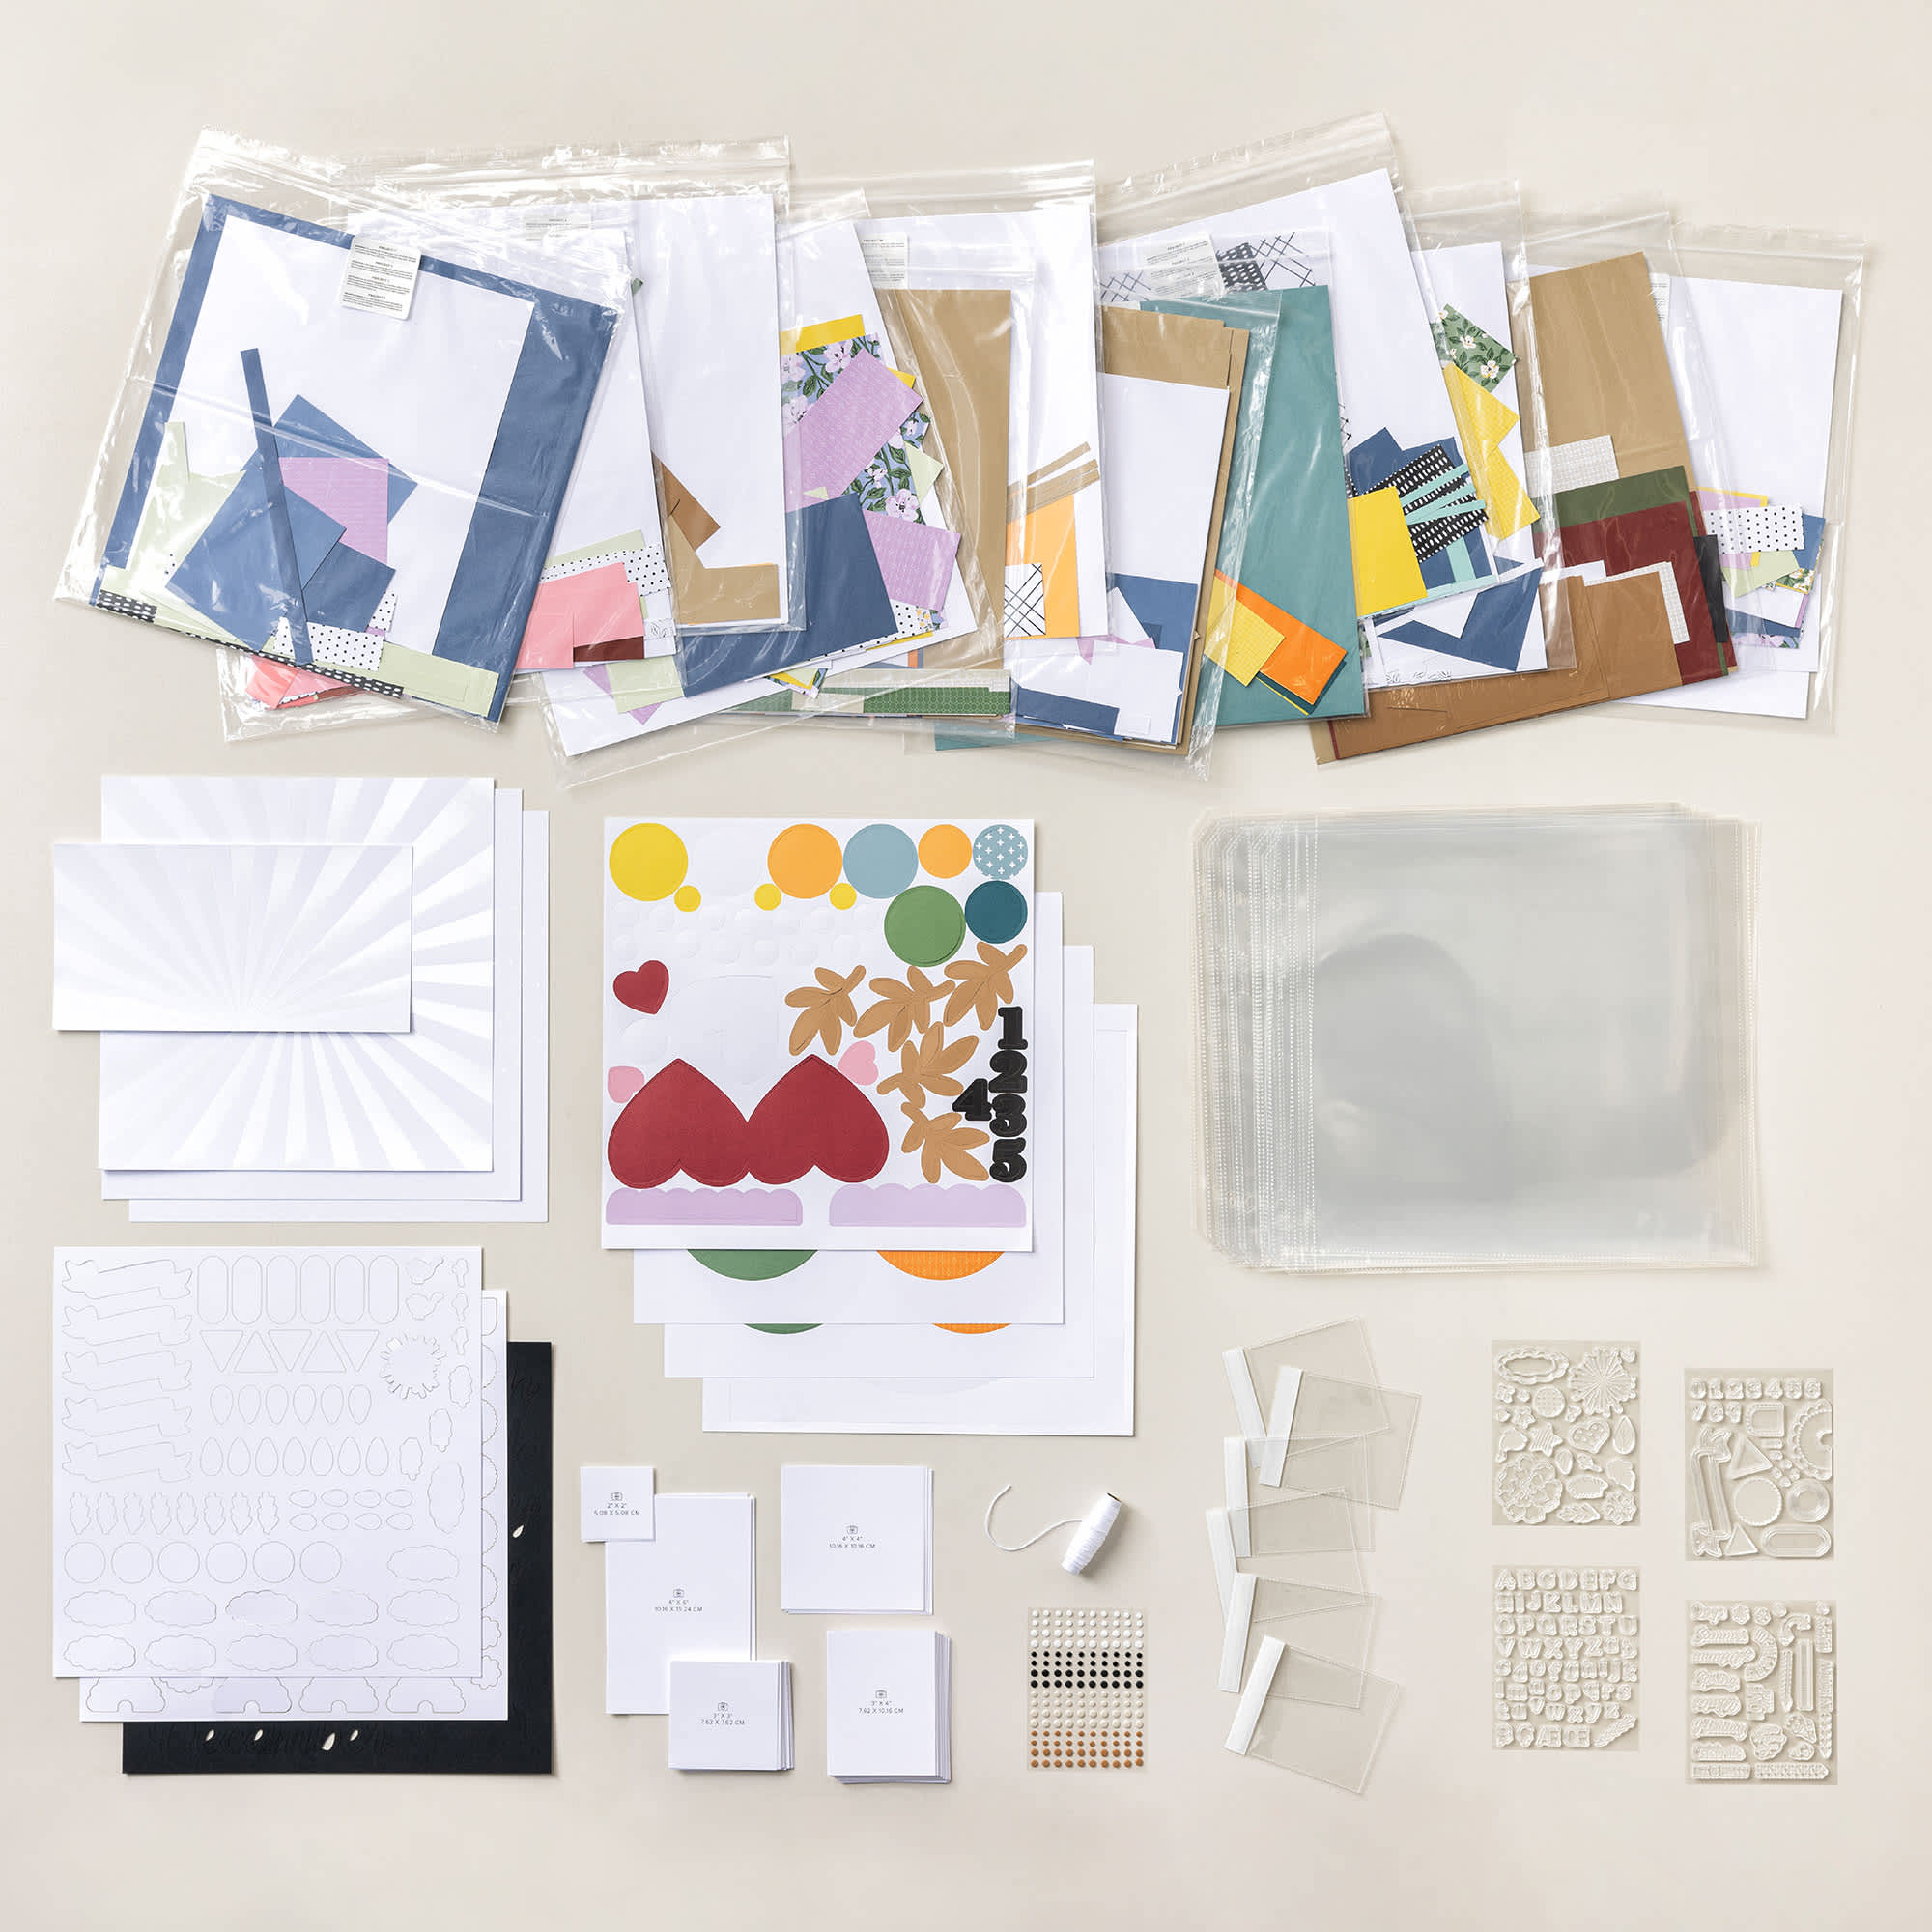
    This kit contains 4 exclusive stamp sets; precut pieces of Designer Series Paper and Two-Tone Cardstock; Two-Tone Cardstock sheets; embellishments; Memory Protectors; Flip Flaps; and photo placeholders.

    *It does not include an album. You do not need an album to complete this kit, but using an album is a great way to keep all your spreads together in one place. 

    Here is a picture of the supplies you'll get in this kit. 

    Here are the additional supplies you'll need to complete the 12 layouts.  Download 2025_VIRTUAL_ALBUM_RETREAT_SUPPLIES-US

    This kit costs $250 and can be found in the online store here on Wednesday, May 28th. 

    ~~~

    May Specials

    Starter kit deal! 

    Reserve my new Designer Paper Share here

    Get $166 in product of your choice for just $99 with free shipping! Click here!


    Earn free card kits in May with online orders! Get 4 kits with a $60 order and orders over $80 receive all 6 cards. All you need are greetings, gems and adhesives to assemble. 

    Order here 


    Get my Florals in Bloom PDF tutorial free with any online order in May!

    Leave a Reply

    Your email address will not be published. Required fields are marked *

  • Check out these cards made with the new Paper Tag bundle


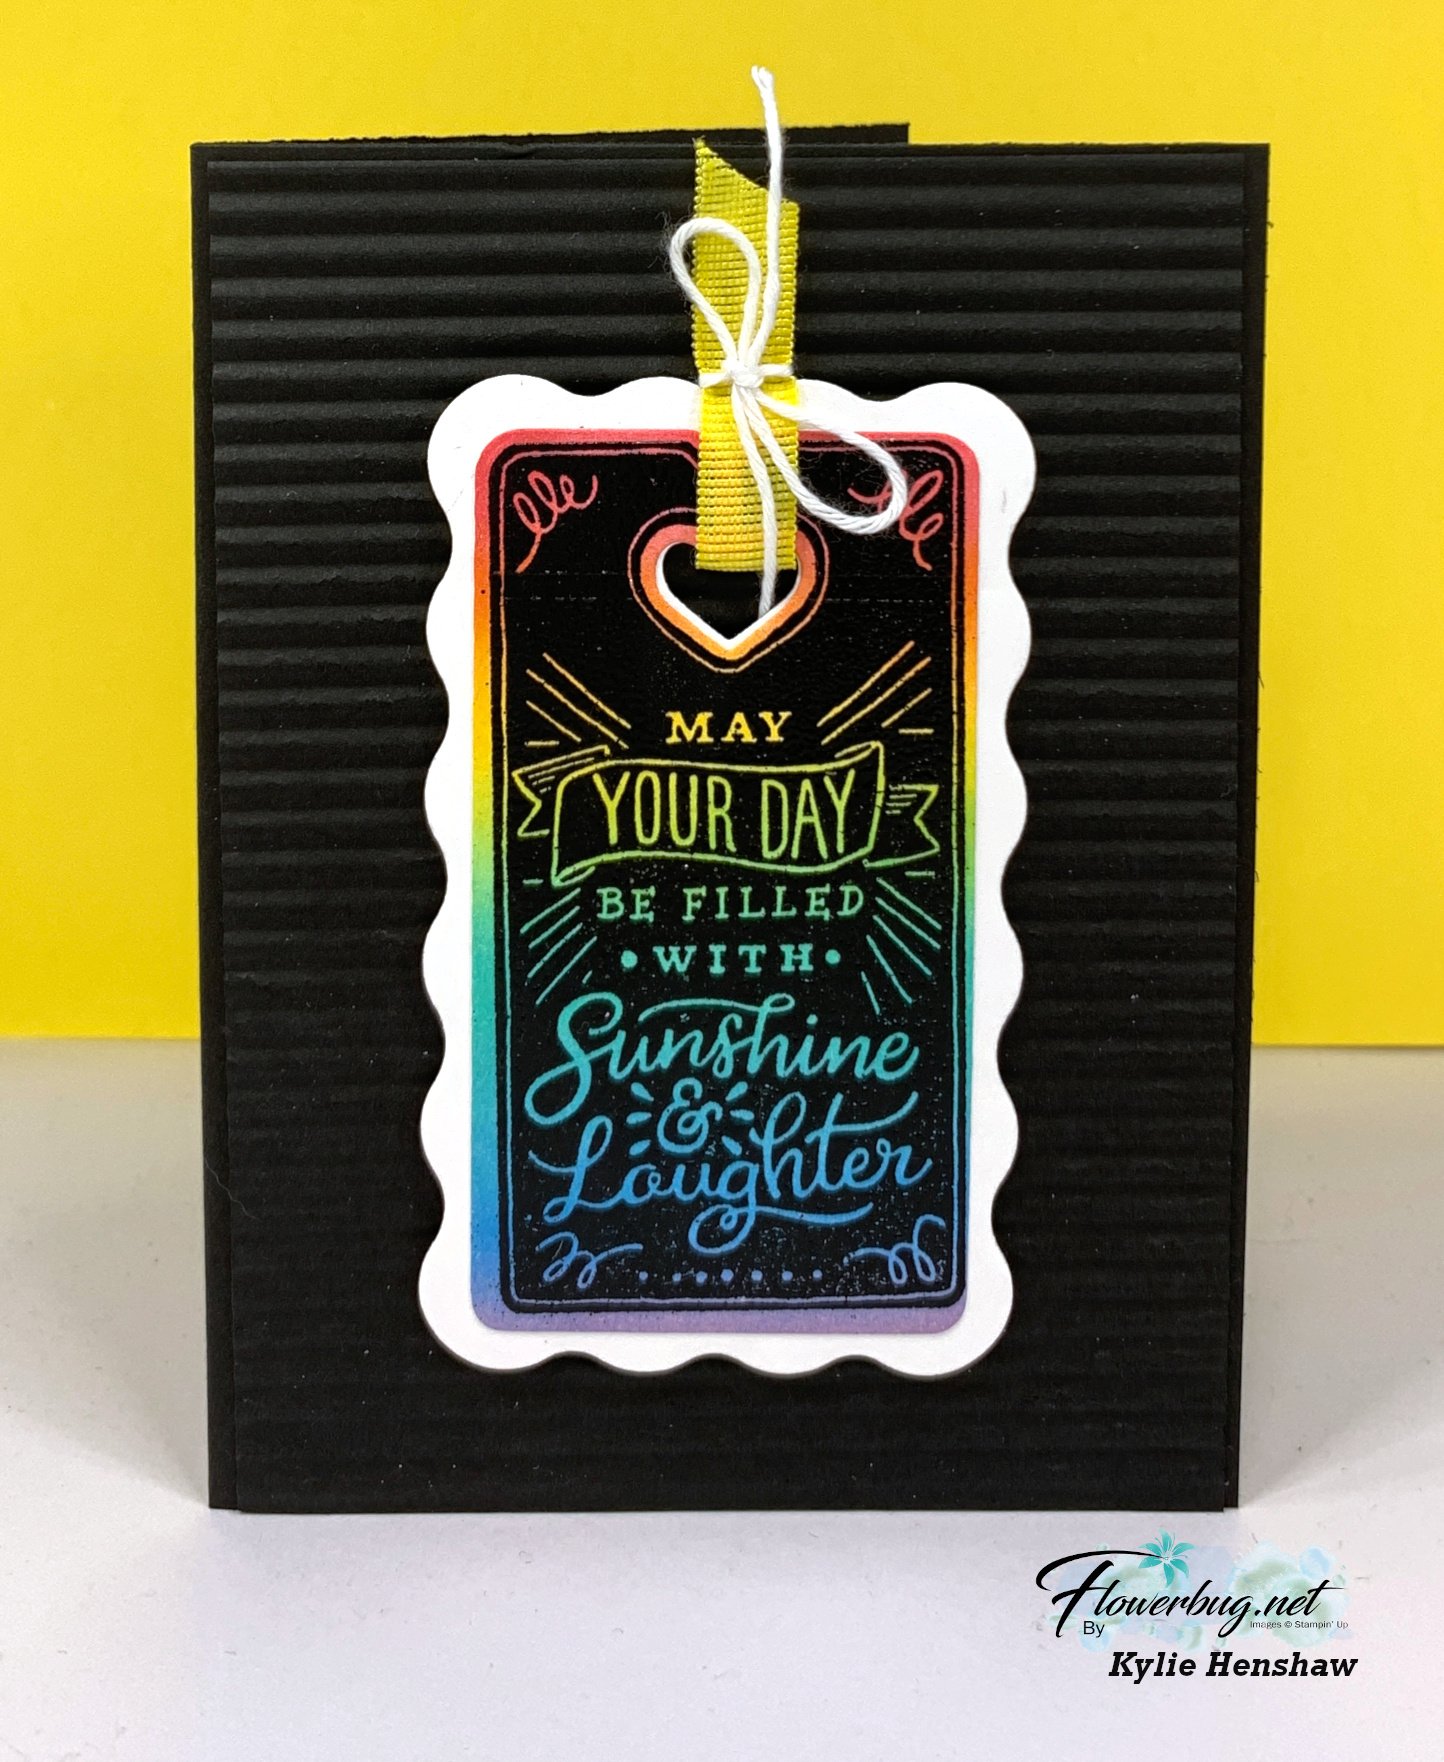
    I was thrilled to get this cute card in my swaps at the Disney trip. It's made by Kylie Henshaw from the UK. 

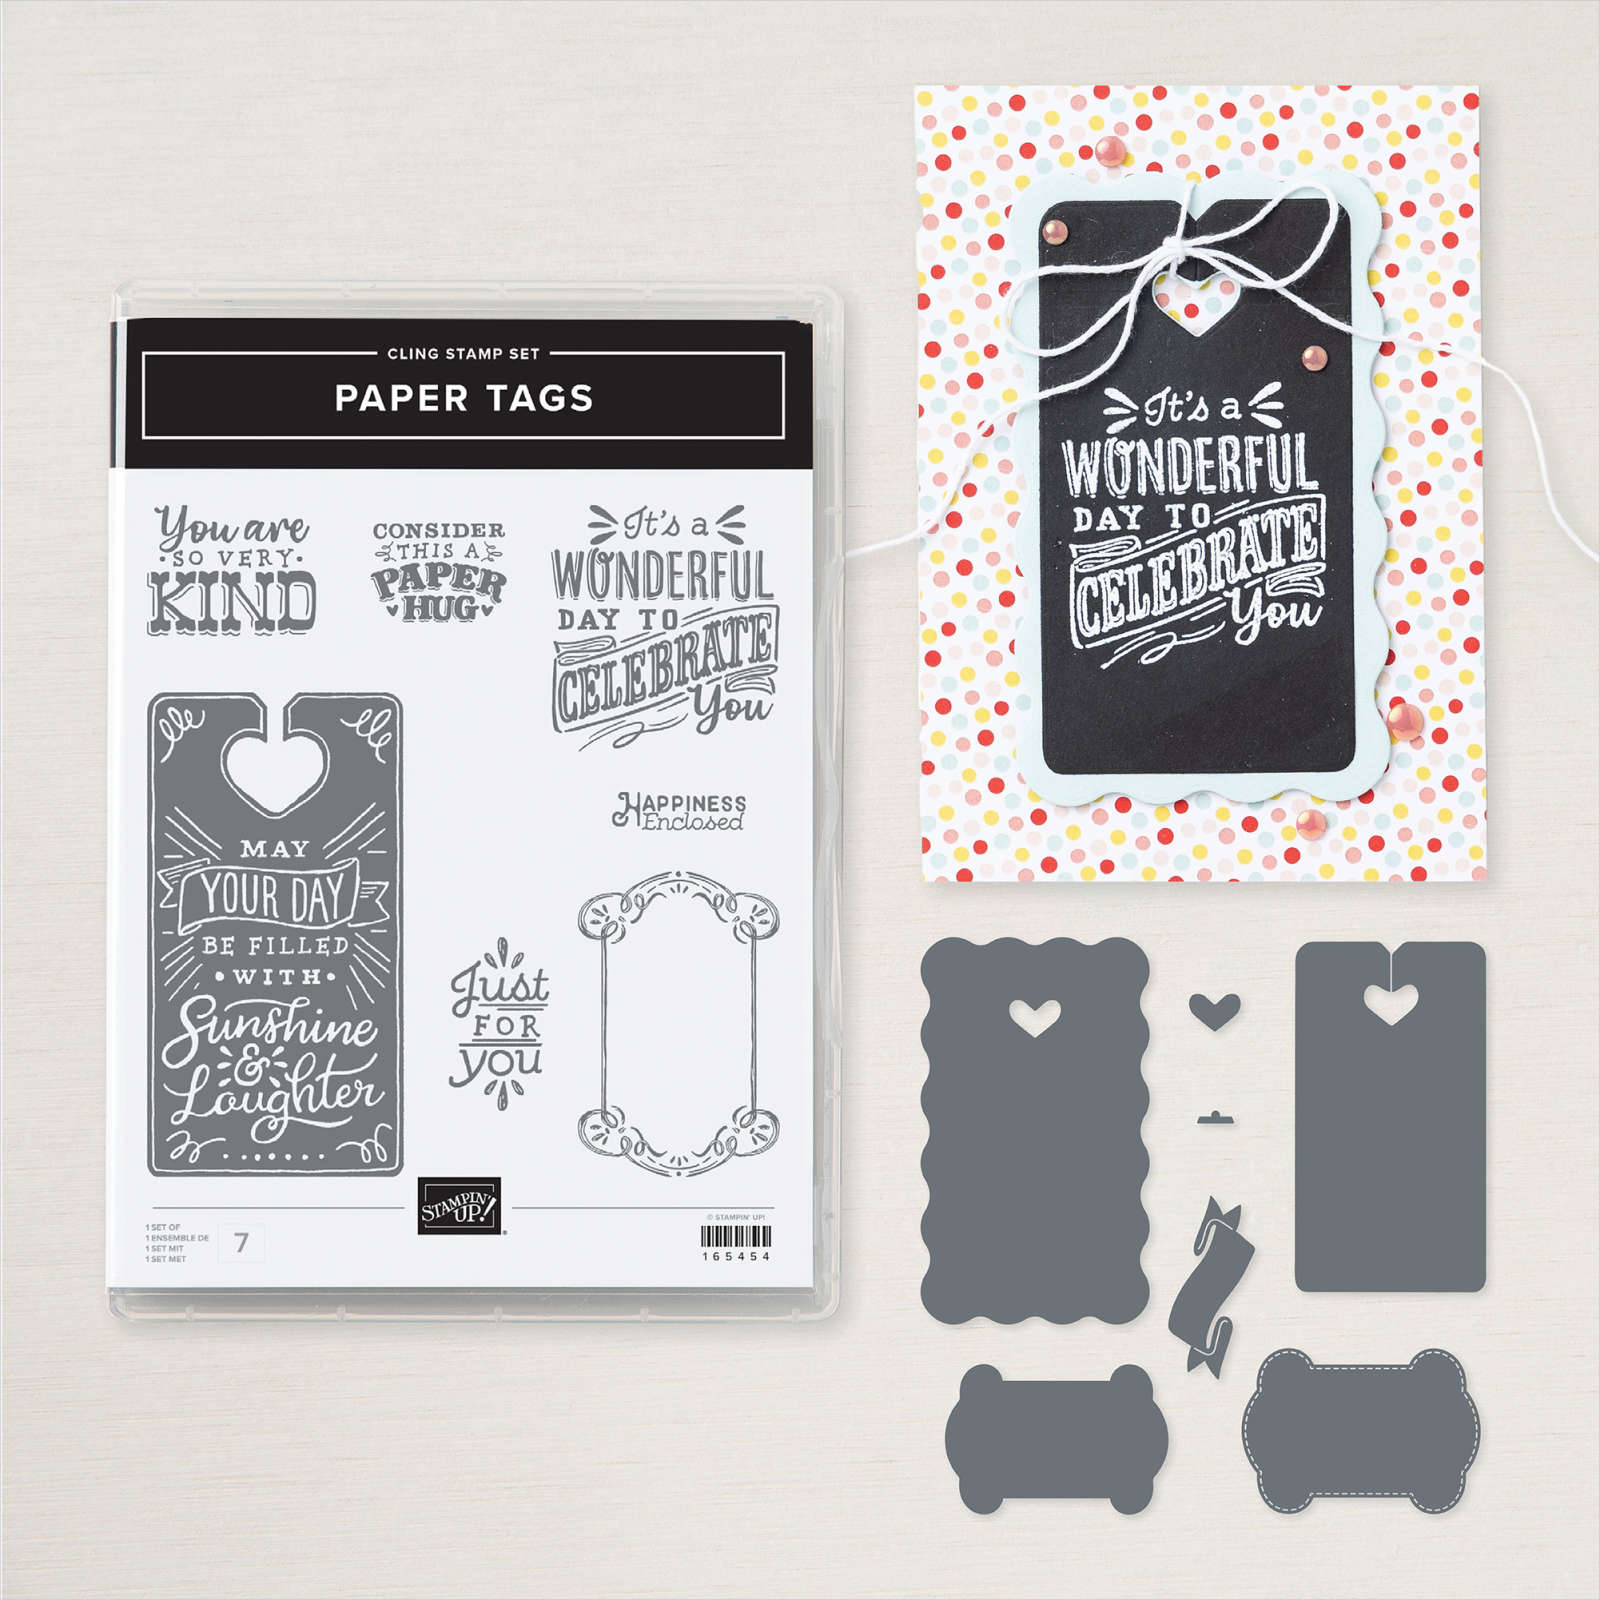
    She used an embossing technique here; sponging colors on the white card stock first and then stamping and heat embossing the image in Black embossing powder.  What a fun card!  The bundle used here is the Paper Tags bundle seen below. 

    This next card was made by Sara, the CEO of Stampin' Up!

    This card was attached to this neat tote (seen below) that was one of our extra gifts on our Disney trip.  The colors include Pool Party, Lost Lagoon, Pretty Peacock and Strawberry Slush ribbon. The die-cut and greeting are from the Paper Tags bundle seen here.  

    The tote was filled with lots of snacks and beverages. But you know how cats are with boxes or totes!  At the first opportunity Sadie jumped in and claimed it. 


    ~~~

    May Specials

    Starter kit deal! 

    Reserve my new Designer Paper Share here

    Get $166 in product of your choice for just $99 with free shipping! Click here!


    Earn free card kits in May with online orders! Get 4 kits with a $60 order and orders over $80 receive all 6 cards. All you need are greetings, gems and adhesives to assemble. 

    Order here 


    Get my Florals in Bloom PDF tutorial free with any online order in May!

    Leave a Reply

    Your email address will not be published. Required fields are marked *


Notice: LeeAnn Greff, Independent Stampin’ Up! Demonstrator, Manager. The content of this website is my sole responsibility as an independent Stampin’ Up! demonstrator and the use of, and content of, the classes, services, or products offered on this website is not endorsed by Stampin’ Up! Copyright 2025