/


Latest Post

Use your nesting dies to create a designer paper window – video & free project sheet


On last week's Live video I shared a neat way to use nesting dies to create a frame with your double sided designer series paper. 

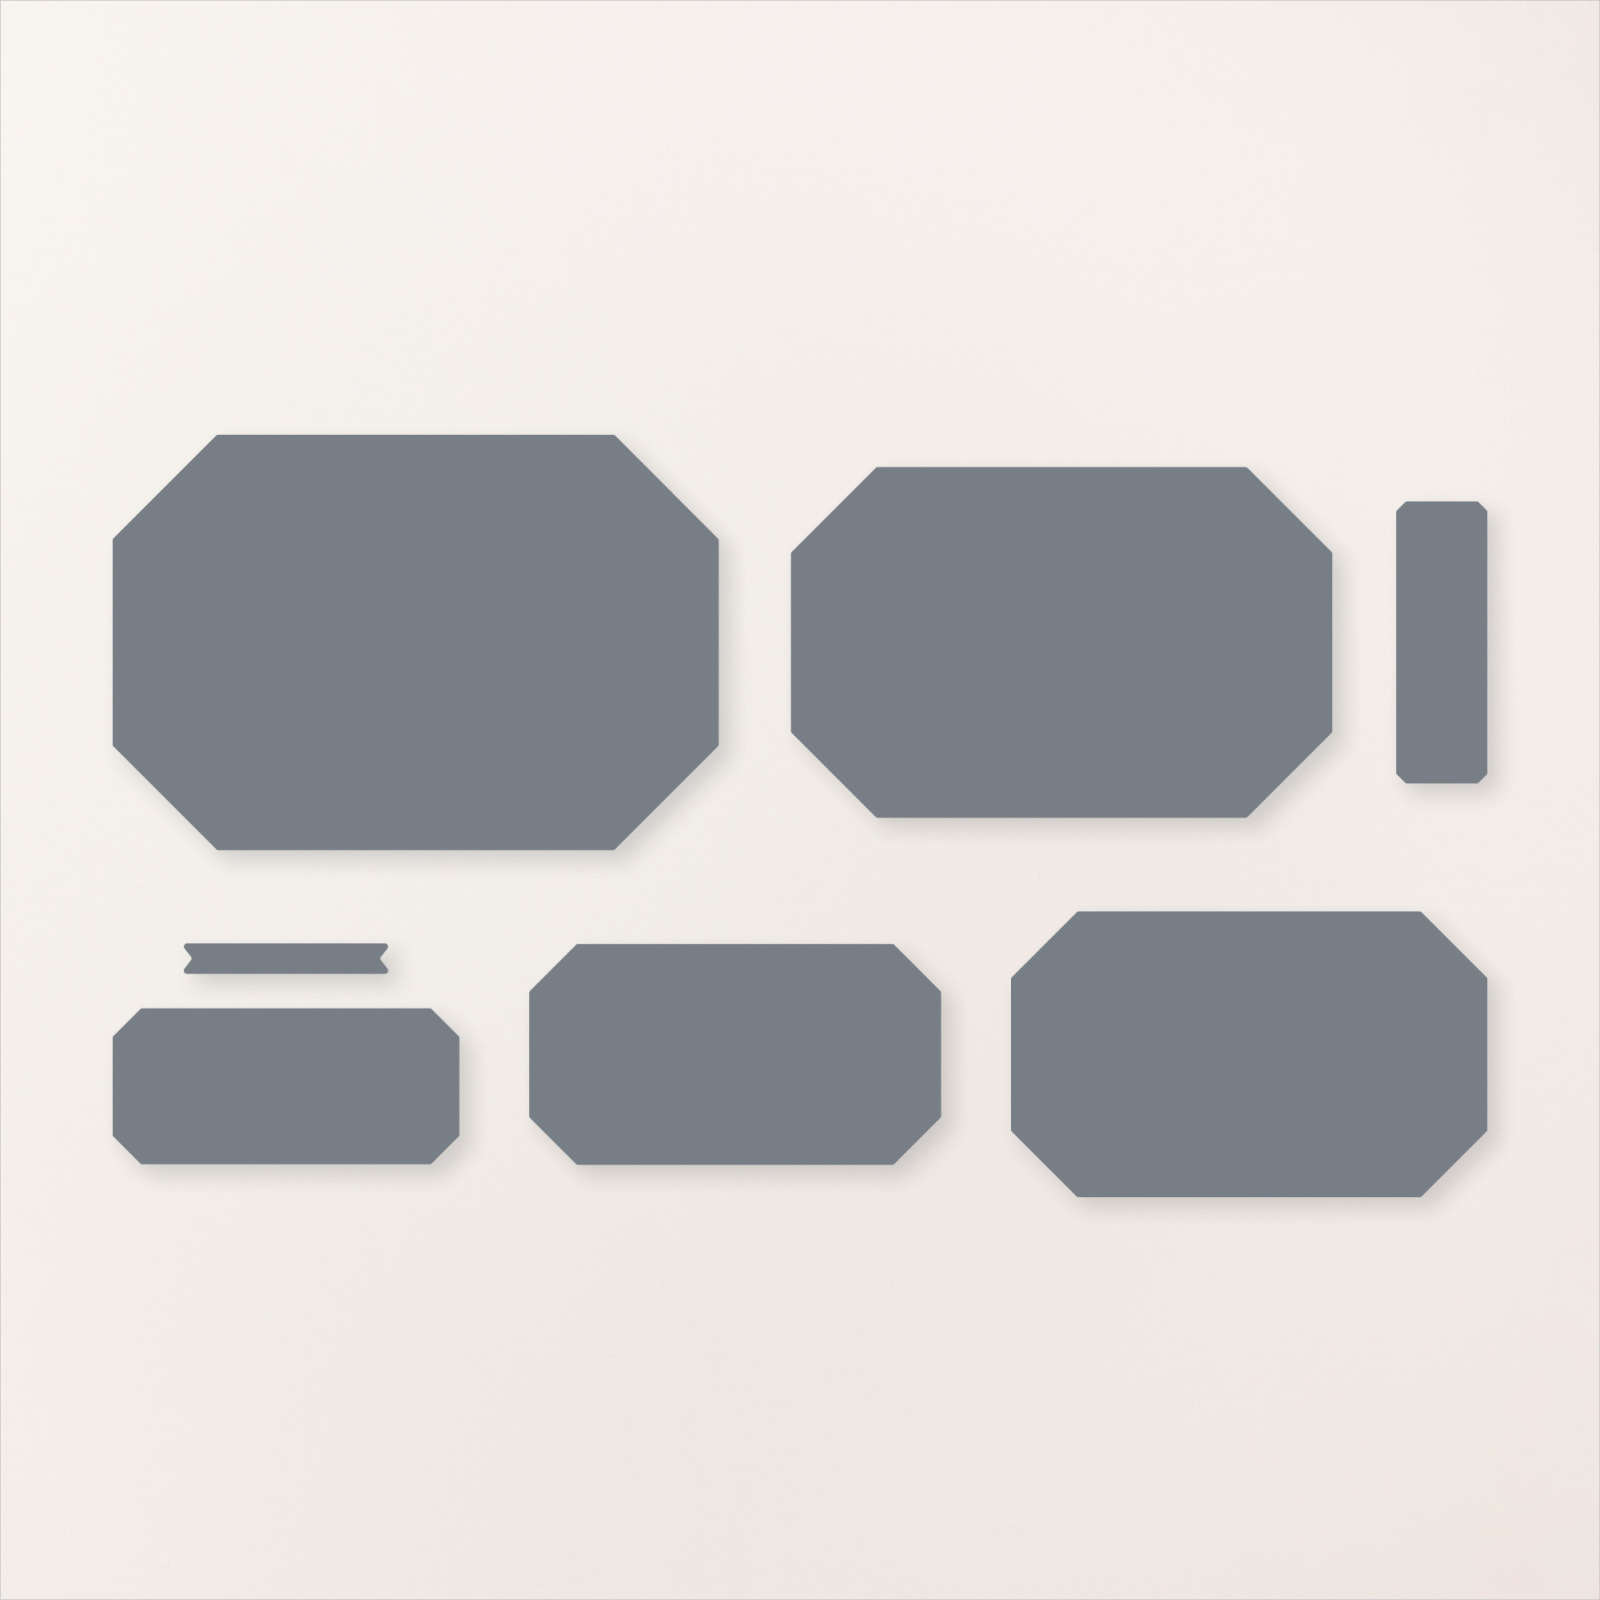
I chose to feature the Thoughtful Moments DSP with this neat technique. Simply choose two dies that are the same shape and about 1/4-1/2" apart.  Die-cut and then flip over the narrow frame to reveal the opposite side of the Designer Series Paper. It's so neat! 

**This Designer Paper and many more will be on sale starting Tuesday, August 6th! Details will be shared tomorrow. 

The leaf die is from the Friends for Life dies. My nesting dies are called Countryside Corners and can be seen here.
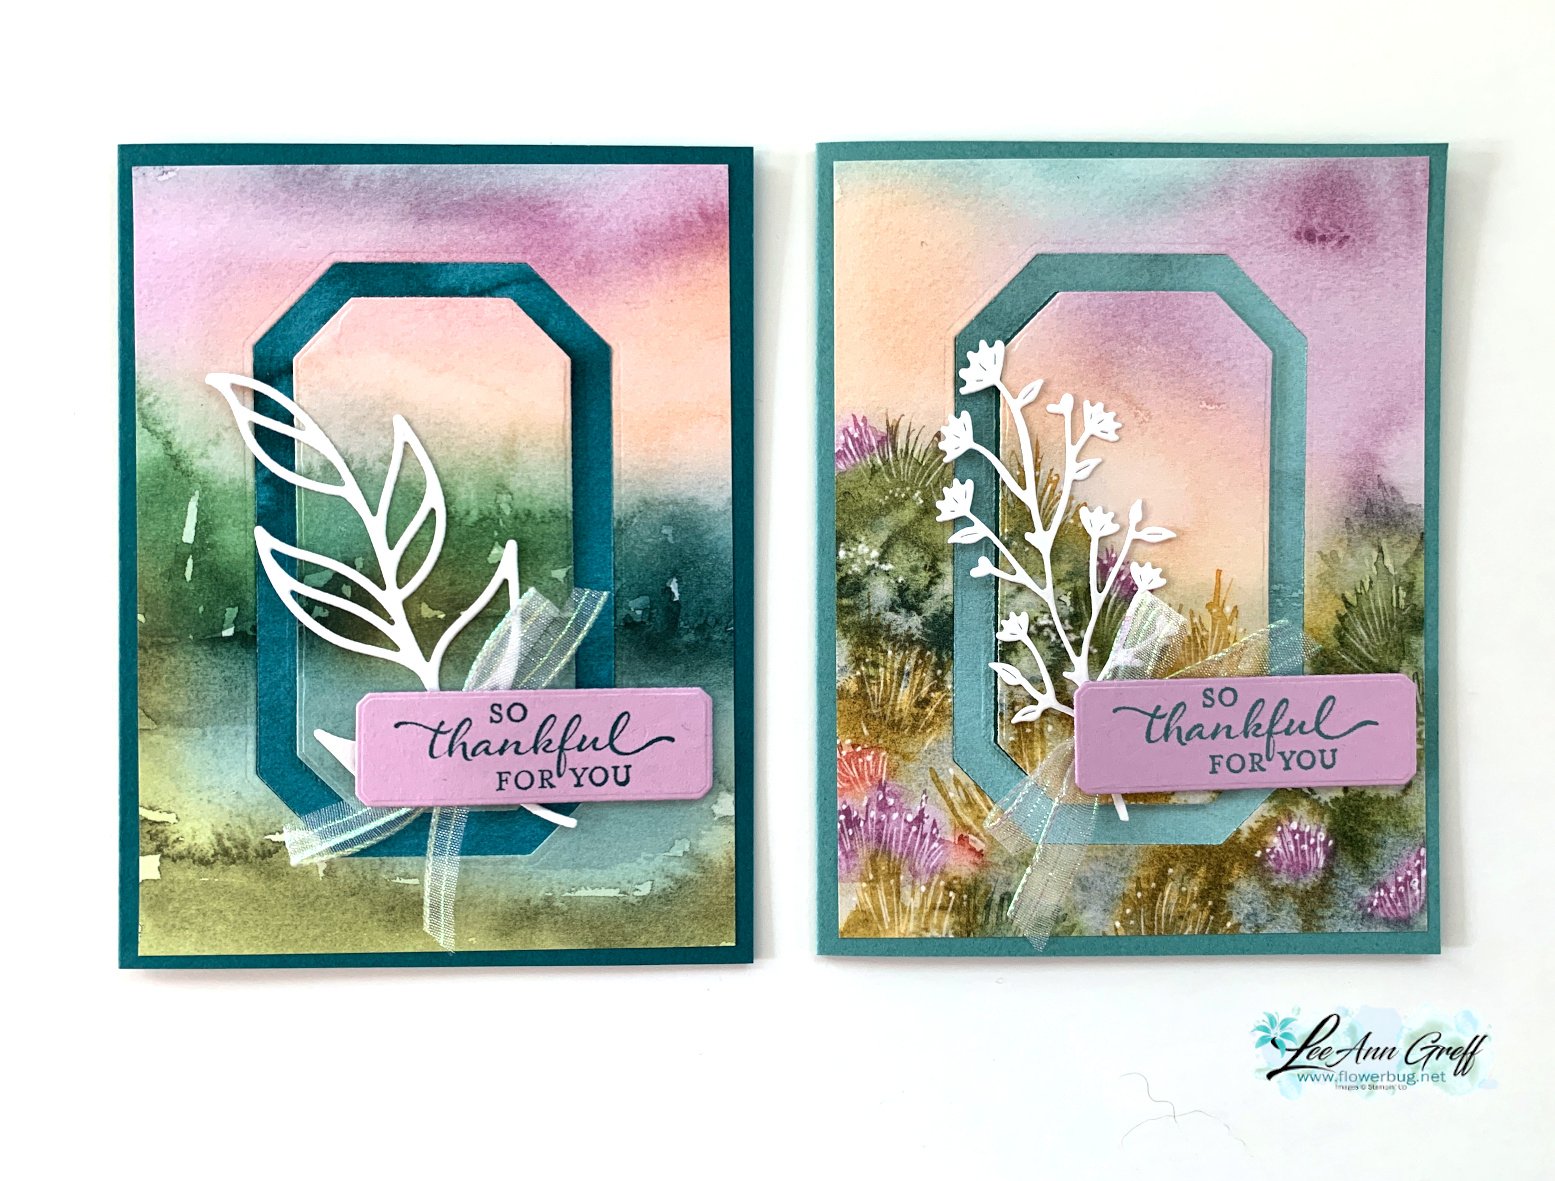
Tip – be sure the color of the opposite side of your paper coordinates with the front. I chose the card base to match the frame – Pretty Peacock. My greeting is in Fresh Freesia. 

Here are both cards shown on the video; the second card on the right has a Lost Lagoon frame & card base.  The White die-cut on the right card is from the Thoughtful Wishes bundle.
Here's the free project sheet you can download or print: Download Thoughtful Journey Window card

The designer paper for these cards is 4" X 5 1/4" which leaves a 2" strip for another project.  I wanted to share a quick card to use up that leftover piece:
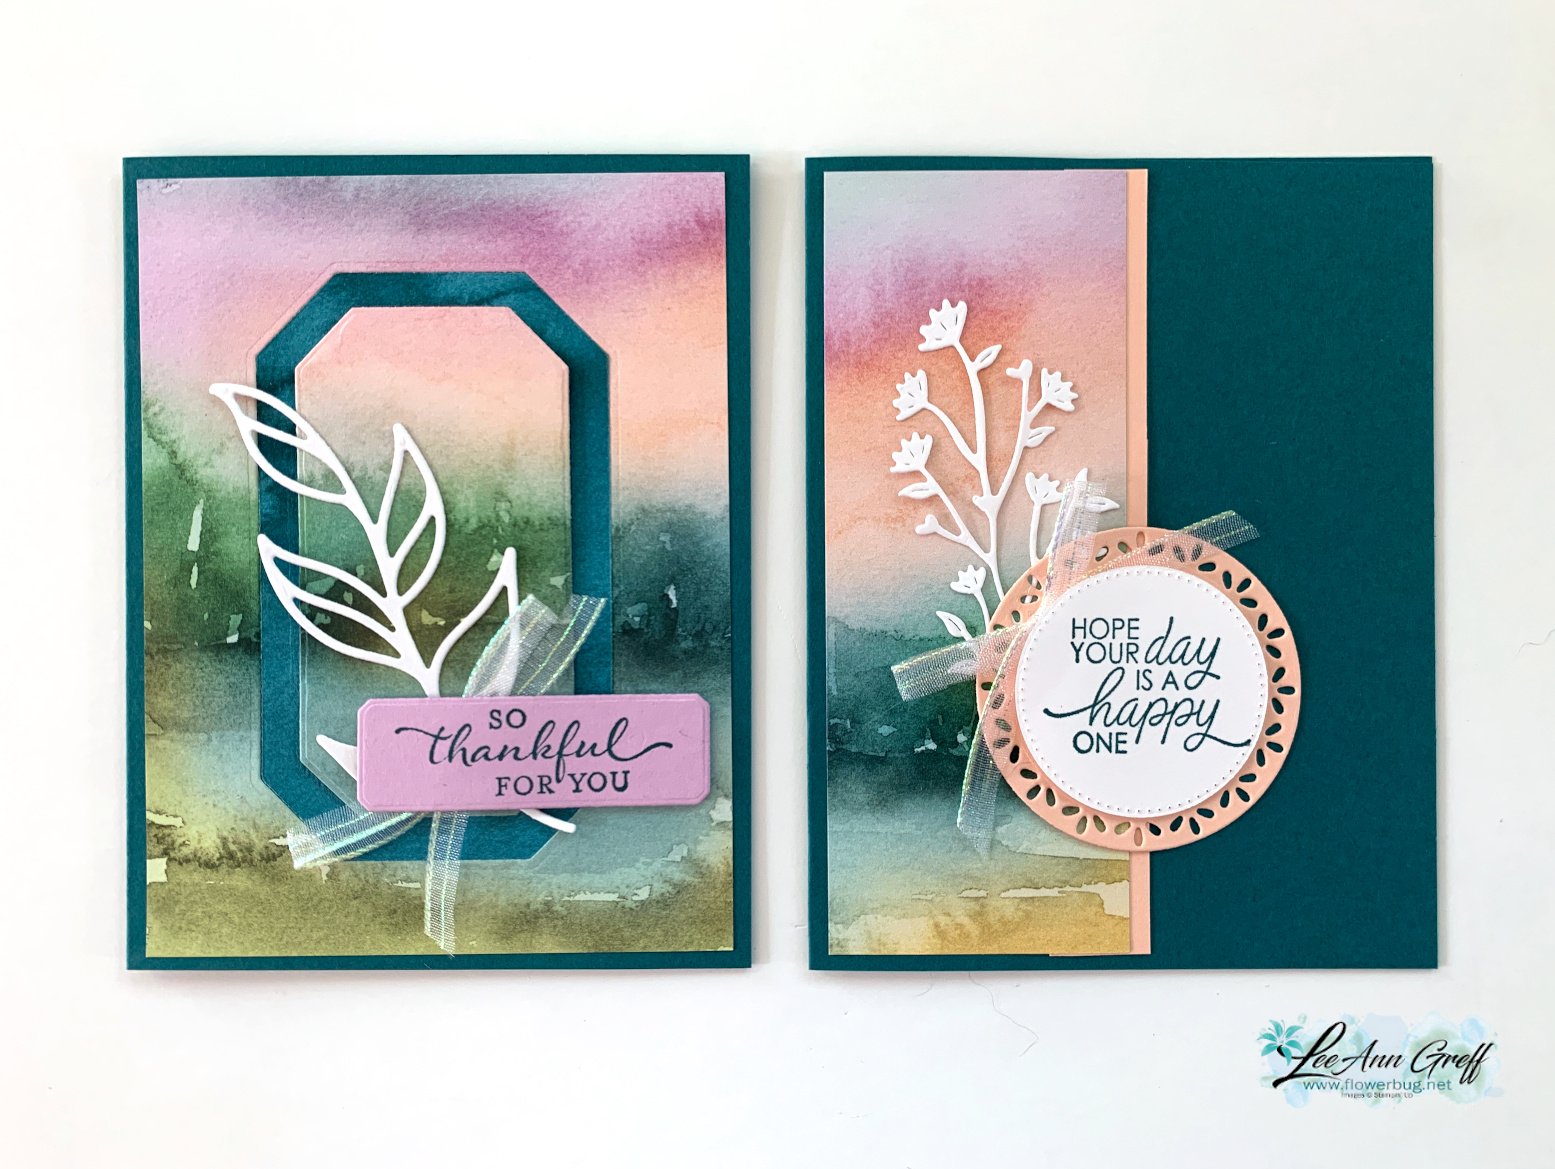
I simply added it to the card base with a coordinating card stock strip on the edge. Then added layering circles for my greeting.

If you're wondering about the ribbon, it's the pretty Iridescent 1/2" striped trim seen here.  I cut it in half to get 1/4" thick trim. It has been unavailable for awhile but it's back now.

Here are all 4 cards I shared in the video you can see here. 

Here's the video below to see how this is done plus another card idea with the beautiful Thoughtful Journey designer paper.  I'll share the second card Wednesday. 

~~~

August Specials:

*current host code link: BDGBJHAE

Redeem your $5 coupon now! 

~~~

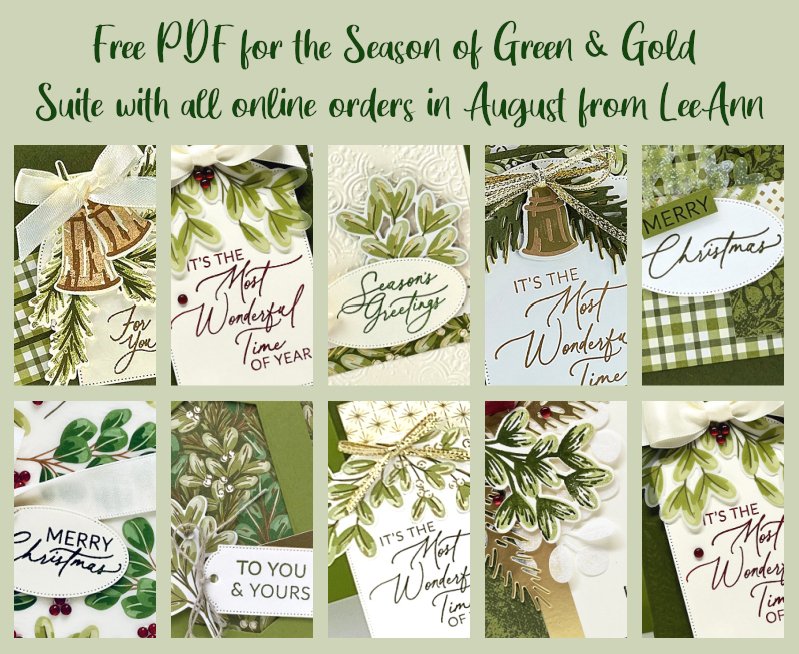
All online orders will receive a free PDF tutorial featuring the

Season of Green & Gold suite
All Posts

  • One Sheet Purse mini album; Double free Sale-a-Bration choices ends tomorrow!


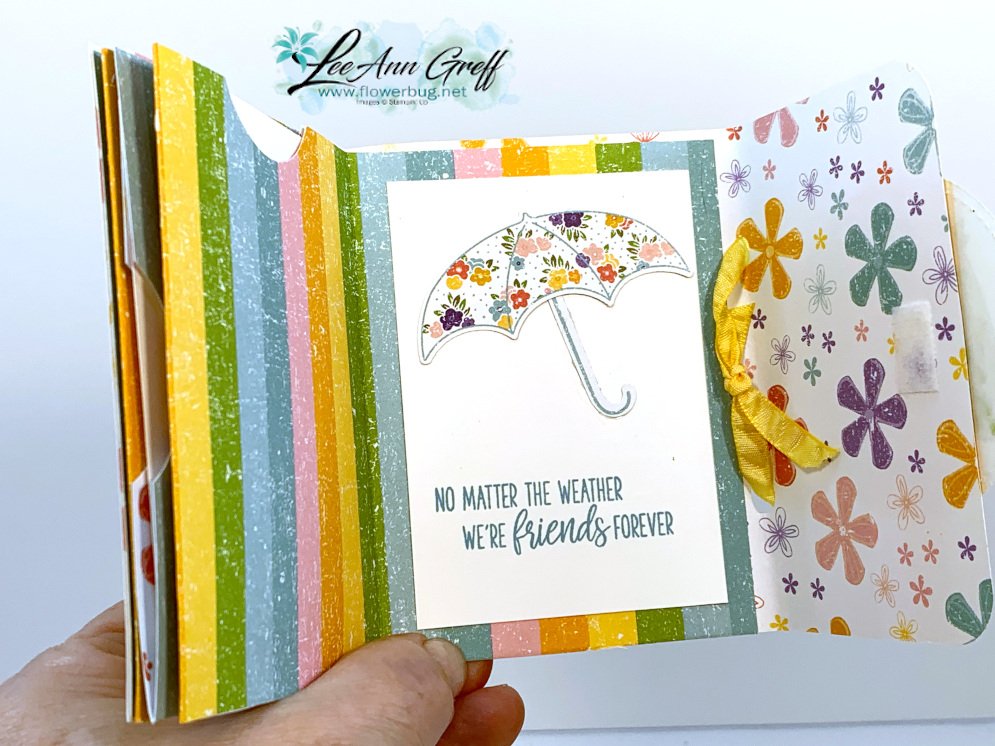
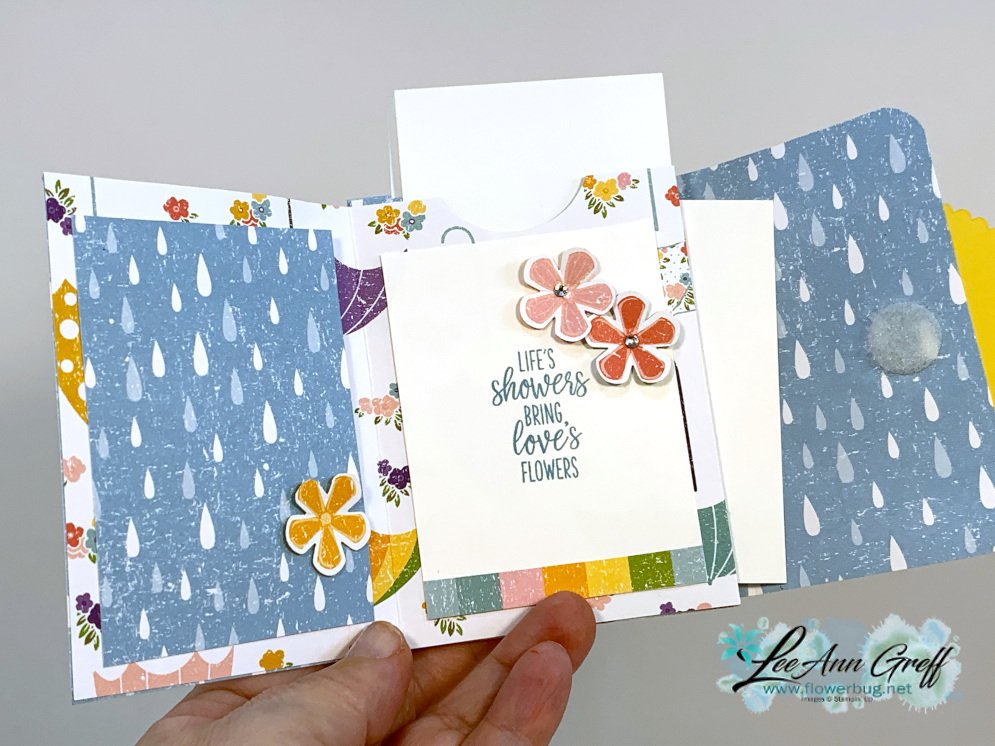
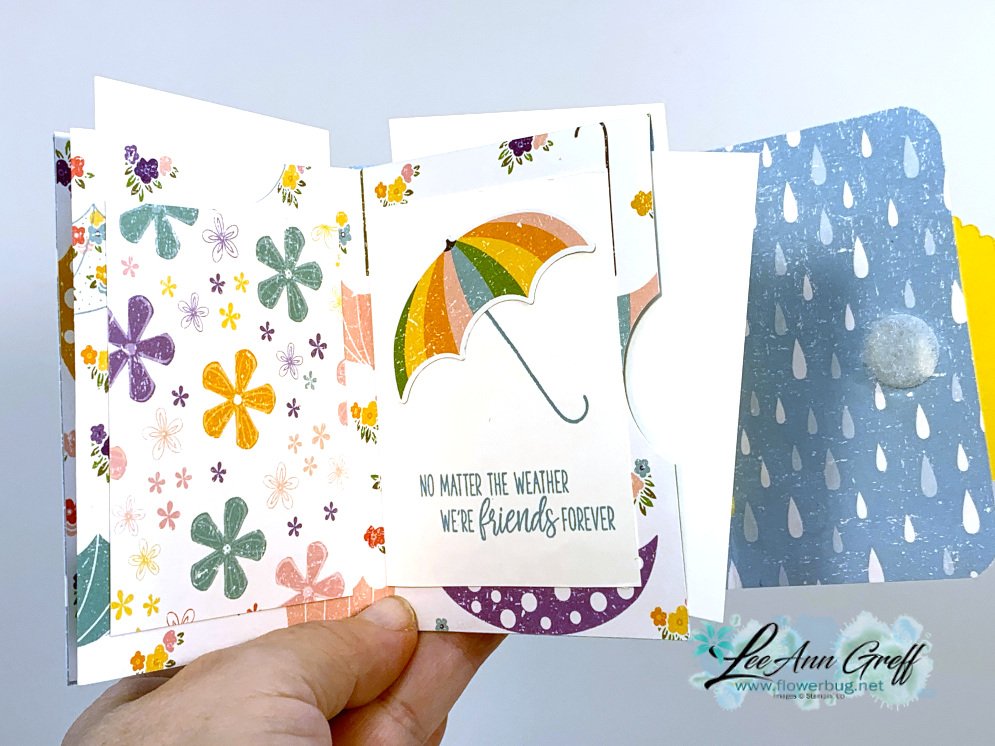
    Here's a cute one sheet mini album you can make with one 12 X 12" designer paper sheet.  I made it during a recent Facebook Live.  See the video here. 

    I chose to use the Pleased as Punch Designer Series paper. It coordinates with four of our current punches; the Umbrella, Tulip, Small Blooms and Heart punch pack.  This paper is only available through March!  See it here and get it while you can. 

    The finished size is about 4" X 3". You can add photos anywhere including inside the pockets. 

    I used the Under My Umbrella bundle (seen here) and the Small Blooms punch for the flowers.  I rounded the corners with the Detailed Trio punch. 

    Measurements:

    • Start with an 8 X 12" sheet of paper
    • Score it at 4" on one side horizontally (Be aware of the direction of your paper!)
    • Rotate the paper and score it at 3", 6" and 9".  Cut up to the score line.  (See video; it starts about 19 minutes in.) 
    • The cover/wrap is 4" X 8 1/2" 

    ~~~

    Get double perks during the last 3 days of Sale-a-Bration! 

    Choose a 2nd free choice with orders through March 31st; while supplies last!

    You'll get a free choice from Stampin' Up! with each $50-100 purchase.

    Then you can choose another free set from me with an order between $55-99.

    Or choose any of these with an order over $100!  

    Choices include: Tags in Bloom or Rise & Shine sets, Power of Hope bundle, Lilypad dies or the Small Bloom punch. 

    Order online here and use this host code 4J7C9GFY  if your order is under $150.  If it's over $150 do not use a code; you'll receive your own host benefits. (Orders over $150 will receive one of the $100 choices seen above)

    And if your order is over $100 you should really choose the Stampin' Up! starter kit instead and get an extra $100 in free products!  **Contact me with any questions you may have at lagreff60@gmail.com

    Read about it here. Why not get your Stampin' Up! products at a discount?  It's the smart choice! 

    ~~~

    March host code is 4J7C9GFY 

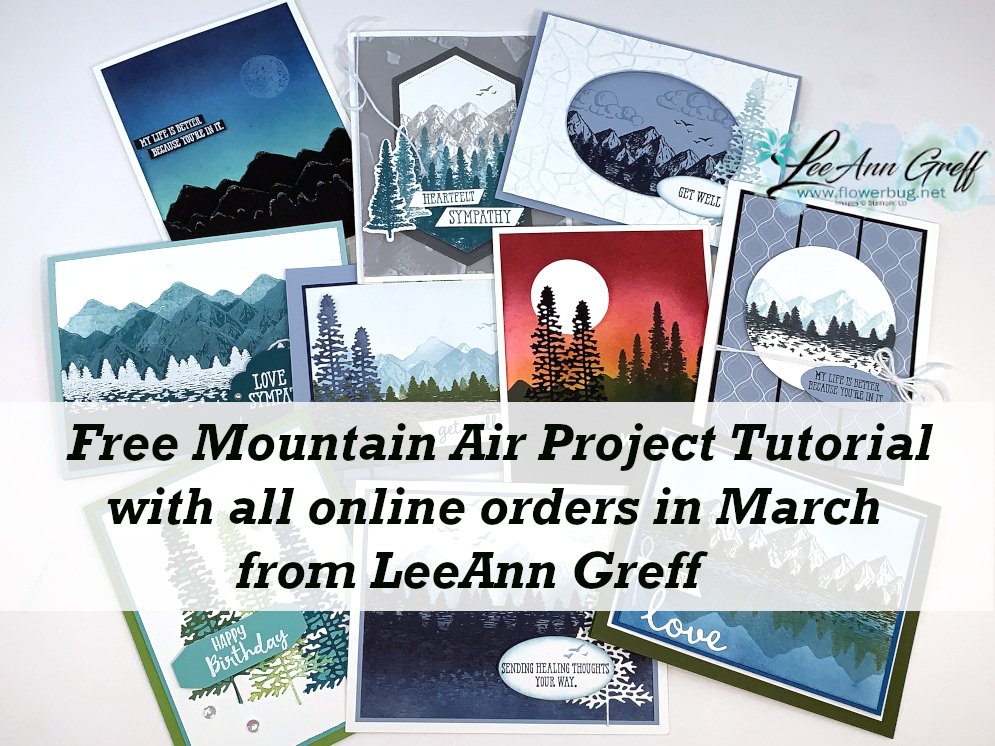
    1. All online orders will receive a free Mountain View pdf cards tutorial in an email.

    Leave a Reply

    Your email address will not be published. Required fields are marked *

  • Double Perks in the last 3 days of Sale-a-Bration! Choose a 2nd free choice!


    Get double perks during the last 3 days of Sale-a-Bration! 

    Choose a 2nd free choice with orders through March 31st; while supplies last!

    You'll get a free choice from Stampin' Up! with each $50-100 purchase.

    Then you can choose another free set from me with an order between $55-99.

    Or choose any of these with an order over $100!  

    Choices include: Tags in Bloom or Rise & Shine sets, Power of Hope bundle, Lilypad dies or the Small Bloom punch. 

    Order online here and use this host code 4J7C9GFY  if your order is under $150.  If it's over $150 do not use a code; you'll receive your own host benefits. (Orders over $150 will receive one of the $100 choices seen above)

    And if your order is over $100 you should really choose the Stampin' Up! starter kit instead and get an extra $100 in free products!  **Contact me with any questions you may have at lagreff60@gmail.com

    Read about it here. Why not get your Stampin' Up! products at a discount?  It's the smart choice! 

    ~~~

    March host code is 4J7C9GFY 

    1. All online orders will receive a free Mountain View pdf cards tutorial in an email.

    Leave a Reply

    Your email address will not be published. Required fields are marked *

  • Honey Bee Fun Fold-card with Golden Honey paper


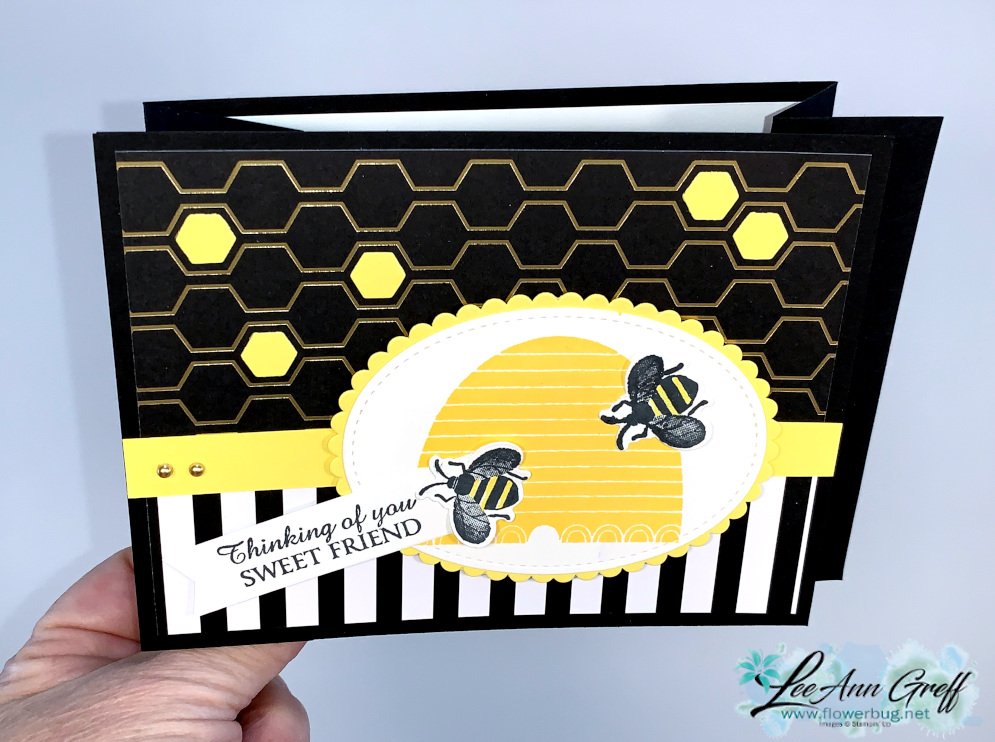
    Here's a unique fun fold card that's super easy too!  We made them at my March card clubs.  

    They had a choice of colors, either Pineapple Punch or Lovely Lipstick to go with the Golden Honey specialty designer paper. Unfortunately this gorgeous paper is no longer available; they ran out of it a few weeks ago.  It was free during our Sale-a-Bration promotion that is still happening!  Be sure to get your favorites while supplies last and before March is over!  

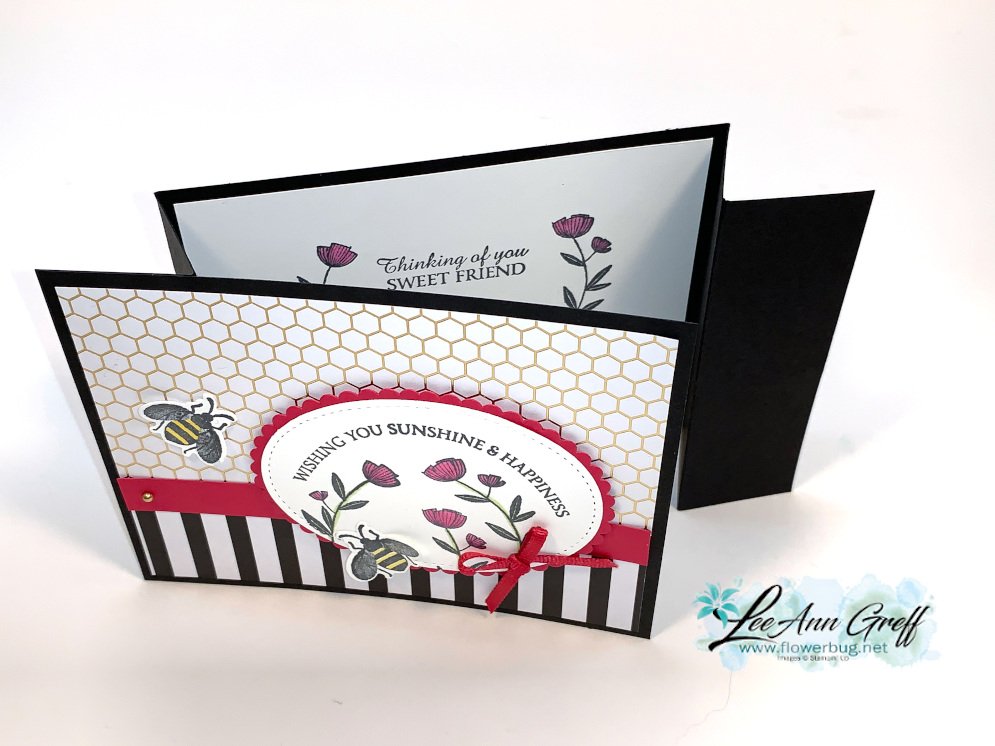
    On the above card we stamped the hive in Pineapple Punch and added a few die-cut bees and a greeting.   Here's the inside view: 

    And below is the Lovely Lipstick version.  Each of the cards uses the Honey Bee bundle seen on page 30 of your January – June mini catalog.  Click here to see it online.  The Detailed Bee dies have been unavailable for a few weeks but I hope they'll be back soon!  

    And below you can see the video I made for this fun fold card.  

    Measurements:
    Black CS 4 1/4" X 11" scored at 1 3/8" and 2 3/4" from each end, 4 1/4" X 5 1/2" for front
    Honey Bee Designer paper – upper piece is 2 3/4" X 5 1/4", lower is 1 1/2" X 5 1/4"
    Pineapple or Lovely Lipstick CS strip is 1/2" X 5 1/2", 2 3/4" X 3 3/4" for die-cut oval
    White scrap 2 3/4" X 3 3/4" for oval die-cut, inside is 4" X 5 1/4", greeting strip is 3/4" X 3" and
    scraps for bees

    ~~~

    There are new Sale-a-Bration items out for the last few days! 

    Click here to see them. 

    March host code is 4J7C9GFY

    Leave a Reply

    Your email address will not be published. Required fields are marked *


Notice: LeeAnn Greff, Independent Stampin’ Up! Demonstrator, Manager. The content of this website is my sole responsibility as an independent Stampin’ Up! demonstrator and the use of, and content of, the classes, services, or products offered on this website is not endorsed by Stampin’ Up! Copyright 2025