/


Latest Post

Use your nesting dies to create a designer paper window – video & free project sheet


On last week's Live video I shared a neat way to use nesting dies to create a frame with your double sided designer series paper. 

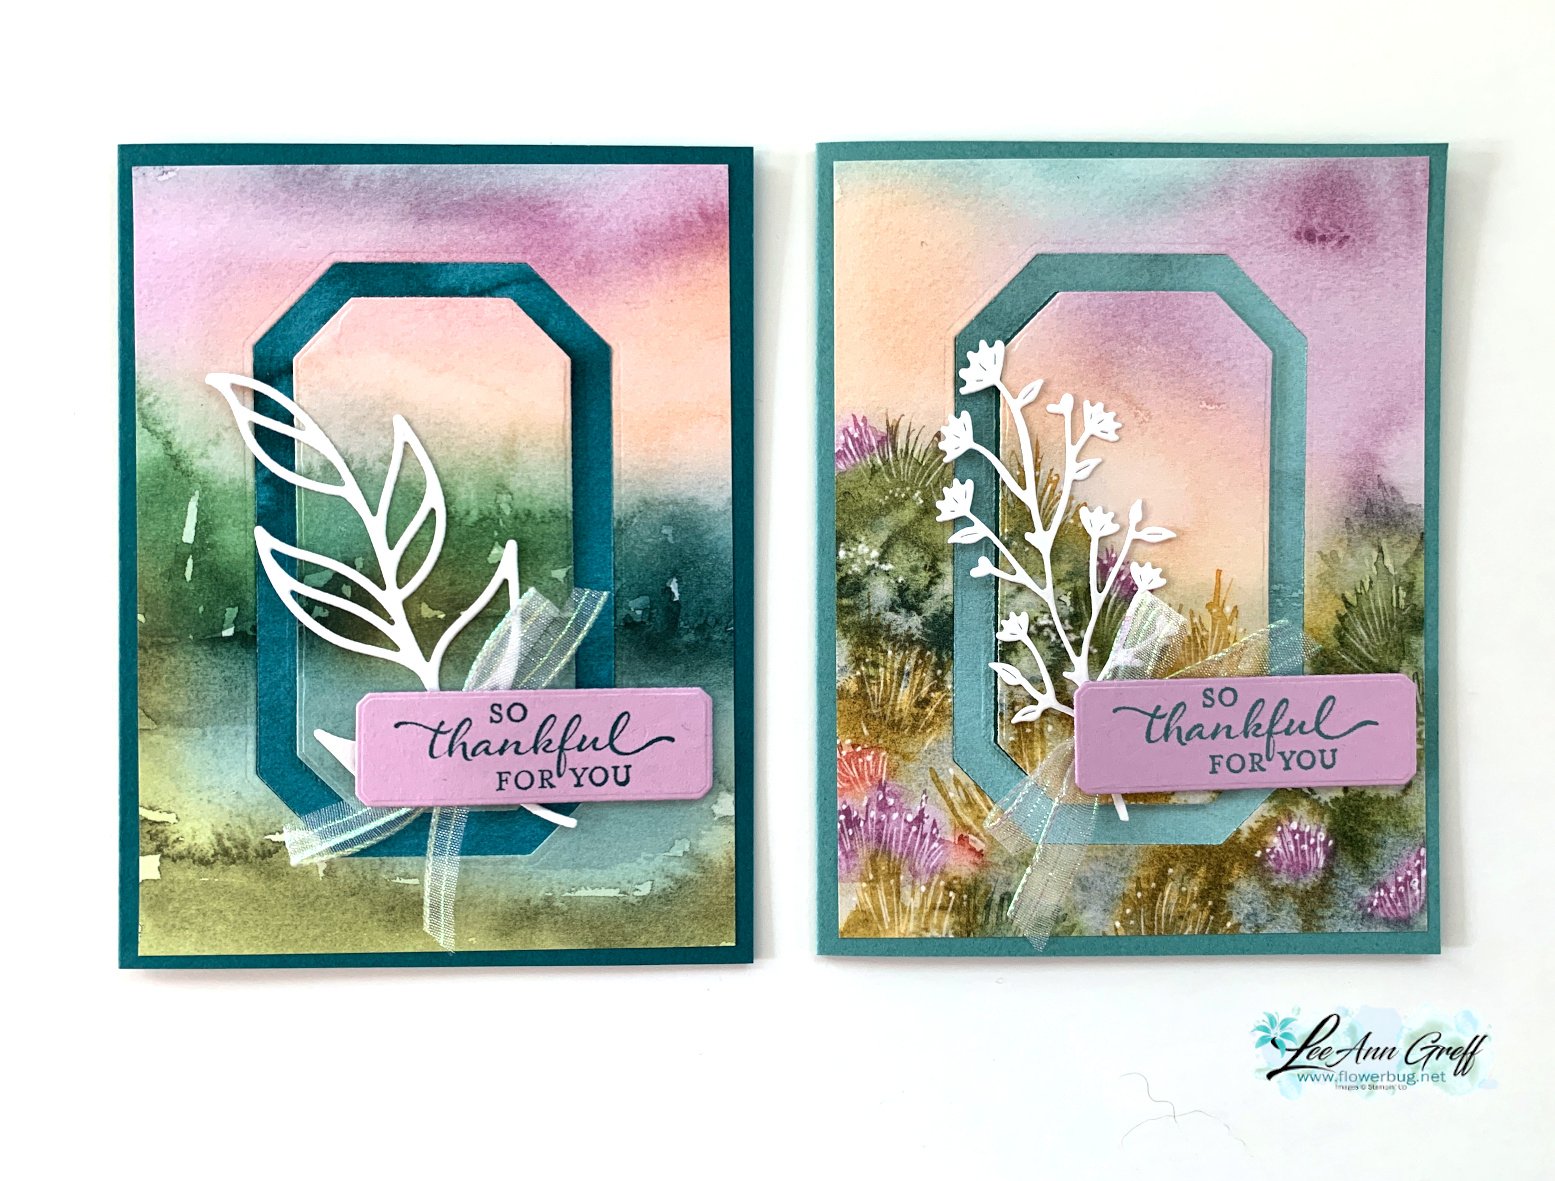
I chose to feature the Thoughtful Moments DSP with this neat technique. Simply choose two dies that are the same shape and about 1/4-1/2" apart.  Die-cut and then flip over the narrow frame to reveal the opposite side of the Designer Series Paper. It's so neat! 

**This Designer Paper and many more will be on sale starting Tuesday, August 6th! Details will be shared tomorrow. 

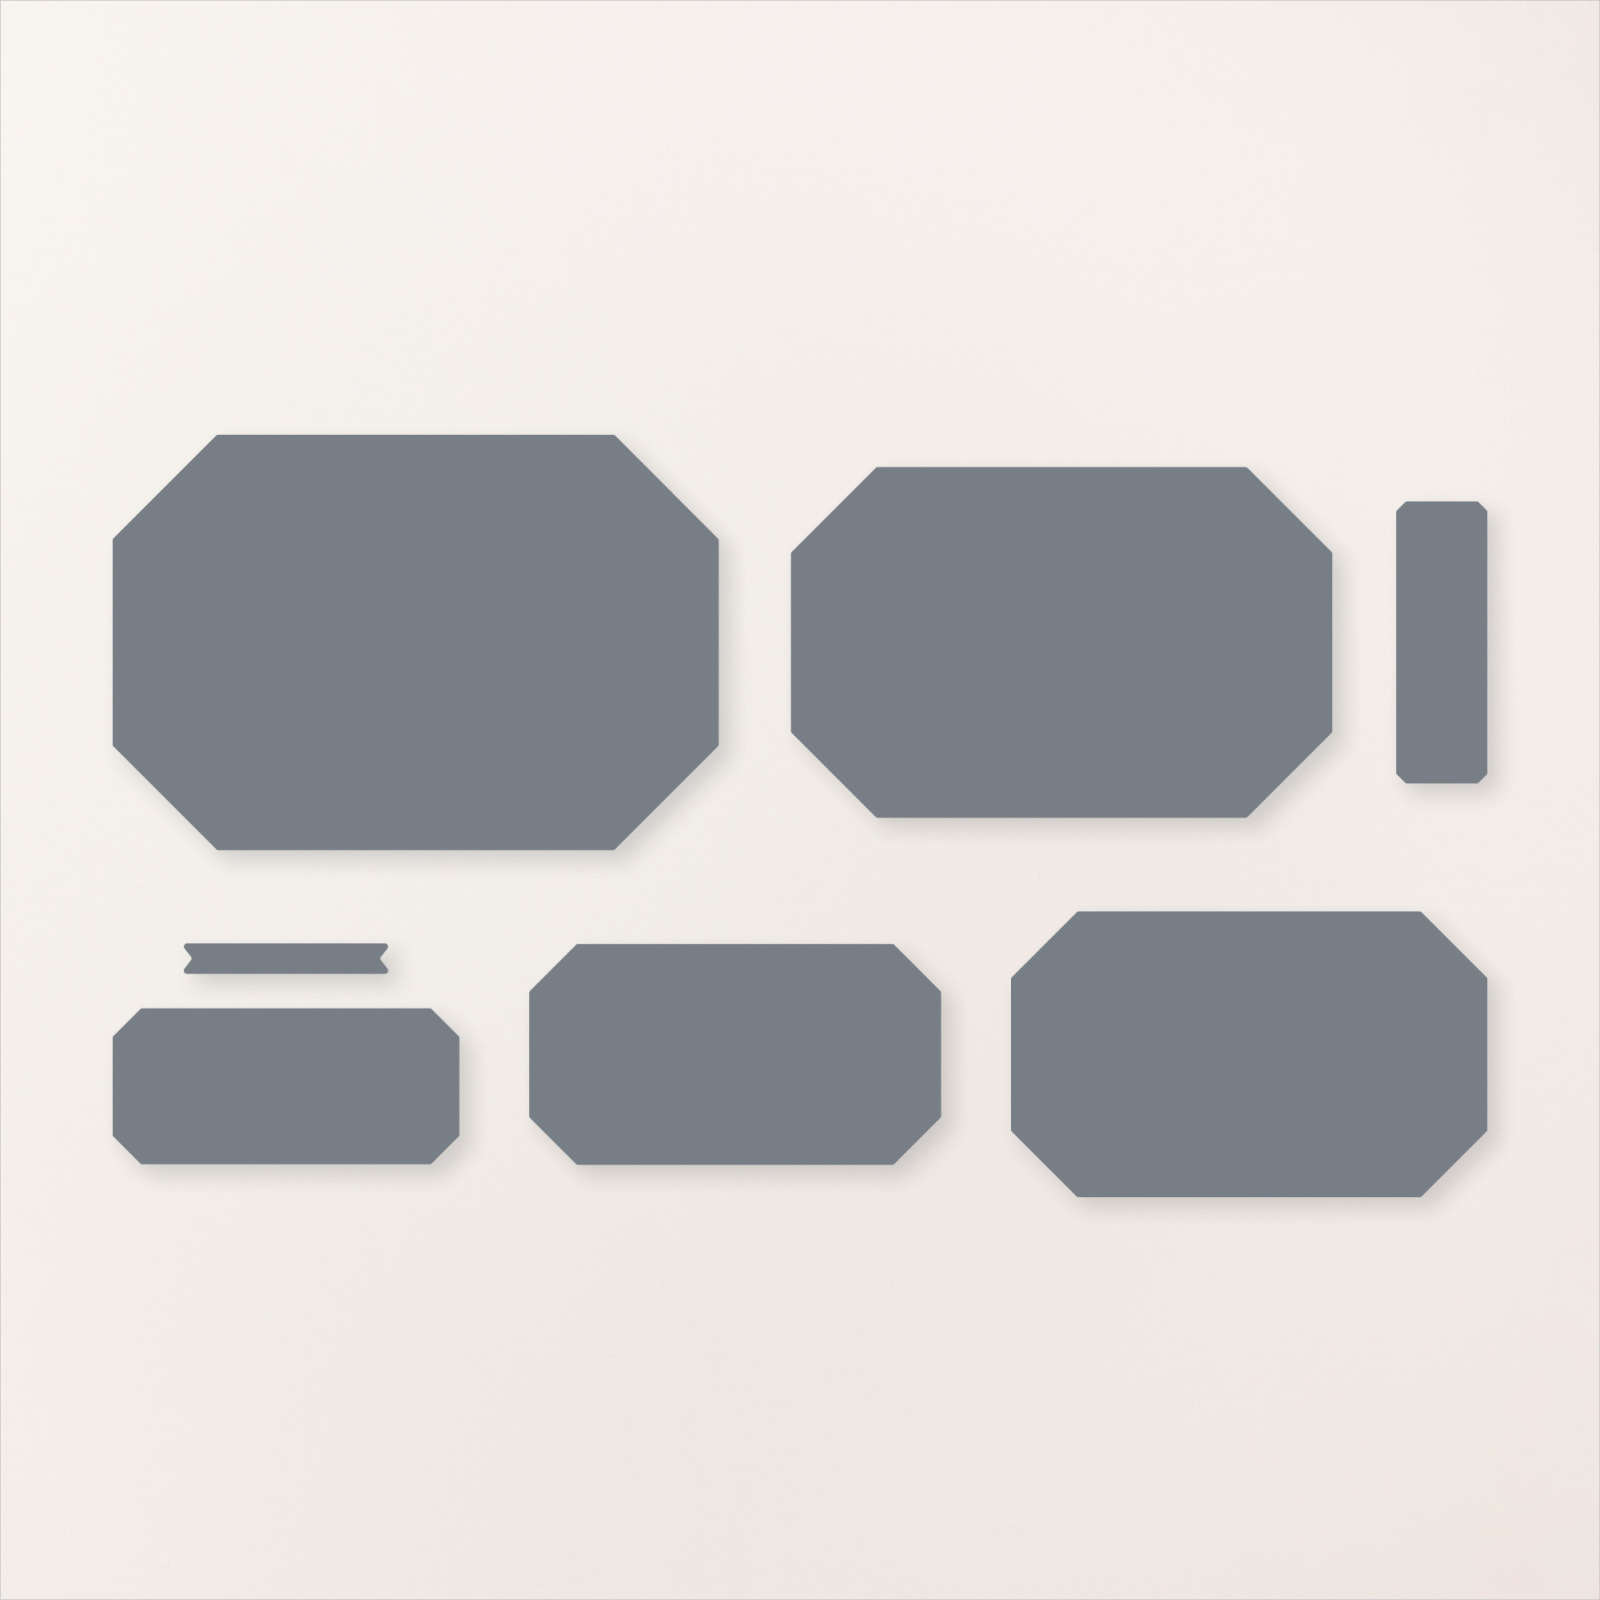
The leaf die is from the Friends for Life dies. My nesting dies are called Countryside Corners and can be seen here.
Tip – be sure the color of the opposite side of your paper coordinates with the front. I chose the card base to match the frame – Pretty Peacock. My greeting is in Fresh Freesia. 

Here are both cards shown on the video; the second card on the right has a Lost Lagoon frame & card base.  The White die-cut on the right card is from the Thoughtful Wishes bundle.
Here's the free project sheet you can download or print: Download Thoughtful Journey Window card

The designer paper for these cards is 4" X 5 1/4" which leaves a 2" strip for another project.  I wanted to share a quick card to use up that leftover piece:
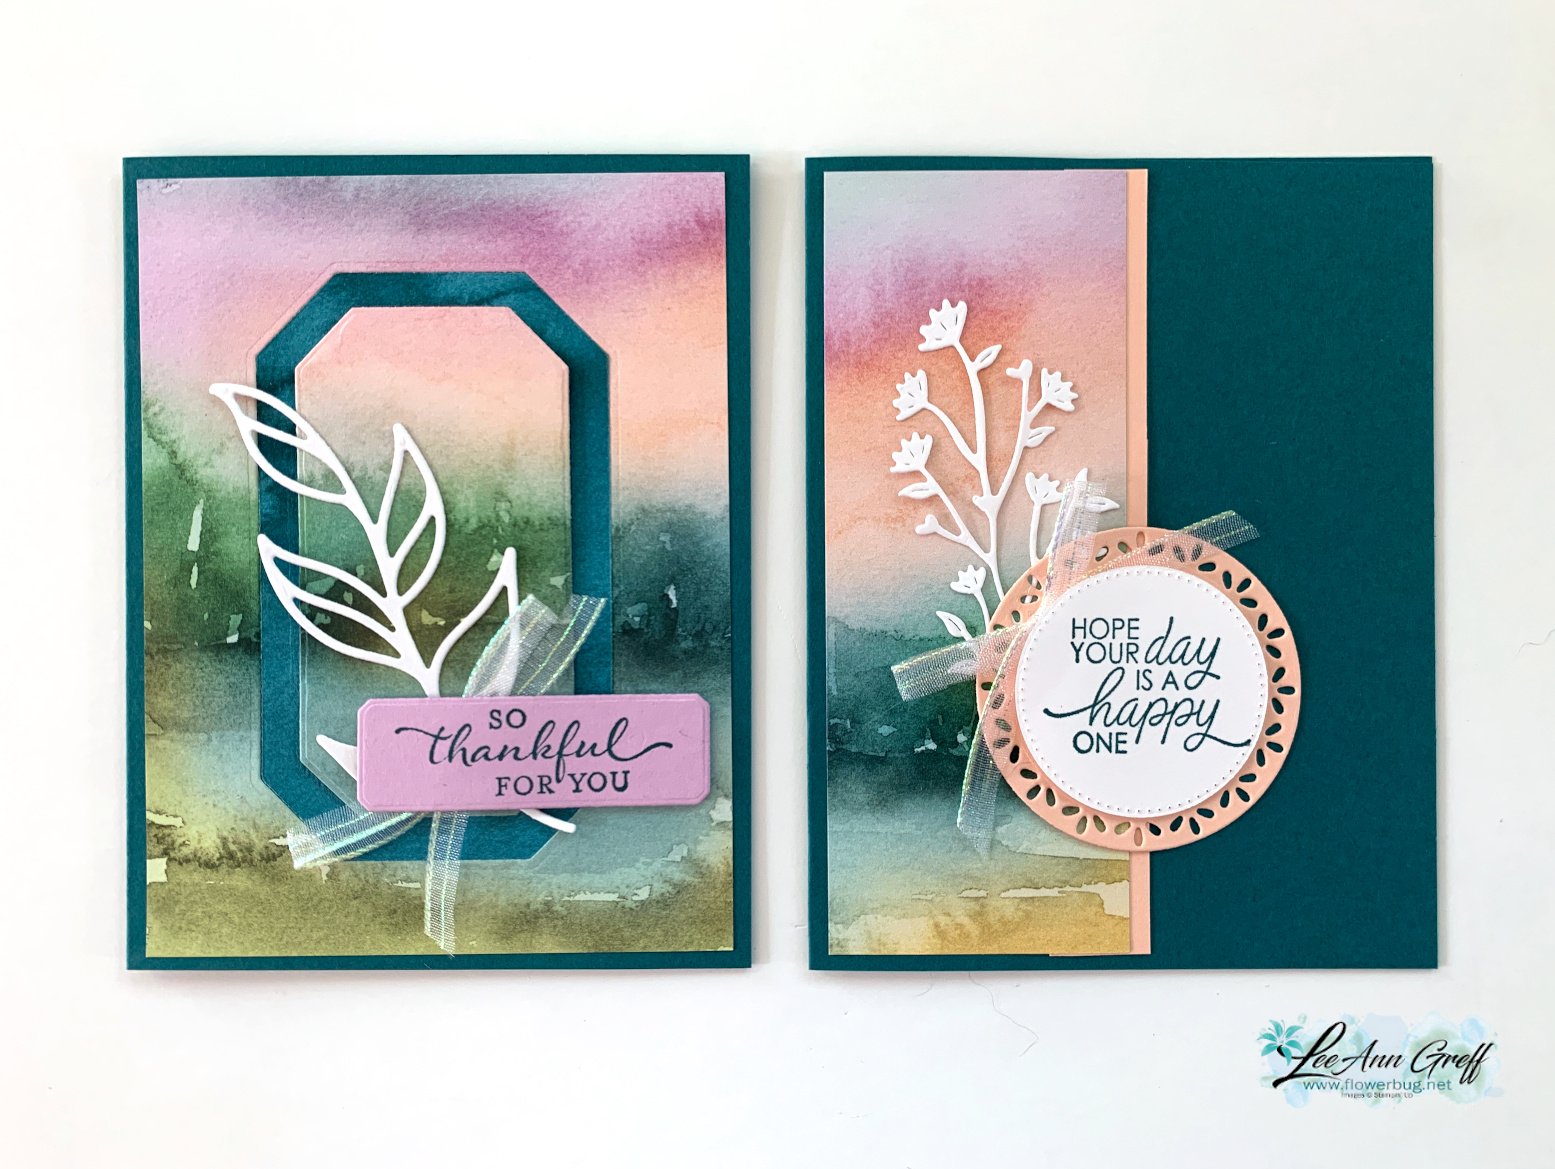
I simply added it to the card base with a coordinating card stock strip on the edge. Then added layering circles for my greeting.

If you're wondering about the ribbon, it's the pretty Iridescent 1/2" striped trim seen here.  I cut it in half to get 1/4" thick trim. It has been unavailable for awhile but it's back now.

Here are all 4 cards I shared in the video you can see here. 

Here's the video below to see how this is done plus another card idea with the beautiful Thoughtful Journey designer paper.  I'll share the second card Wednesday. 

~~~

August Specials:

*current host code link: BDGBJHAE

Redeem your $5 coupon now! 

~~~

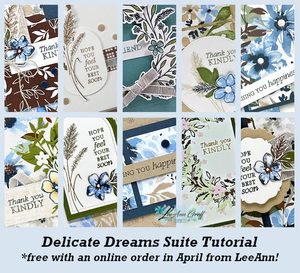
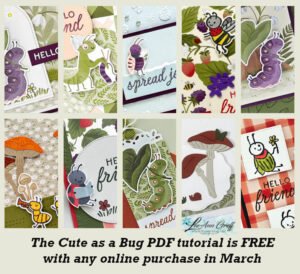
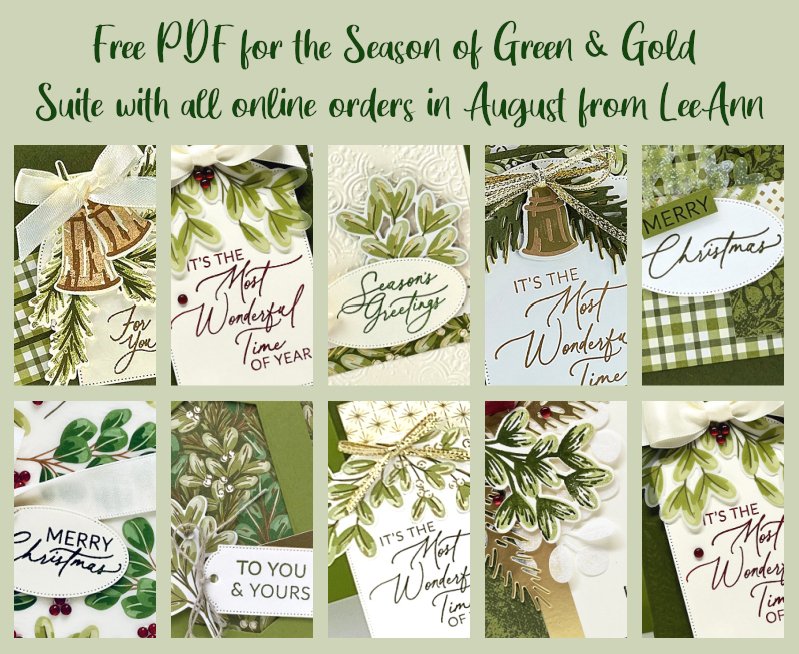
All online orders will receive a free PDF tutorial featuring the

Season of Green & Gold suite
All Posts

  • Finally! We’re getting a new Stampin’ Positioner!


    Stampin’ Up! has created a new Stampin’ Positioner for us! Since they had to take the Stamparatus off the market we’ve been waiting for a new tool for perfect stamping. Well, it’s now here!

    As you can see in the photo above it’s a brand new design. It has two clear plates, easy to use magnets and a brand new ‘press’ type mechanism.

    Right now for those who are a Demonstrator, it’s available to pre-order until February 2nd for $49. After that, the new Stampin’ Positioner will be added to the Starter Kit FREE in February!

    The cost of the Starter Kit is $99 and includes $125 in product of your choice. But in February, they’ll add in the new Stampin’ Positioner to ALL Demo’s starter kits!

    This is super exciting for us Demo’s now and also for those that join in February!

    It sounds like the general population will have to wait to get theirs…. but they promise it will be available sometime later this year to everyone.

    Leave a Reply

    Your email address will not be published. Required fields are marked *

  • Get the free tutorial for the Fabulous Sayings Product of the Month


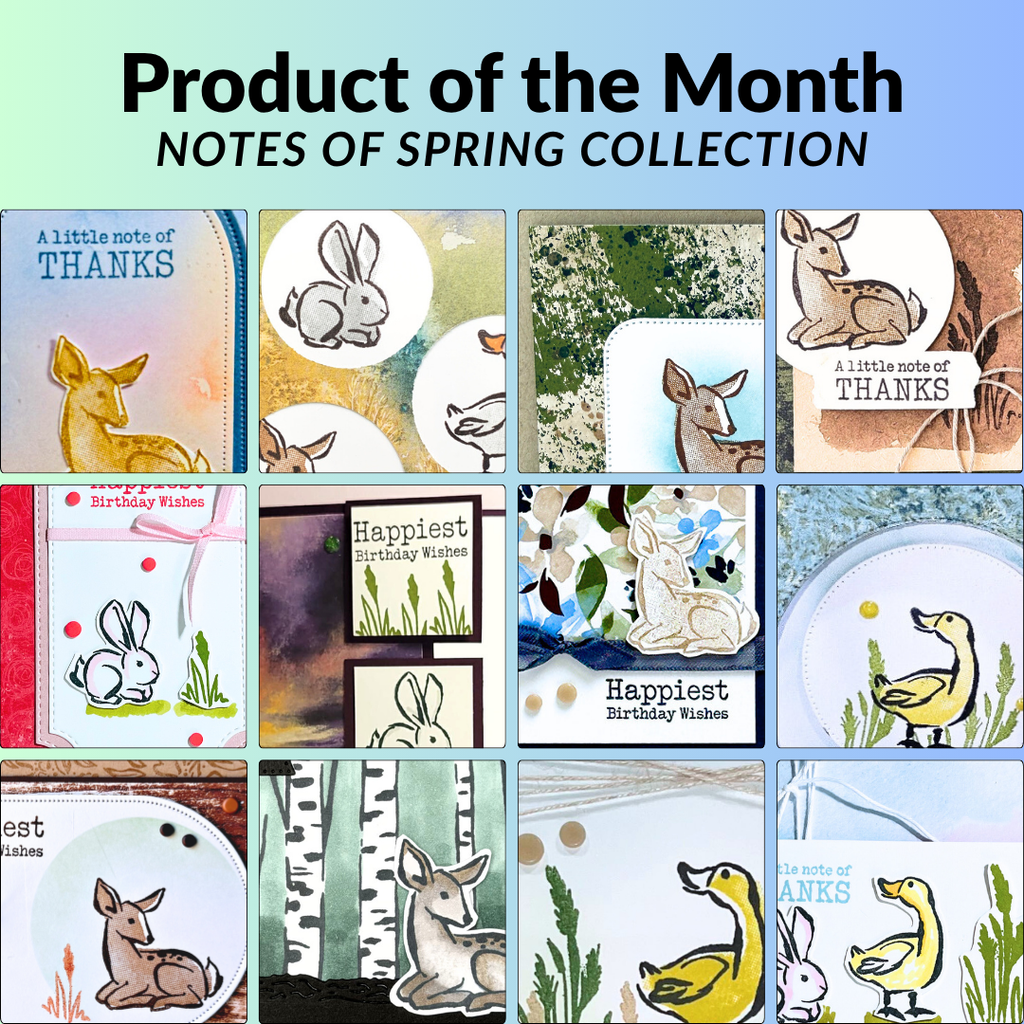
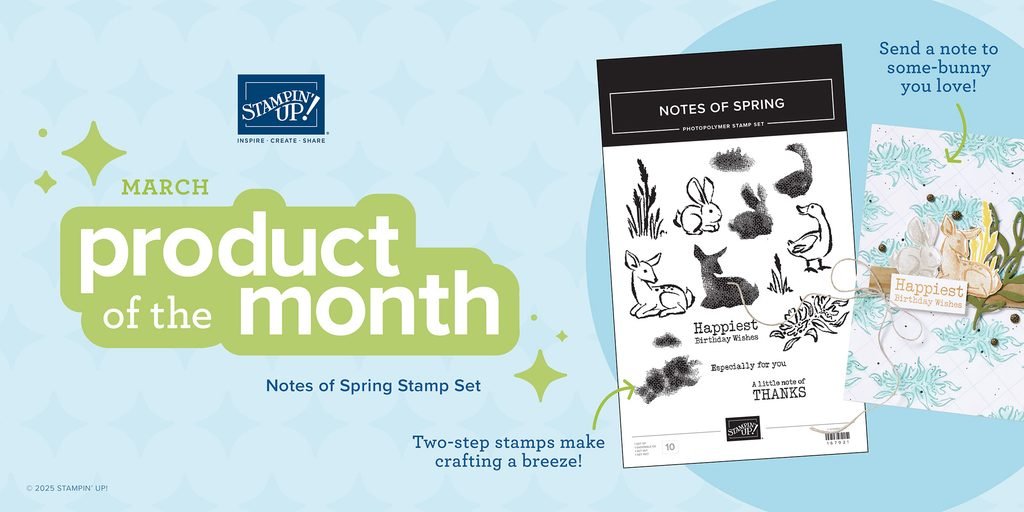
    My customers who choose the Product of the Month (POTM) will receive a fabulous PDF filled with project ideas – each & every month!

    Here’s the sneak peak of this months tutorial:

    This month we featured the Fabulous Sayings stamp set; a wonderful set of greetings with a unique font style.

    It’s just $5 to redeem this product once your order reaches the $75 mark (before tax & shipping). See it here.

    Other details:
    – it’s one per person & while supplies last
    – the POTM may carry over to the next month, if supplies last

    January Specials:

    Bonus days are here!

    Get this free PDF with all online orders in January!

    The 2026 Spring Catalog is live!

    January’s Product of the Month
    Fabulous Sayings set
    Get it for $5 with any $75 purchase

    Check out the newest Kits in our Kit Collection here.

    Leave a Reply

    Your email address will not be published. Required fields are marked *

  • Quick Notecard idea with the Banner Sayings bundle


    I needed to send a few special cards to my Team members this weekend and so I created these cute notecards:

    The large piece of designer paper is 4″ X 3″ and the bottom strip is 4″ X 1″. I added a 1/4″ strip of textured Coastal Cabana between them (I found it in my scraps).

    I chose to make notecards because the package I was sending their prizes in was narrow and these fit perfectly.
    Did you know we carry pre-scored notecards with envelopes? The package includes 20 cards and 20 envelopes for just $10. You can see them here.

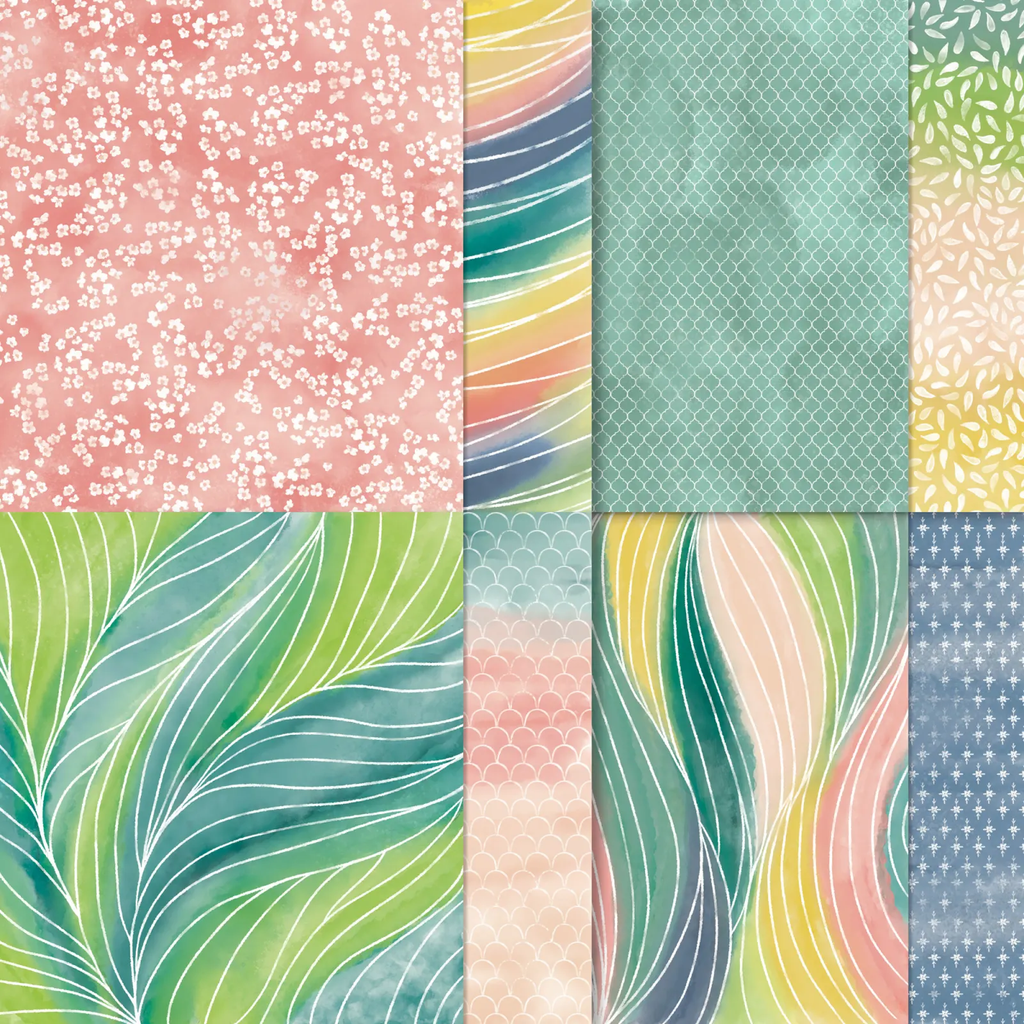
    I chose the Hobby Haven designer paper because of it’s colors and ‘hobby’ themed prints. See it here. It’s part of our Online product selection.

    I decided to feature the Banner Sayings bundle for a few reasons. It’s quick with the coordinating punch and the greeting I chose fit my needs perfectly. Click here to see it. The new Triple Banner punch was out of stock for weeks! But now it’s back.

    January Specials:

    Bonus days are here!

    Get this free PDF with all online orders in January!

    The 2026 Spring Catalog is live!

    January’s Product of the Month
    Fabulous Sayings set
    Get it for $5 with any $75 purchase

    Check out the newest Kits in our Kit Collection here.

    Leave a Reply

    Your email address will not be published. Required fields are marked *


Notice: LeeAnn Greff, Independent Stampin’ Up! Demonstrator, Manager. The content of this website is my sole responsibility as an independent Stampin’ Up! demonstrator and the use of, and content of, the classes, services, or products offered on this website is not endorsed by Stampin’ Up! Copyright 2025