/


Latest Post

Use your nesting dies to create a designer paper window – video & free project sheet


On last week's Live video I shared a neat way to use nesting dies to create a frame with your double sided designer series paper. 

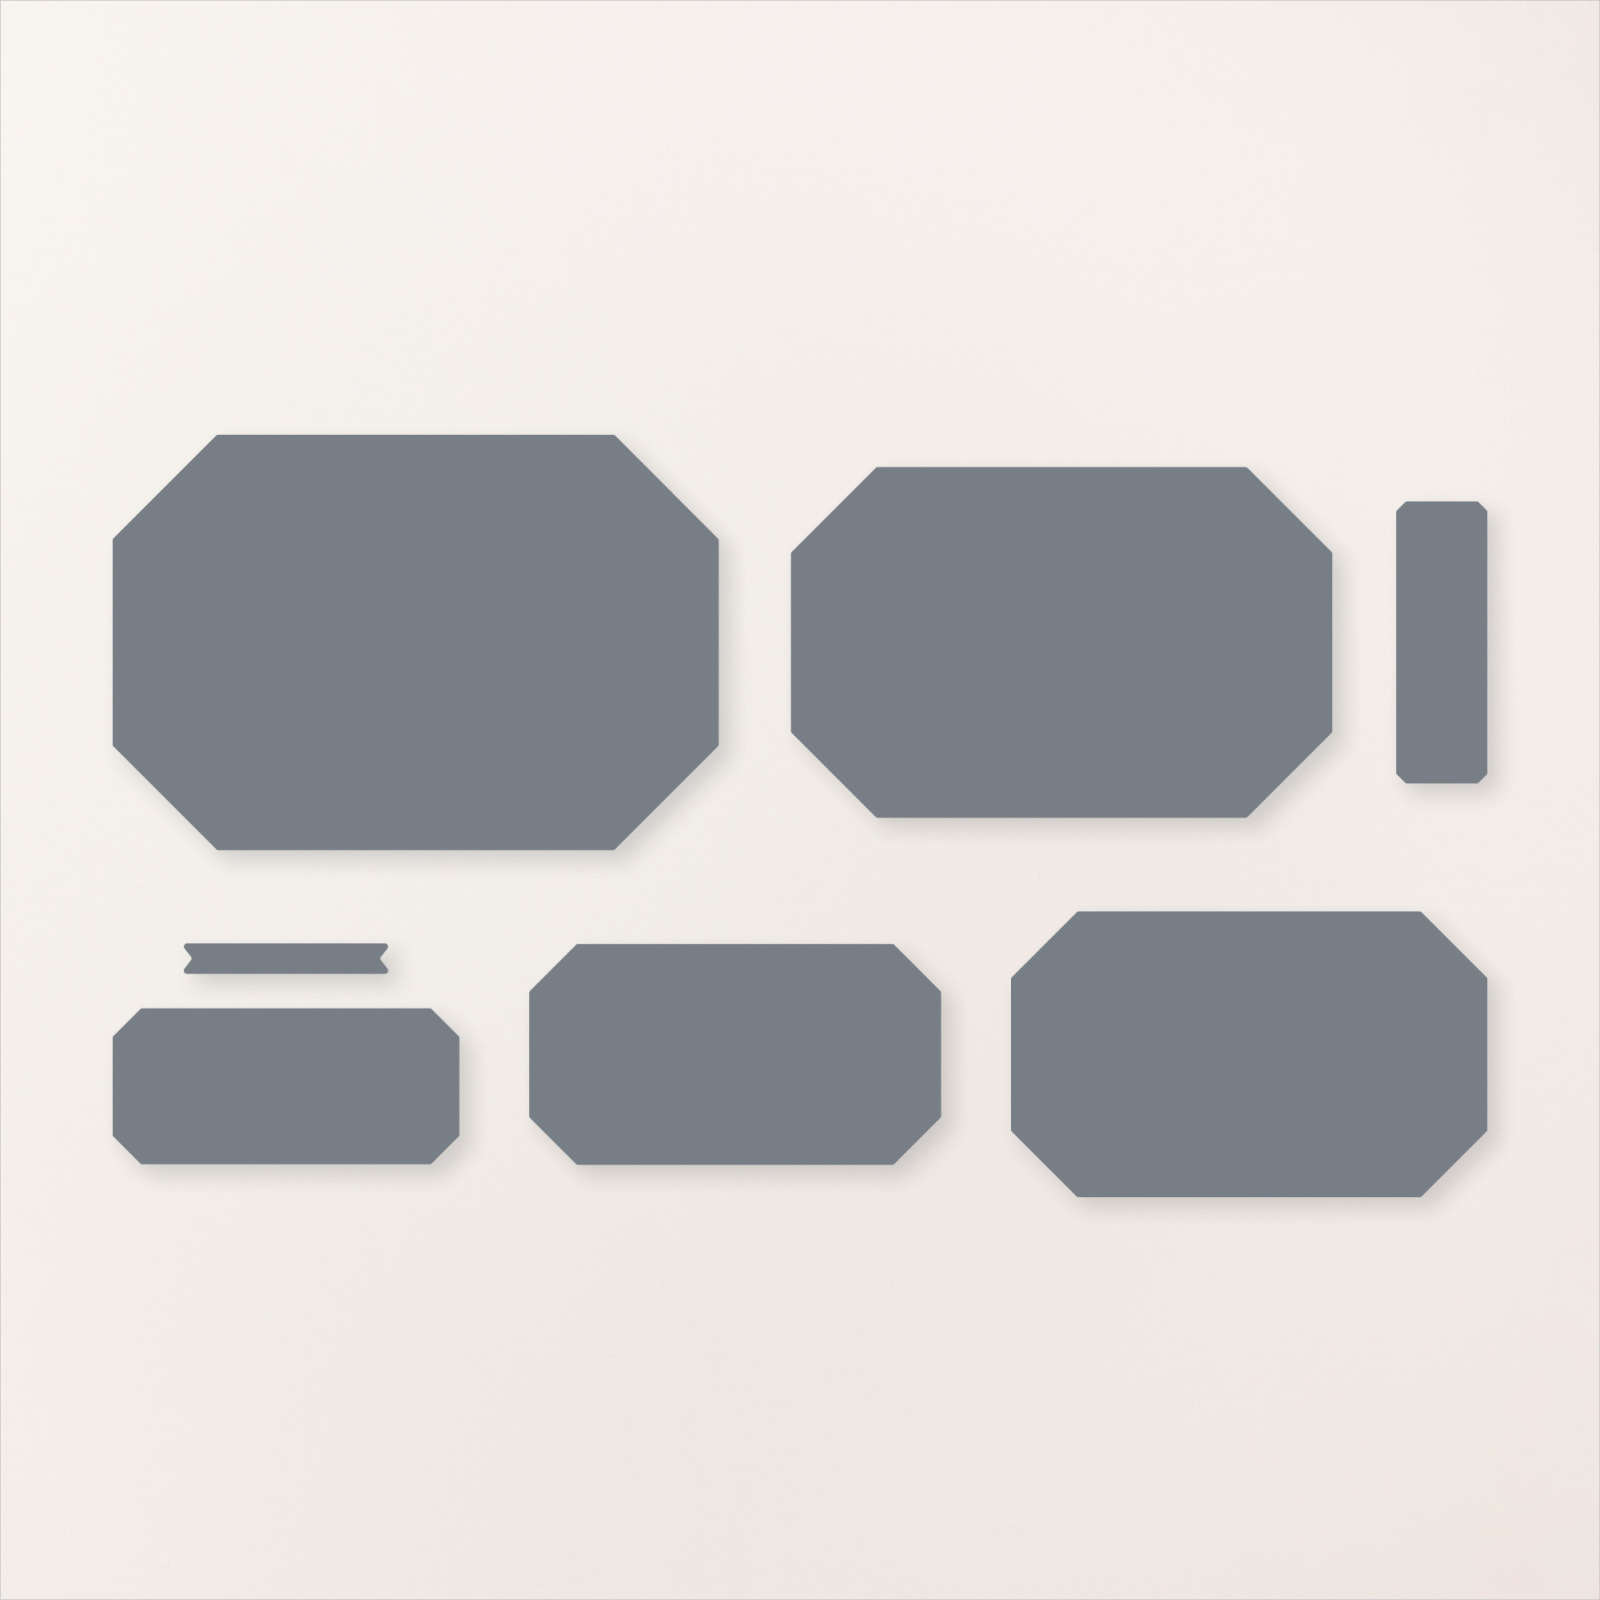
I chose to feature the Thoughtful Moments DSP with this neat technique. Simply choose two dies that are the same shape and about 1/4-1/2" apart.  Die-cut and then flip over the narrow frame to reveal the opposite side of the Designer Series Paper. It's so neat! 

**This Designer Paper and many more will be on sale starting Tuesday, August 6th! Details will be shared tomorrow. 

The leaf die is from the Friends for Life dies. My nesting dies are called Countryside Corners and can be seen here.
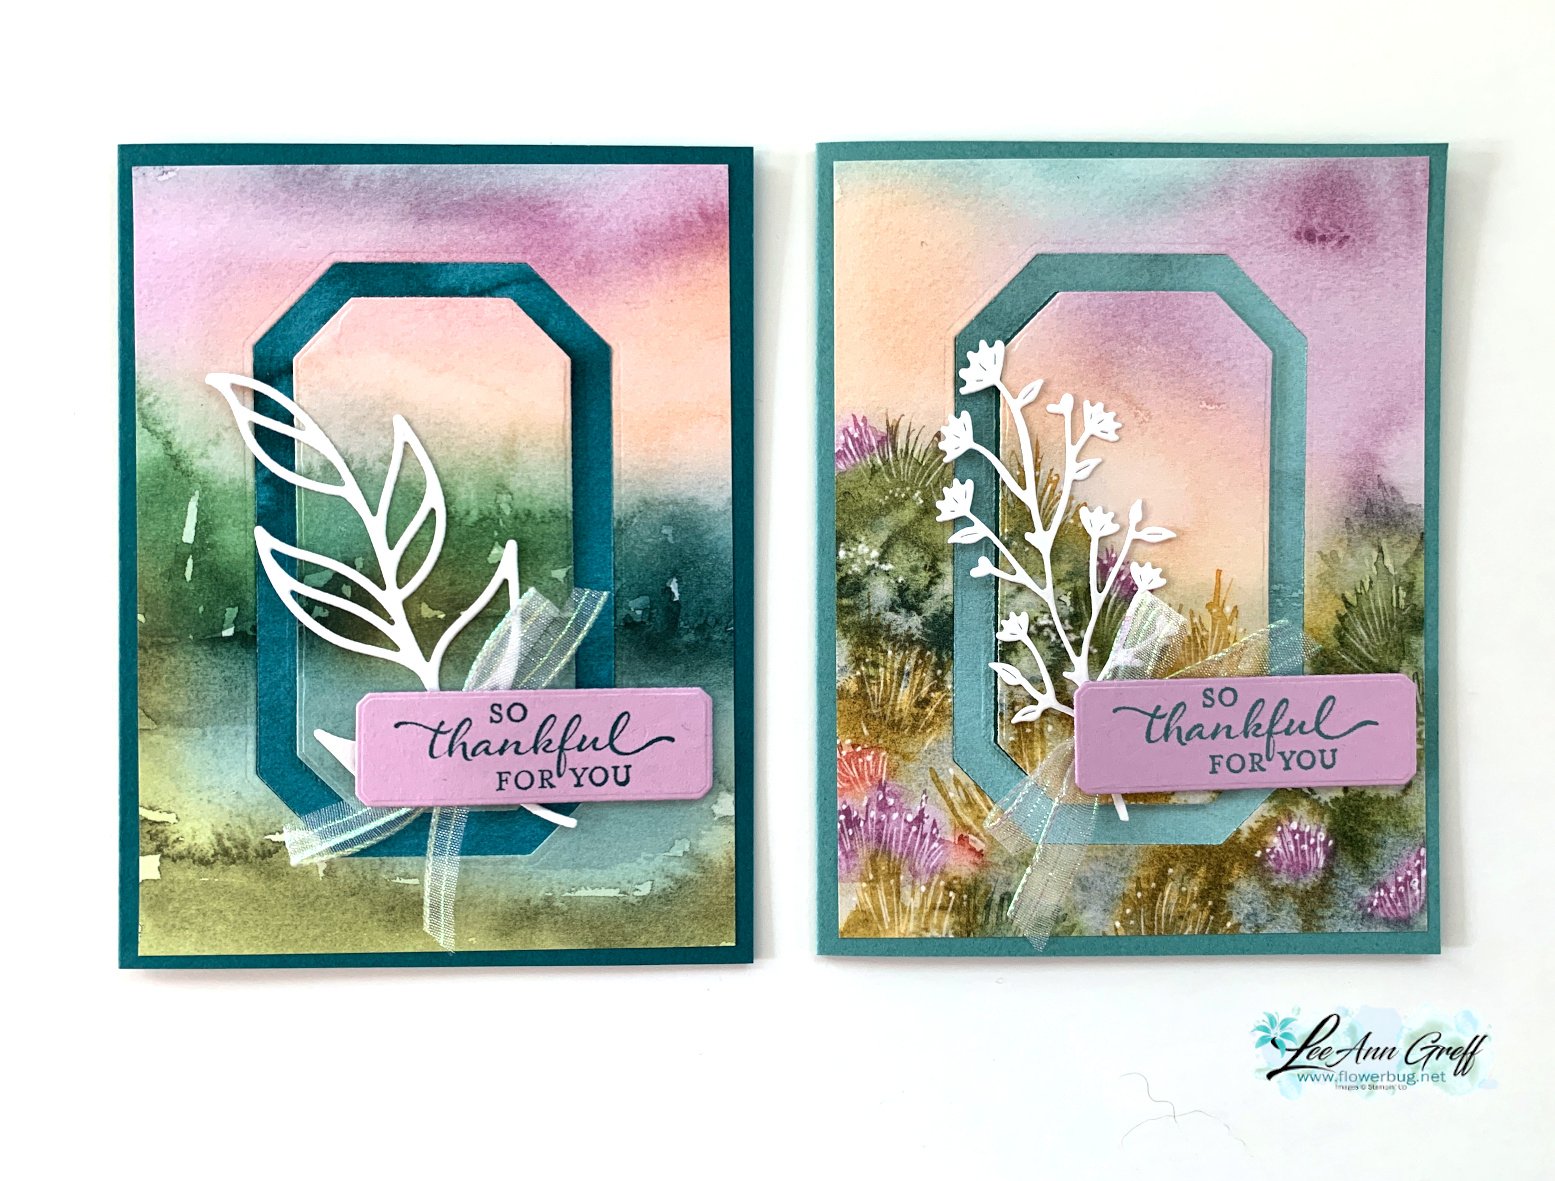
Tip – be sure the color of the opposite side of your paper coordinates with the front. I chose the card base to match the frame – Pretty Peacock. My greeting is in Fresh Freesia. 

Here are both cards shown on the video; the second card on the right has a Lost Lagoon frame & card base.  The White die-cut on the right card is from the Thoughtful Wishes bundle.
Here's the free project sheet you can download or print: Download Thoughtful Journey Window card

The designer paper for these cards is 4" X 5 1/4" which leaves a 2" strip for another project.  I wanted to share a quick card to use up that leftover piece:
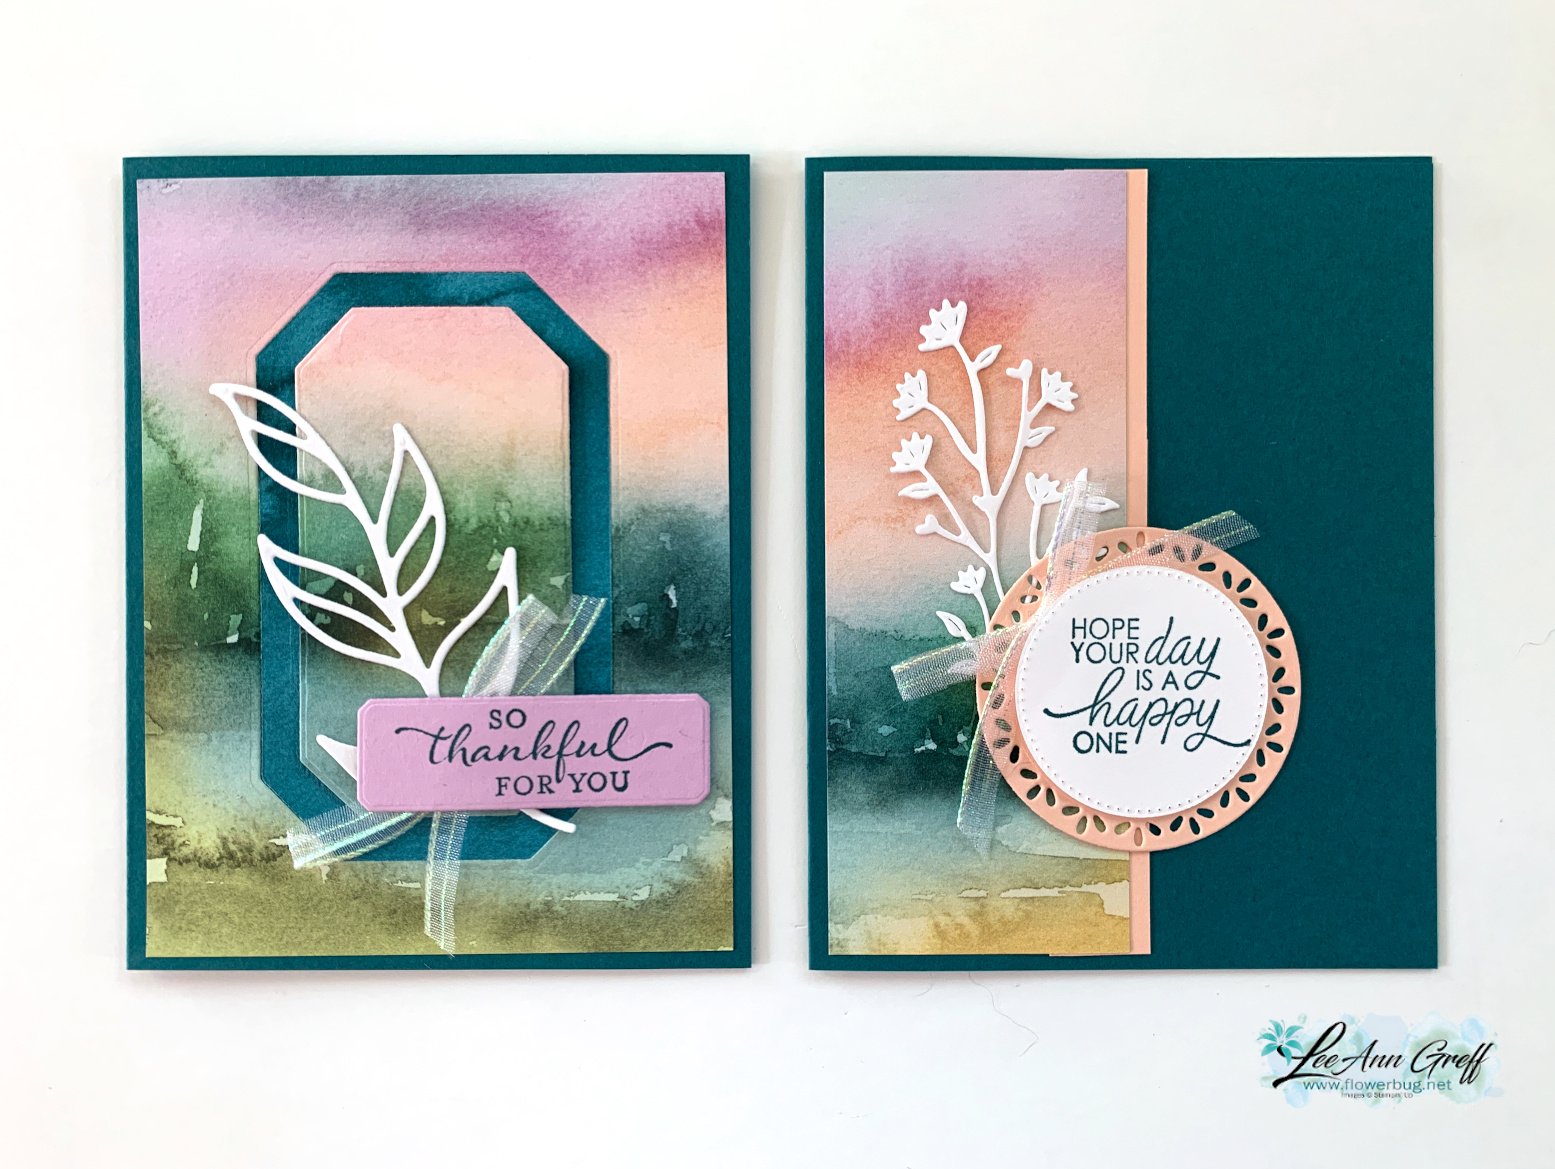
I simply added it to the card base with a coordinating card stock strip on the edge. Then added layering circles for my greeting.

If you're wondering about the ribbon, it's the pretty Iridescent 1/2" striped trim seen here.  I cut it in half to get 1/4" thick trim. It has been unavailable for awhile but it's back now.

Here are all 4 cards I shared in the video you can see here. 

Here's the video below to see how this is done plus another card idea with the beautiful Thoughtful Journey designer paper.  I'll share the second card Wednesday. 

~~~

August Specials:

*current host code link: BDGBJHAE


Redeem your $5 coupon now! 

~~~

All online orders will receive a free PDF tutorial featuring the

Season of Green & Gold suite
All Posts

  • Merry Christmas!


    I hope you enjoy a beautiful Holiday with family & friends.  

    Leave a Reply

    Your email address will not be published. Required fields are marked *

  • Diagonal Fun Fold with new products! Free project sheet & video too.


    Today I'm sharing a neat fun fold I hadn't made for awhile.  It's a diagonal fold that is fun and easy. 


    I used a few new, upcoming products from both the 2025 Spring and the 2025 Sale-a-Bration catalogs.  The greeting & punch are made with the Bright Borders set and coordinating To the Point punch.  The designer paper is the Toadstool Gardens 6" DSP from the SAB catalog.  It's free with any $60 purchase from January 7th – February 28th, 2025.  

    I made over 20 of them for a mail out swap I joined.  The colors include Melon Mambo & Granny Apple Green. 


    I share how to make it in the video here and seen below.  Basically it involves trimming off half of one side of the card base, flipping it and adhering it back to the card front.  The only confusing this can be adding your designer paper.  I suggest using a non-directional paper when trying this out. 

    Here's the free project sheet you can print or download. Click on the following link: Download Bright Borders Diagonal fun fold


    Below is the video if you'd like to see how to assemble this card. I also share a pretty Sophisticated Sled project too.

    ~~~

    December Specials:

    *current host code link:  

    P243X6VH

    3 new designer papers!

    ~~~

    Available December 3rd; while supplies last!

    ~~~

    ~~~

    Leave a Reply

    Your email address will not be published. Required fields are marked *

  • How to use the Sophisticated Sled bundle with free project sheet


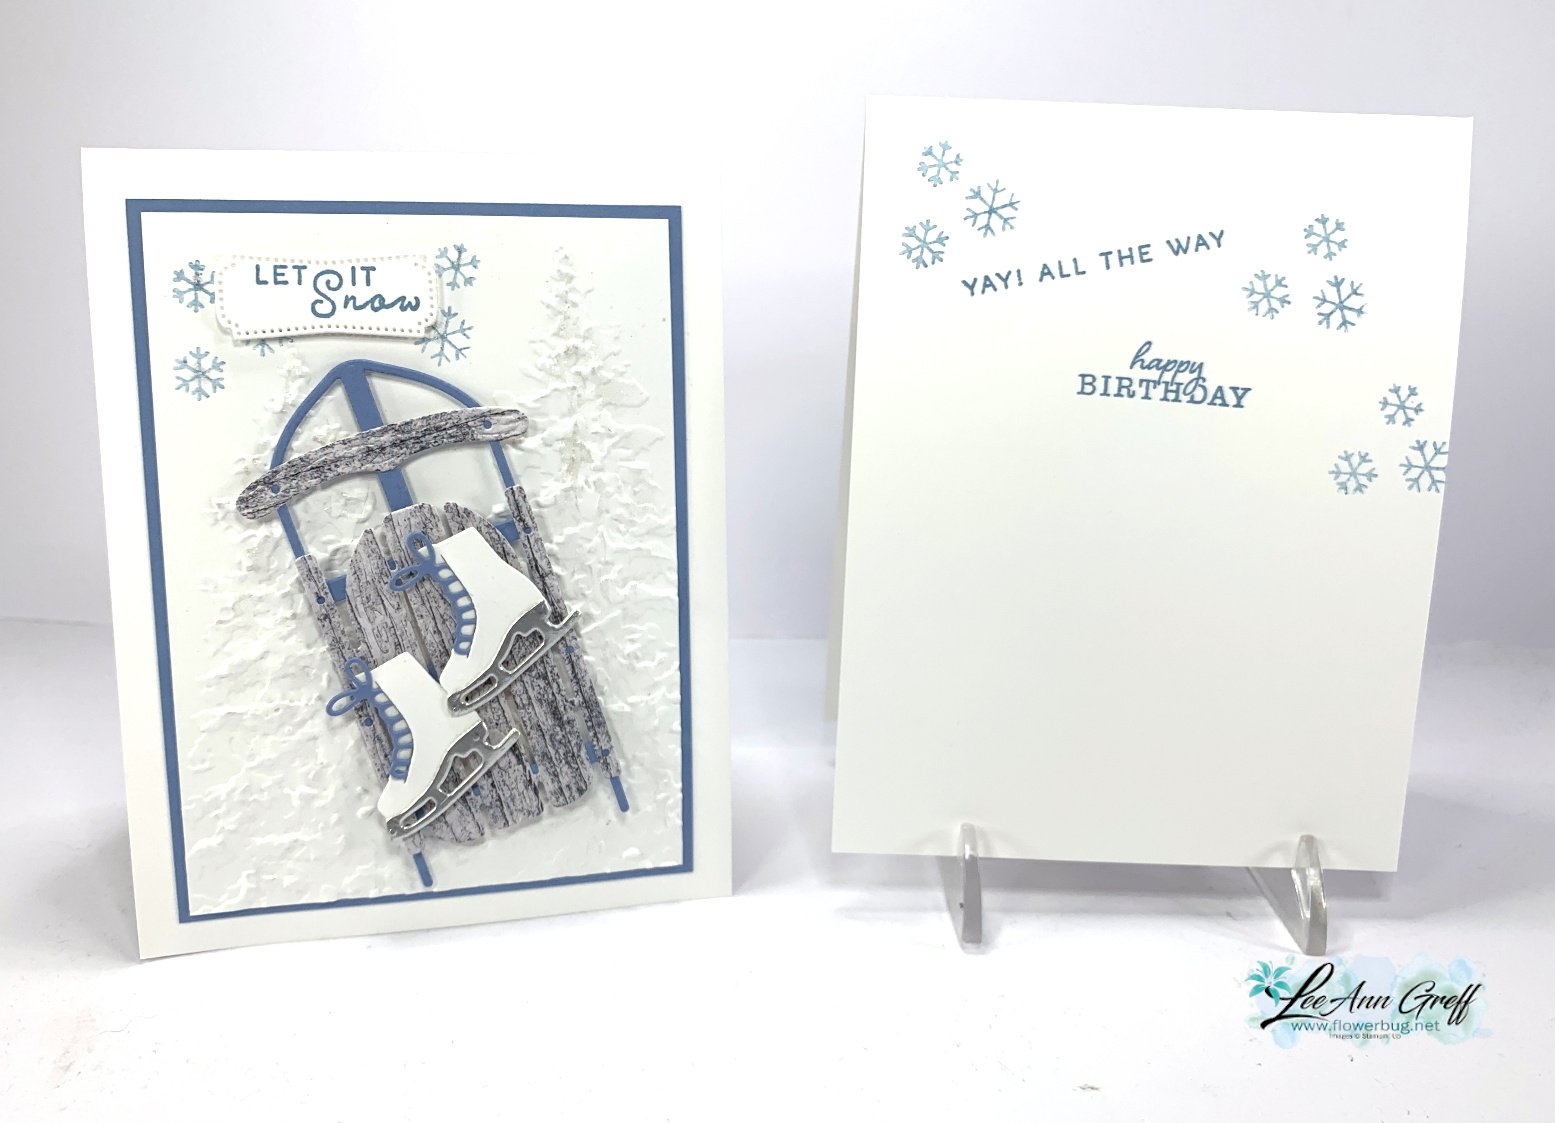
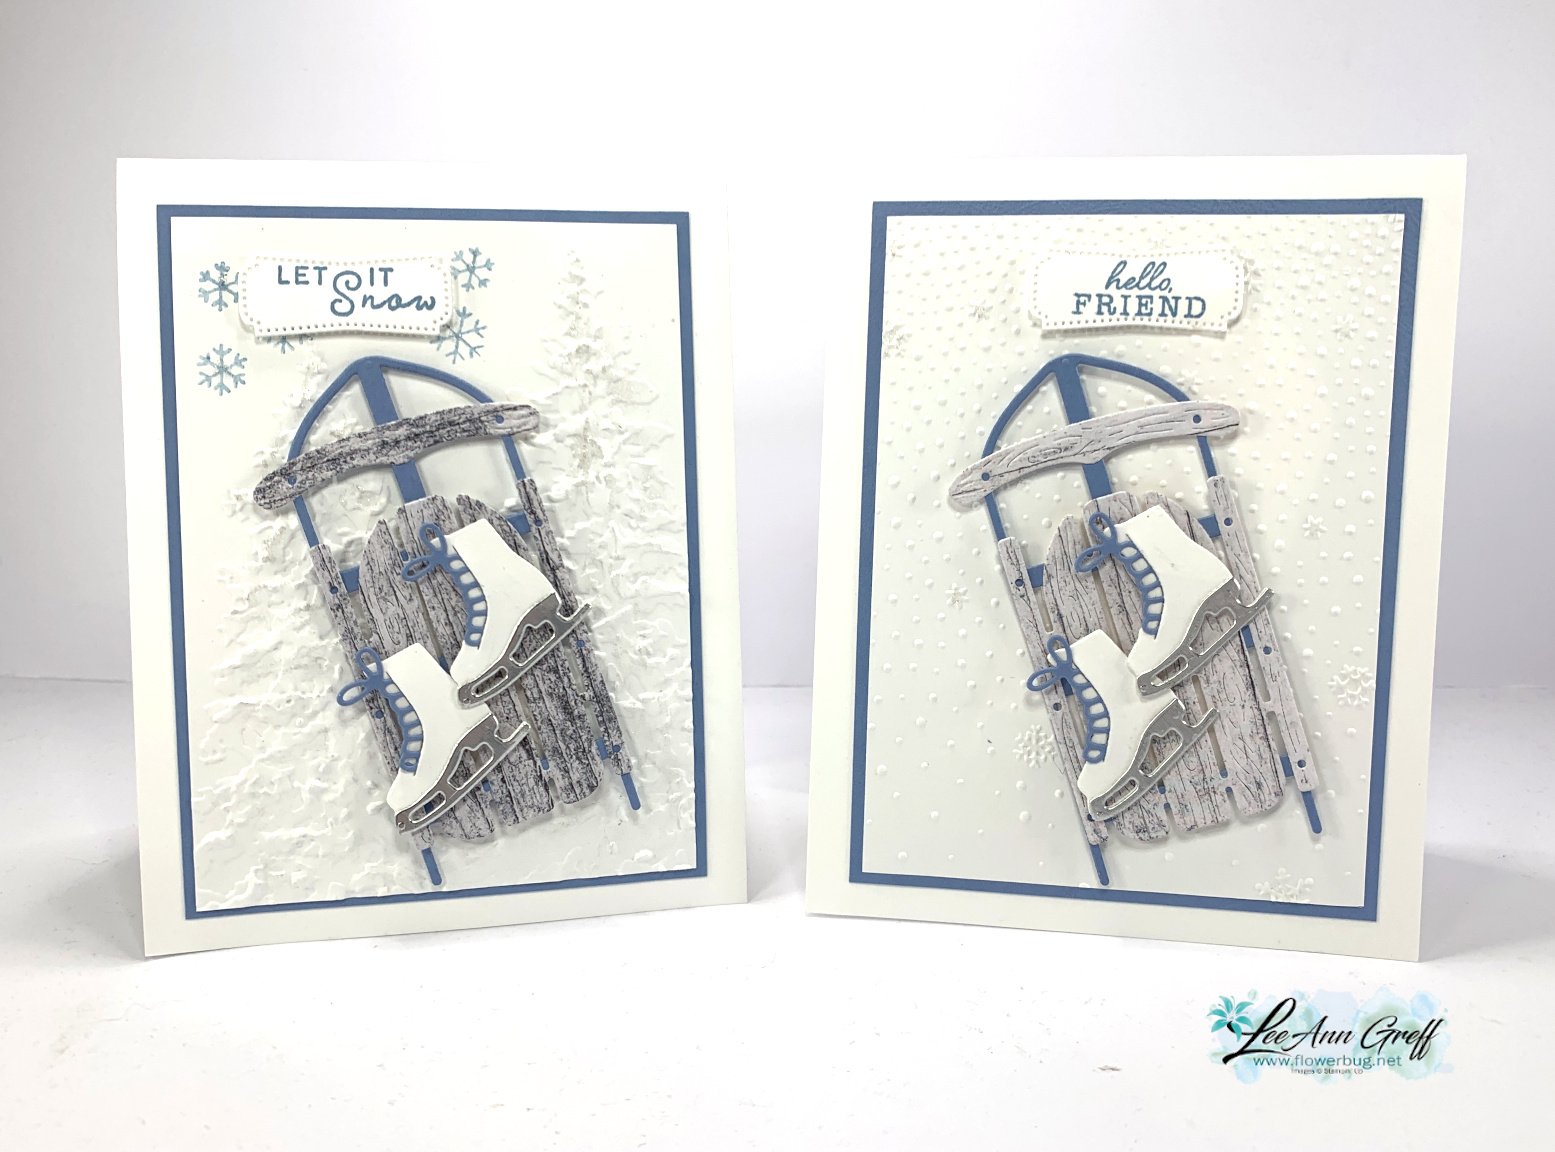
    We made this pretty card at my December card clubs.  It features the Sophisticated Sled bundle from our Online Exclusives line. 

    I chose White with Boho Blue as my color combination.  The sled is die-cut from the Country Woods DSP. I also used the Painted Trees embossing folder seen here.  I added a bit of Wink of Stella to the trees. 

    I used stamps from the bundle for the greetings & snowflakes. 

    Before I played with the dies I thought they would be difficult to assemble.  But they're a breeze!  I hope you watch the video below for my tips. The skates are genius!  The laces slip into a slit in the skate die-cut for easy assembly.  

    See this gorgeous bundle here. 

    Here's the free project sheet for this card. Click on the following link to print or download it. Download Sophisticated Sled Dec 24

    Below is the video tutorial for this project.  Plus check out the fun fold card using upcoming products too! 

    ~~~

    December Specials:

    *current host code link:  

    P243X6VH

    3 new designer papers!

    ~~~

    Available December 3rd; while supplies last!

    ~~~

    ~~~

    Leave a Reply

    Your email address will not be published. Required fields are marked *


Notice: LeeAnn Greff, Independent Stampin’ Up! Demonstrator, Manager. The content of this website is my sole responsibility as an independent Stampin’ Up! demonstrator and the use of, and content of, the classes, services, or products offered on this website is not endorsed by Stampin’ Up! Copyright 2025