If you haven’t watched my recent videos you may not know that we have moved from Minot, ND to Bismarck, ND this month. It’s been a super busy time of downsizing, selling excess, packing and moving.
Why did we move? Well, there are many reasons but mostly my husband retired and we moved to be closer to our son and other family. It was very difficult to leave our beautiful home but we will love our new home too. Here’s a picture of my office/craft room before I was able to unpack. I’ll share new photos once I’m settled.
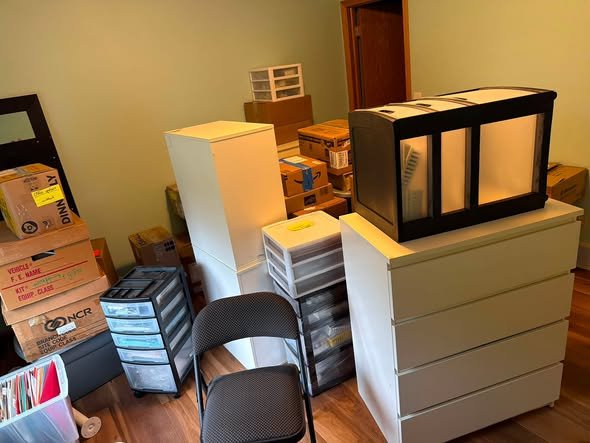
In that back doorway is a walk in closet; that will help with storage! I did find a nice L shaped desk and hope to get that set up today; then I can really set up my room.
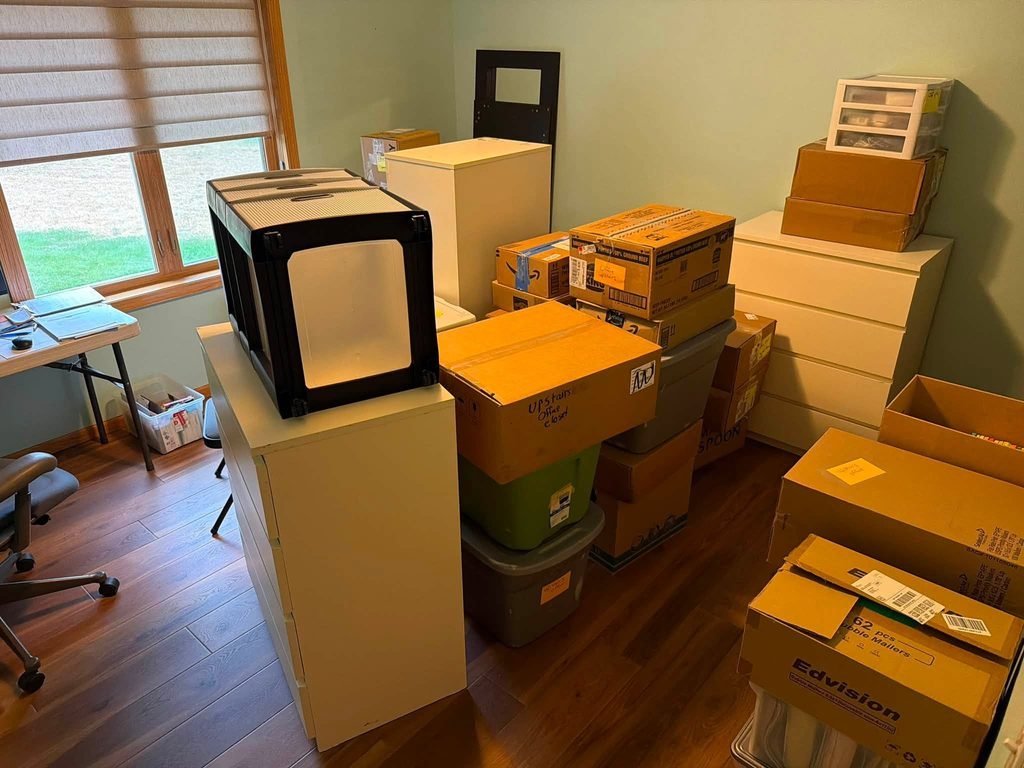
This is why I’ve been missing in action lately; it’s hard to do both stamping/business and moving/getting settled. So I’m taking a bit of a break in August. Have patience with me; I’ll be back to blogging and videos soon!
All Posts
Irresistible Designs emboss resist technique with free project sheet & video
I shared this card on last week's Live video. I wanted to feature the new Irresistible Designs specialty paper seen here in the new Annual catalog. It has printed/embossed patterns that are perfect for the emboss resist technique.
Which color do you prefer? Are you a yellow or a purple person?
My colors include Lemon Lolly, Basic Gray, Smoky Slate and Highland Heather. For inks I chose Lemon Lolly, Smoky Slate and Highland Heather.
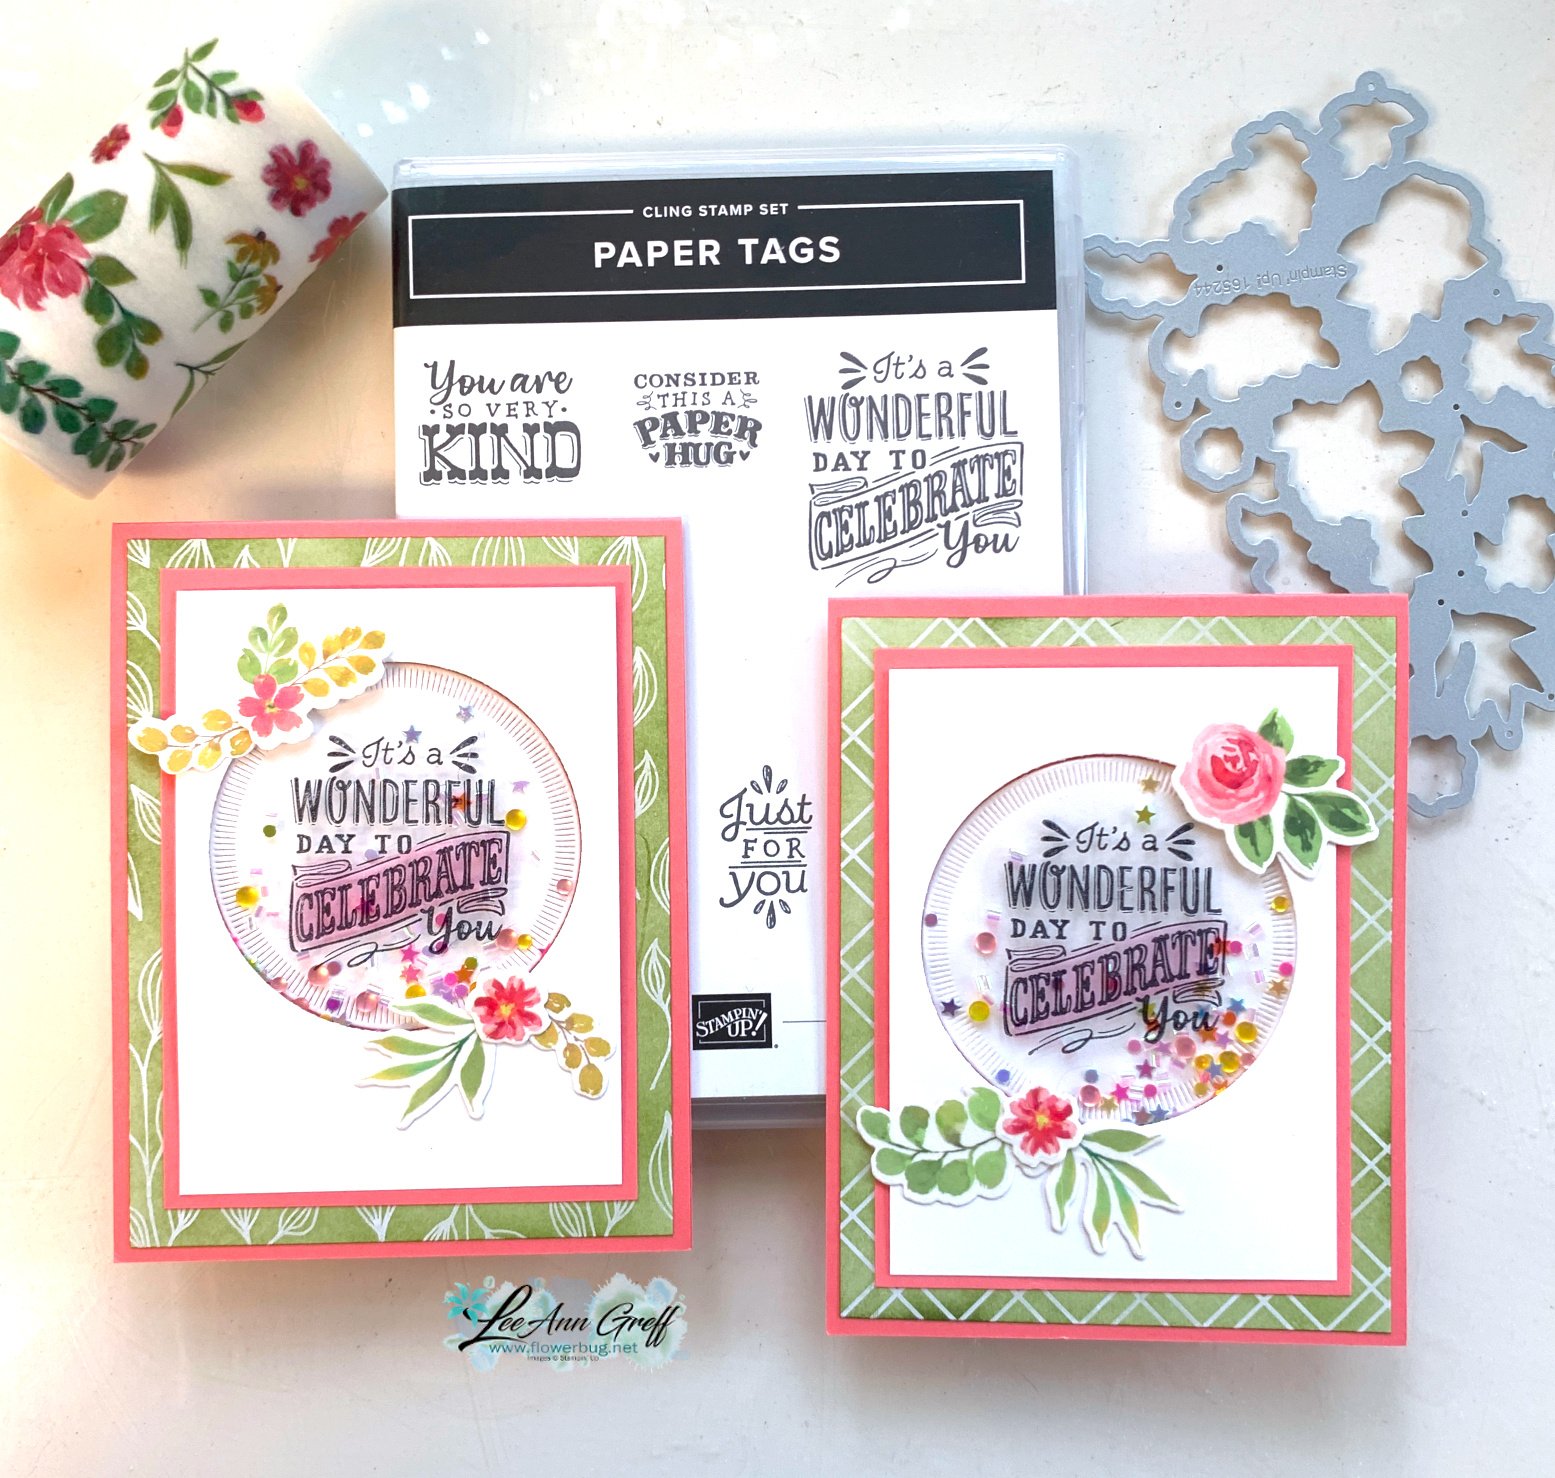
I cut my strips first, then blended the inks on. I textured the center Smoky Slate layer with the Glass & Gardens embossing folders. The circle die-cut is from the Spotlight on Nature dies.
I stamped the greeting twice; first on the circle and again on a small piece of card stock. I fussy cut the 'Celebrate' out and added it with Stampin' Dimensionals. This was such an easy card!
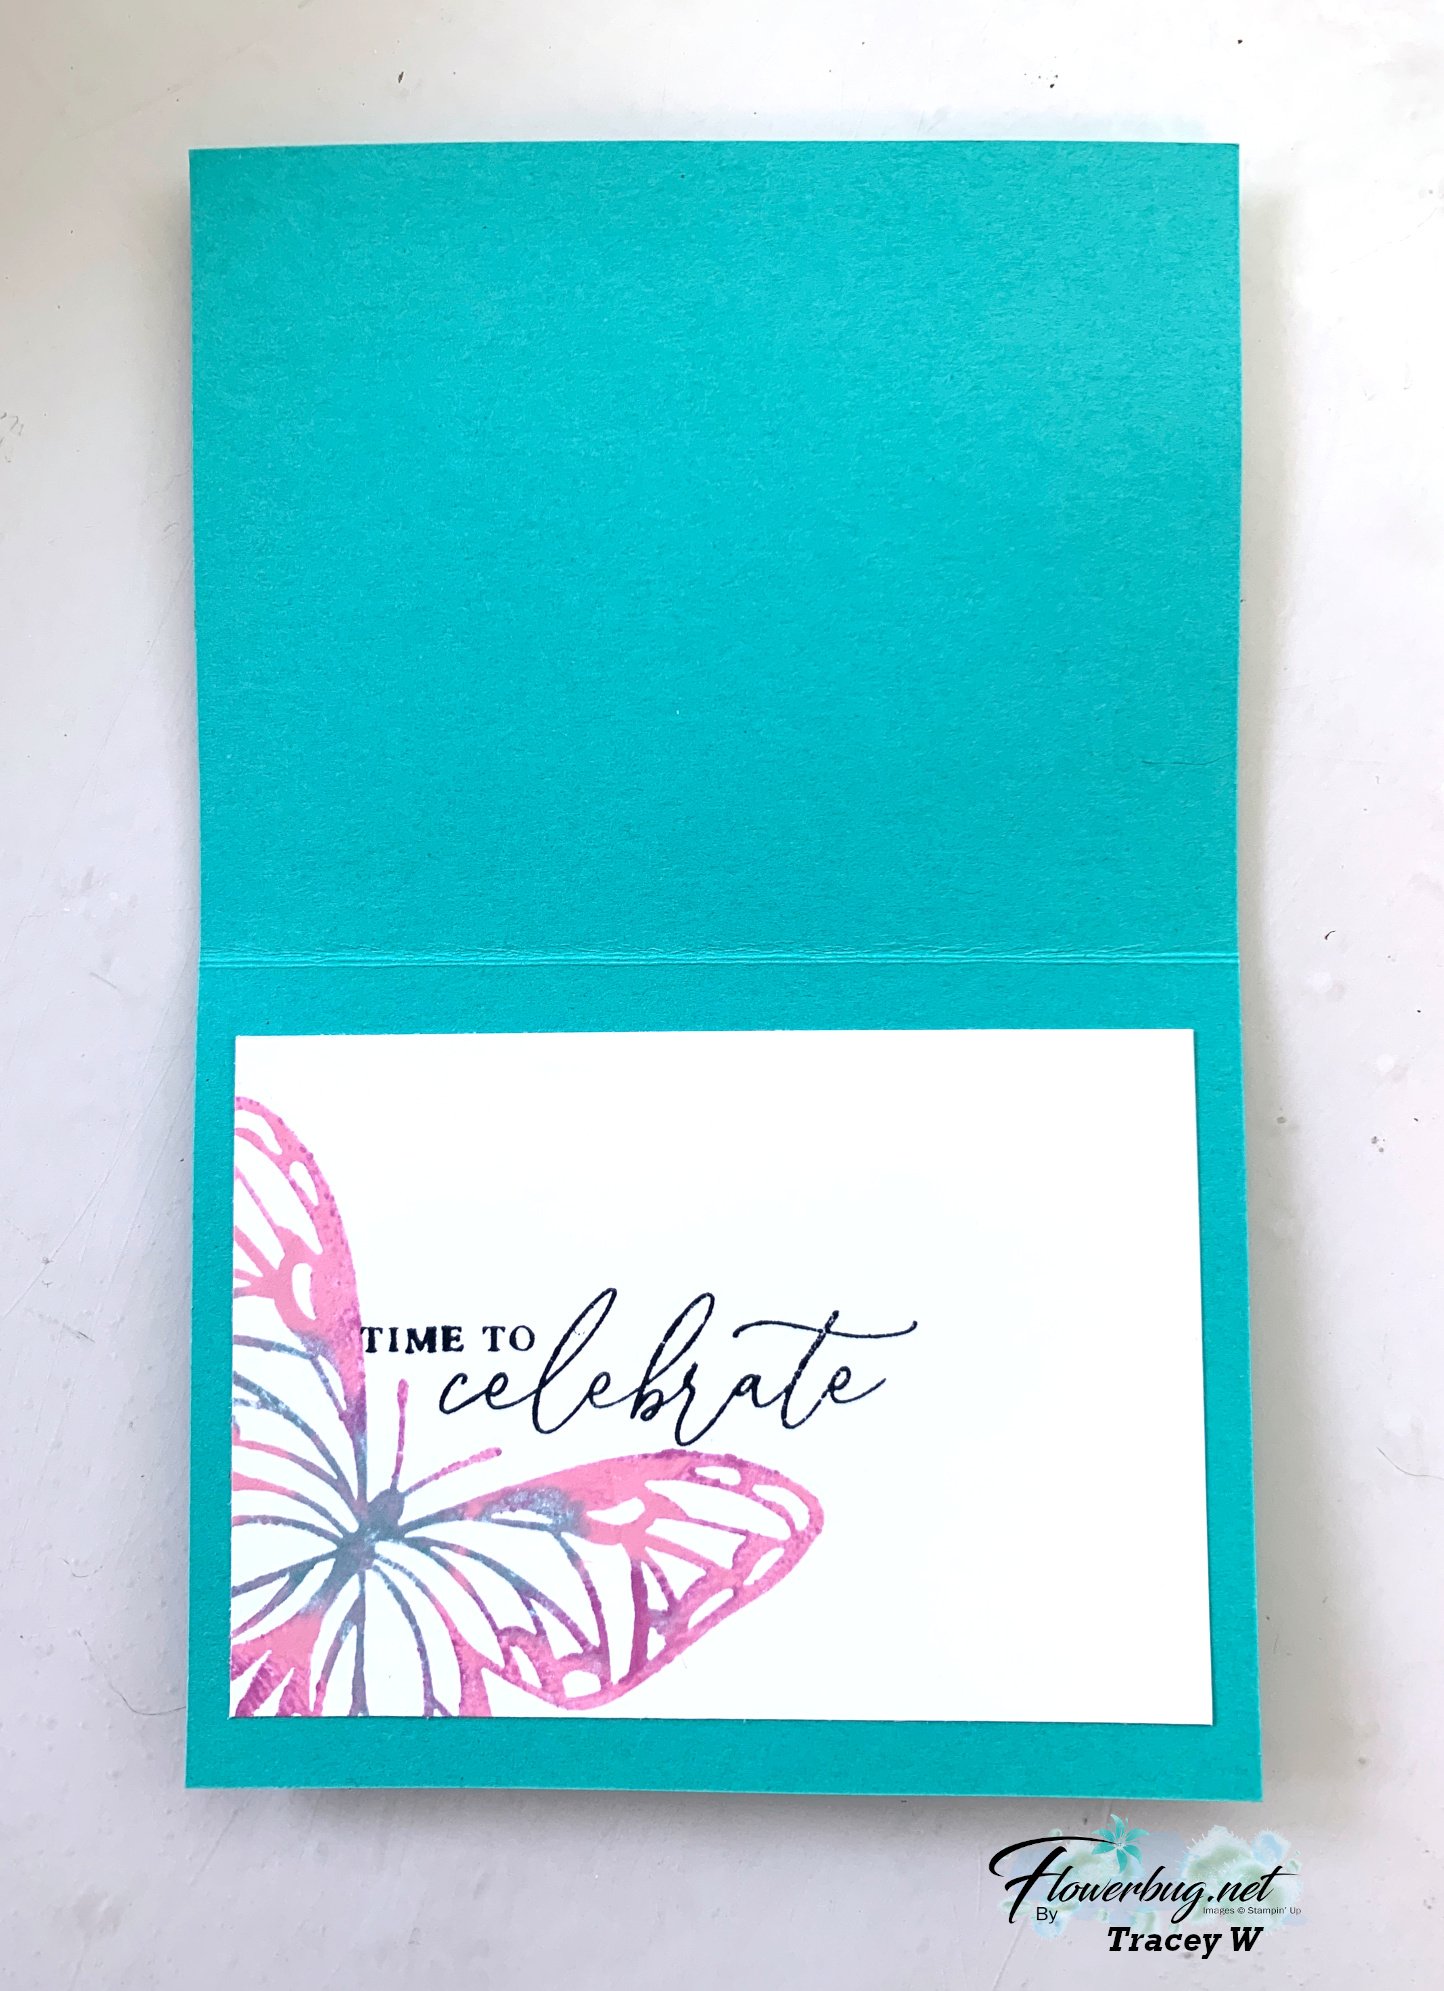
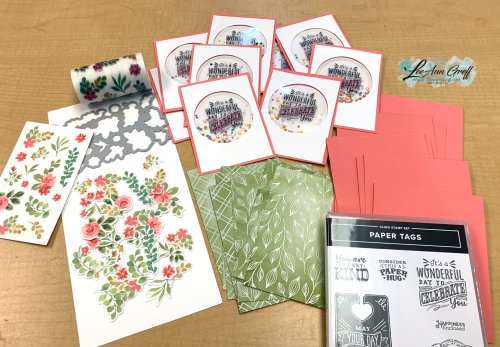
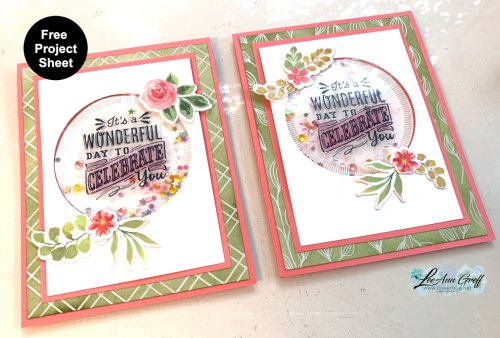
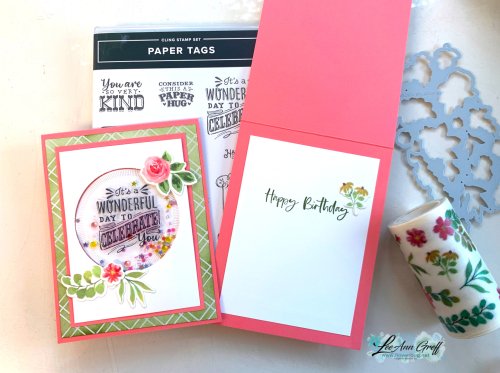
I featured the Paper Tags bundle for this card and another one below. See it here.
You can see the other card I shared during the video below. Besides the emboss resist technique on the diagonal I featured the Joseph's Coat technique. See it here.
Earn free card kits in June with online orders! Get 4 kits with a $50 order and orders over $80 receive all 6 cards. All you need are greetings, gems and adhesives to assemble.
The colors include Daffodil Delight, Coastal Cabana and Gorgeous Grape in inks. The card stock is Black, White, Daffodil and Highland Heather.
For the colored designer paper panel I started with a piece at 4" X 5" and blended the three inks on it diagonally. This Irresistible specialty paper seen here resists the ink where they printed the resist designs. Once you add ink, it reveals their pattern. So cool!
After I blended the colors on I randomly cut the single panel into 5 pieces on the diagonal. I share how I did this in the video here.I adhered each panel one at a time starting in the corner. You may need to trim one of the pieces slightly to fit the card base.
For the inside of the card I stamped the greeting and added color to it with coordinating Blends markers.
Here's how you do the Joseph'sCoattechnique:
Sponge or blend multiple colors onto your neutral cardstock.
Swipe the embossing buddy over this layer; tap off excess powder.
Ink the stamp image in Versamark ink; stamp onto the layer.
Immediately heat emboss with Black embossing powder.
Once I had my tag, I trimmed it by hand (there are coordinating dies) and added a few extra pieces to lengthen the tag and add more layers. I finished it off with a bow.
Earn free card kits in June with online orders! Get 4 kits with a $50 order and orders over $80 receive all 6 cards. All you need are greetings, gems and adhesives to assemble.
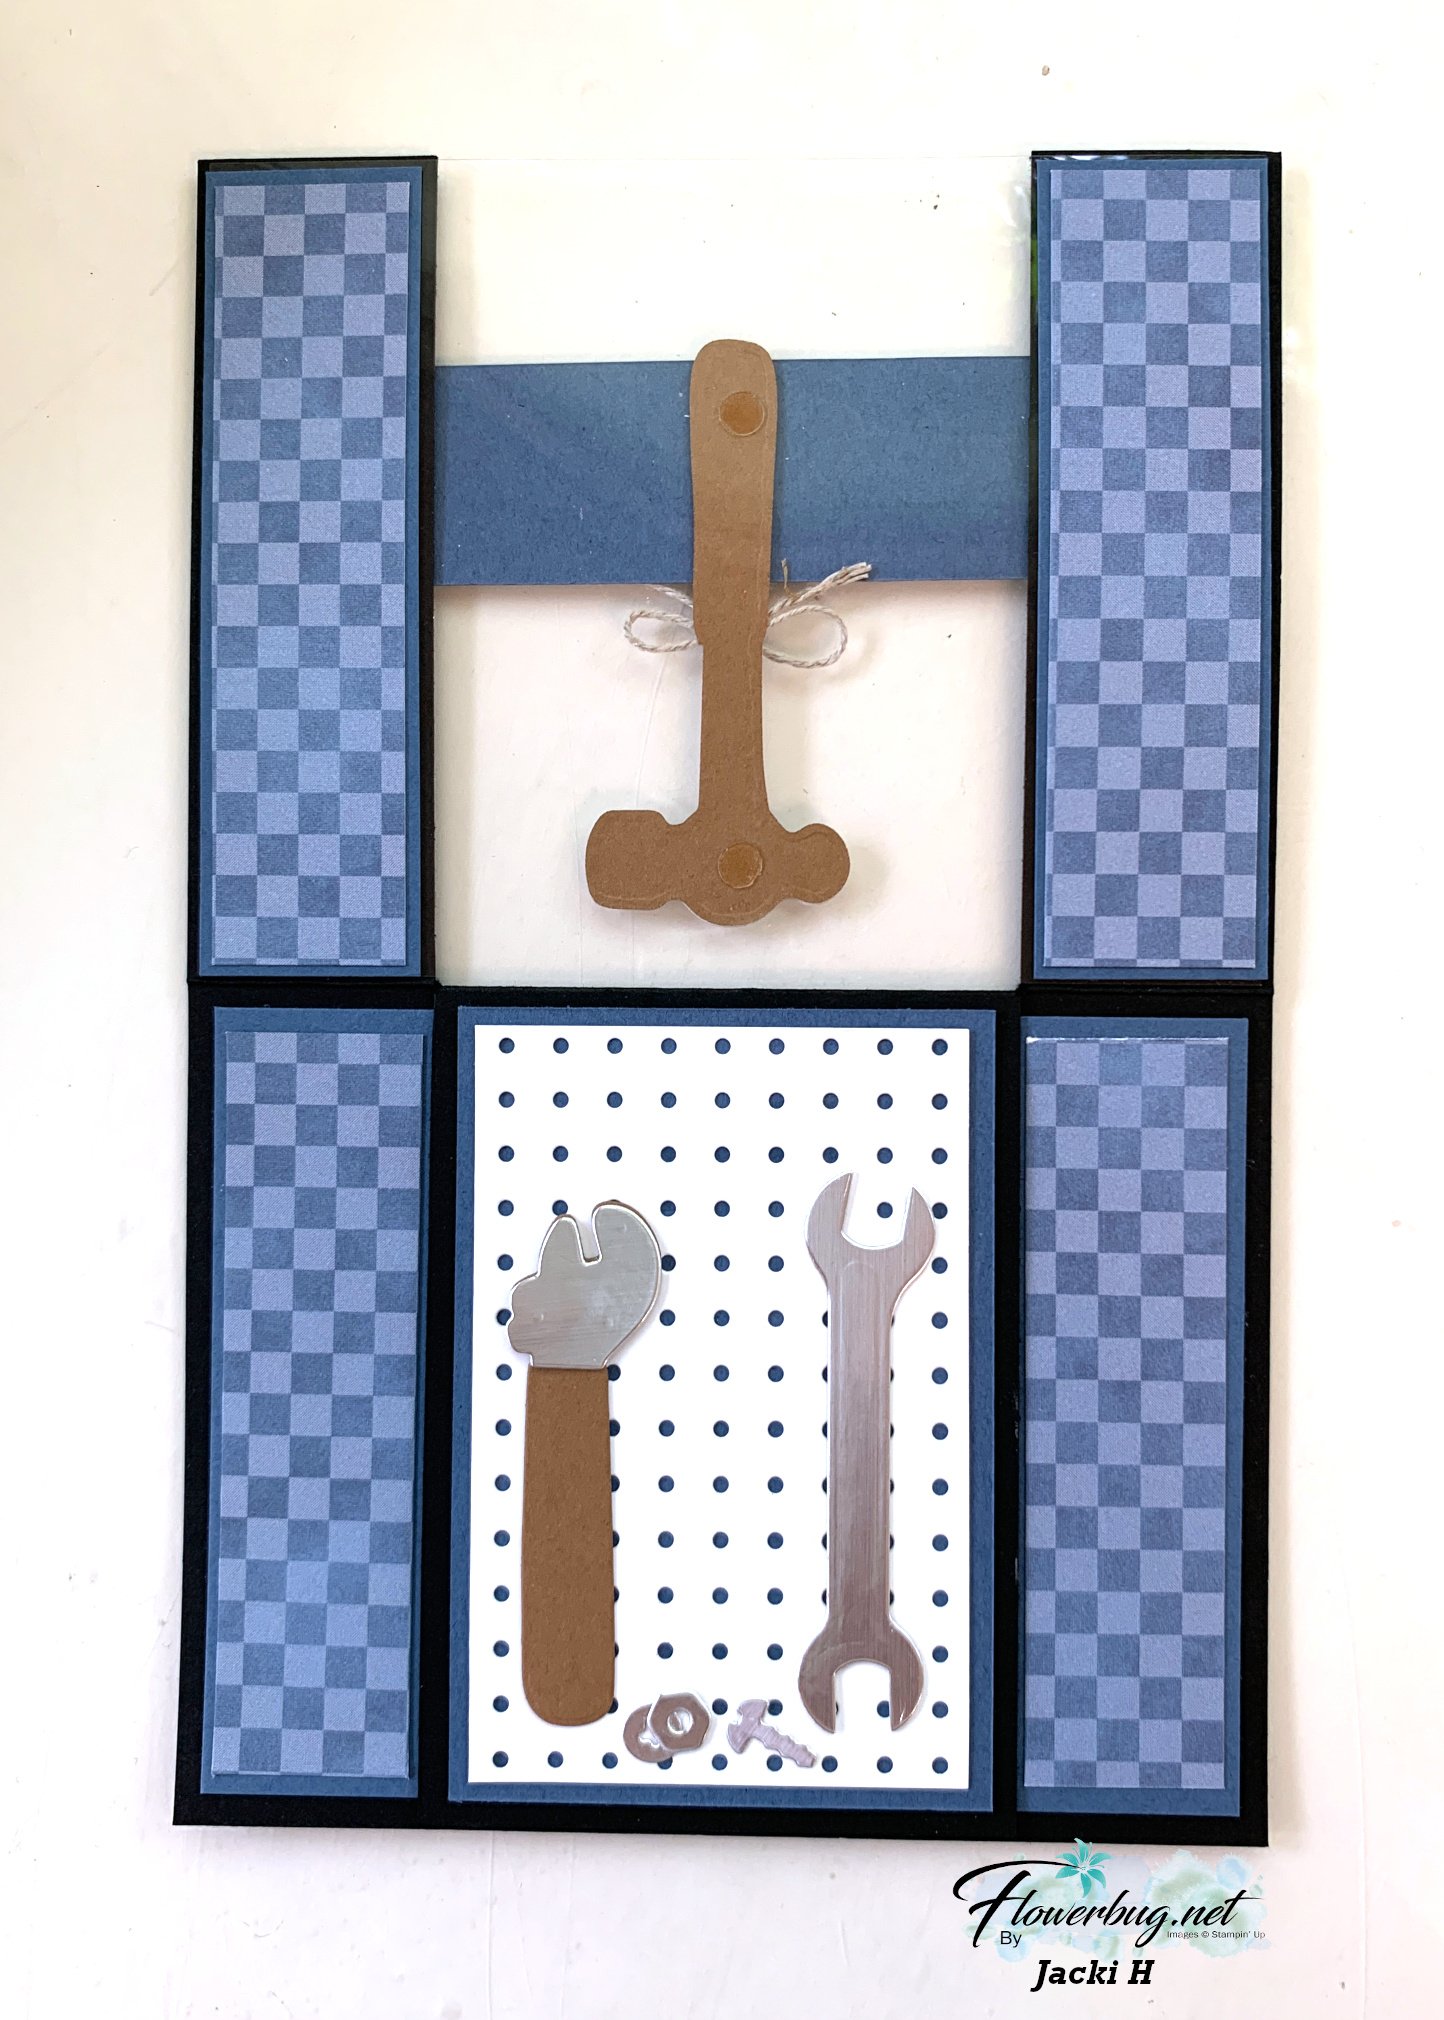
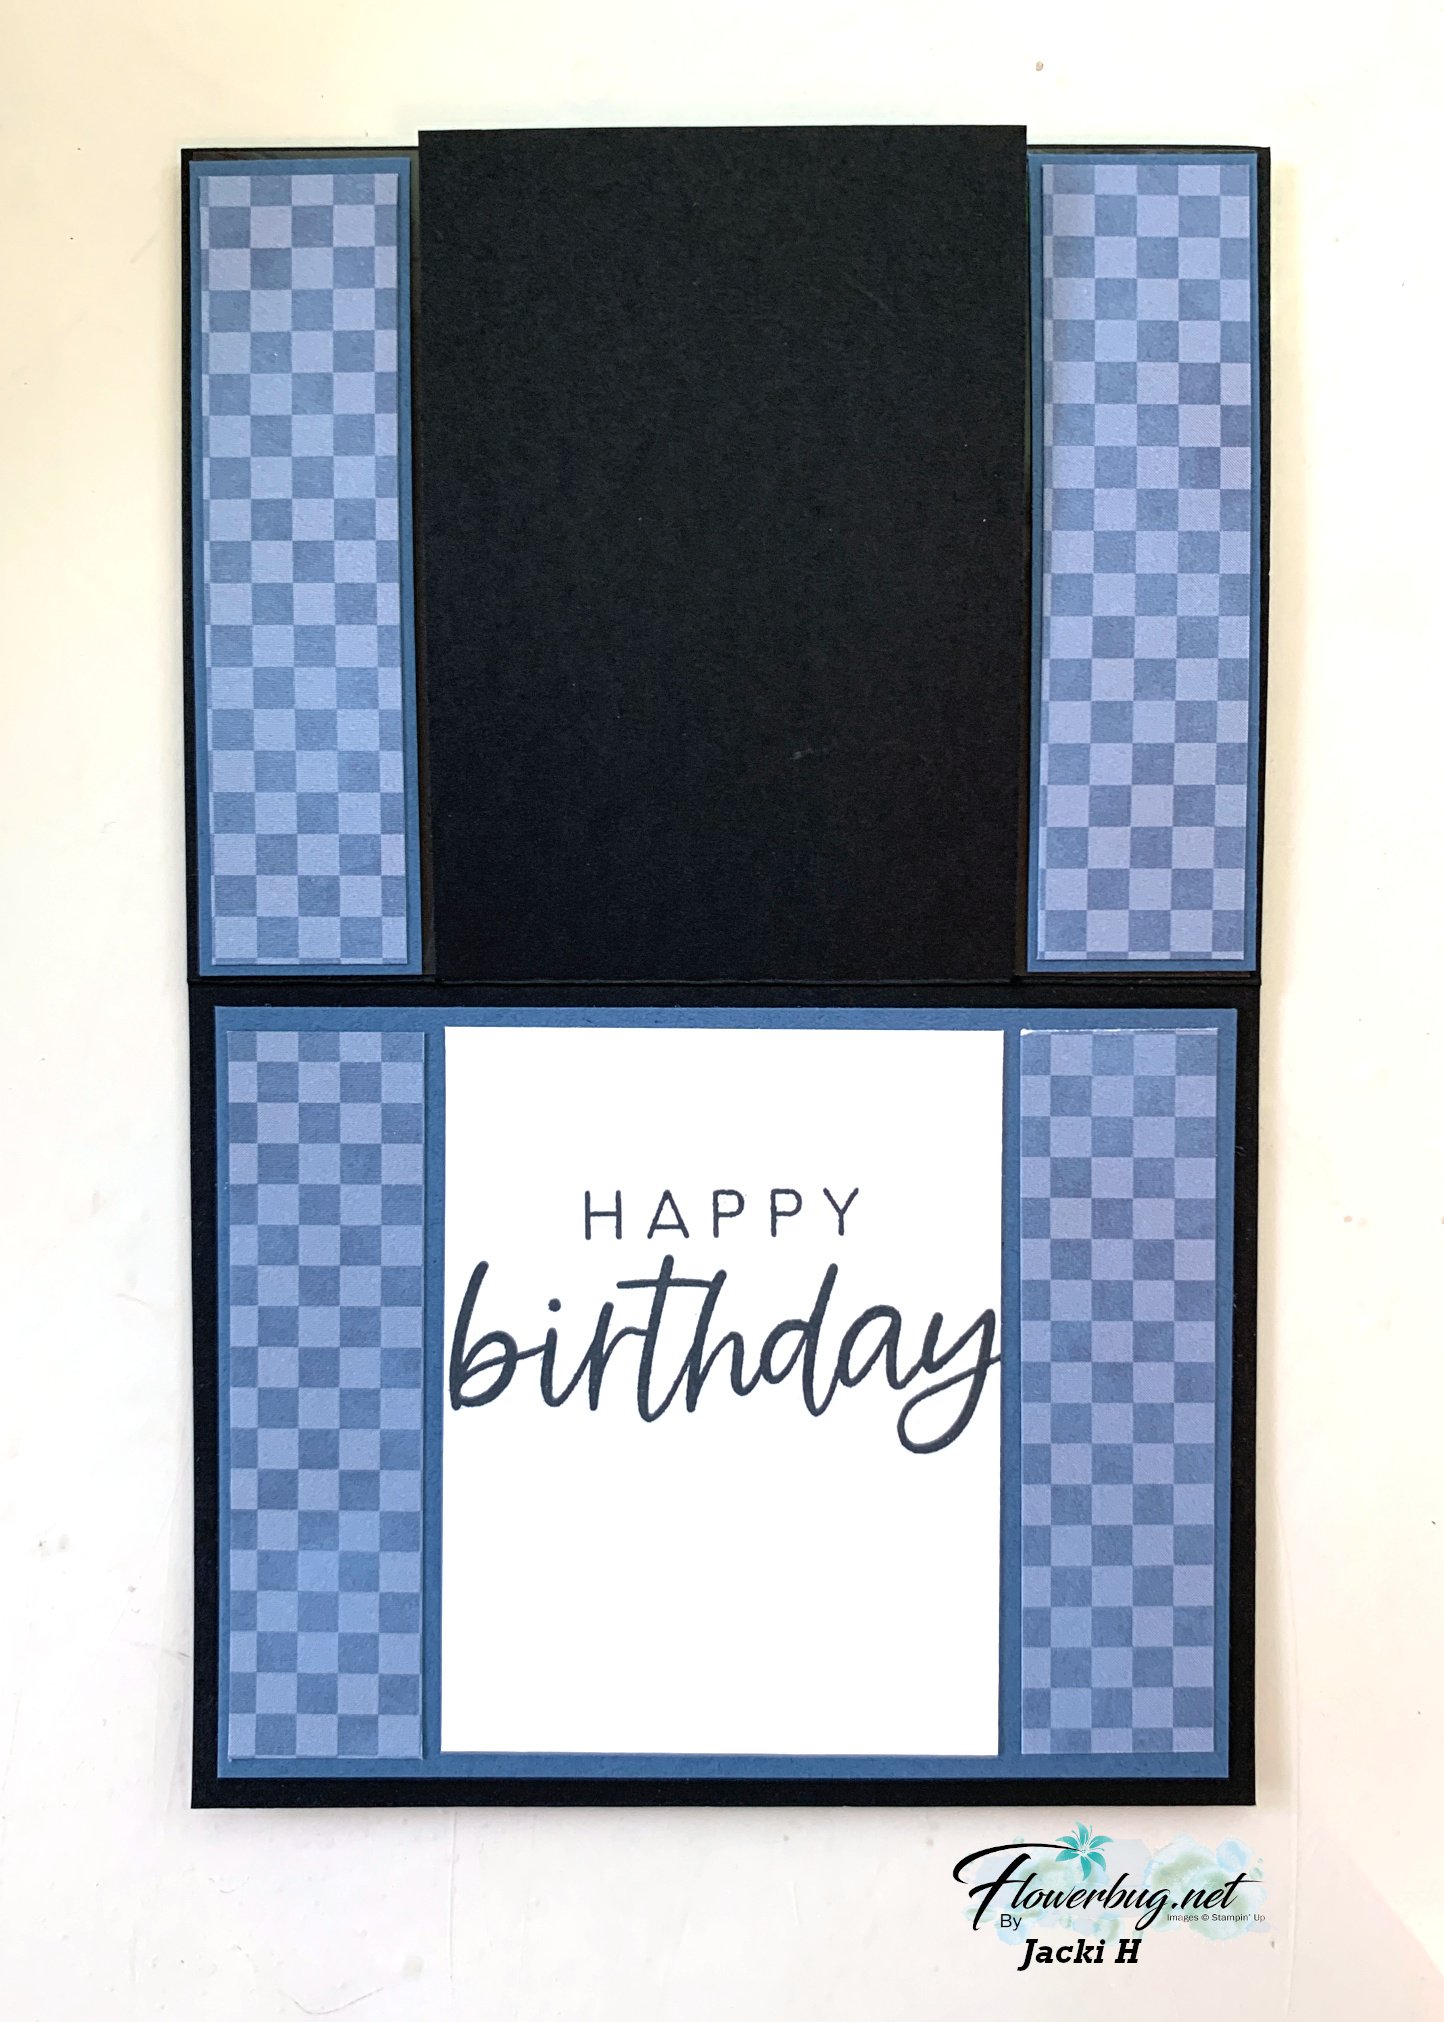
Today I'm sharing two neat fun fold cards made by a few of my Flowerbug's for a recent card swap. Our them was to use a new 2025-27 In Color and make it a fun fold.
First is a card made by Joan who used the new Online Exclusive set 'It's Okay' seen here.
She used the You are Remarkable stamp set seen here. It's a great 2-step set with lots of possibilities. Her colors include Strawberry Slush, Black, Gray and White. The Designer Paper is the Botanical Textures; also in our Online Store here.
Here are her measurements:
card base 8 1/4" X 5 1/2" score at 1", 2", 3" & 4"
Strawberry Slush textured layers – 3 at 7/8" X 5 1/4", 1 at 7/8" X 3 7/8"
Earn free card kits in June with online orders! Get 4 kits with a $50 order and orders over $80 receive all 6 cards. All you need are greetings, gems and adhesives to assemble.
Notice: LeeAnn Greff, Independent Stampin’ Up! Demonstrator, Manager. The content of this website is my sole responsibility as an independent Stampin’ Up! demonstrator and the use of, and content of, the classes, services, or products offered on this website is not endorsed by Stampin’ Up! Copyright 2025
Leave a Reply