/


Latest Post

Update on our move to Bismarck, ND


If you haven’t watched my recent videos you may not know that we have moved from Minot, ND to Bismarck, ND this month. It’s been a super busy time of downsizing, selling excess, packing and moving.

Why did we move? Well, there are many reasons but mostly my husband retired and we moved to be closer to our son and other family. It was very difficult to leave our beautiful home but we will love our new home too. Here’s a picture of my office/craft room before I was able to unpack. I’ll share new photos once I’m settled.
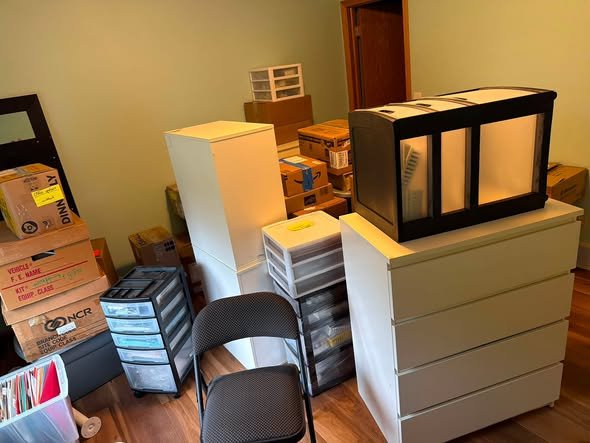
In that back doorway is a walk in closet; that will help with storage! I did find a nice L shaped desk and hope to get that set up today; then I can really set up my room.
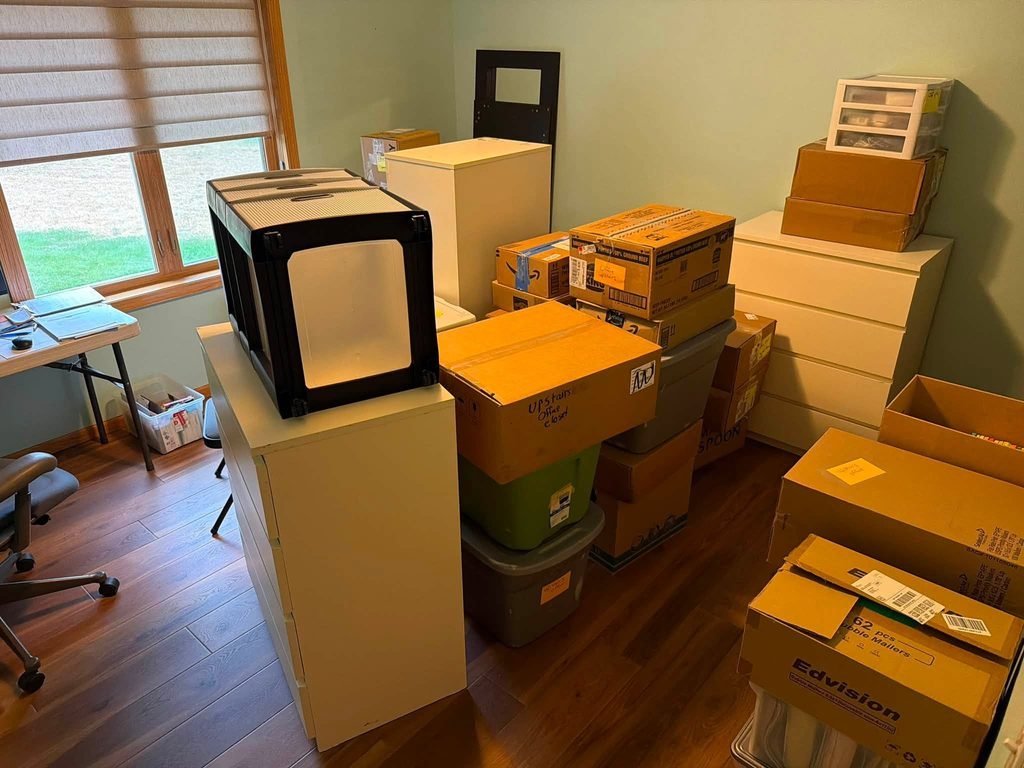
This is why I’ve been missing in action lately; it’s hard to do both stamping/business and moving/getting settled. So I’m taking a bit of a break in August. Have patience with me; I’ll be back to blogging and videos soon!
All Posts

  • August specials include a free class with online orders!


    Happy August!

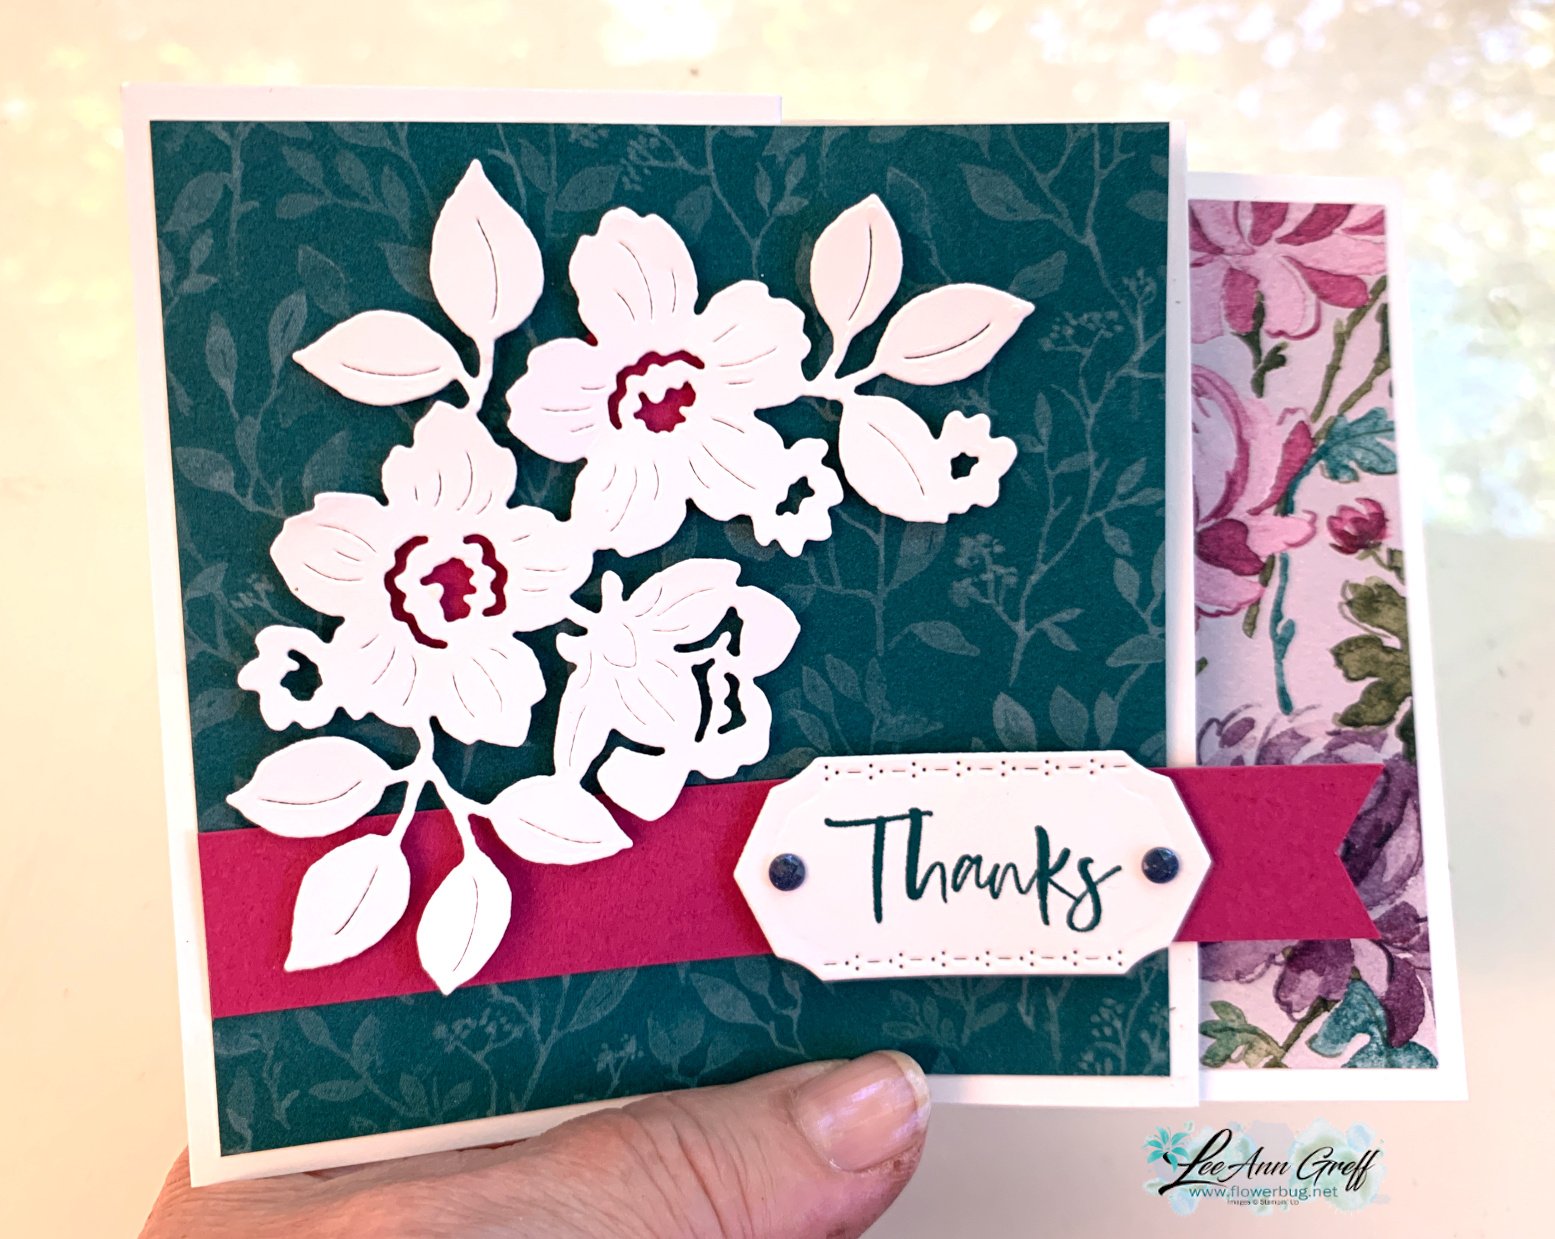
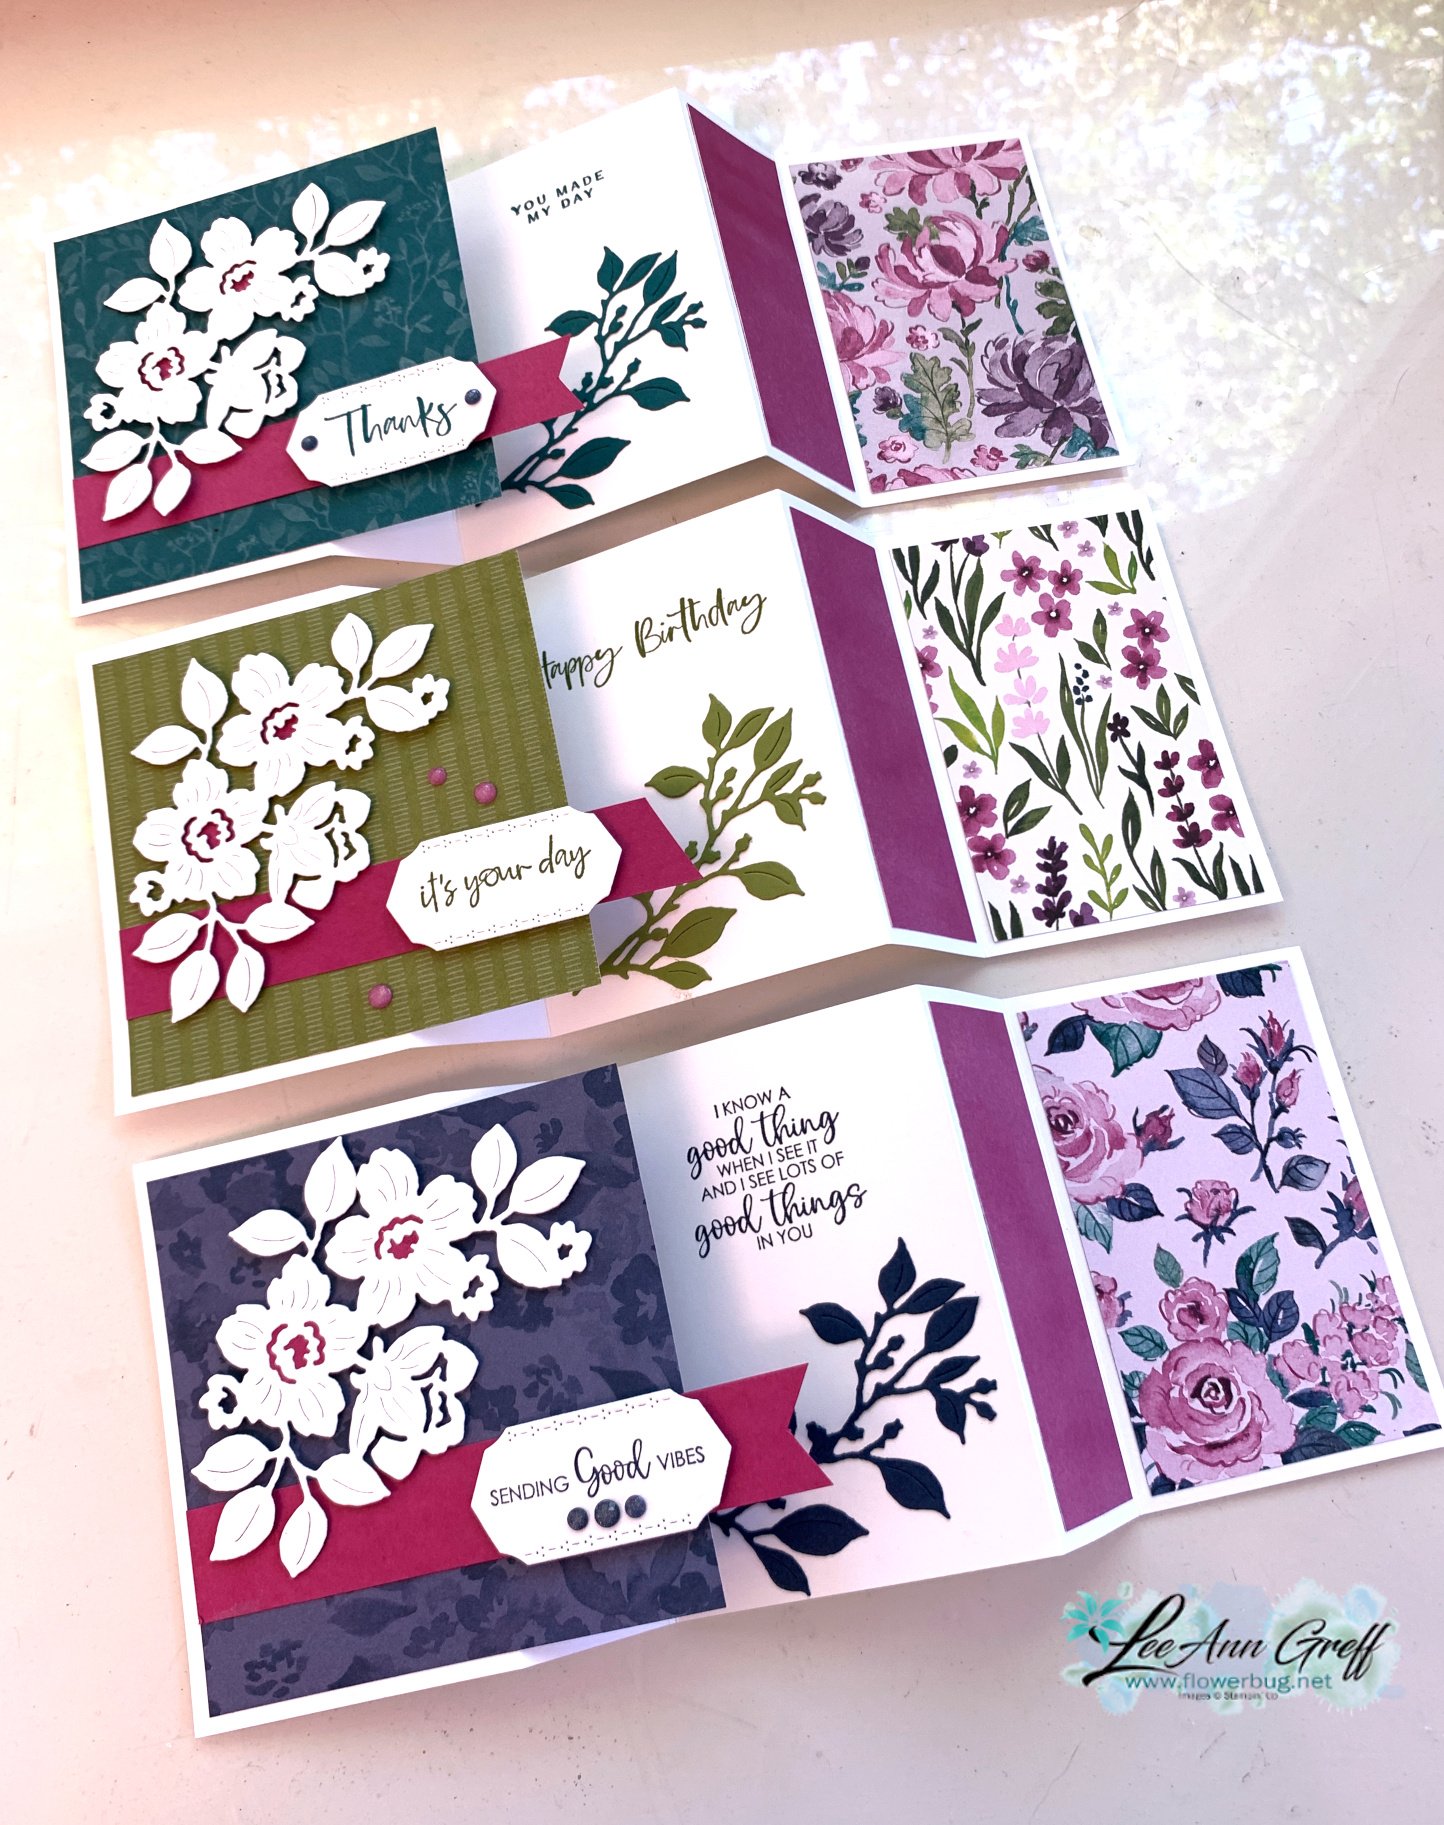
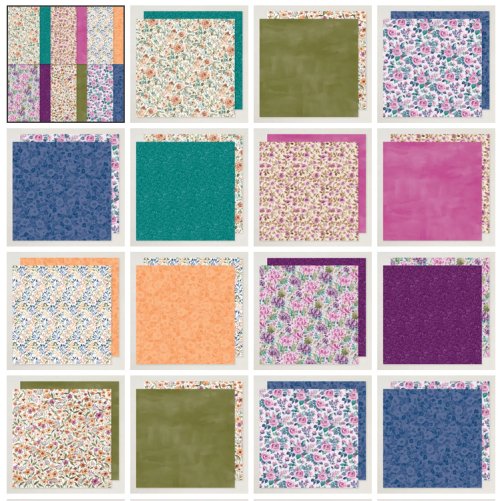
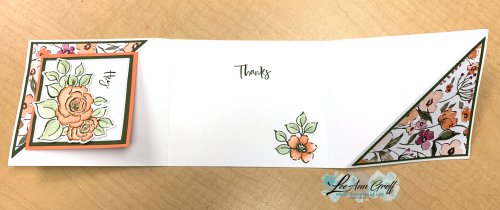
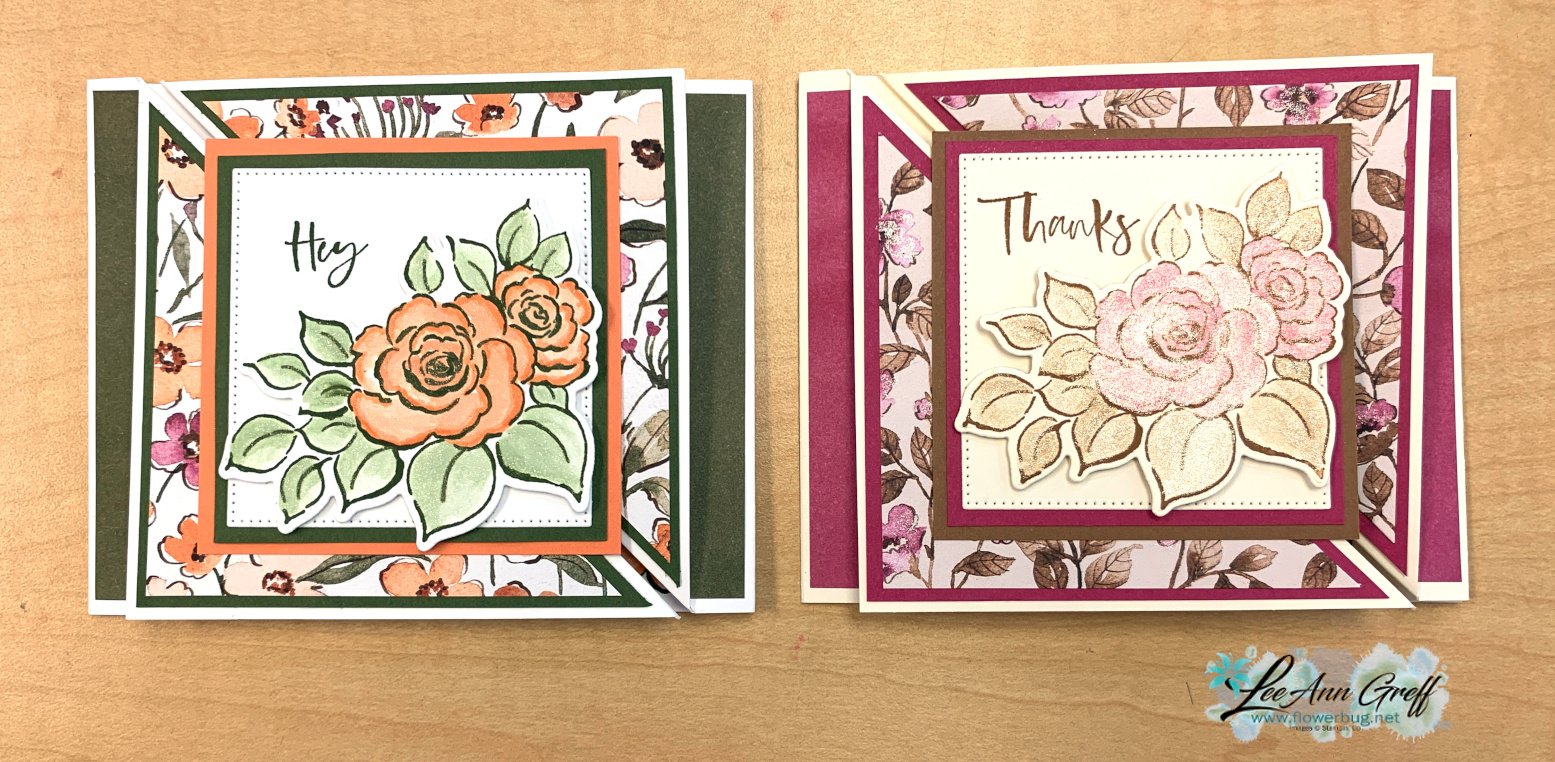
    This month I’m offering a free class with online orders over $55. It will include a 3 card kit featuring the Floral Impressions DSP seen here. All you’ll need are greetings, inks and adhesives.  

    • Everything is pre-cut and punched for you. Ribbon is included but embellishments are not. 
    • I’ll mail you the pre-cut kit including the printed project sheets!  All you need to do is place an order with me over $55 before tax and shipping. 

    Go here to order! 

    ~~~

    Starting August 5th Stampin’ Up! is offering a discount on tons of 2025-27 In Color products!  This will include many DSP packages, embellishments, kits, inks, refills and Blends markers! 

    See everything that will be discounted 15% on Tuesday, August 5th here. 

    ~~~

    New products will be released to the Last Chance list on August 5th. Don’t miss out on the best deals that day!

    Go here to shop. 

    Leave a Reply

    Your email address will not be published. Required fields are marked *

  • An easy card with Prairie Grass & Thoughtful Journey


    Here’s the last card I shared on last week’s video – all three featured the beautiful Prairie Grass stamp set seen here.  Unfortunately it is now out of stock but you can add your email to be informed when it’s available. 

    I stamped it onto a piece of Thoughtful Journey designer series paper. Then I cut it into 3/4″ strips before adhering it onto the Black CS layer and then the White card base. 

    You might wonder where the layered greeting shape is from. I used the To the Point punch with a 3/4″ strip of DSP like this: 

    Tip: Insert your paper through the back of the punch like you see above.  Notice it’s not through the side; but inserted into the back area.  Once you do both ends and you’re happy with the length of it, adhere it to a Black strip 1″ wide and punch both ends to layer evenly.  

    Here’s the free project sheet for this card. Print or download it by clicking on this link: Download Prairie Grass scene

    And here’s the video below where I share how to create this gorgeous card and two other cards featuring this amazing Prairie Grass stamp set. 

    ~~~

    July Specials:


    New Online Exclusives are here!  Click here

    ~~~

    Get my Turtle-y Cute PDF tutorial free with any online order in July!

    Leave a Reply

    Your email address will not be published. Required fields are marked *

  • Stunning Prairie Grass sunset scene with a masked moon & video tutorial


    I'm thrilled to share this amazing card with you today.  We made it at my July card clubs. 

    I created a beautiful sunset with stamps, ink and a 'moon mask'.  I used Blending Brushes with Secret Sea, Darling Duckling and Timid Tiger inks.  

    It features the beautiful Prairie Grass stamp set seen here.  Since I'm from North Dakota where we have tons of 'prairie' this set was a must have!  *Unfortunately it is now out of stock but you can add your email to be informed when it's available. It should be back around August 11th. 

    After stamping the grassy image we added a post-it note mask made from a circle punch. Then we blended the inks on little by little.  It's important to use less ink and more time to get this pretty soft effect. 

    See the flap on the left side of the card above?  That flap holds down the front of the card.  So simple but a fun technique. Notice the light sponging on the greeting inside?  

    I created a free project sheet for this card.  You can print or download it by clicking on the following link: Download Prarie Grass July 2025

    And here's the video below where I share how to create this gorgeous card and two other cards featuring this amazing Prairie Grass stamp set. 

    ~~~

    July Specials:


    New Online Exclusives are here!  Click here

    ~~~

    Get my Turtle-y Cute PDF tutorial free with any online order in July!

    Leave a Reply

    Your email address will not be published. Required fields are marked *


Notice: LeeAnn Greff, Independent Stampin’ Up! Demonstrator, Manager. The content of this website is my sole responsibility as an independent Stampin’ Up! demonstrator and the use of, and content of, the classes, services, or products offered on this website is not endorsed by Stampin’ Up! Copyright 2025