I thought I'd share a few of my favorite deals happening right now. Between the Last Chance list and the Clearance Rack there is a lot and it changes daily.
Lists can be hard to read so I’ve got pictures for you!
Fabulous Kits & quick cards:
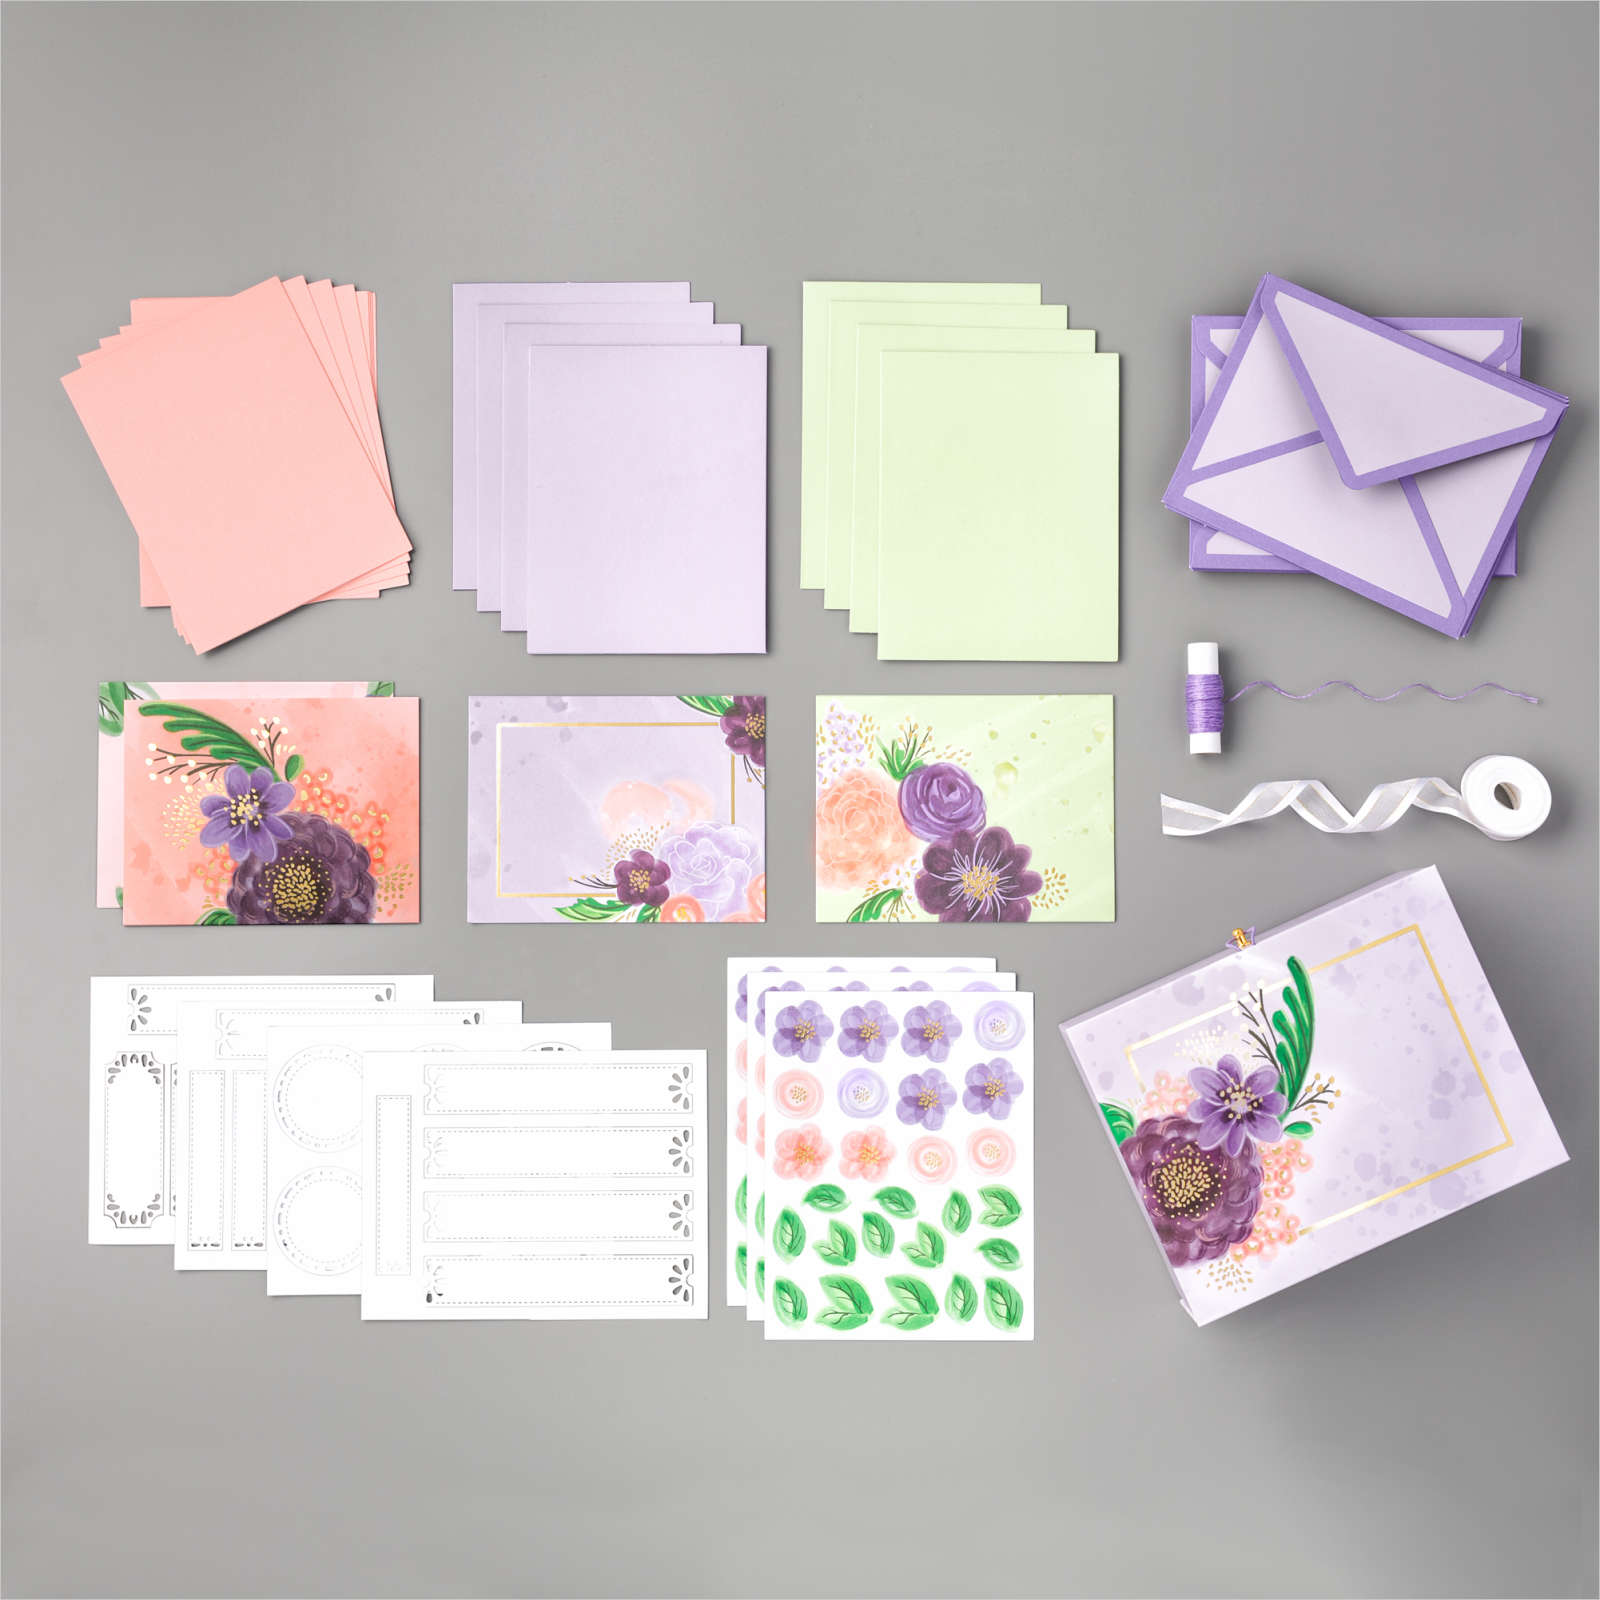
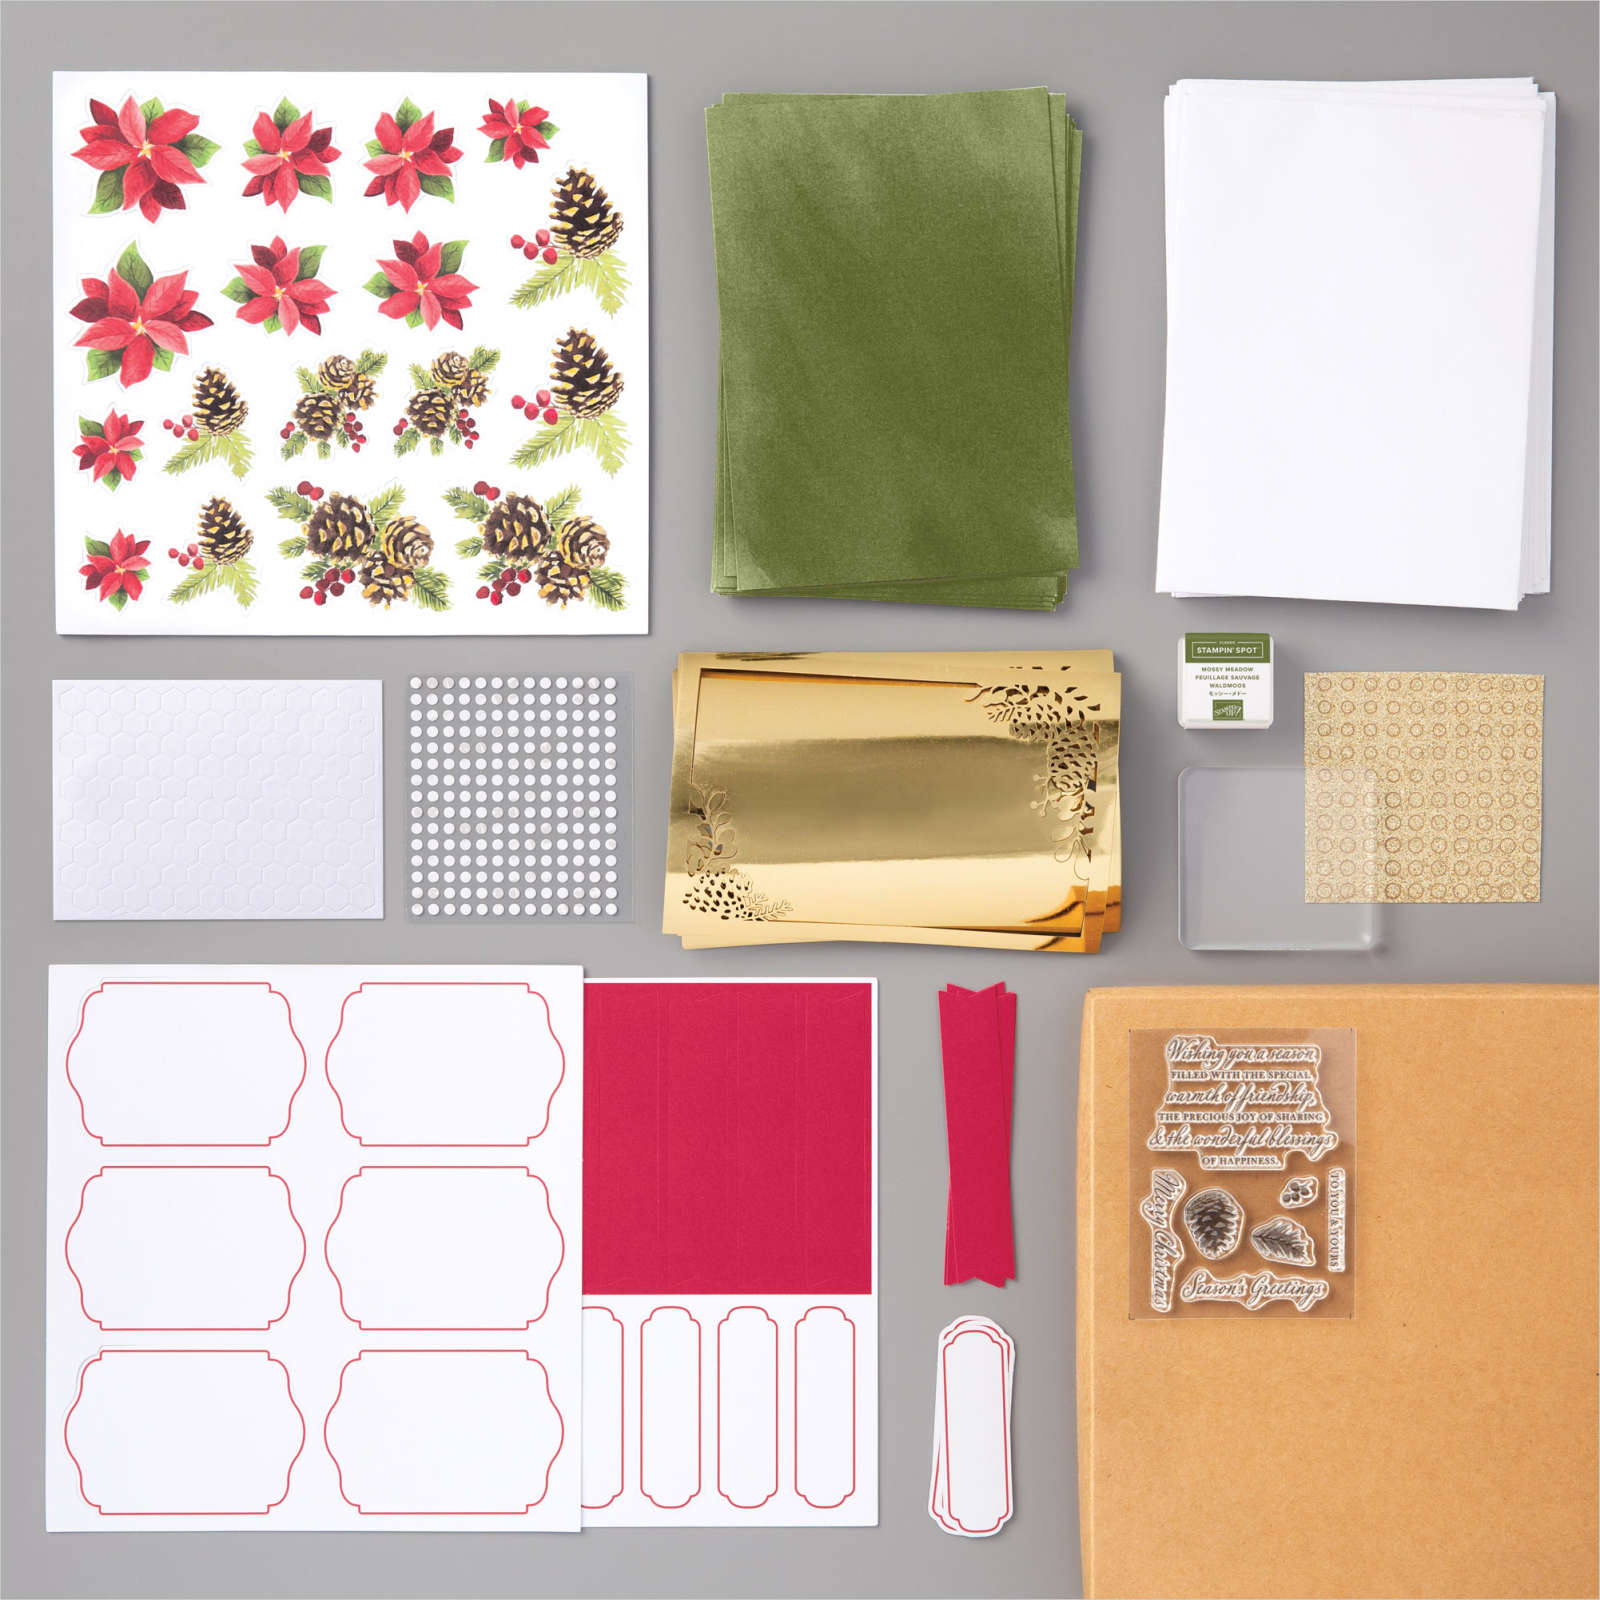
Gorgeous Posies card kit with box! $25.60 (was $32)
Makes 16 cards: 4 each of 4 designs. Complete using the Gorgeous Posies Cling Stamp Set (sold separately) or any other greetings set.
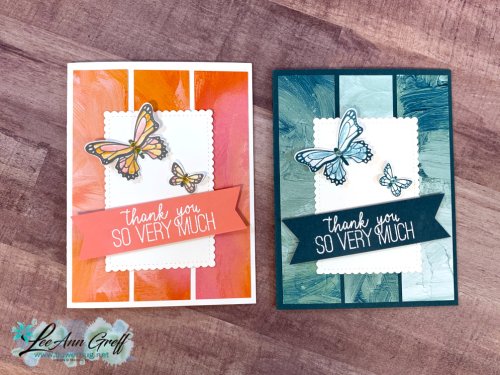
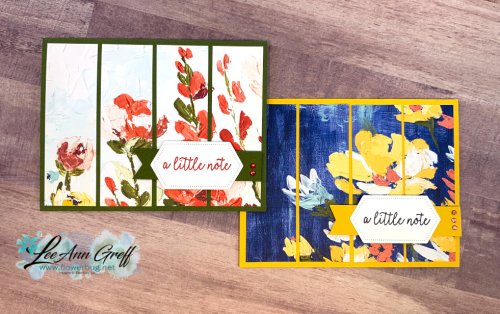
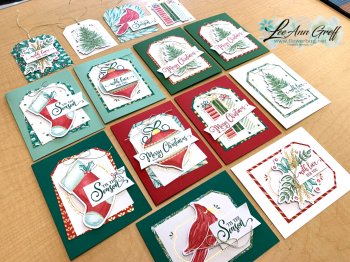
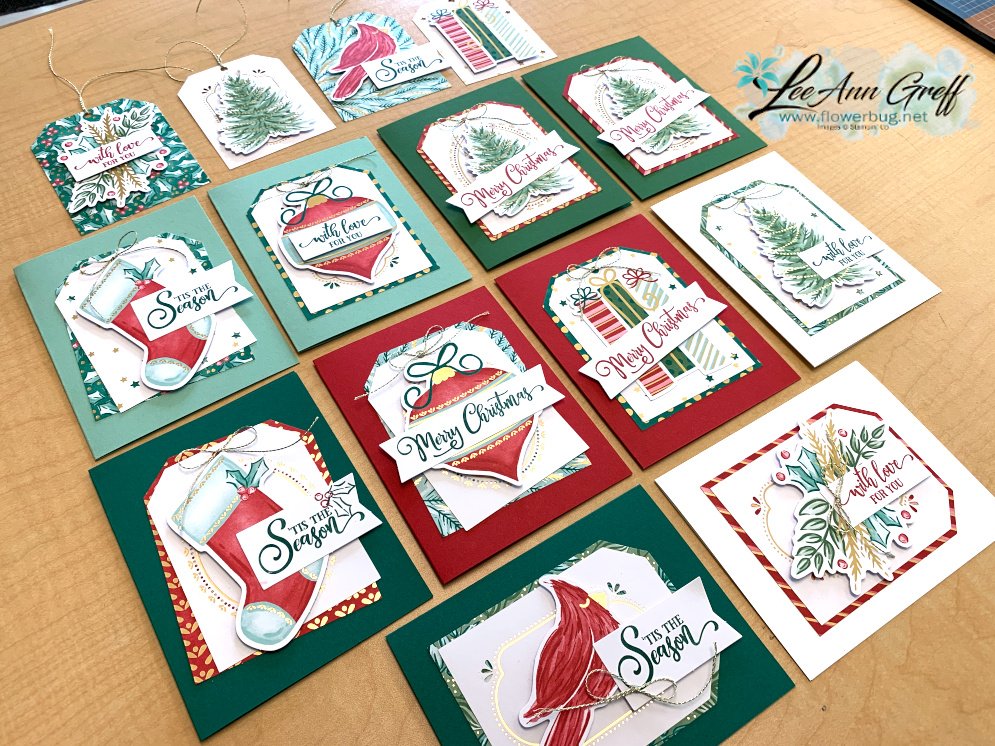
Tag Buffet Project Kit $18 (was $30) *You can see the cards I made with these tags below!
Makes 30 Christmas tags: 5 each of 6 designs
* Tag size: 3-1/4" x 4-1/4"
* Includes 7-5/8" x 5-3/4" x 1-3/4" designer box
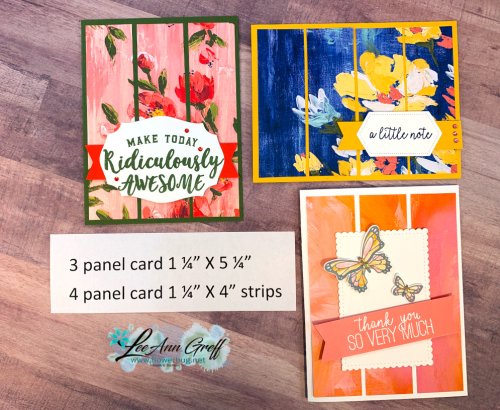
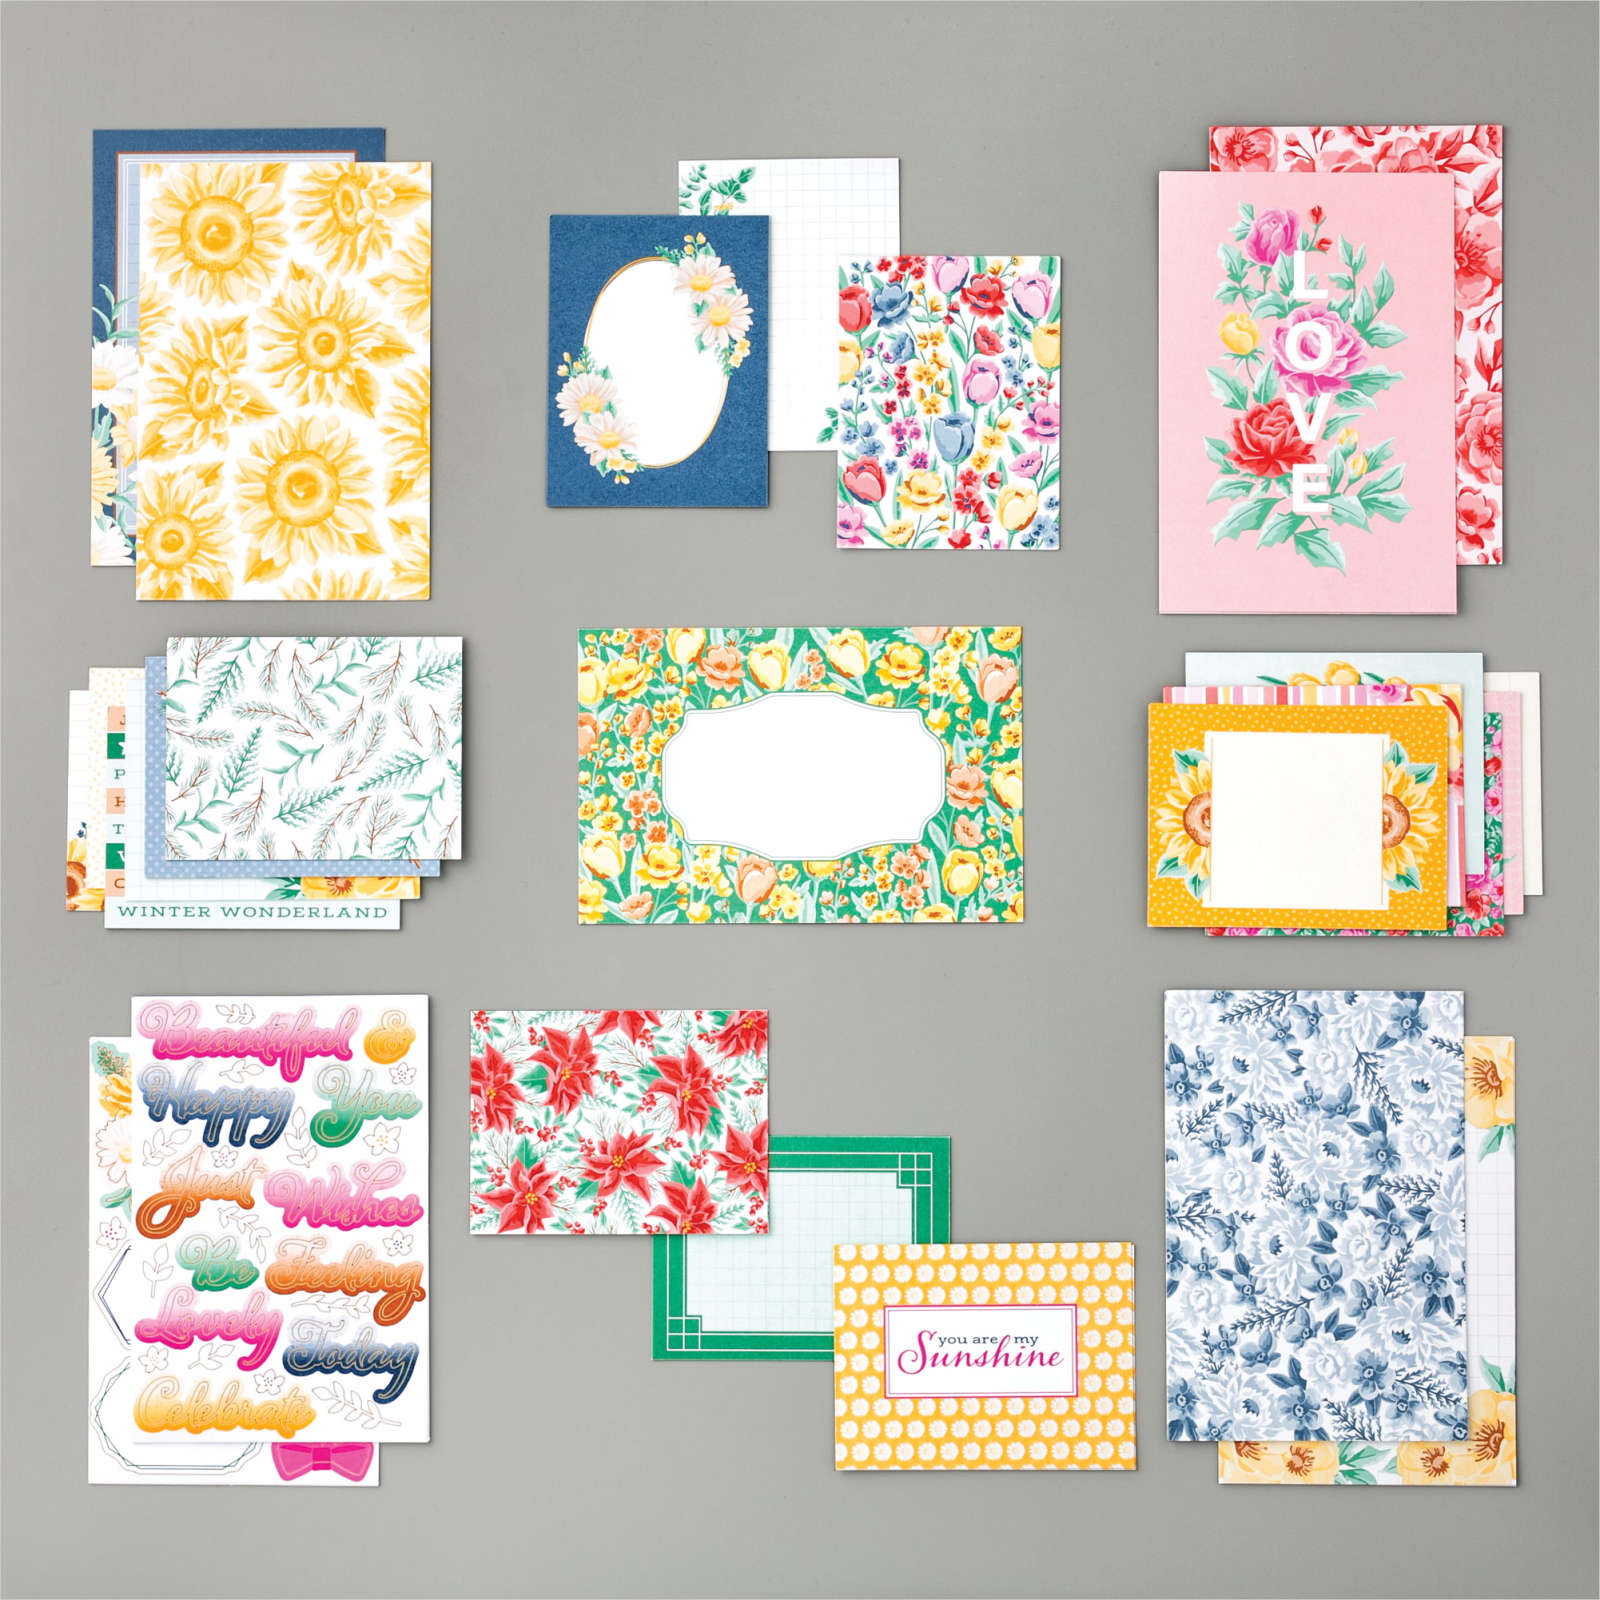
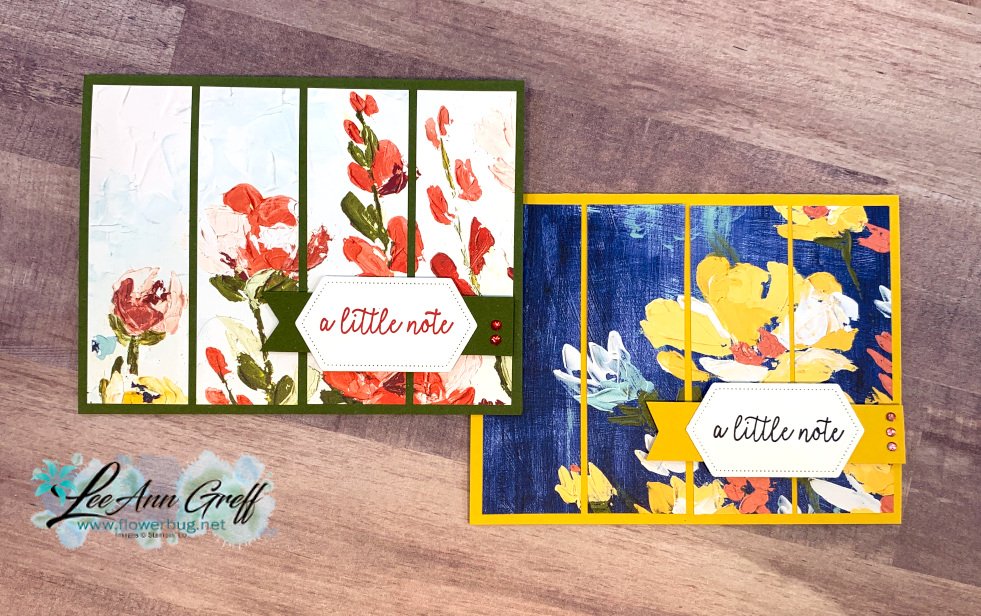
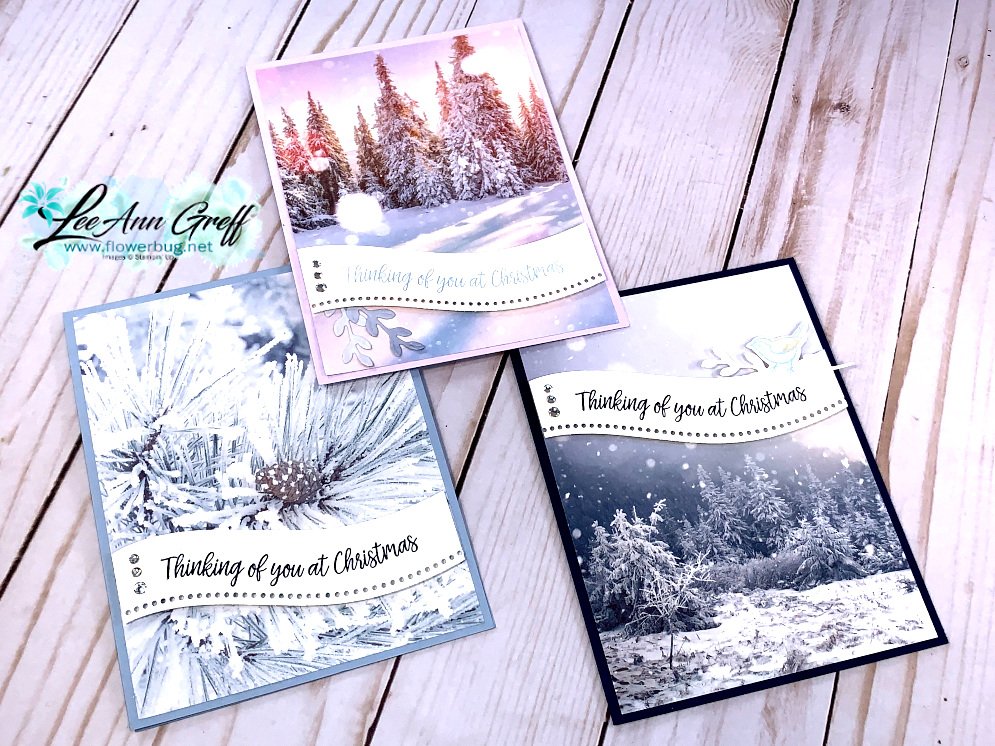
Flowers for Every Season Memories & More cards pack $4.40 (was $11) *See the pretty cards I made with them below with no stamping! (Get the cards & envelopes to match here. They're also on sale for a perfect sale match-up!
Includes 50 total double-sided cards (2 each of 25 designs) in 3" x 4" (7.6 x 10.2 cm) and 4" x 6" (10.2 x 15.2 cm) sizes; 4 sticker sheets, 2 each of 2 designs.
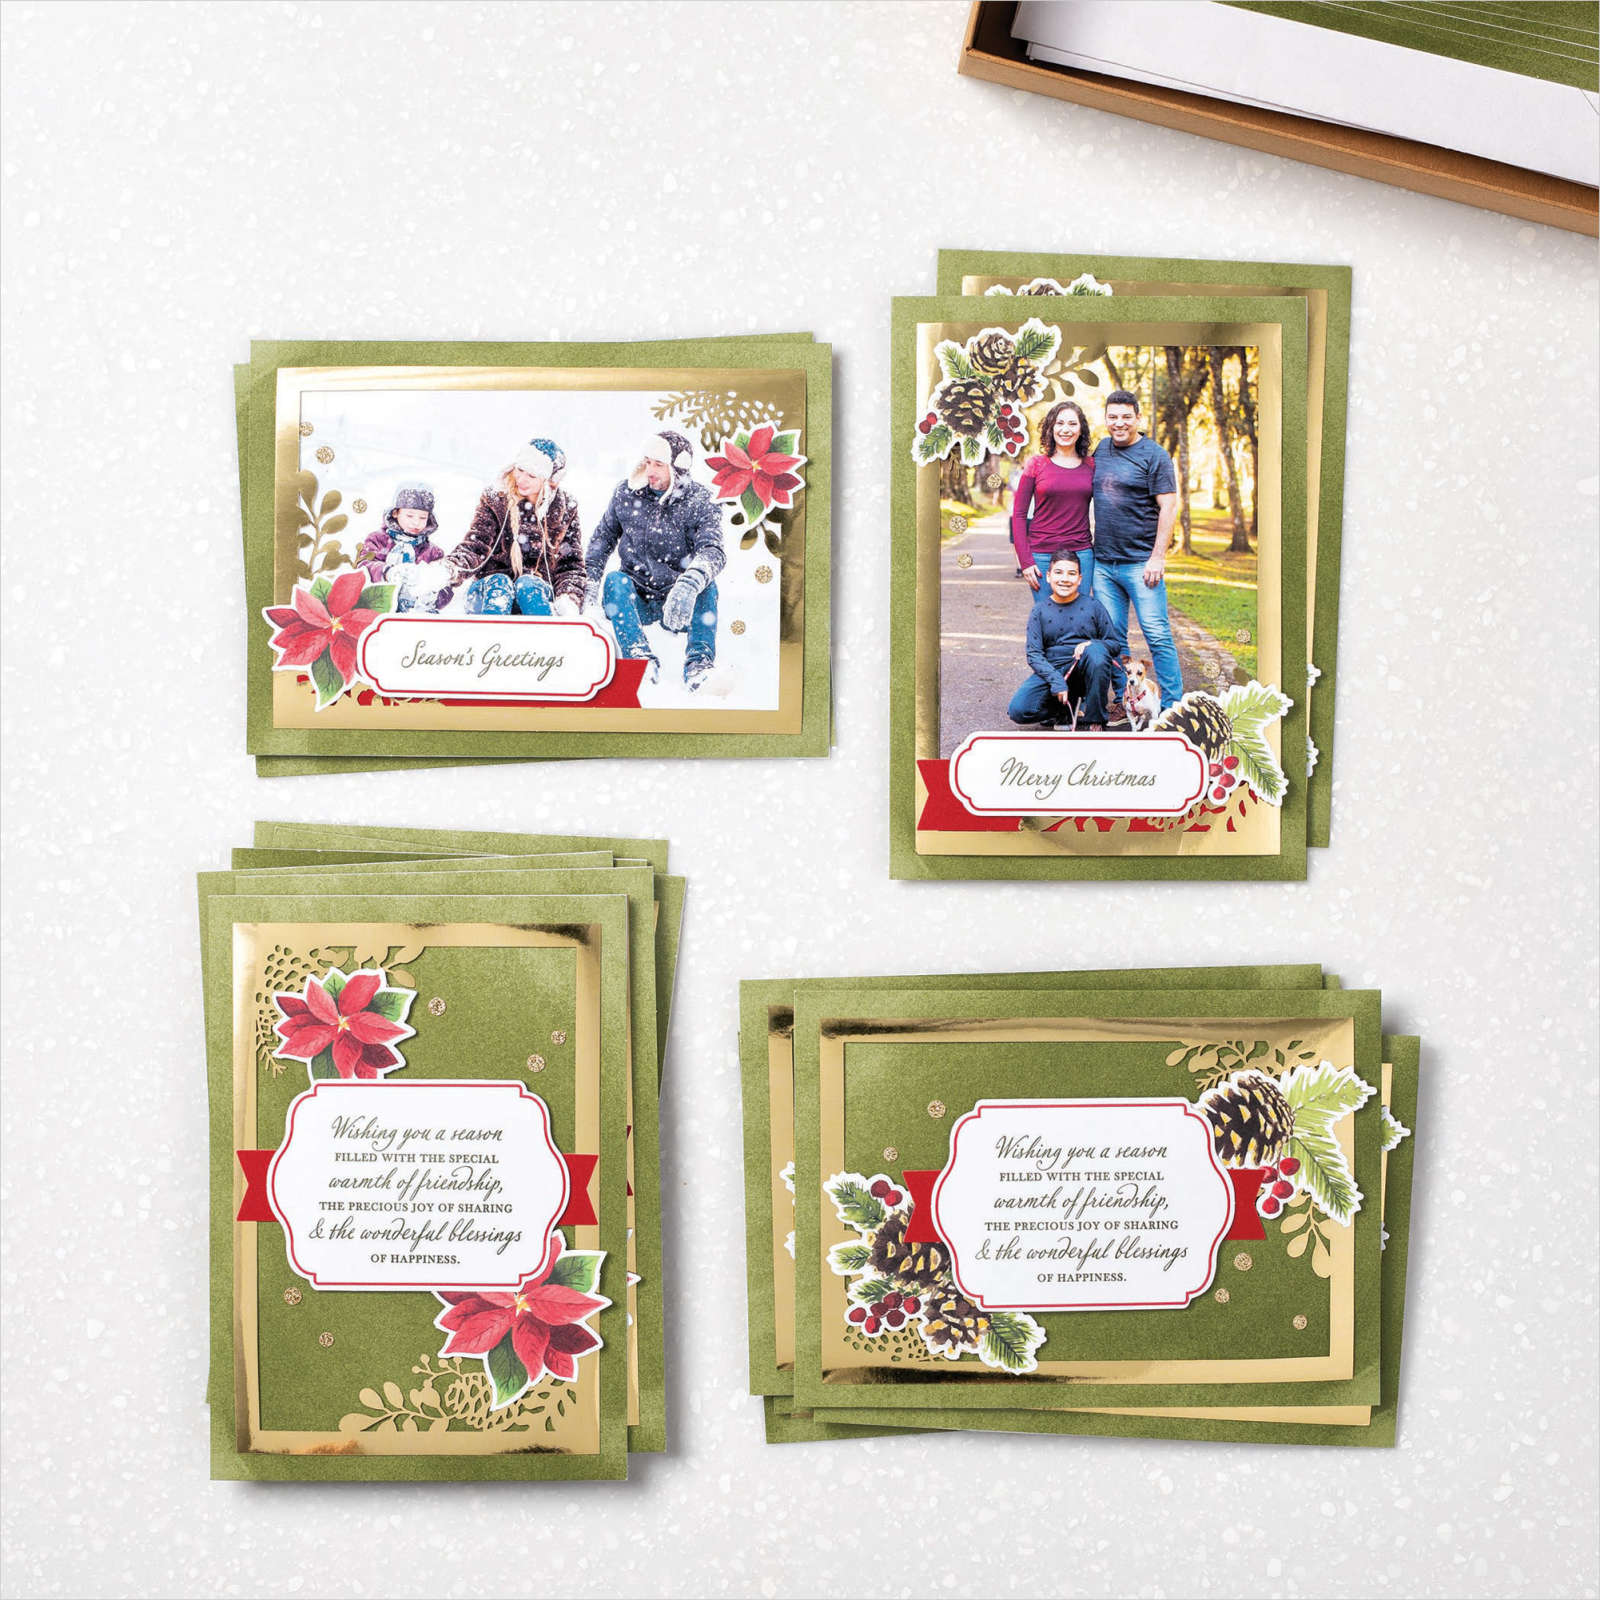
Joy of Sharing Card kit $21 (was $35) *perfect for this year's Christmas photo cards!
Create classic Christmas cards with the all-inclusive Joy of Sharing Card Kit! This kit is perfect for new crafters, busy crafters, or crafters on the go.
* Kit includes the 7-piece Joy of Sharing Photopolymer Stamp Set
* Makes 15 traditional or photo cards and envelopes
Embellishments:
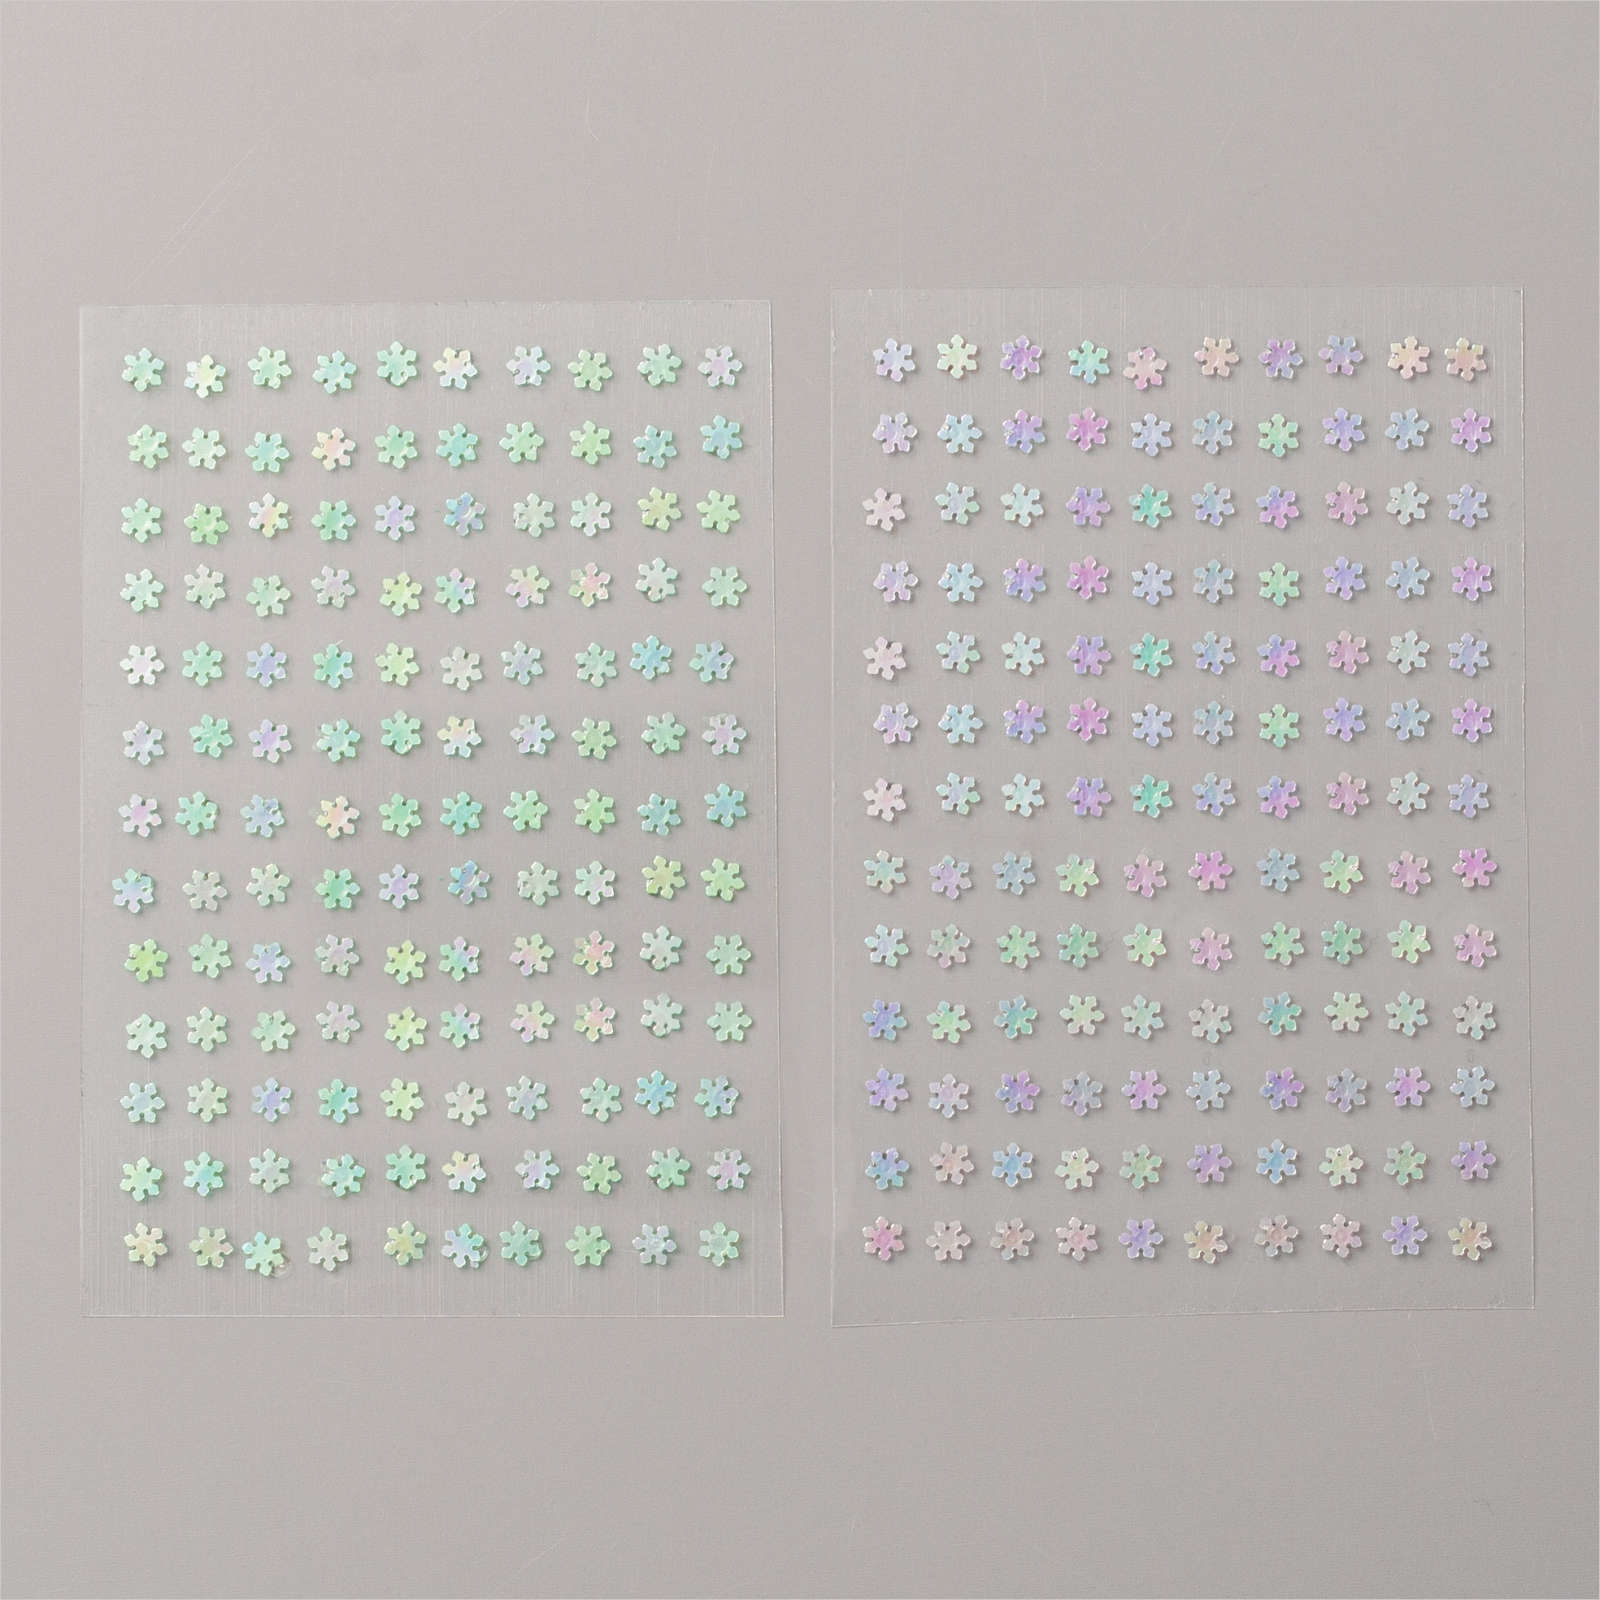
Adhesive Backed Sequins $3.60 (was $7.50)
These were a big favorite! You get 260 Adhesive-backed Snowflakes;130 each of 2 colors
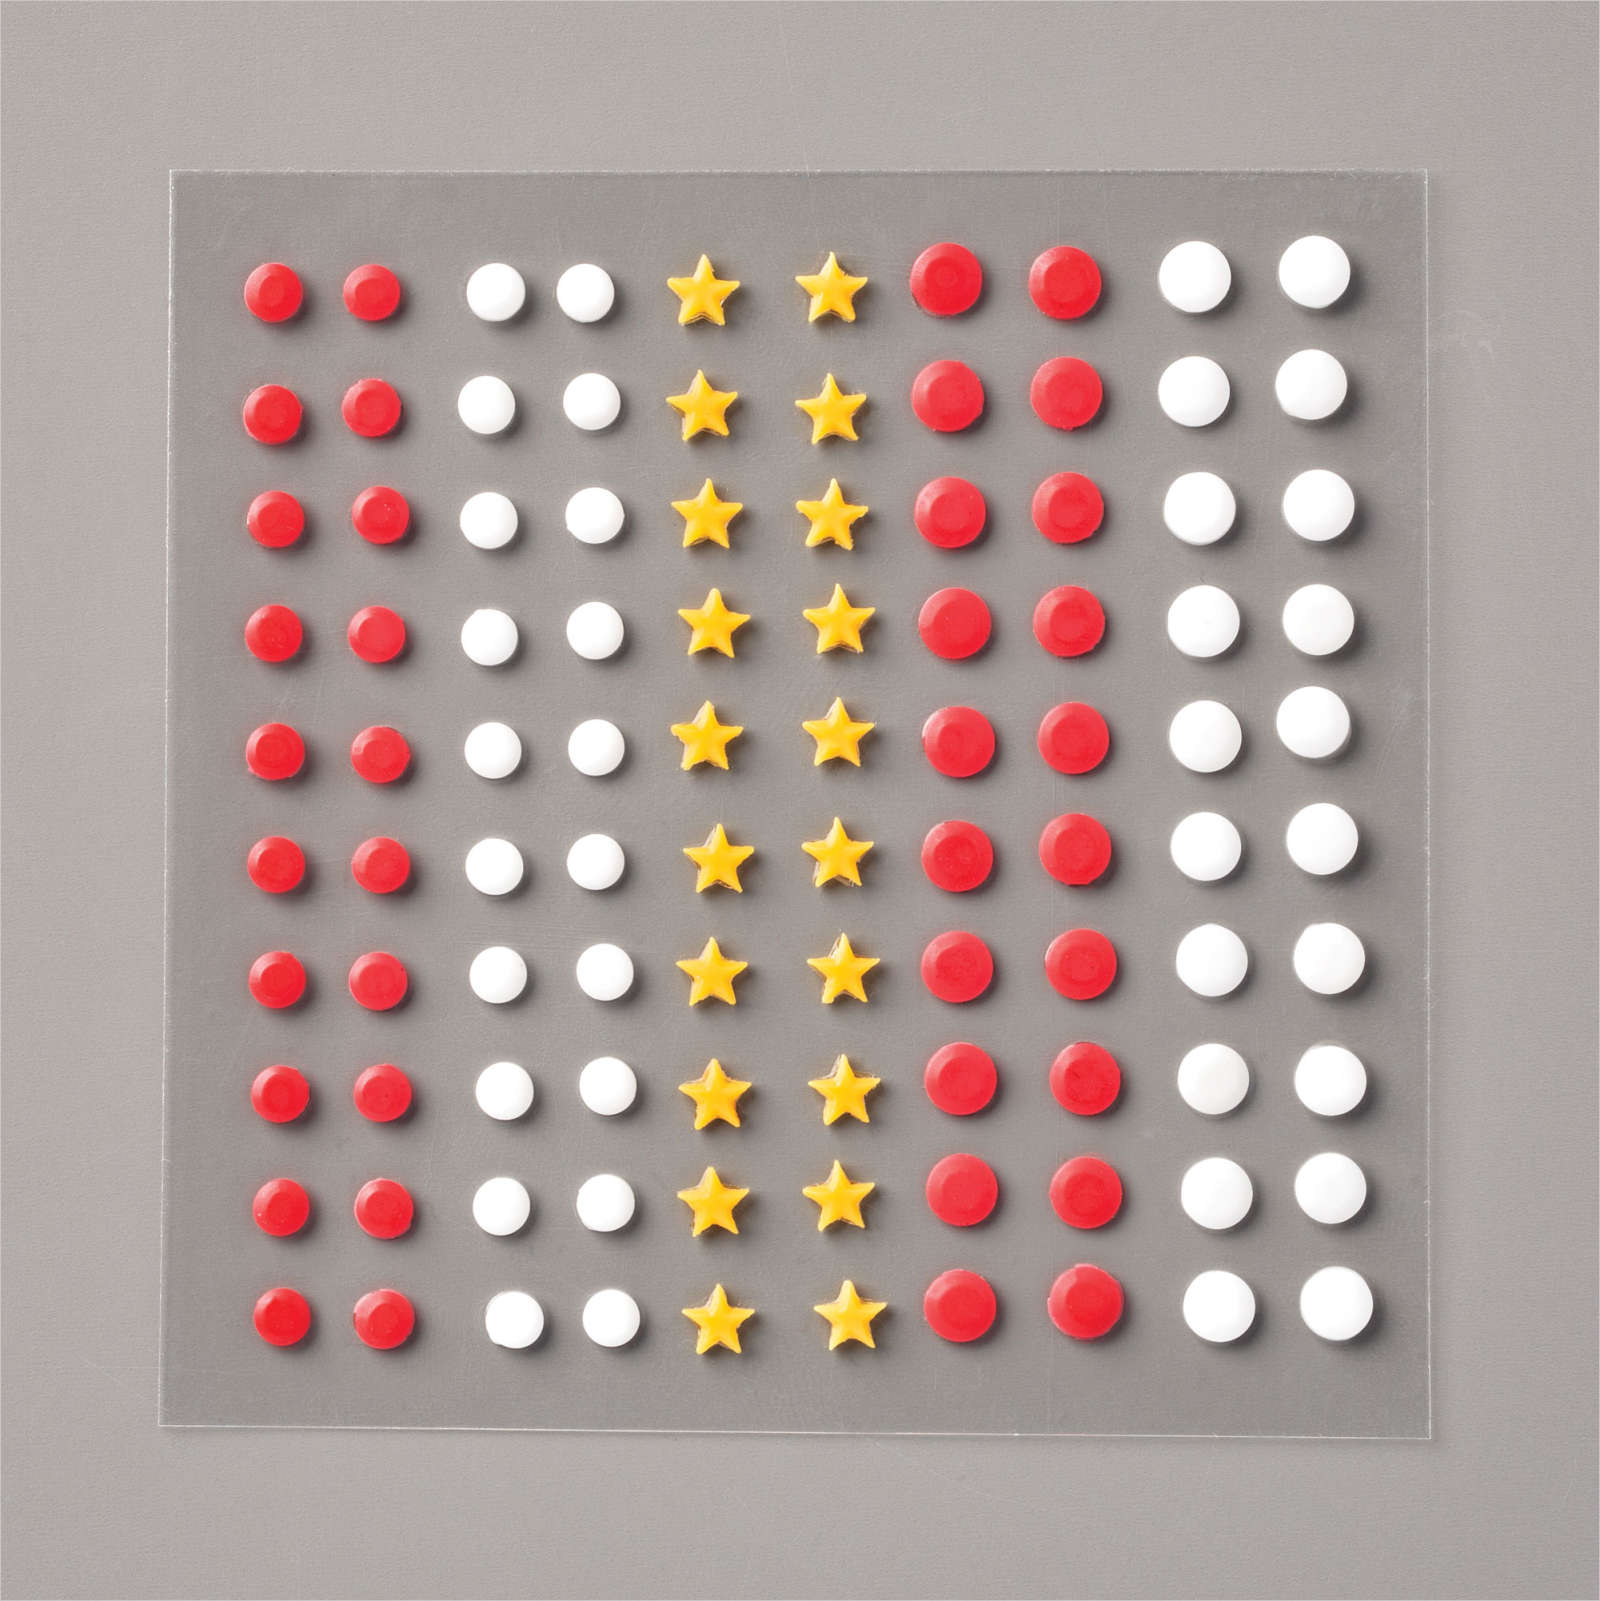
All the Trimming embellishments $4.80 (was $8) 100 pieces: 80 dots, 40 each in Poppy Parade and white; 20 stars in Bumblebee
Paper!
Feels Like Frost Specialty Designer Paper $9 now; was $15
I cannot believe this is available; they ran out of it twice! 48 double-sided sheets: 4 each of 12 designs; 6" x 6"
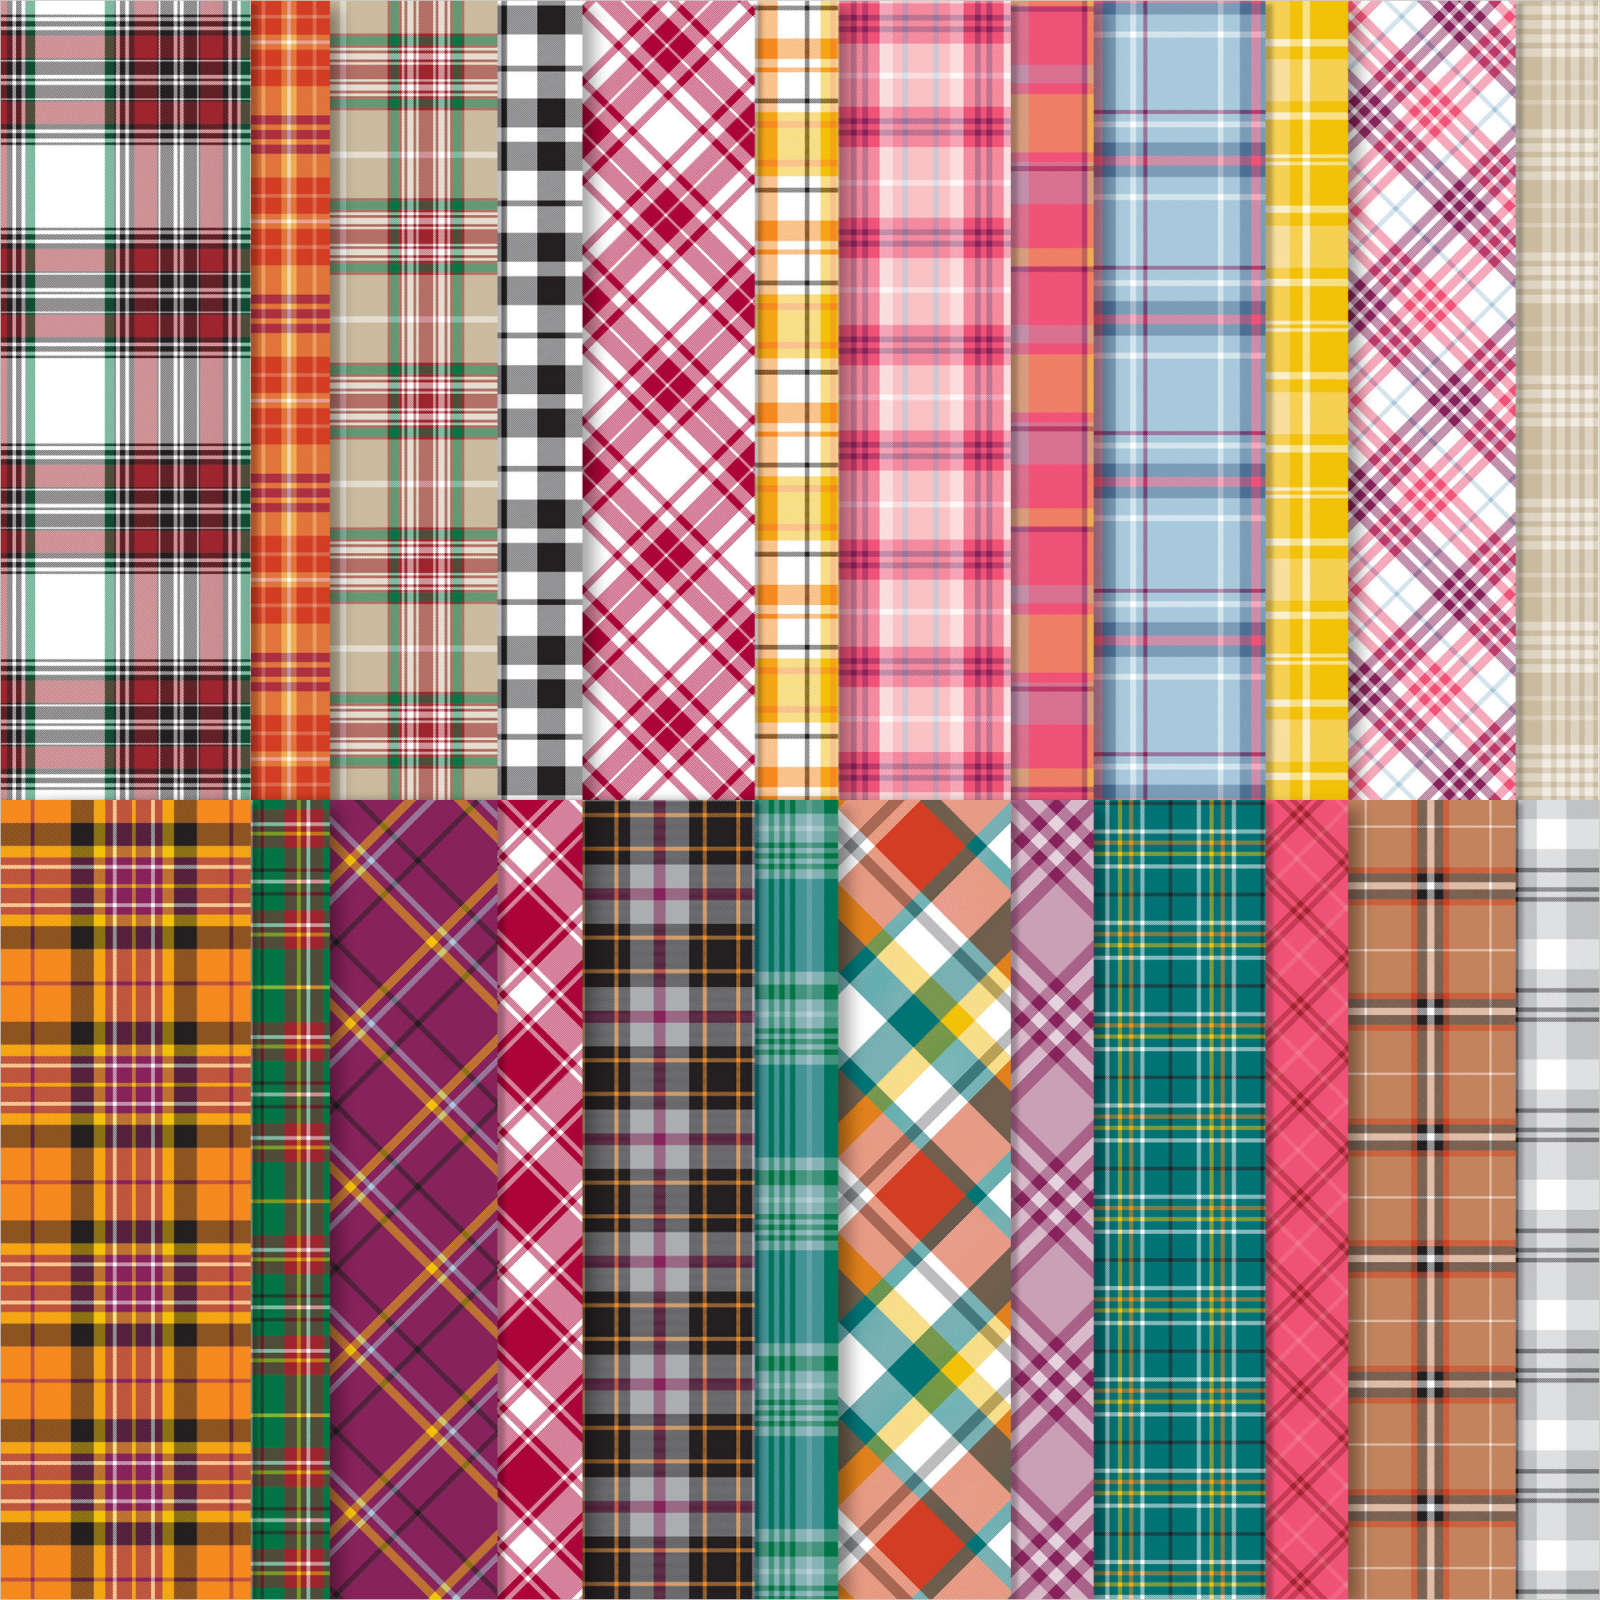
Plaid Tidings 6 X 6" DSP – $6.90; was $11.50
Gorgeous designs for all seasons! Everyone loved this paper!
Tools!
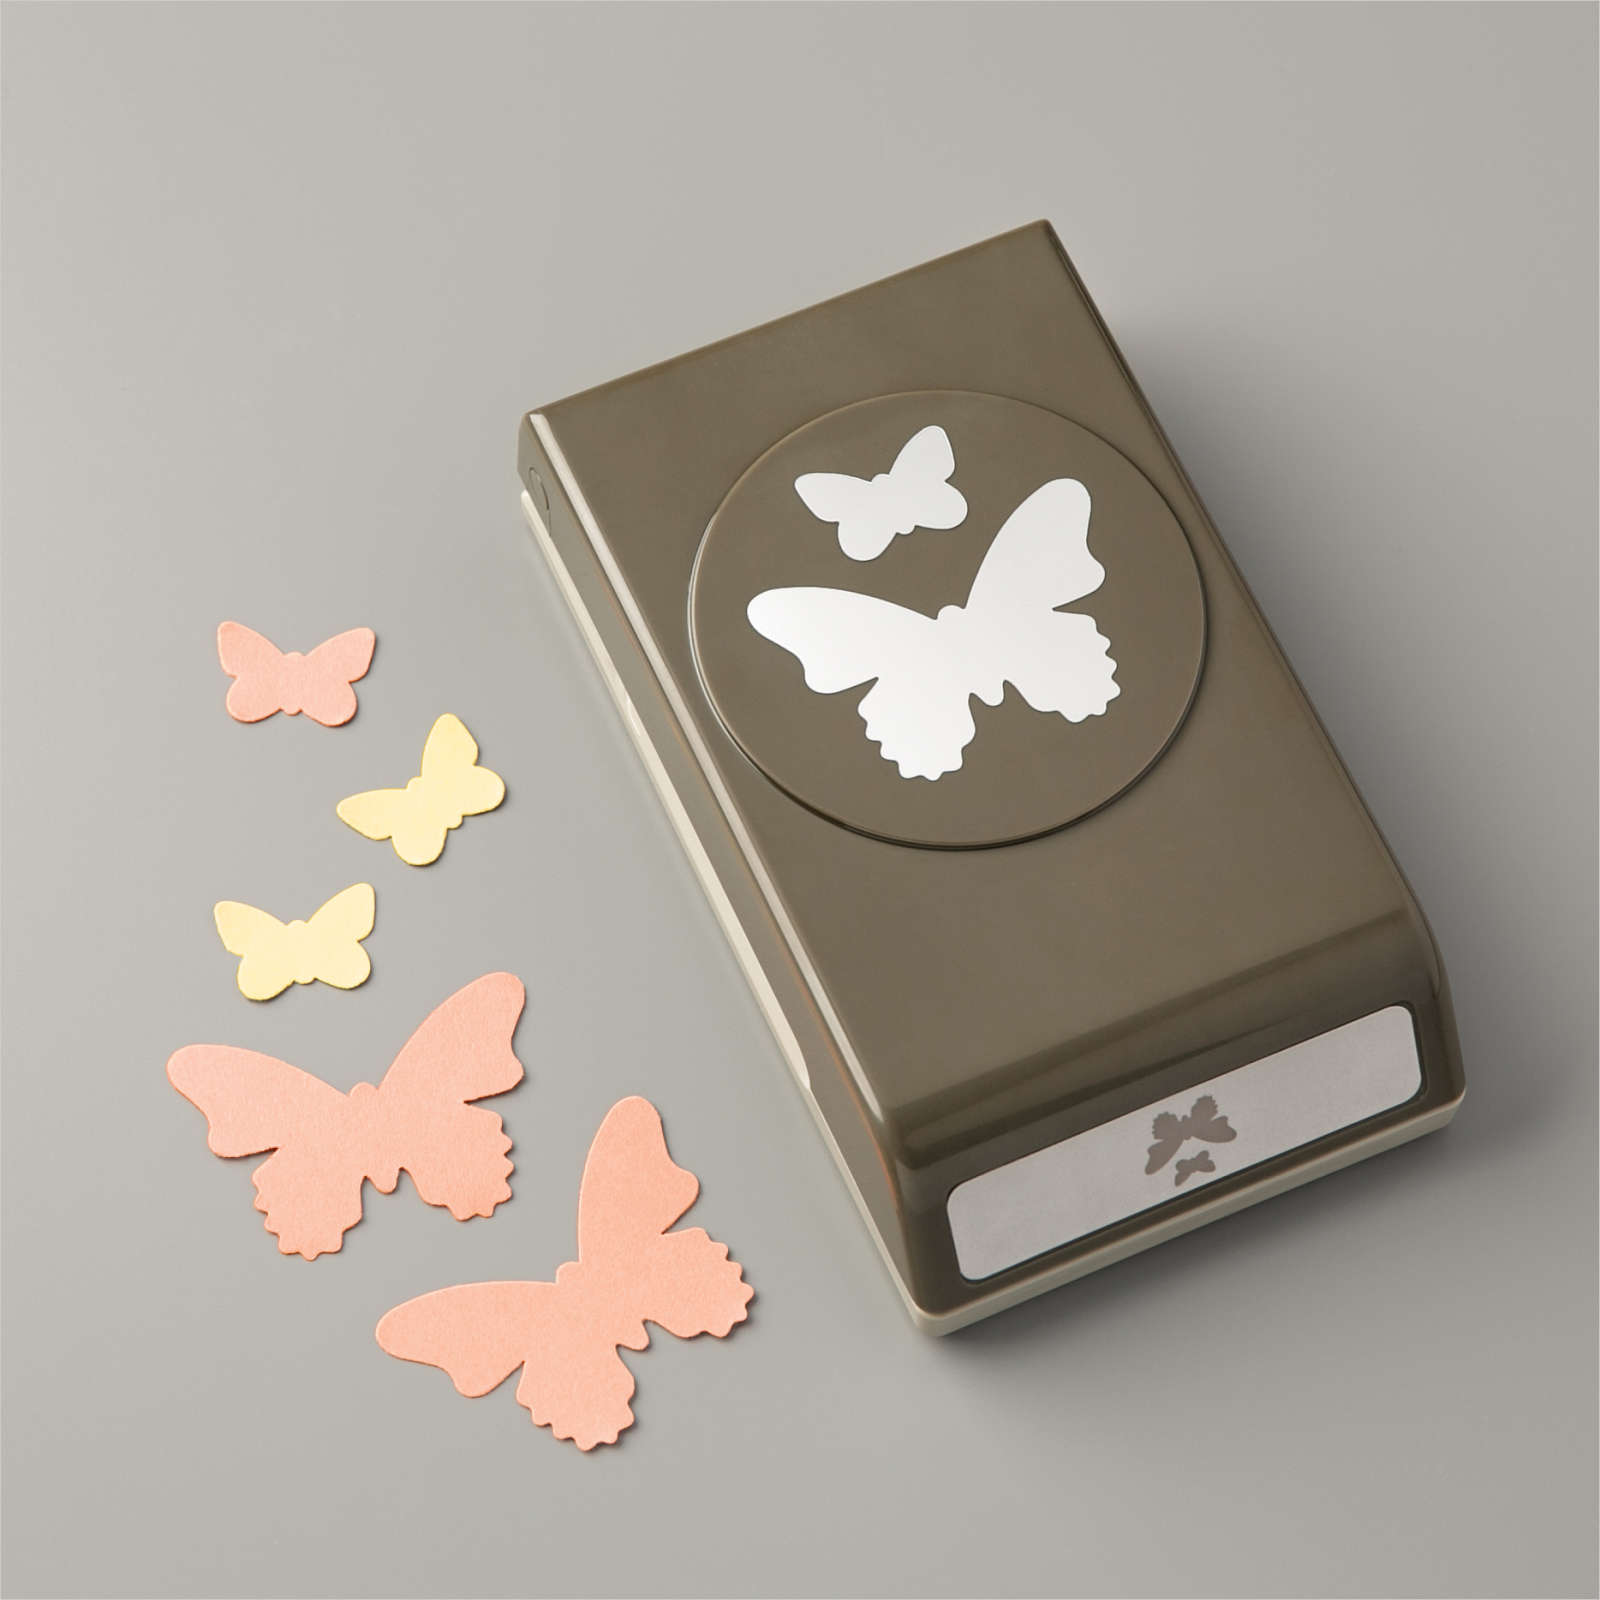
Butterfly Duet Punch $7.20 (was $18)
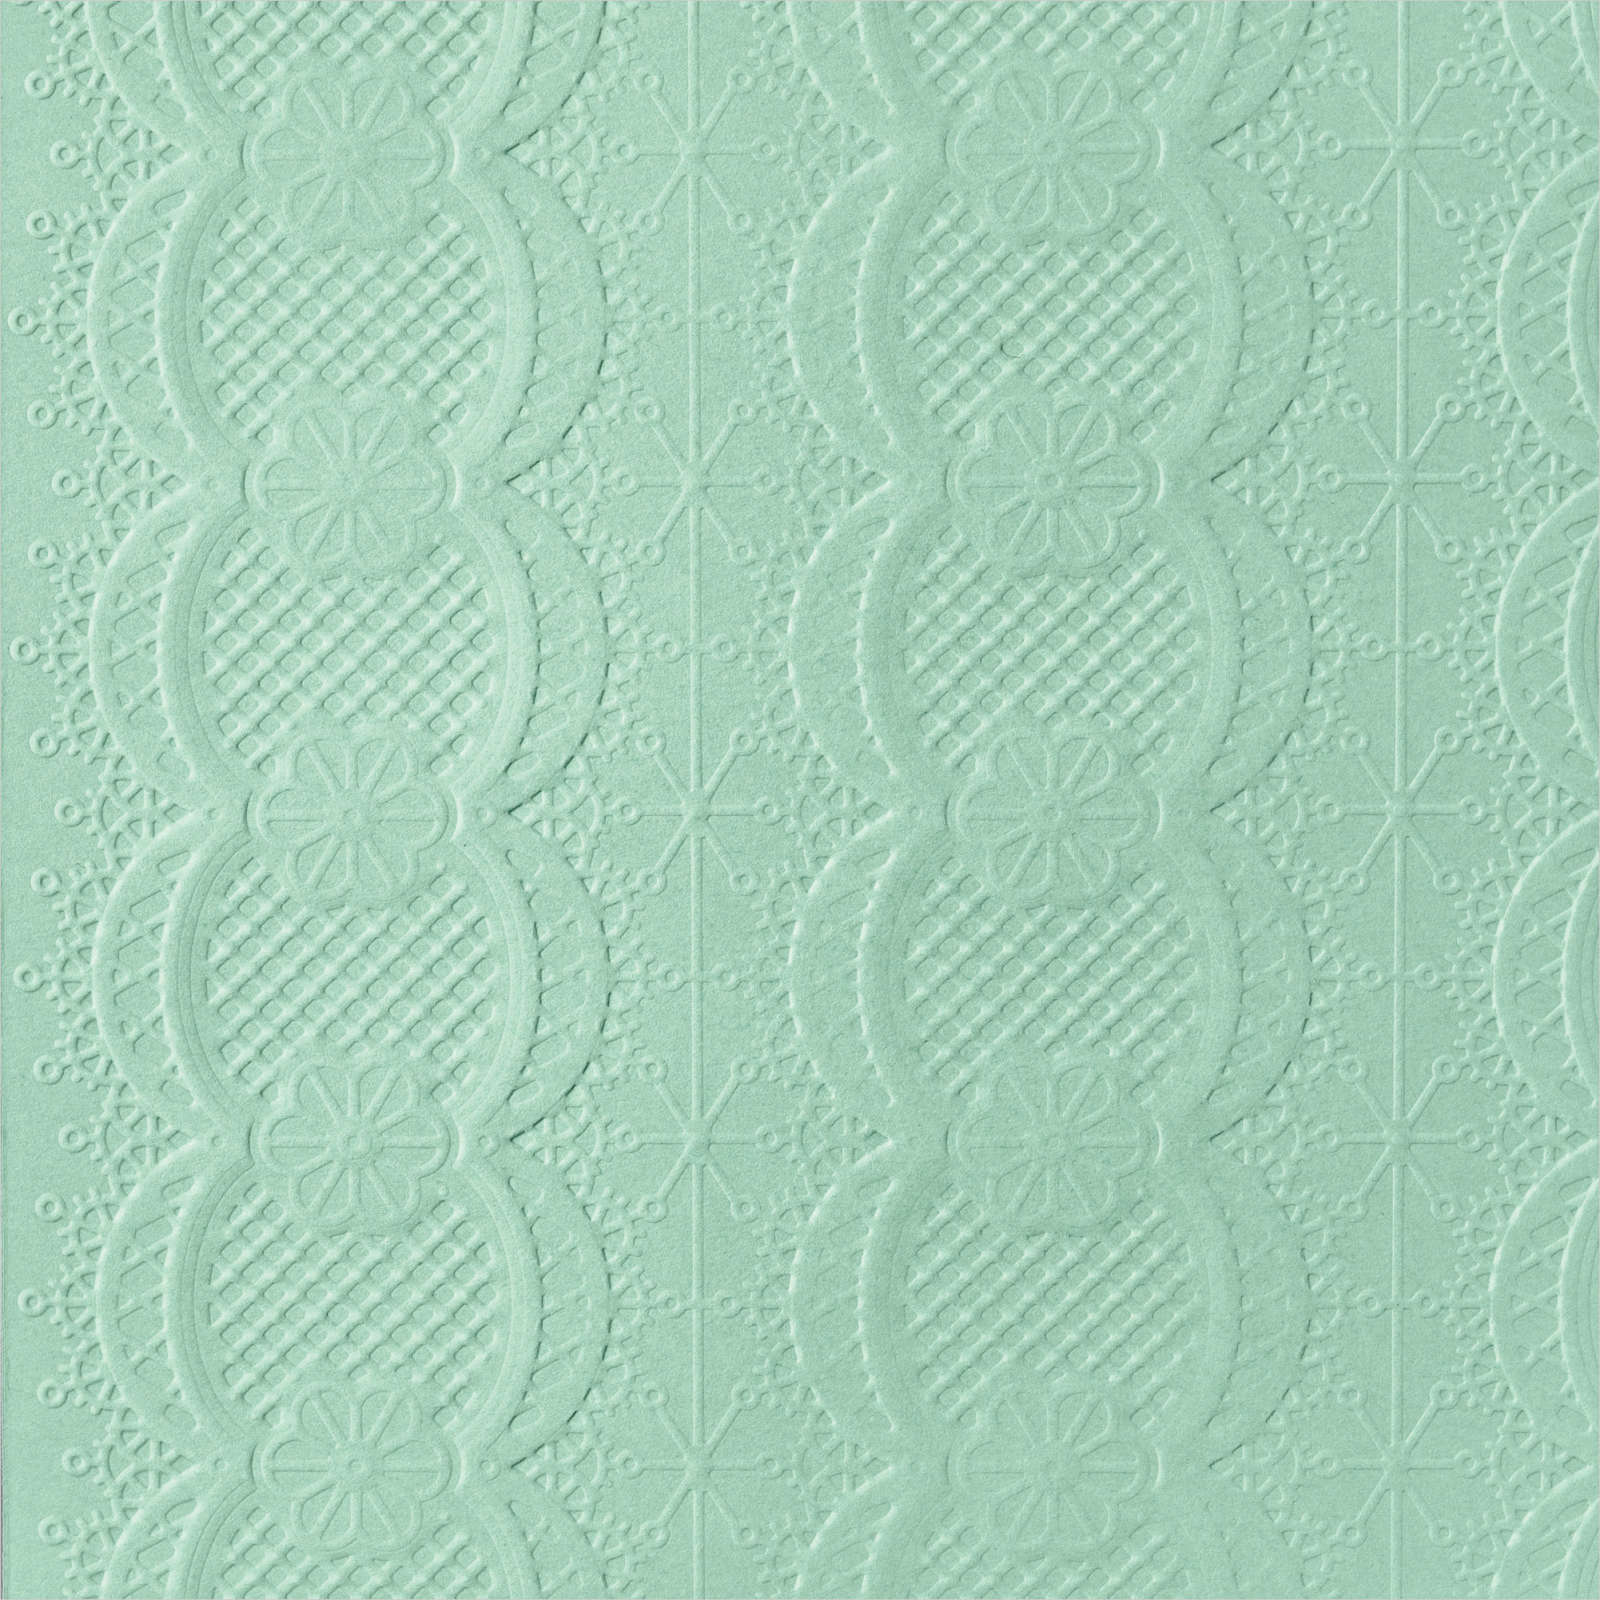
Lace 3D embossing folder $4 (was $10)
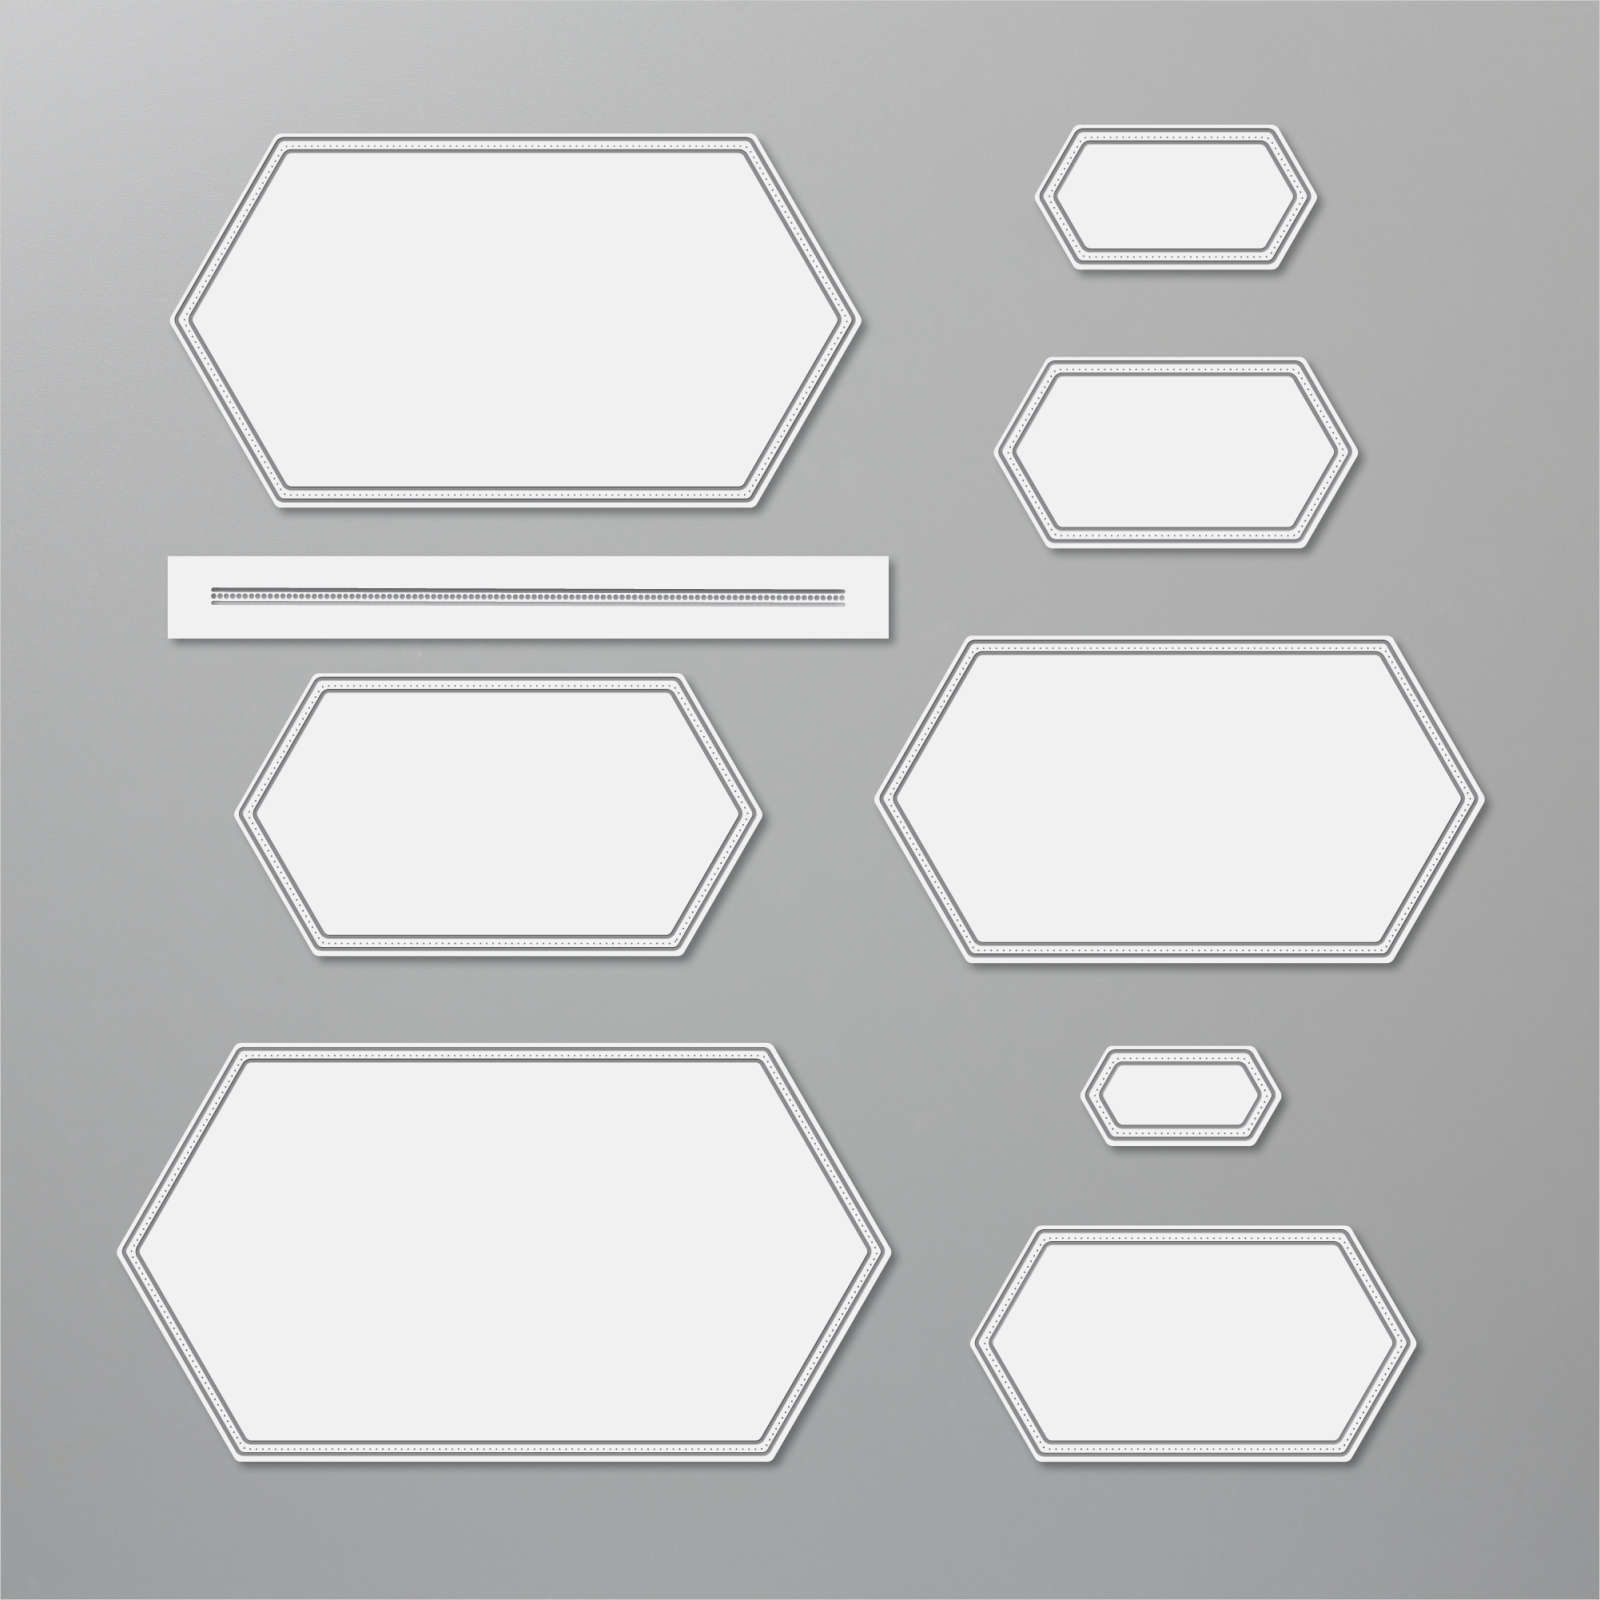
Stitched Nested Labels $28 (was $35) **If you don't have these I highly recommend you get these before they're gone.
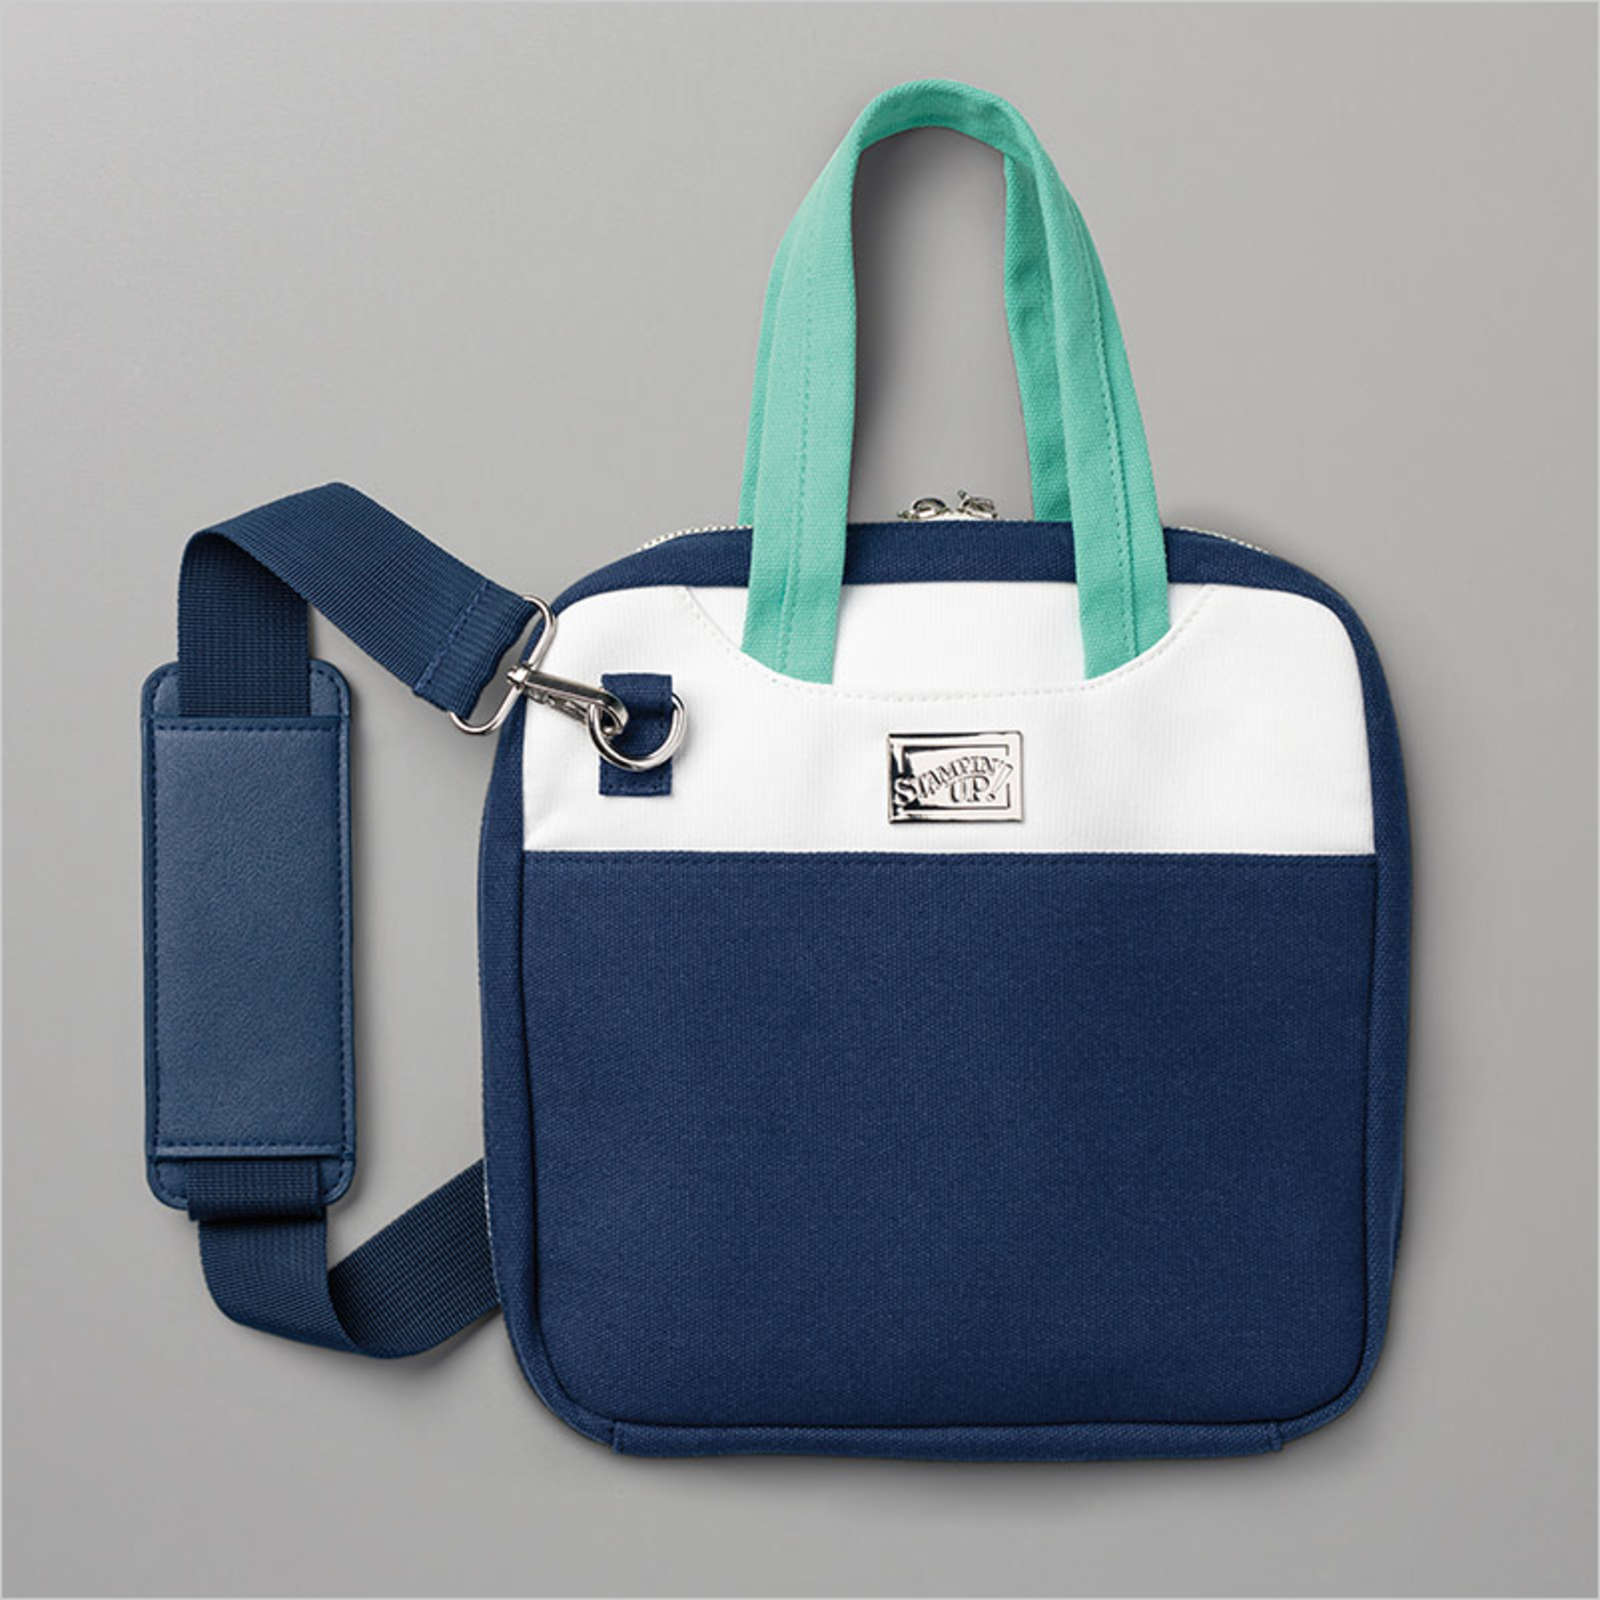
Stamparatus Bag $11.60 *was $29. I love this bag!
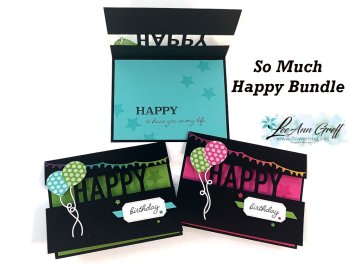
Happy Dies $12 (was $30)
~~~
April Specials!
Click here for the Annual Catalog Retiring List; many discounted items while supplies last!
Current Host code is 3PA3P32V
Order online here
~~~
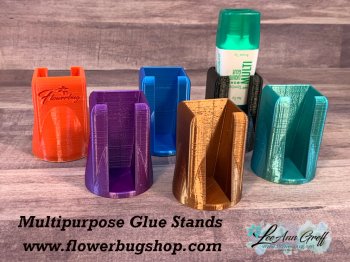
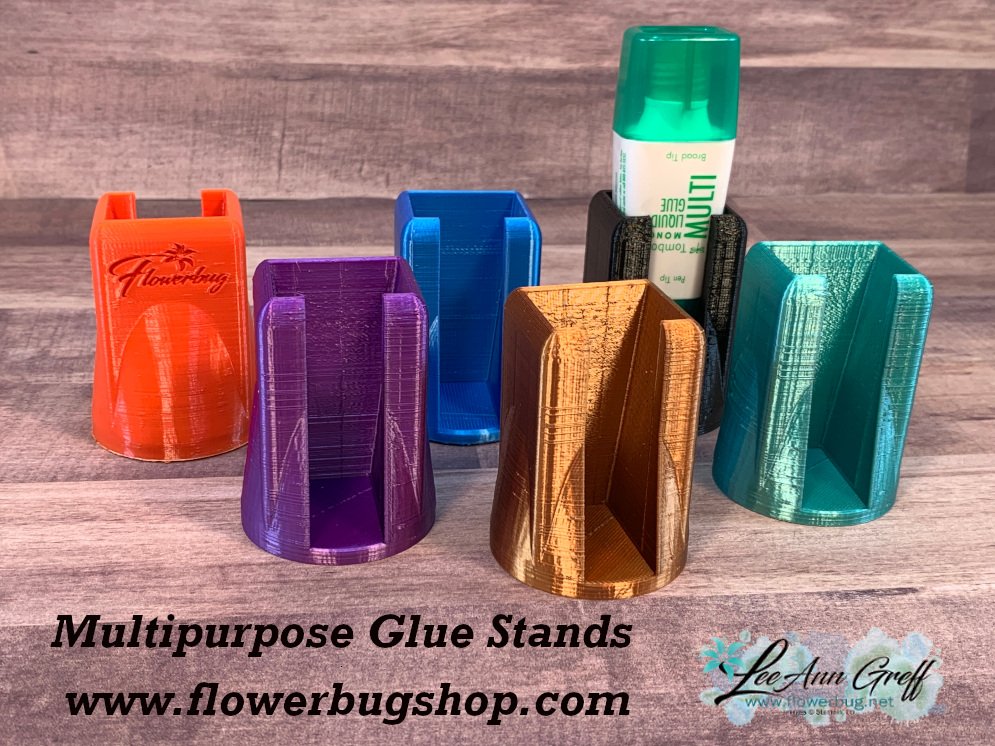
Get a free multipurpose glue stand with an online order over $60 using the host code above. You'll receive a color of my choice unless you let me know your preference. *if you'd rather have gems; let me know.
*If your order is over $150 do not use the code; you'll still receive a gift!
You can also order them in my Shop here.
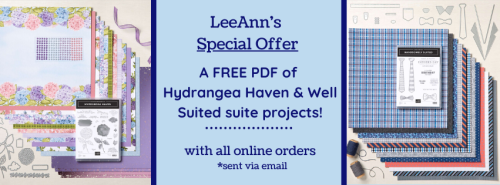
All online orders will receive a free 14 project PDF tutorial





























Leave a Reply