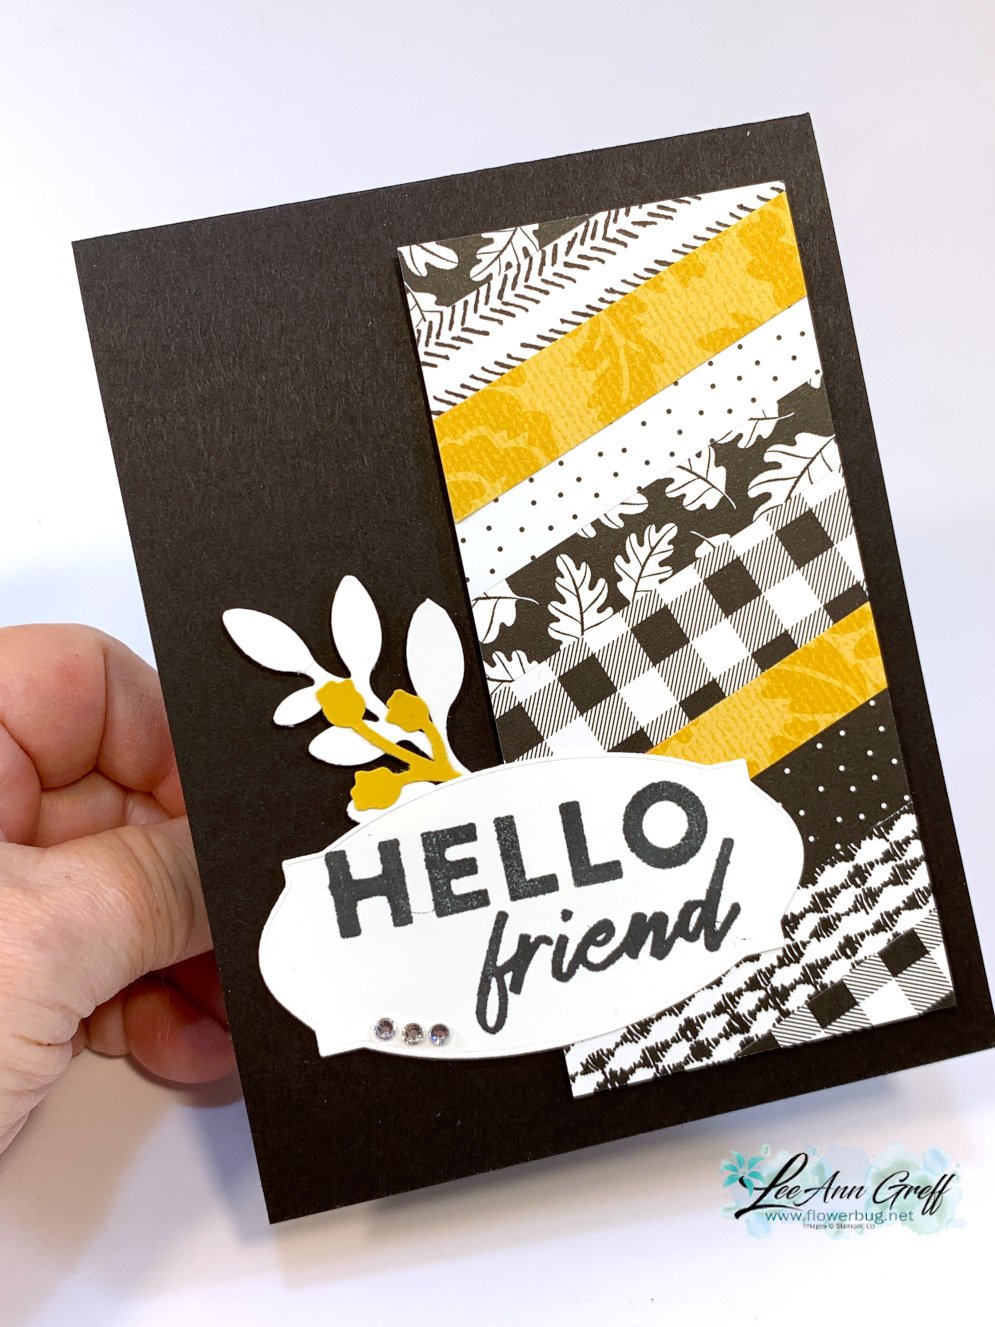
If you haven’t watched my recent videos you may not know that we have moved from Minot, ND to Bismarck, ND this month. It’s been a super busy time of downsizing, selling excess, packing and moving.
Why did we move? Well, there are many reasons but mostly my husband retired and we moved to be closer to our son and other family. It was very difficult to leave our beautiful home but we will love our new home too. Here’s a picture of my office/craft room before I was able to unpack. I’ll share new photos once I’m settled.
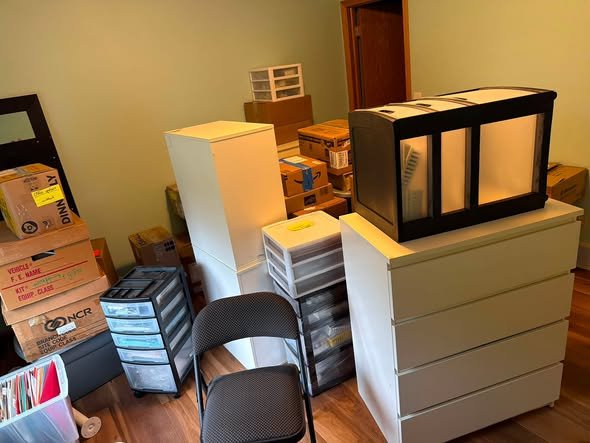
In that back doorway is a walk in closet; that will help with storage! I did find a nice L shaped desk and hope to get that set up today; then I can really set up my room.
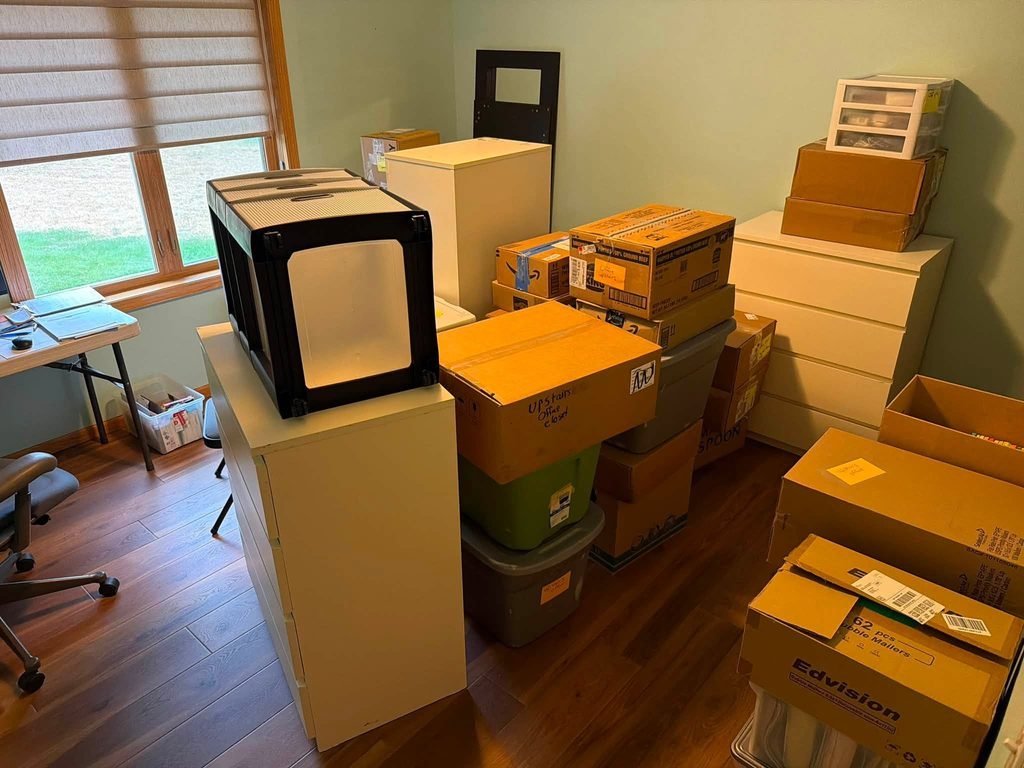
This is why I’ve been missing in action lately; it’s hard to do both stamping/business and moving/getting settled. So I’m taking a bit of a break in August. Have patience with me; I’ll be back to blogging and videos soon!
All Posts
A Shaker Card anyone can make with the Peaceful Deer bundle
Have you ever made a shaker card? Have you thought it was too much work to bother with or maybe you thought you needed special supplies?
Well today I'm sharing a fun & EASY shaker card idea. The only special thing you need is a clear envelope or cello bag.
These cards are so fun and interactive. You will be so proud to give one of these. One of my favorite things about this type of shaker card is that it isn't thick so it requires no extra postage.
1st step: add a white punched deer from the Deer Builder punch popped up with a Dimensional.
2nd: Insert into your clear envelope and add a good pinch of Subtle Shimmer sequins.
3rd: Fold the envelope over tightly to keep the sequins on the side of the DSP you want. Secure the flap.
Here's a photo of the back of the shaker part. You can see the back side of the designer paper and where I folded the clear envelope over to secure. A small cello bag would also work here.
After the shaker part is done just add your frame over it securing with adhesive. Add to the card and finish!
Here's a version featuring the Whimsy & Wonder specialty designer paper; it works wonderfully here. The card base and ink are Mint Macaron. The greeting is from the Peaceful Deer stamp set and the die-cut is from Tasteful Labels dies.
Live tonight! Show off your Designer Paper with this fun layout!
We're making these cards tonight on Facebook Live here. Every other Monday I host a 'Stamp with Me' Live where we use our Designer Paper in fun ways.
I love this layout! It is perfect for small patterns of Designer Paper. Turning squares on the angle adds a lot of playful interest to your card and showcases one main image, die-cut or punch in the center.
1. First I stamped just the flap with snowflakes from the Snowflake Wishes stamp set using Coastal Cabana and Highland Heather inks. Then I stamped the Highland Heather tag and heat embossed it with White embossing powder.
2. Next score 1" on the bottom and up both sides while the envelope is flat. Fold on the score lines and press each fold well.
Notice: LeeAnn Greff, Independent Stampin’ Up! Demonstrator, Manager. The content of this website is my sole responsibility as an independent Stampin’ Up! demonstrator and the use of, and content of, the classes, services, or products offered on this website is not endorsed by Stampin’ Up! Copyright 2025
Leave a Reply