/


Latest Post

Update on our move to Bismarck, ND


If you haven’t watched my recent videos you may not know that we have moved from Minot, ND to Bismarck, ND this month. It’s been a super busy time of downsizing, selling excess, packing and moving.

Why did we move? Well, there are many reasons but mostly my husband retired and we moved to be closer to our son and other family. It was very difficult to leave our beautiful home but we will love our new home too. Here’s a picture of my office/craft room before I was able to unpack. I’ll share new photos once I’m settled.
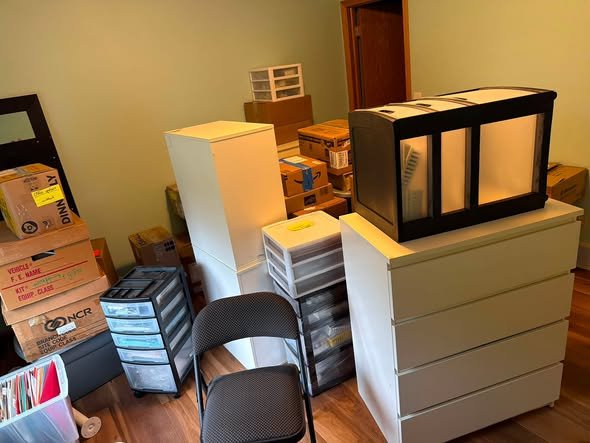
In that back doorway is a walk in closet; that will help with storage! I did find a nice L shaped desk and hope to get that set up today; then I can really set up my room.
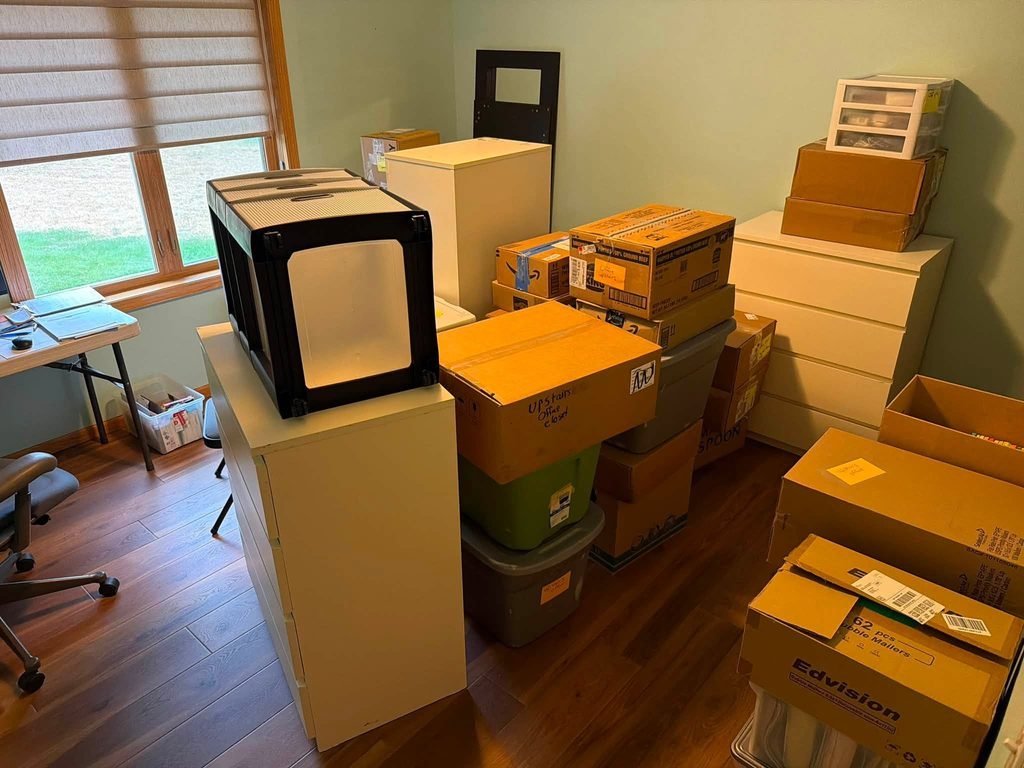
This is why I’ve been missing in action lately; it’s hard to do both stamping/business and moving/getting settled. So I’m taking a bit of a break in August. Have patience with me; I’ll be back to blogging and videos soon!
All Posts

  • A Stunning Christmas to Remember card


    The picture does not do this card justice!  It's stunning in person! 


    I received it from Bobby, one of my Flowerbug team members.  It's elegant in the all White & Gold colors.  She added two main layers of the large pine dies; one in white & another in Gold under it offset a bit.  Then a few layered pinecones too.  

    It's made with the Christmas to Remember bundle with White, Gold Foil paper, Brushed Metallic Adhesive-Backed dots, Gold heat embossing & Gold shimmer ribbon.  You can see this bundle here.  

    The dies are called Christmas Pine Cone dies and can be seen here. 

    ~~~

    December Specials:

    Host code:  6YCWV7QN

     *click here to order 

    Use the host code above & get a free card stock sampler ring with a $50 order in December! 
    See the last chance list here

    See the July-December catalog carry over list here

    Leave a Reply

    Your email address will not be published. Required fields are marked *

  • Peaceful Cabin; beautiful!


    We made this beautiful card at my December card clubs; it features the Peaceful Cabin bundle.  Unfortunately the stamp set is already sold out and unavailable. So sad; it's just gorgeous! 

    I used only White card stock and Misty Moonlight ink. A monochromatic card can be so simple & soothing to the eye.  And there's something about a mostly white card that is rich and elegant. It’s cased from a card made by Helen Reed  


    The texture on the background is made with the Evergreen Forest 3D embossing folder.  That is also currently unavailable. But it is in the annual catalog and will be back. 

    There are two pieces that you stamp first and then die-cut.  The background trees is one layer and the cabin and foreground is another.  It's so neat how the dies cut the silhouettes out so perfectly. 

    Measurements:
    White card base 5 1/2" X 8 1/2"
    White layers – for trees – 3 3/4" X 2 3/4", for cabin 2 3/4" X 5 1/4", embossed layer is 4" X 5 1/4"

    ~~~

    December Specials:

    Host code:  6YCWV7QN

     *click here to order 

    Use the host code above & get a free card stock sampler ring with a $50 order in December! 

    See the last chance list here

    See the July-December catalog carry over list here

    Leave a Reply

    Your email address will not be published. Required fields are marked *

  • Star & Snowflake Ornaments; so pretty!


    I had to give these gorgeous star projects a try!  Sara from Stampin' Up! made them for a tree topper but they were one sided.  I decided to turn her idea into ornaments by making them 2-sided.  

    They're made with our Stitched Stars dies seen here.  I used the largest and third smallest to make these. I used the Gingerbread & Peppermint DSP but unfortunately it was on the retired list and is sold out now. 

    You probably wonder where the snowflakes come from.  They are called 'Wonderful Snowflakes' and they also just sold out! The retiring list can be so hard; items you want can be gone in an instant! 

    You need a good stack of Dimensionals between each layer like this: 

    You can see why you need a smaller star inside; to support the stacks of Dimensionals. *There's a second stack under that smaller star.  You'll add a second large star on top of the dimensional stack seen above. 

    Tips:

    • I found a stack of 4 to work best.
    • I added a rolled up mini glue dot to the tip of each star point to secure them together.  It's not necessary but does finish if off so they stay closed. 
    • Add the cord with a glue dot to one of the star points. 

    They were so fun to make I couldn't stop! I plan to add these to my cookie trays or to Christmas presents instead of a traditional bow. 

    I thought this last one would look sort of ho hum in this pattern.  But once I added our Red Rhinestones to the snowflake it sure came to life!  

    Below is the video to see exactly how to make these pretty ornaments.  They're the third project I share. 

    ~~~

    December Specials:

    Host code:  6YCWV7QN

     *click here to order 

    Use the host code above & get a free card stock sampler ring with a $50 order in December! 

    See the last chance list here

    See the July-December catalog carry over list here

    Leave a Reply

    Your email address will not be published. Required fields are marked *


Notice: LeeAnn Greff, Independent Stampin’ Up! Demonstrator, Manager. The content of this website is my sole responsibility as an independent Stampin’ Up! demonstrator and the use of, and content of, the classes, services, or products offered on this website is not endorsed by Stampin’ Up! Copyright 2025