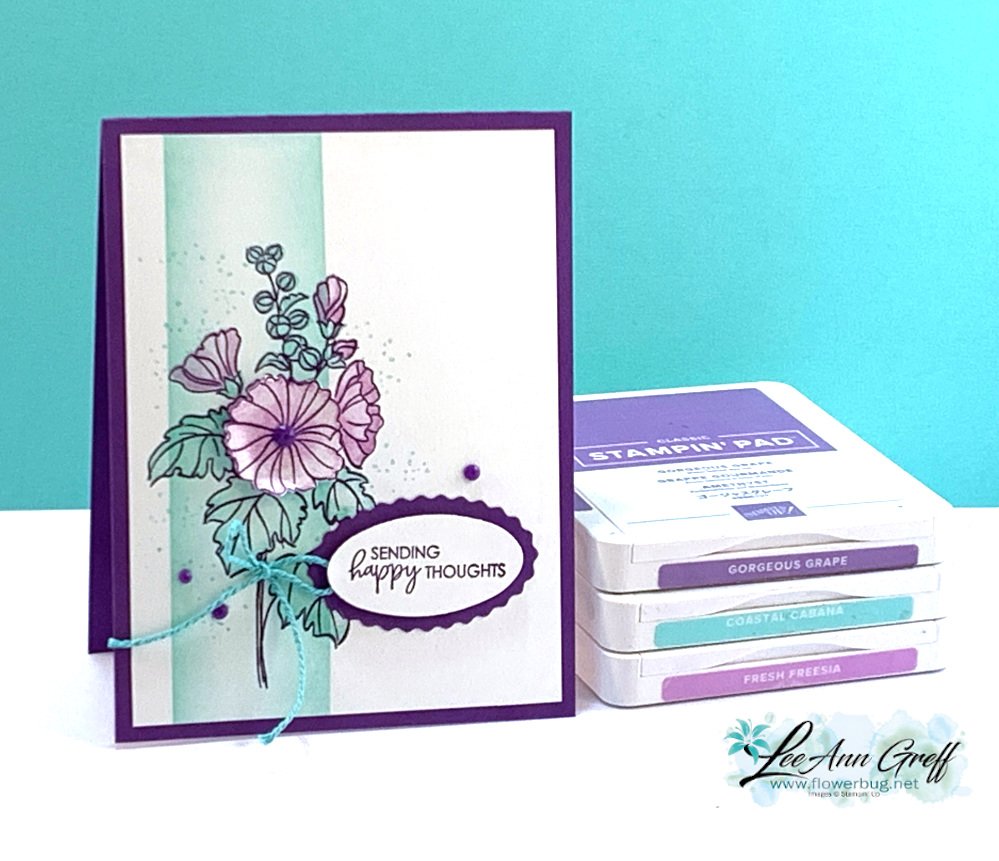
If you haven’t watched my recent videos you may not know that we have moved from Minot, ND to Bismarck, ND this month. It’s been a super busy time of downsizing, selling excess, packing and moving.
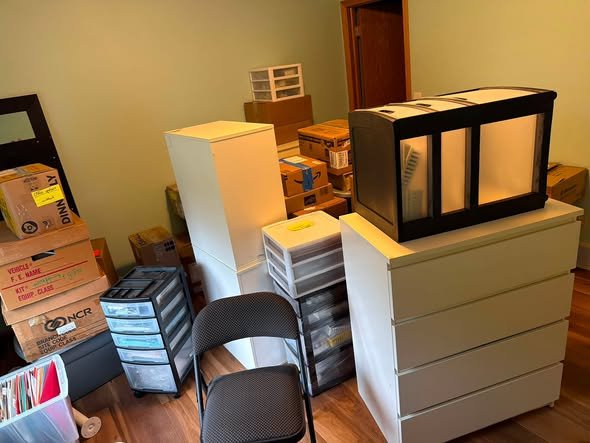
Why did we move? Well, there are many reasons but mostly my husband retired and we moved to be closer to our son and other family. It was very difficult to leave our beautiful home but we will love our new home too. Here’s a picture of my office/craft room before I was able to unpack. I’ll share new photos once I’m settled.
In that back doorway is a walk in closet; that will help with storage! I did find a nice L shaped desk and hope to get that set up today; then I can really set up my room.
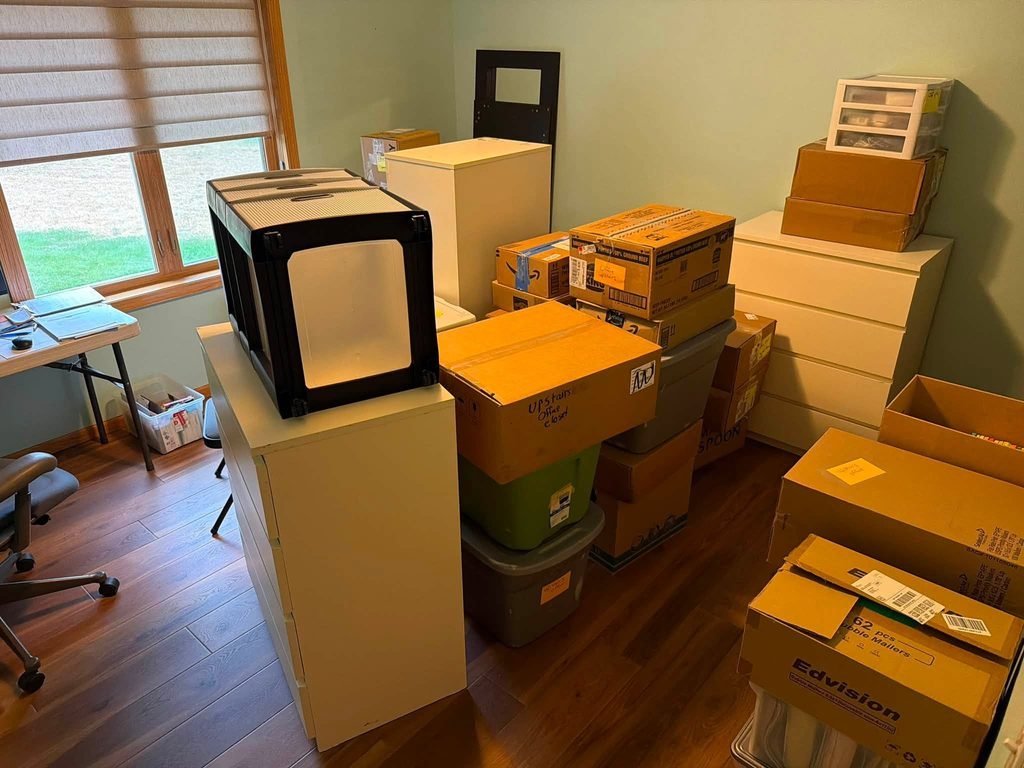
This is why I’ve been missing in action lately; it’s hard to do both stamping/business and moving/getting settled. So I’m taking a bit of a break in August. Have patience with me; I’ll be back to blogging and videos soon!
All Posts
Today – Clearance Rack refresh & Last Chance List! A Free stamp set & 8 card kit with online orders in December!
Today they've refreshed the Clearance Rack – lots of items up to 60% off! Go here to see them.
I'm giving away a free card class with a stamp set in December!
All online orders over $55 that use either of these host codes below will receive the Wonderful World stamp set, PDF tutorial and an 8 card pre-cut kit! I have a limited supply of these kits! *After these run out I'll be giving away another stamp set instead.
I chose quite unique colors for the Scottie dog. Think of it as a stuffed animal; ha! The colors include Pool Party, Petal Pink and Pumpkin Pie. I wanted to use the Metallic & Shimmer 6 X 6" DSP; I think it's perfect for a celebratory card with the shimmer & dots.
The Scottie Dog punch is 30% off starting December 1st; instead of $19, it will be $13.30!
For the inside I used the ribbon image from the Christmas Scottie stamp set and the greeting is from Charming Sentiments.
The main element comes off when you open the card; plus it slides up and down too. It consists of three 2 1/4" circles. 2 are scored in half and adhered to the back of the main element. Then the last one is adhered over both folded circles.
I chose these colors – Evening Evergreen, Real Red, White & Soft Succulent. I sure love the dies in this set; the greeting label with the attached holly leaves is special.
*Unfortunately the Holly Berry dies are unavailable right now; they expect they'll be back in stock around December 19th.
I think this is a classic Christmas bundle you'd find yourself using often. It's retiring on December 1st and while supplies last.
I gave my gals a choice of 'berry' options. On the left card below we added two die-cuts from the bundle. On the right card we added a Textural Element that is colored with Blends markers. It was almost a tie on which option they chose.
I stamped the two more open leave images 2-3 times each in the two green colors and added the greeting element over them. You can see how in the video below. It's actually an easy card to make.
If you want to add an easy gift card option to any card simply add a strip of DSP across the bottom of the inside. Punch the center with any circle or decorative punch and aAttach it with glue on the outer and lower edges only.
Notice: LeeAnn Greff, Independent Stampin’ Up! Demonstrator, Manager. The content of this website is my sole responsibility as an independent Stampin’ Up! demonstrator and the use of, and content of, the classes, services, or products offered on this website is not endorsed by Stampin’ Up! Copyright 2025
Leave a Reply