If you haven’t watched my recent videos you may not know that we have moved from Minot, ND to Bismarck, ND this month. It’s been a super busy time of downsizing, selling excess, packing and moving.
Why did we move? Well, there are many reasons but mostly my husband retired and we moved to be closer to our son and other family. It was very difficult to leave our beautiful home but we will love our new home too. Here’s a picture of my office/craft room before I was able to unpack. I’ll share new photos once I’m settled.
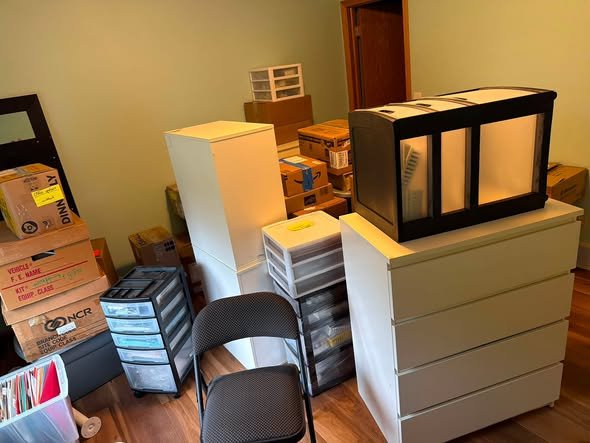
In that back doorway is a walk in closet; that will help with storage! I did find a nice L shaped desk and hope to get that set up today; then I can really set up my room.
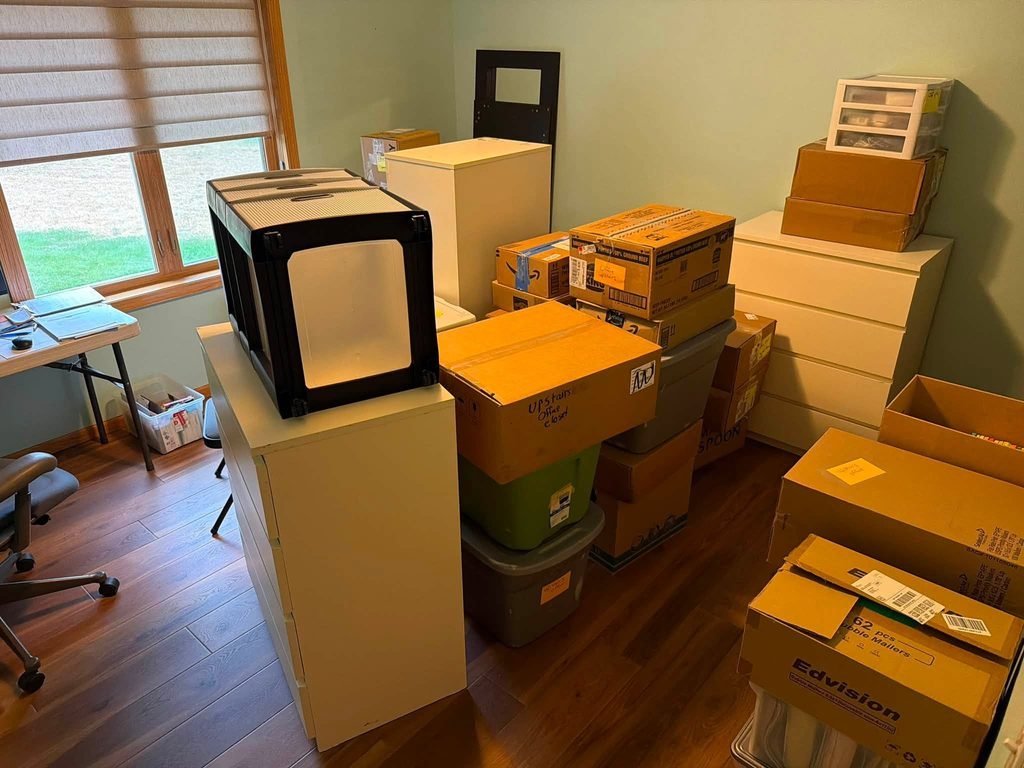
This is why I’ve been missing in action lately; it’s hard to do both stamping/business and moving/getting settled. So I’m taking a bit of a break in August. Have patience with me; I’ll be back to blogging and videos soon!
All Posts
Book-binding Fold & Tuck card with video & free project sheet
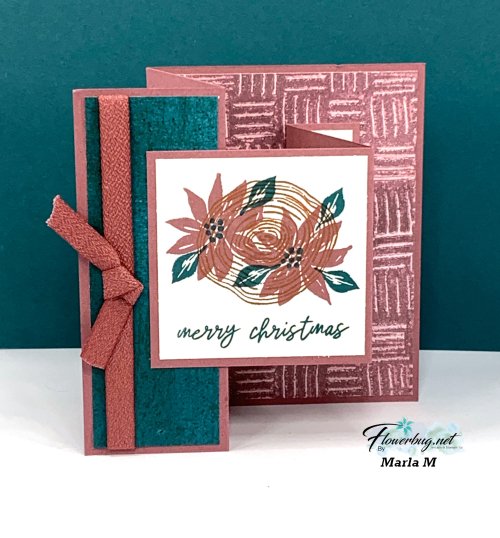
Here's the second card I shared in last week's video; it's a book-binding card with a twist! The main panel features the 'Tuck & Fold' technique I shared a few weeks ago. See that card here.
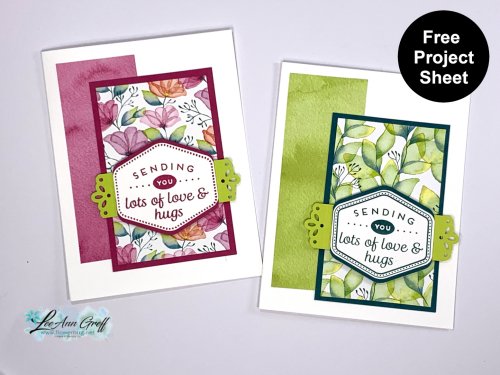
The designer paper is the Translucent Floral Online Exclusive seen here.
The pinwheel like layer above starts out with a 6 X 6" piece of designer paper. You score it at 1 1/2" on all sides and cut off the corners as seen below.
Then you fold in the outer rectangles into the center and fold back one corner on each side. Watch the video below to see how it's done. It's quite easy!
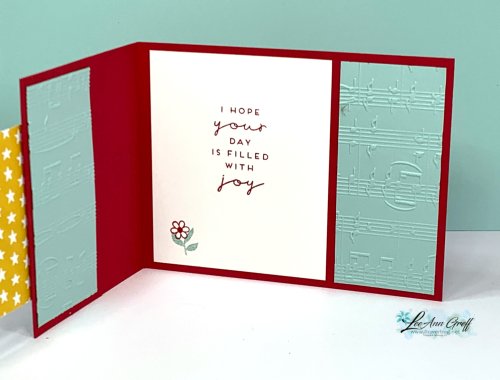
Save two of the corners you cut off and cut them in half on the diagonal. It really jazzes up the inside of this card!
Place an online Stampin' Up! order over $75 (before tax & shipping) using one of my current host codes to reserve a Mystery Box. *Host code links – WXX6RCHA or MYF6MXAG
Send me the $14 shipping fee (PayPal or Venmo).
I'll send you your Mystery box via Priority Shipping!
I shared how to make these cards here; I also have a video below you can watch. It's a fun way to use your designer paper and make really quick but eye-catching cards.
As you can see in the photo below it's a type of mix & match game.
Tip: when choosing your designer papers I recommend you pick a large and small print and then one that is more of a background print.
Place an online Stampin' Up! order over $100 (before tax & shipping) using one of my current host codes to reserve a Mystery Box. *Host code links – WXX6RCHA or MYF6MXAG
Send me the $14 shipping fee (PayPal or Venmo).
I'll send you your Mystery box via Priority Shipping!
You start out with three different patterns of designer paper measuring 3 3/4" X 5". Stack them together and make the upper right cut – a triangle. You could measure it but I just made sure my stack was even and sliced it off. It's approximately 3/4" from the upper left and 1" from the lower right.
Then for the remaining pieces you continue cutting all three pieces at once, cutting approximately in half on the diagonal and about 1" from the lower left.
You can now mix & match so one piece of each pattern can fit on each of 3 card fronts. I adhered them to a 4" X 5 1/4" piece of Berry Burst card stock. That then adheres to your card base – I folded back my front to create a fun fold design.
Place an online Stampin' Up! order over $100 (before tax & shipping) using one of my current host codes to reserve a Mystery Box. *Host code links – WXX6RCHA or MYF6MXAG
Send me the $14 shipping fee (PayPal or Venmo).
I'll send you your Mystery box via Priority Shipping!
Notice: LeeAnn Greff, Independent Stampin’ Up! Demonstrator, Manager. The content of this website is my sole responsibility as an independent Stampin’ Up! demonstrator and the use of, and content of, the classes, services, or products offered on this website is not endorsed by Stampin’ Up! Copyright 2025
Leave a Reply