/


Latest Post

Unique ideas with the Oh So Ombre designer paper; Promo ends Sunday!


Here are a few more ideas with the gorgeous Oh So Ombre designer paper.  It has been my favorite Sale-a-Bration item this year!  

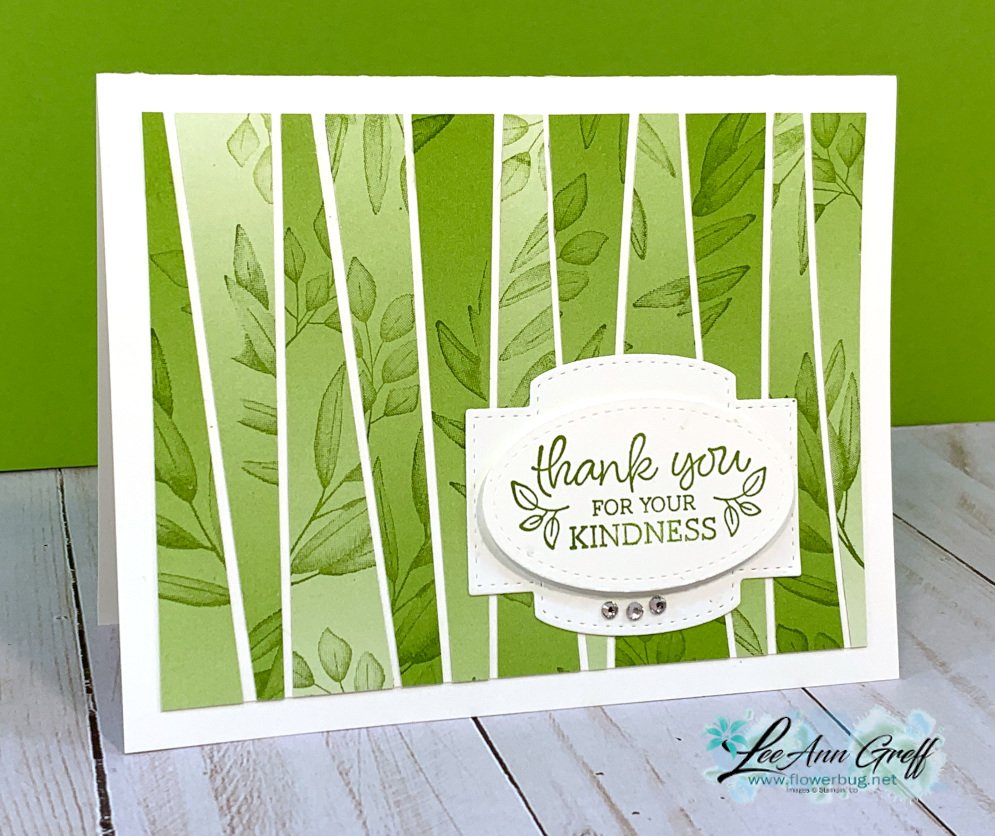
Playing with strips has always been fun for me.  On this first card I started with one sheet of DSP and cut it first at 4 1/2" long.  Then I cut strips off of the main piece at random angles.

Next I laid these strips on my grid paper and stamped the leaves from Forever Fern stamp set on them using Granny Apple Green ink.  

I then glued these strips to a 3 3/4" X 5" piece of White CS leaving a thin 1/16" gap between.  I didn't worry about the edges at all.  After I was done I trimmed them off even with the main White CS.  
Next is a fun card playing with the Playful Alphabet and 1/2" strips of this pretty Ombre paper.  I adhered the letters to the end of the paper strip with rolled up mini glue dots and trimmed any excess off that showed around the letter. 

The 'birthday' greeting is from Vine Design and the bottom edge is punched with the Postage Punch.  

Below are more cards I shared in a video you can see here. 

~~~

February Specials:

Get the best deal during Sale-a-Bration with purchase of the Starter Kit!   Get $125 in products of your choice for just $99 and FREE shipping too!  

Plus you get 5 packs of NEW 6" Designer Paper FREE. 


Go here to read about it


~~~

Current Host code is CGSK9YDR

Order online here

All online orders receive both a Hydrangea Hill and Sand & Sea projects PDF!
 

~~~

Get a package of 150 Resin Hearts from me with an online order over $50 using the host code above. They're adorable and so tiny!

*If your order is over $150 do not use the code; you'll still receive a gift! 

Below are the Multipurpose Glue stands we're making. They're $6 each and available in my Shop here.  

Click here to follow me on Facebook! 

All Posts

  • Life is Beautiful with So Much Happy? Yes!


    Here are two more cards I created on a Facebook Live for Demonstrators last week.  It was such an honor to be asked to present cards highlighting my Million Dollar stamp set; Life is Beautiful.  

    Unfortunately I cannot share the video but I can share the projects! 

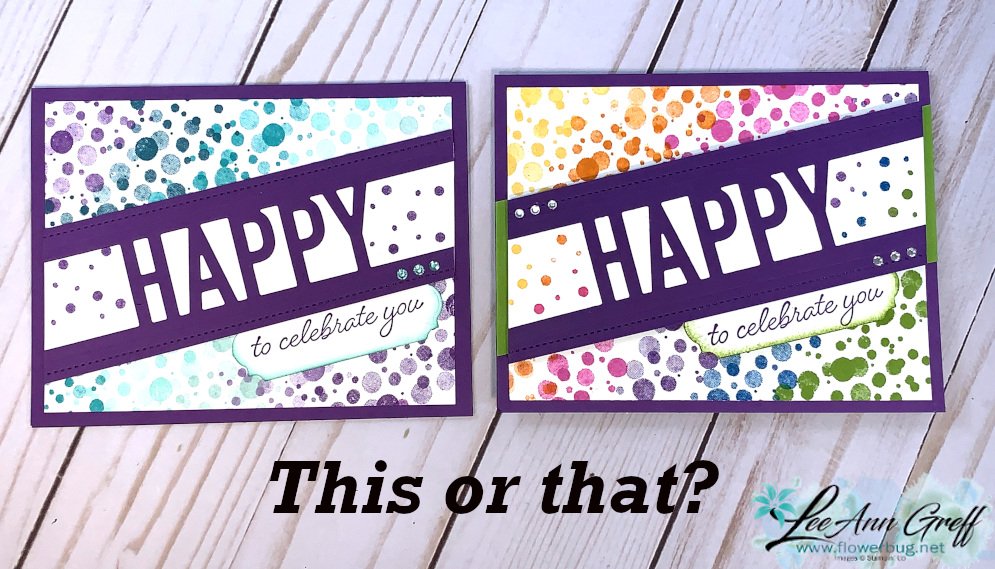
    Which one do you prefer?  Blues & purples or rainbow colors? Here they are separately: 

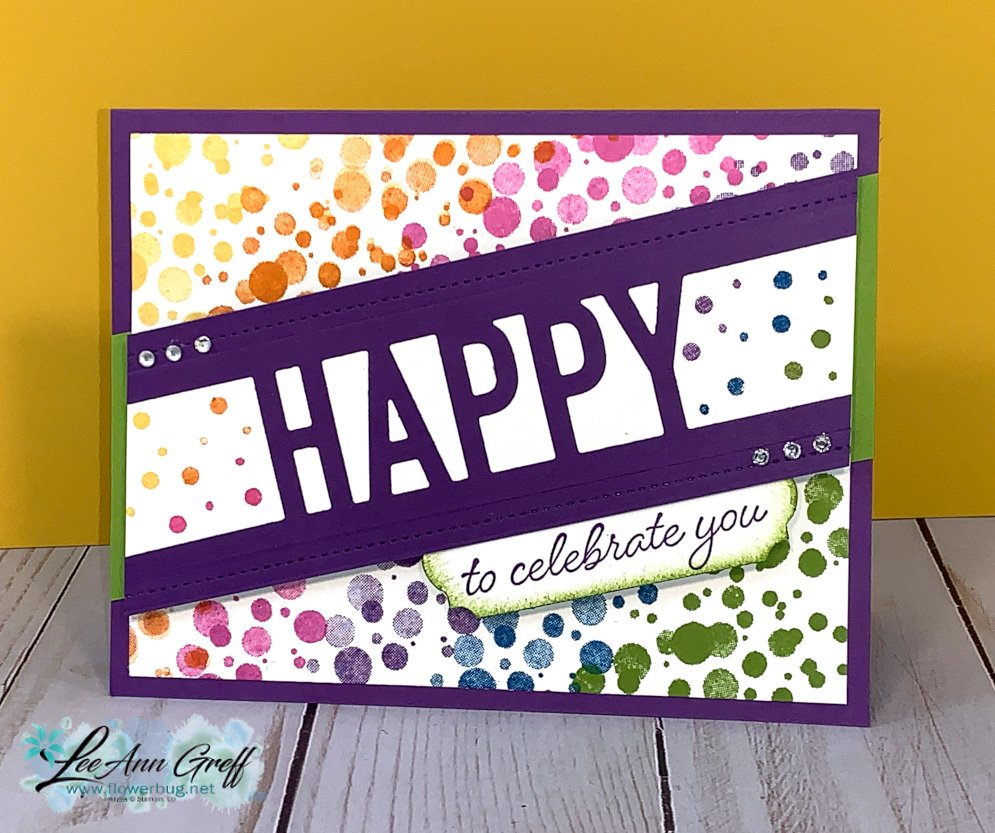
    I used Gorgeous Grape, Highland Heather, Bermuda Bay, Coastal Cabana and Pool Party and stamped the Bokeh dots image. 

    Then I added the Happy die-cut across it at an angle.  I also cut a separate White CS strip to place under the Happy die-cut.  The 'to celebrate you' is from the So Much Happy stamp set stamped on a die-cut from the Ornate Frames dies. 

    Have you decided on your favorite yet?  

    I'll be sharing another card with my Life is Beautiful stamp set tomorrow.  Do you have yours yet?  If not go here to order!

    ~~~

    October Specials!

    Current Host code is GRC9VVUU

    Designer Paper Sale; click here!

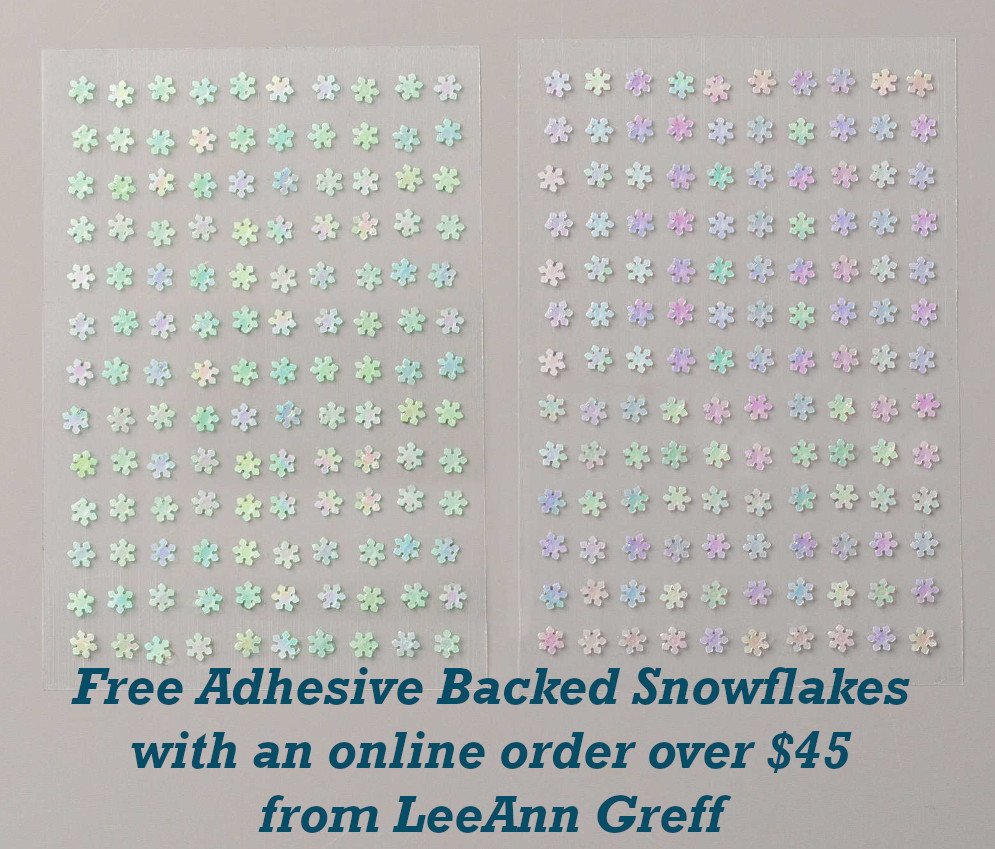
    Get a free package of Adhesive Backed Snowflakes in October with an

    online order over $45. 


    All online orders will receive my Tutorial of the Month featuring the Poinsettia Petals suite!

    Leave a Reply

    Your email address will not be published. Required fields are marked *

  • Life is Beautiful Fancy Fold card with Plaid Tidings


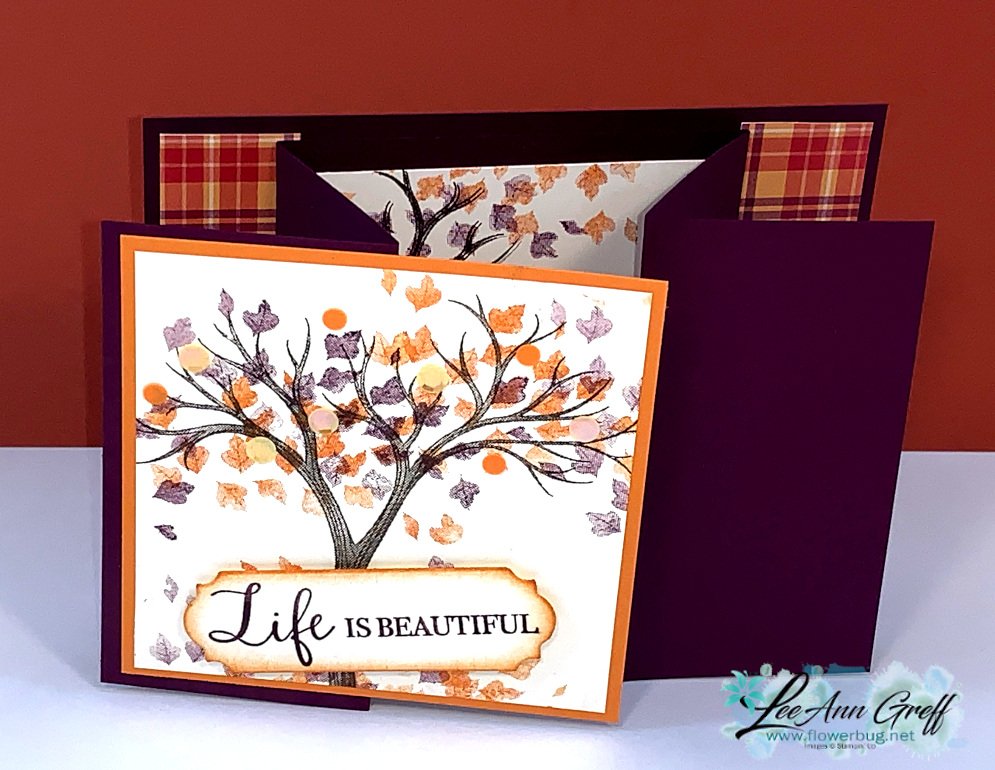
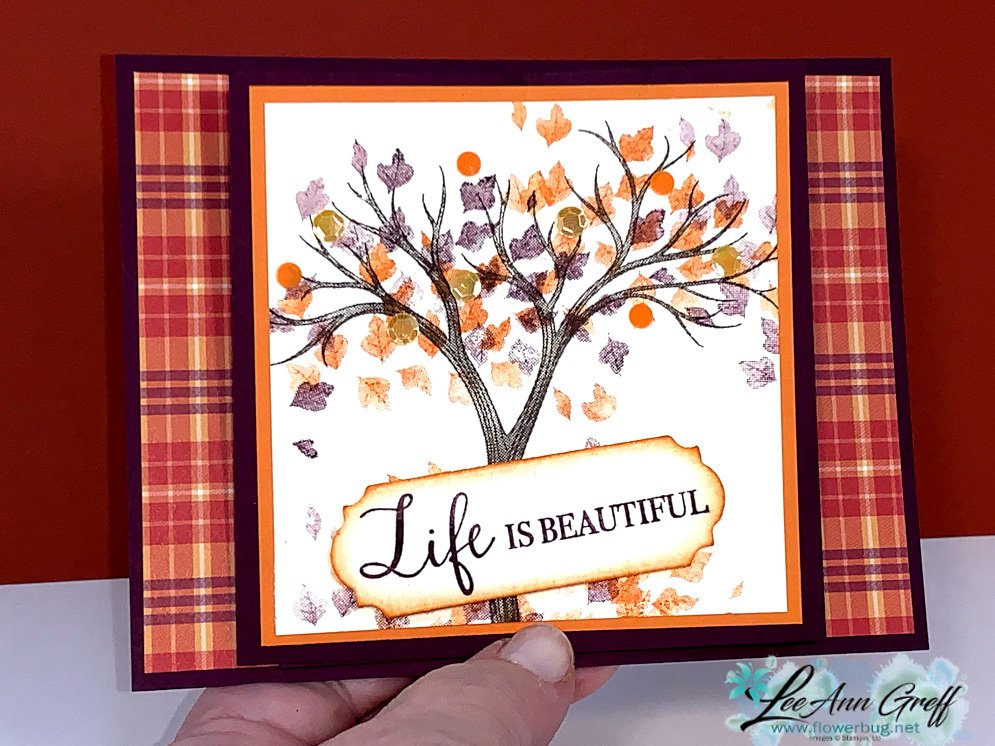
    Check out this pretty fancy fold card in rich but unusual fall colors!

    The colors are Pumpkin Pie with Blackberry Bliss taken from the pretty Plaid Tidings designer paper seen here.  Stampin' Up! is amazing at color combination with the papers.  This versatile paper is on sale through October! 

    I created this on a recent Facebook Live. I'll share the dimensions for you here:

    Measurements:

    • Blackberry Bliss – 4 1/4" X 5 1/2" for back and 4" X 11" scored at 2" and 3 3/4" from each end
    • Pumpkin Pie 3 3/4" square
    • Very Vanilla – 2 pieces at 3 1/2" square plus a scrap for the die-cut
    • Plaid Tidings DSP – 2 pieces at 4" X 3/4" 

    Details:

    • I stamped the tree in Early Espresso and the leaves in Pumpkin Pie & Blackberry bliss, stamping off once or twice first. 
    • I added a few 'Sequins for Everything' among the leaves. 
    • The greeting label is cut with the Ornate Frames dies and sponged with Pumpkin Pie ink. 

    I hope you like it!  I'll be sharing lots more cards with my Life is Beautiful stamp set this week!  Do you have yours yet?  If not go here to order!

    ~~~

    October Specials!

    Current Host code is GRC9VVUU

    Designer Paper Sale; click here!

    Get a free package of Adhesive Backed Snowflakes in October with an

    online order over $45. 


    All online orders will receive my Tutorial of the Month featuring the Poinsettia Petals suite!

    Leave a Reply

    Your email address will not be published. Required fields are marked *

  • Have a Hoot Bundle; for Christmas!


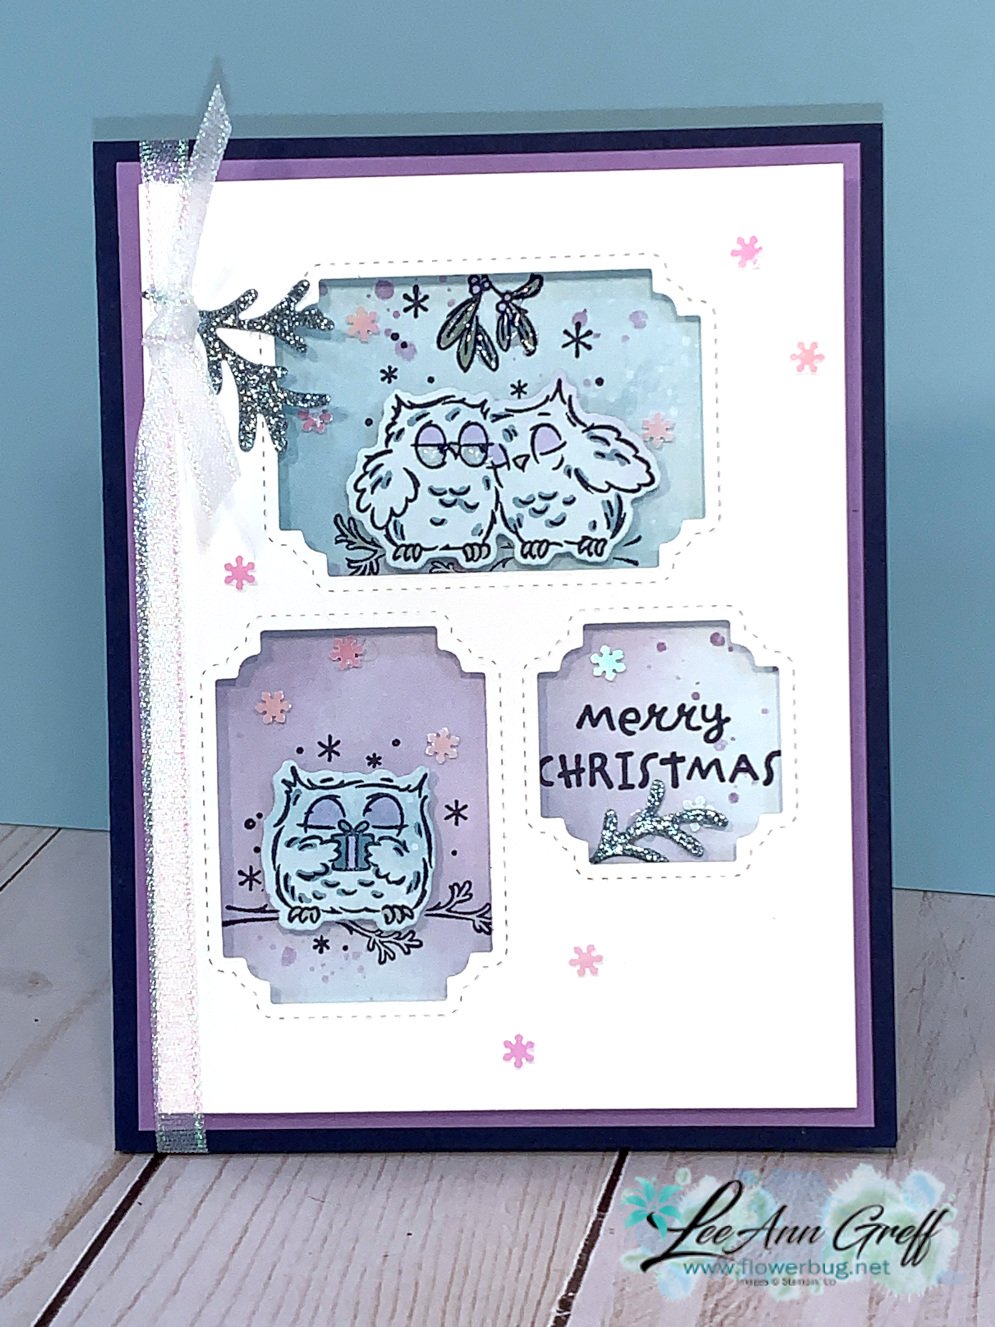
    At first I thought this bundle was just for Halloween.  But when looking at the images provided it works wonderfully for Christmas too!  

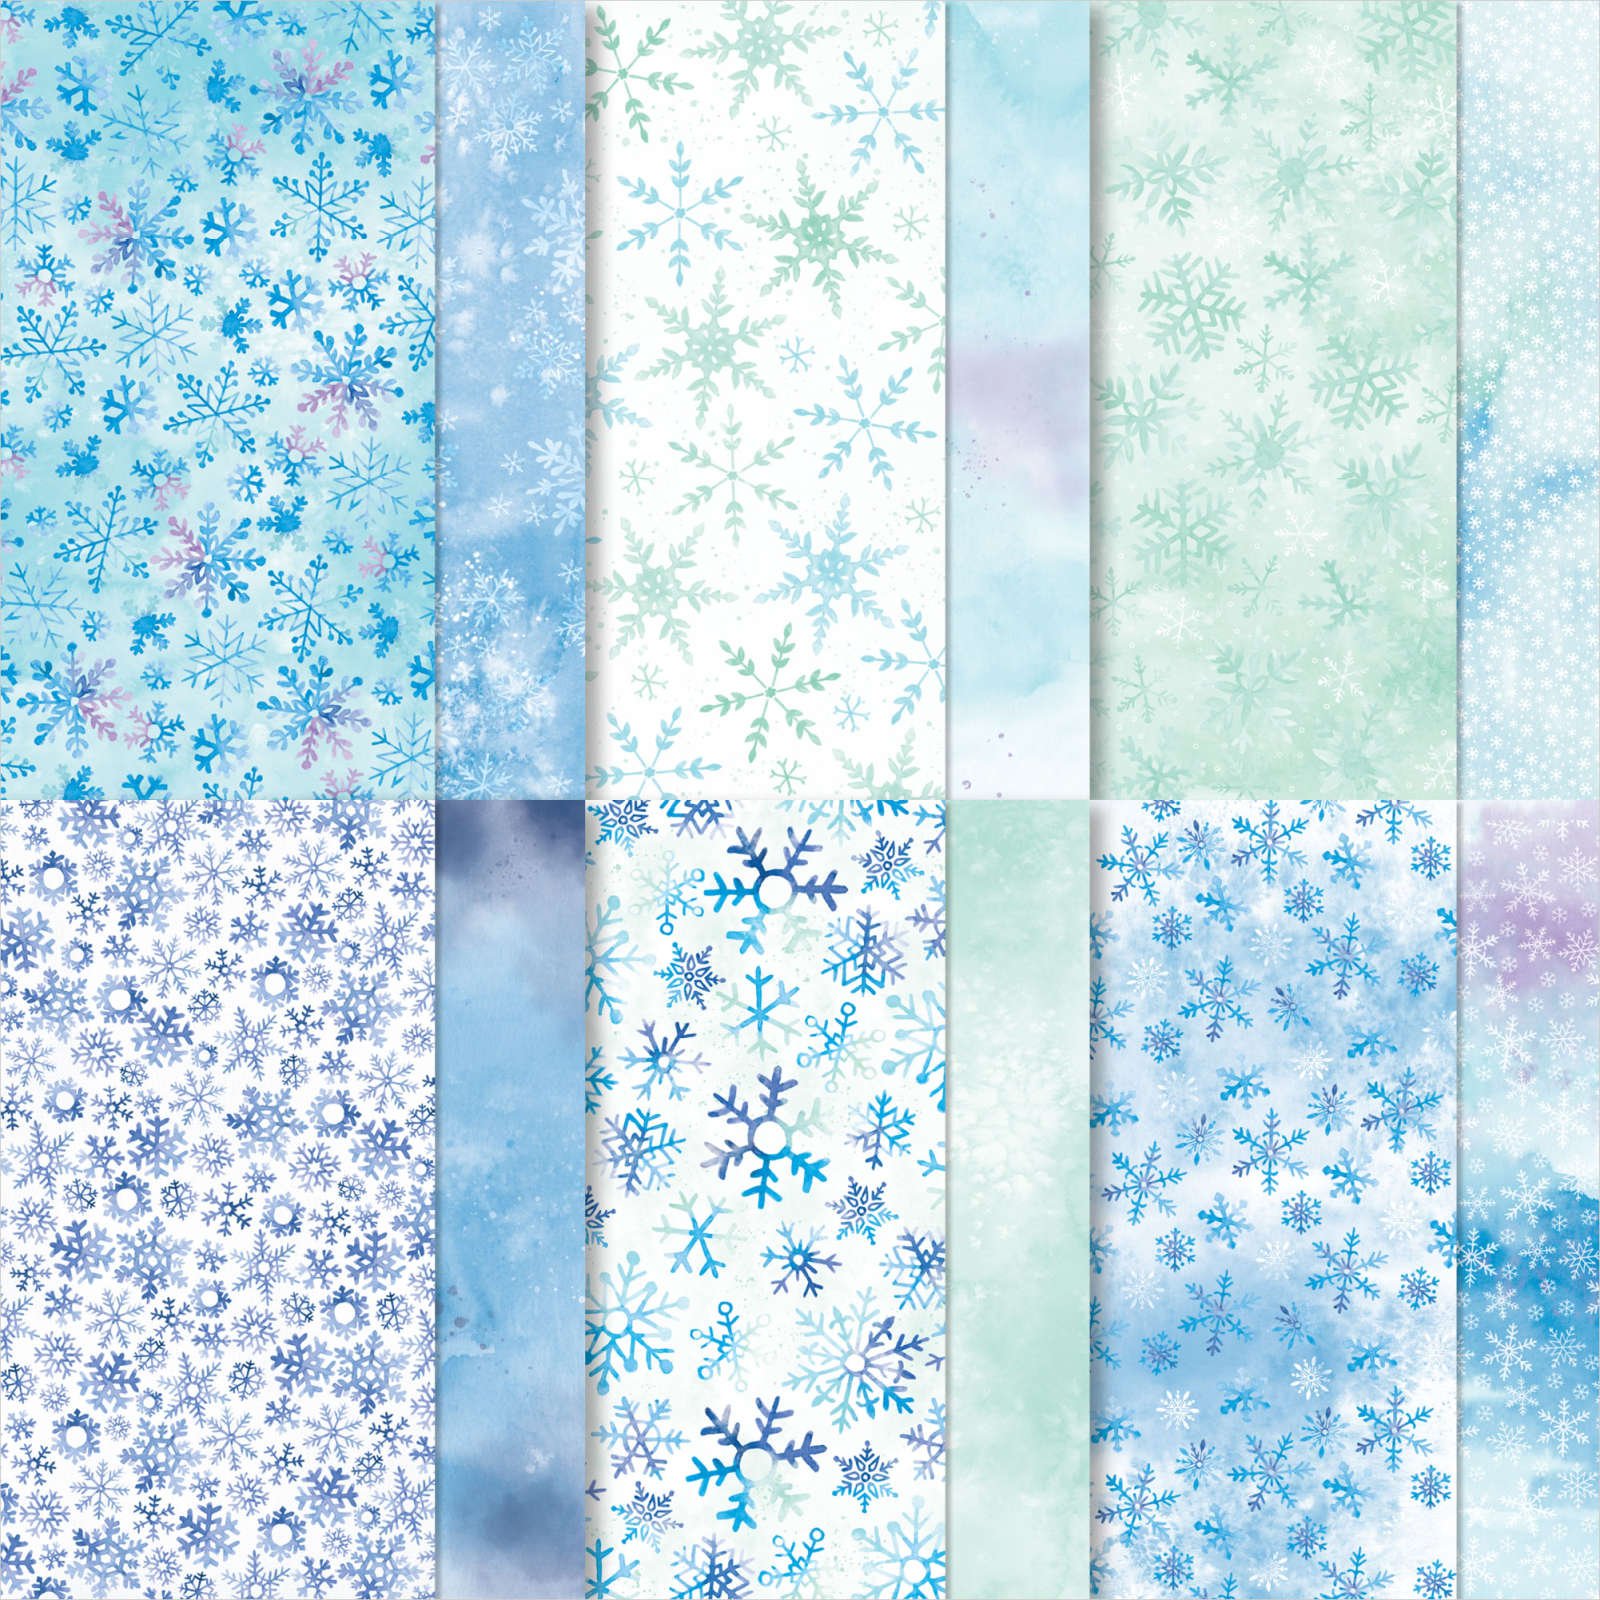
    I made these cards on Facebook Live last week. I've been working with the beautiful Snowflake Splendor designer paper all week; it's simply gorgeous and in so many of my favorite colors!

    Here's the first one.  Did you know the Peek-a-Hoot dies cut out all 3 window at once?!  There's no measuring or figuring out placement at all.  You can see the video below.  

    I stamped directly onto the Snowflake Splendor designer paper here.  I love the pretty purple/blue background!  The two owls are die-cut using the same die set.  I added a bit of color to them with Blends markers and finished with a bit of Balmy Blue glimmer accents and Adhesive Backed Snowflake Sequins. 

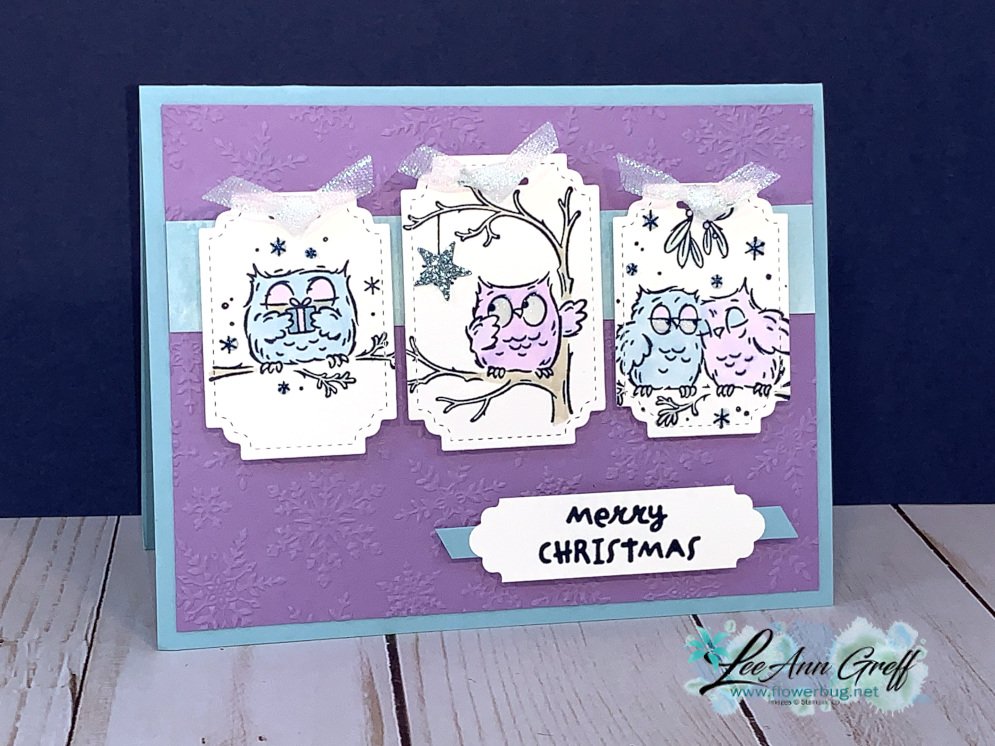
    This next card uses two of the tags left when die-cutting the windows on the card above.  I did cut out one extra.  I stamped and colored directly on them. 

    Other details:

    • A glimmer die-cut star covers up the 'spider' on the center panel.  
    • The Highland Heather panel (4" X 5 1/4") is embossed with the Winter Snow embossing folder.
    • the 3/4" X 5 1/4" strip of Snowflake Splendor DSP is under the three stamped tags. 
    • The greeting tag is punched with the Everyday Label punch; start with a 1/2" white strip. Stamp and punch.

    ~~~

    October Specials!

    Current Host code is GRC9VVUU

    Designer Paper Sale; click here!

    Get a free package of Adhesive Backed Snowflakes in October with an

    online order over $45. 


    All online orders will receive my Tutorial of the Month featuring the Poinsettia Petals suite!

    Leave a Reply

    Your email address will not be published. Required fields are marked *


Notice: LeeAnn Greff, Independent Stampin’ Up! Demonstrator, Manager. The content of this website is my sole responsibility as an independent Stampin’ Up! demonstrator and the use of, and content of, the classes, services, or products offered on this website is not endorsed by Stampin’ Up! Copyright 2025