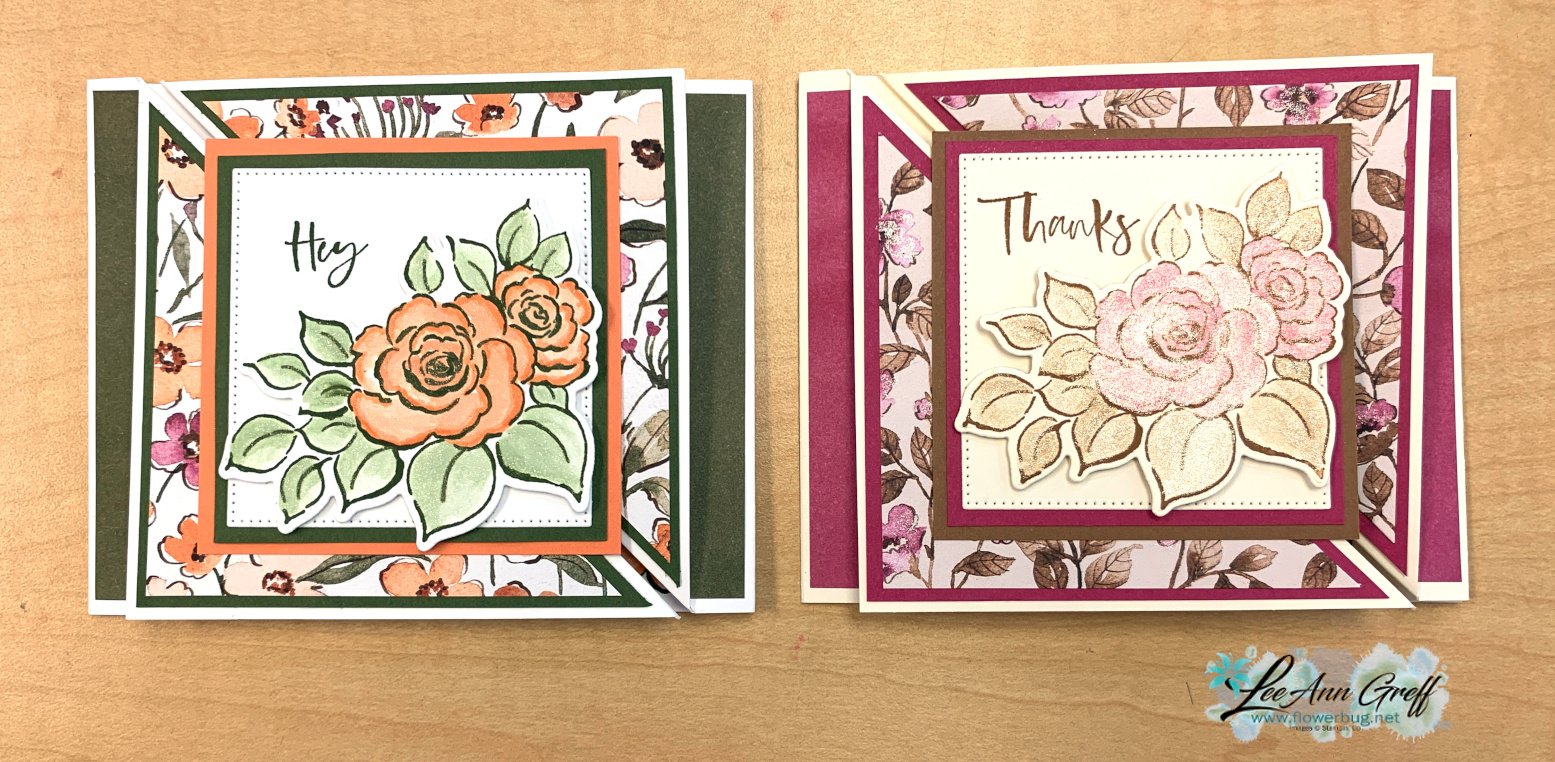
I colored the main floral image with a Wink of Stella and ink from my ink pads. Watch the video to see how it’s done.
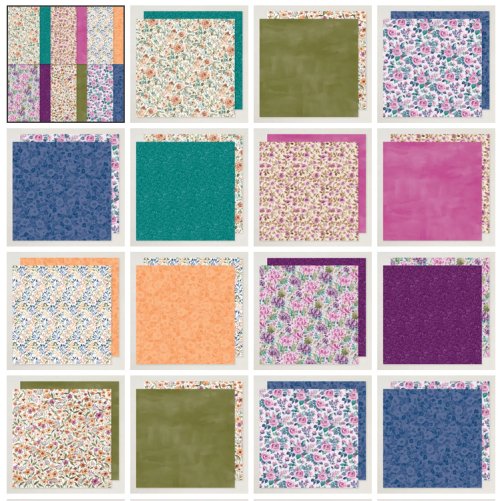
I featured the Floral Charm DSP that’s discounted right now during the In Color promotion. See it here. It’s almost $2 off. My favorite thing about it is the color coordination. Each pattern has a soft, matching back side.
I also used the Charming Day bundle that coordinates with the DSP. See that here.
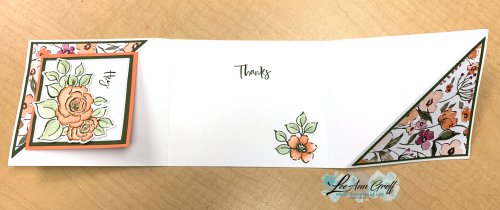
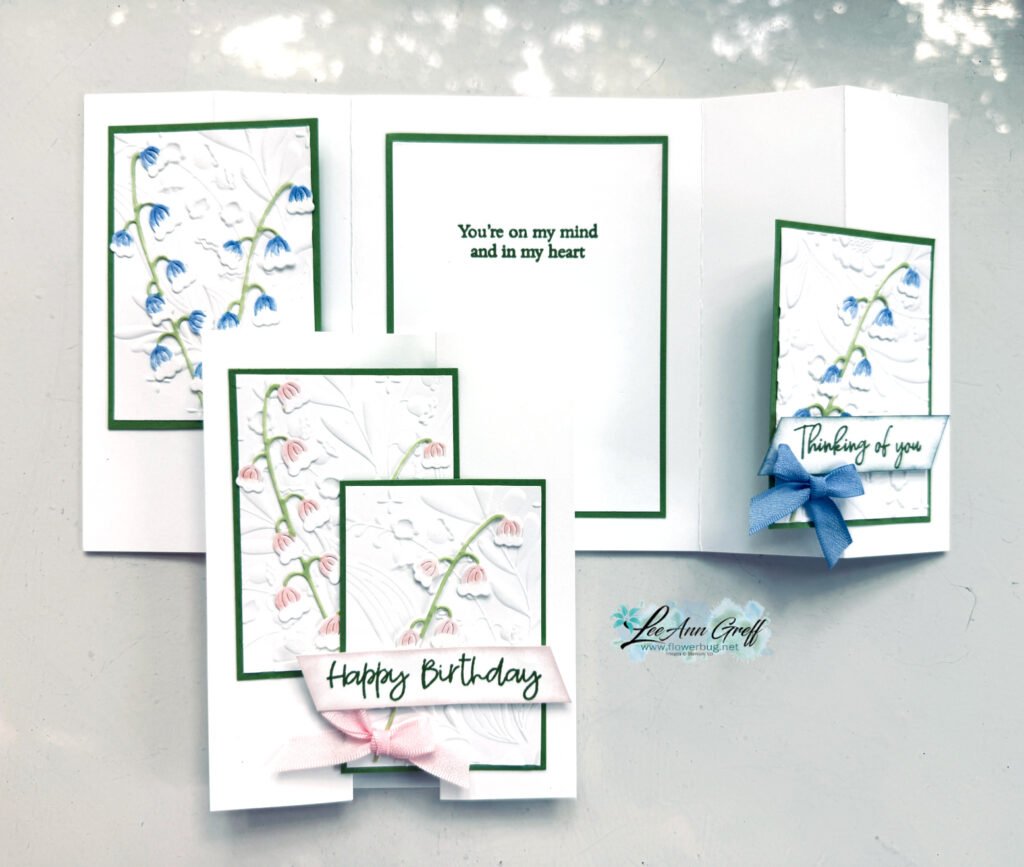
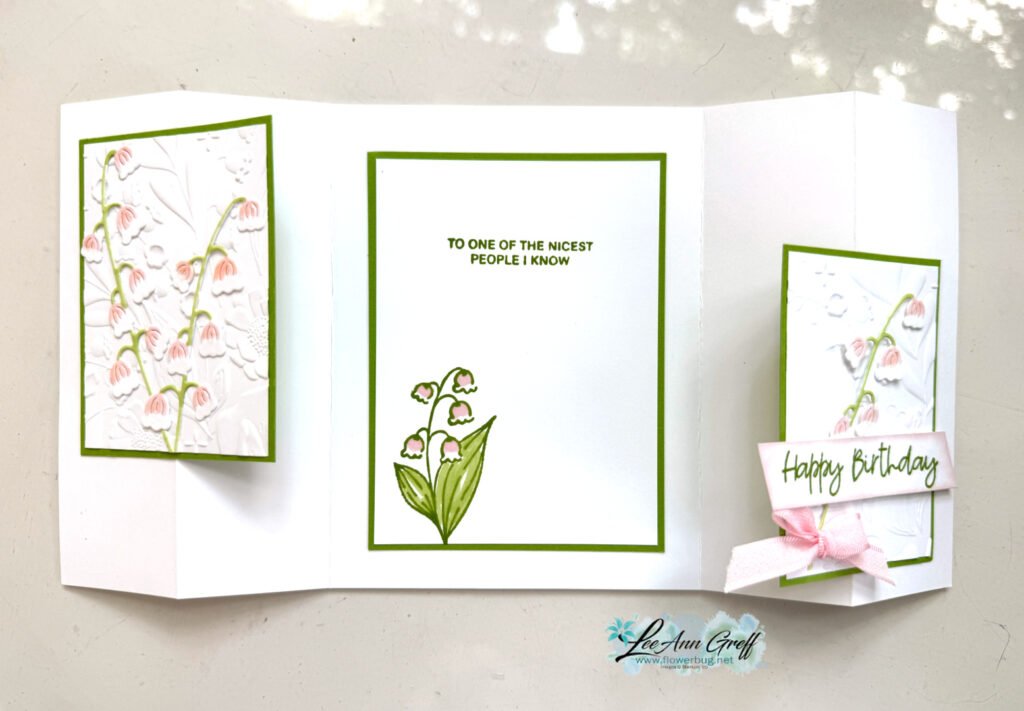
Here’s how the card opens. I’m calling it a double diagonal center fold card. The center stays in place but the outer triangles lift up and to the outside as shown below.
I have a complete project sheet for you with measurements, directions, supplies and photos. The video tutorial will help you understand how to assemble this card; see it below. Click on the following link to print or download this project sheet:Download Double Diagonal Center fold cards
If you haven’t watched my recent videos you may not know that we have moved from Minot, ND to Bismarck, ND this month. It’s been a super busy time of downsizing, selling excess, packing and moving.
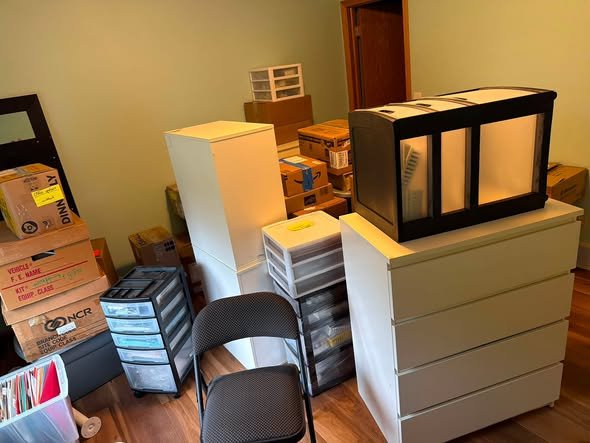
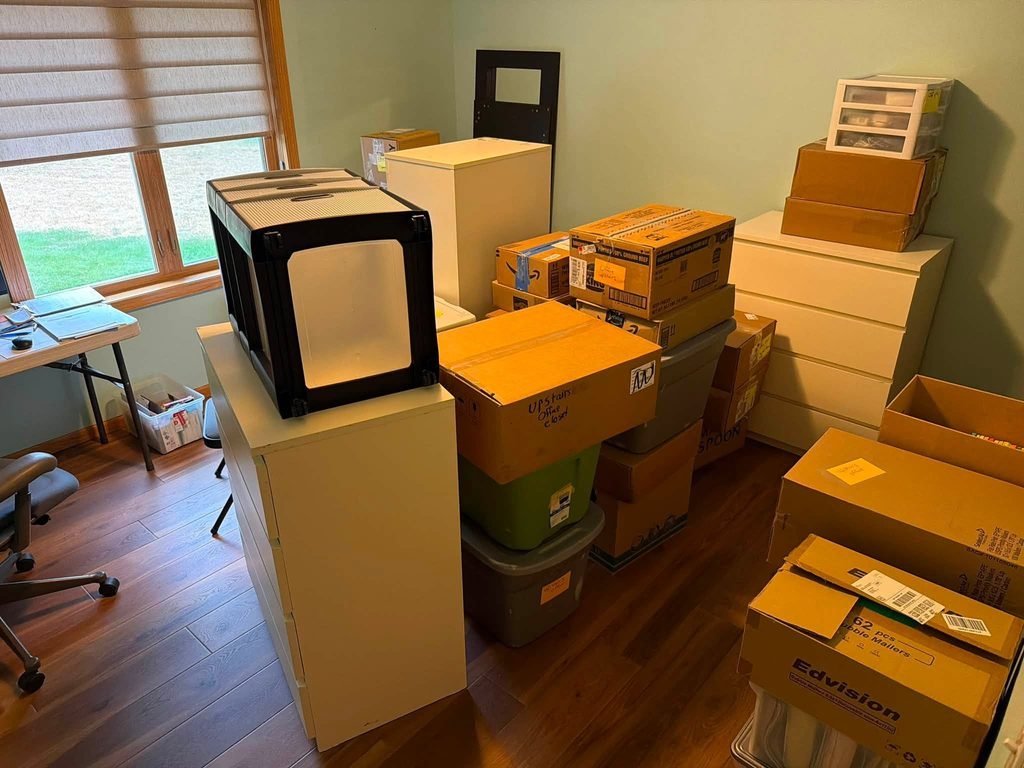
Why did we move? Well, there are many reasons but mostly my husband retired and we moved to be closer to our son and other family. It was very difficult to leave our beautiful home but we will love our new home too. Here’s a picture of my office/craft room before I was able to unpack. I’ll share new photos once I’m settled.
In that back doorway is a walk in closet; that will help with storage! I did find a nice L shaped desk and hope to get that set up today; then I can really set up my room.
This is why I’ve been missing in action lately; it’s hard to do both stamping/business and moving/getting settled. So I’m taking a bit of a break in August. Have patience with me; I’ll be back to blogging and videos soon!
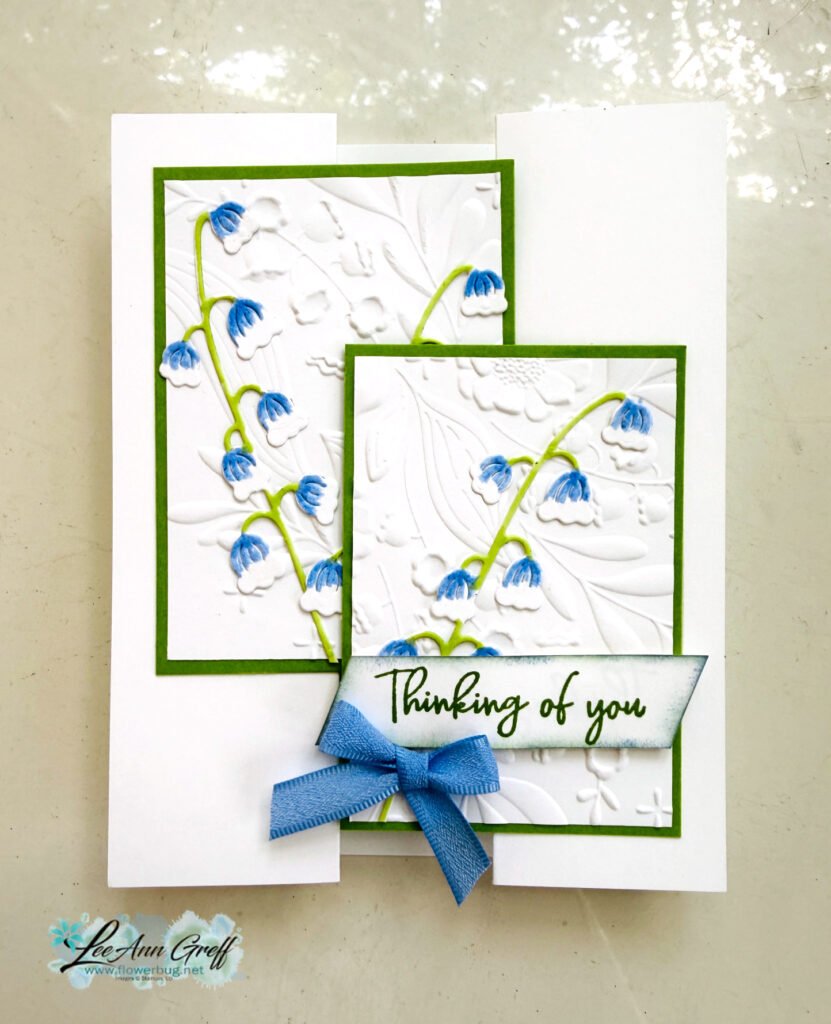
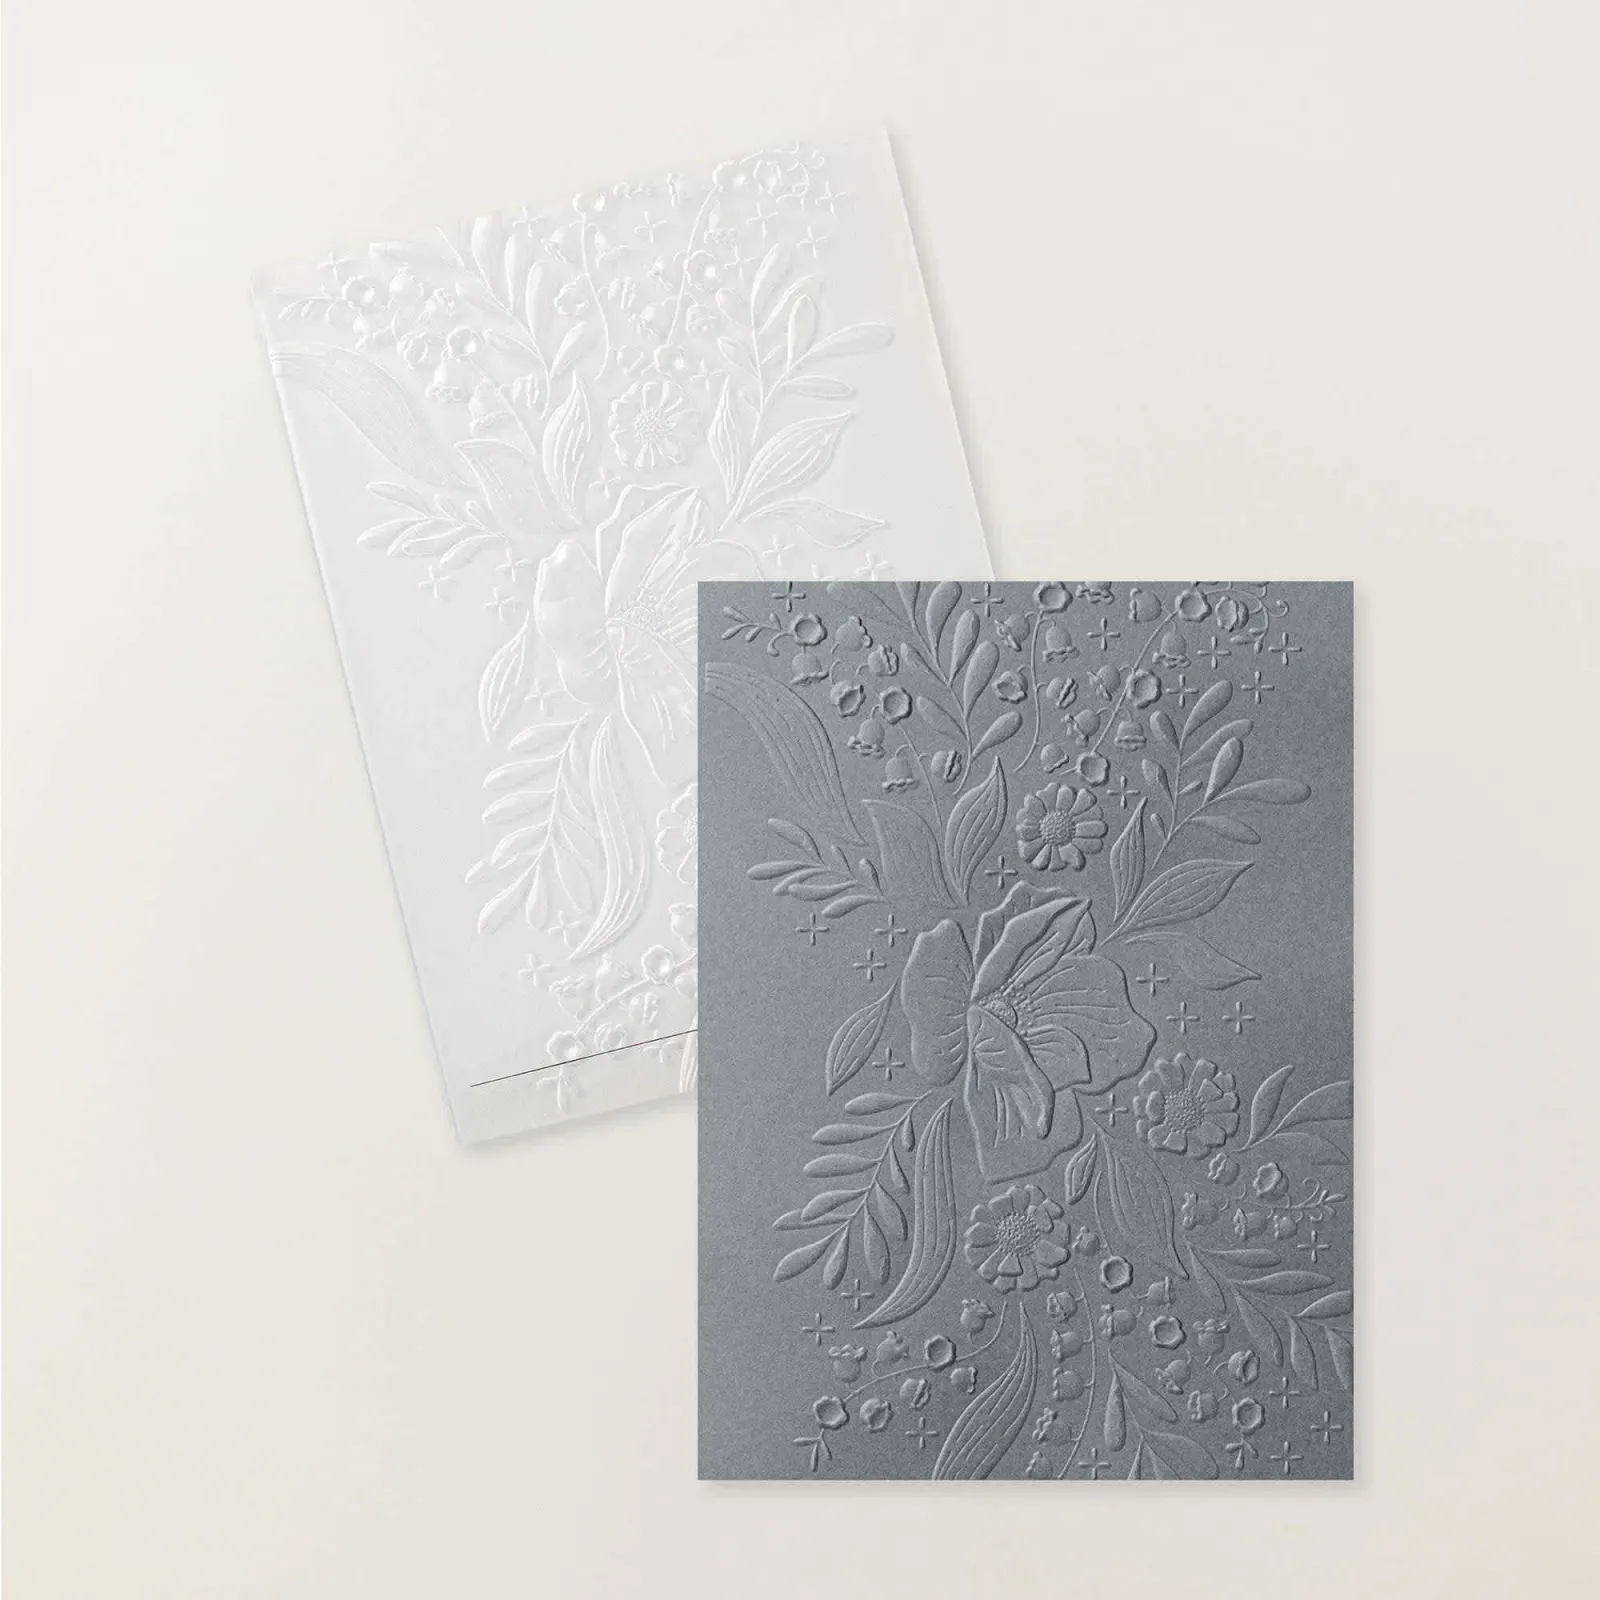
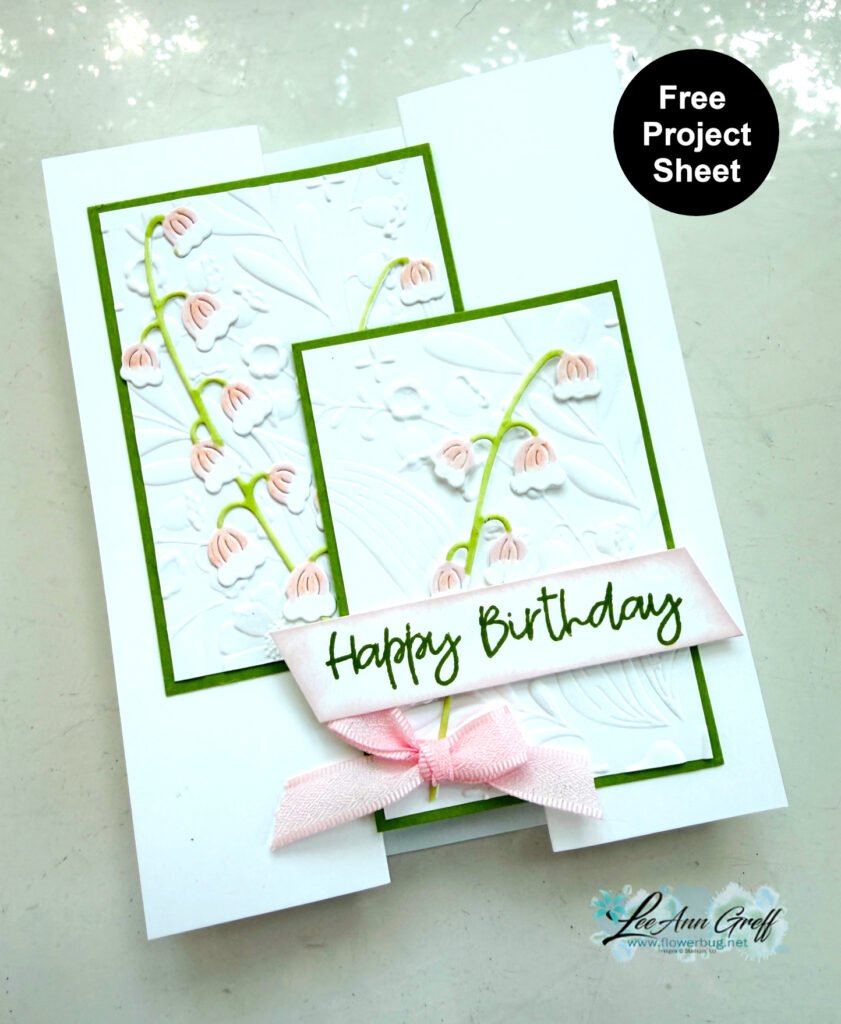
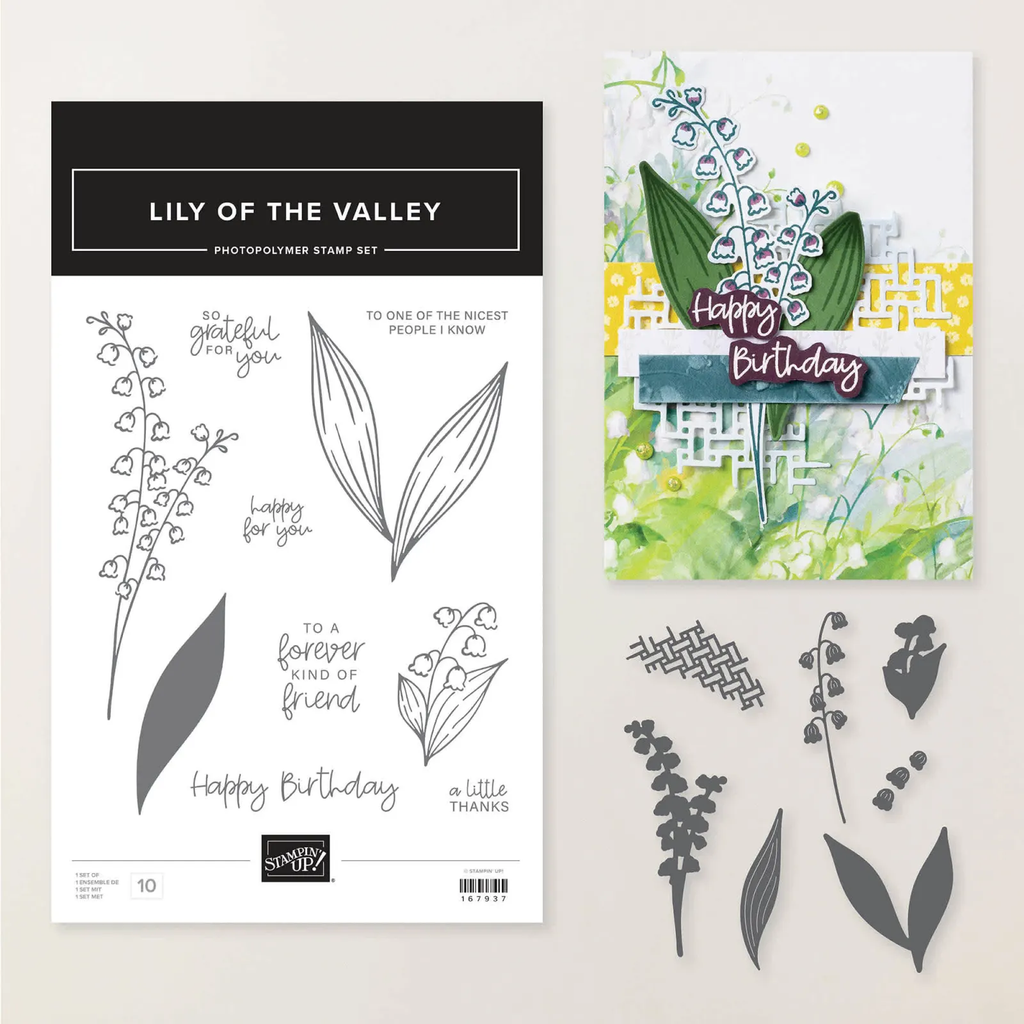
My colors here are White with Hydrangea Hue and Granny Apple Green. I colored the Lily of the Valley die-cuts with both Blends markers and tried the new Shimmer Brushes too. The gorgeous textured layers are made with the Floral Spray 3D embossing folder; it’s back in stock now!See it here.
Look closely at the layers in my photo above and note how the upper left piece tucks under the right lower piece. That’s why it’s called a crossover fold; it actually locks together to lay mostly flat. You can see how it’s made in the video below.
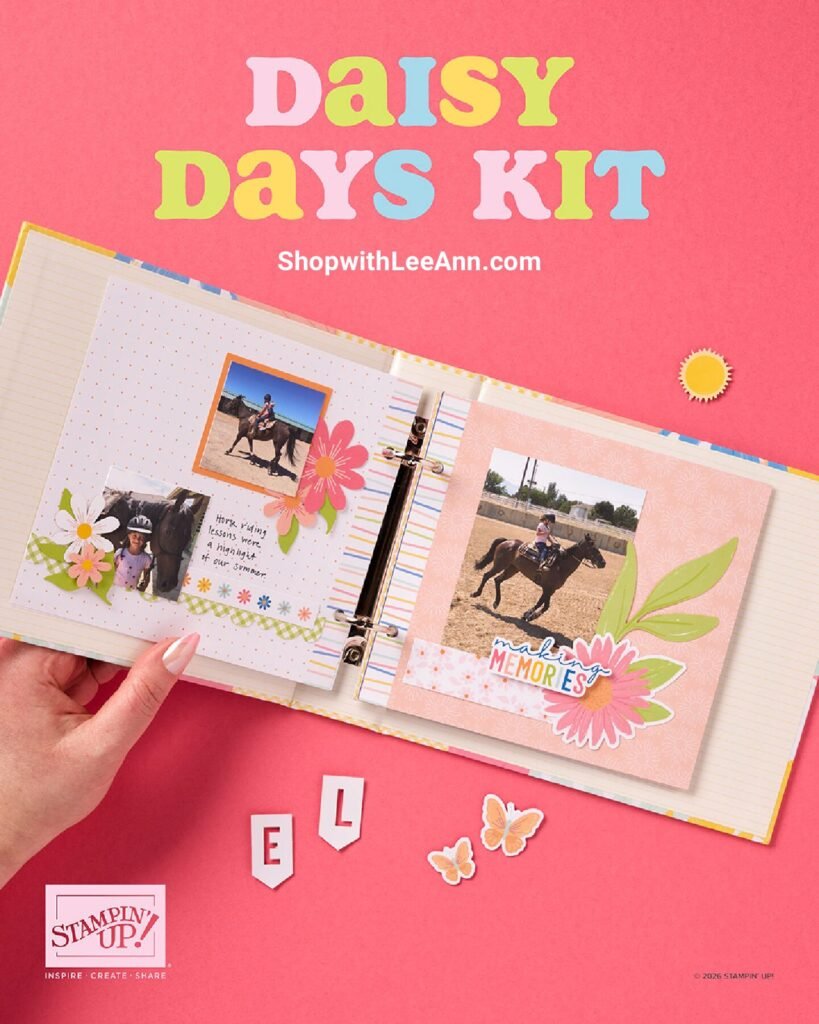
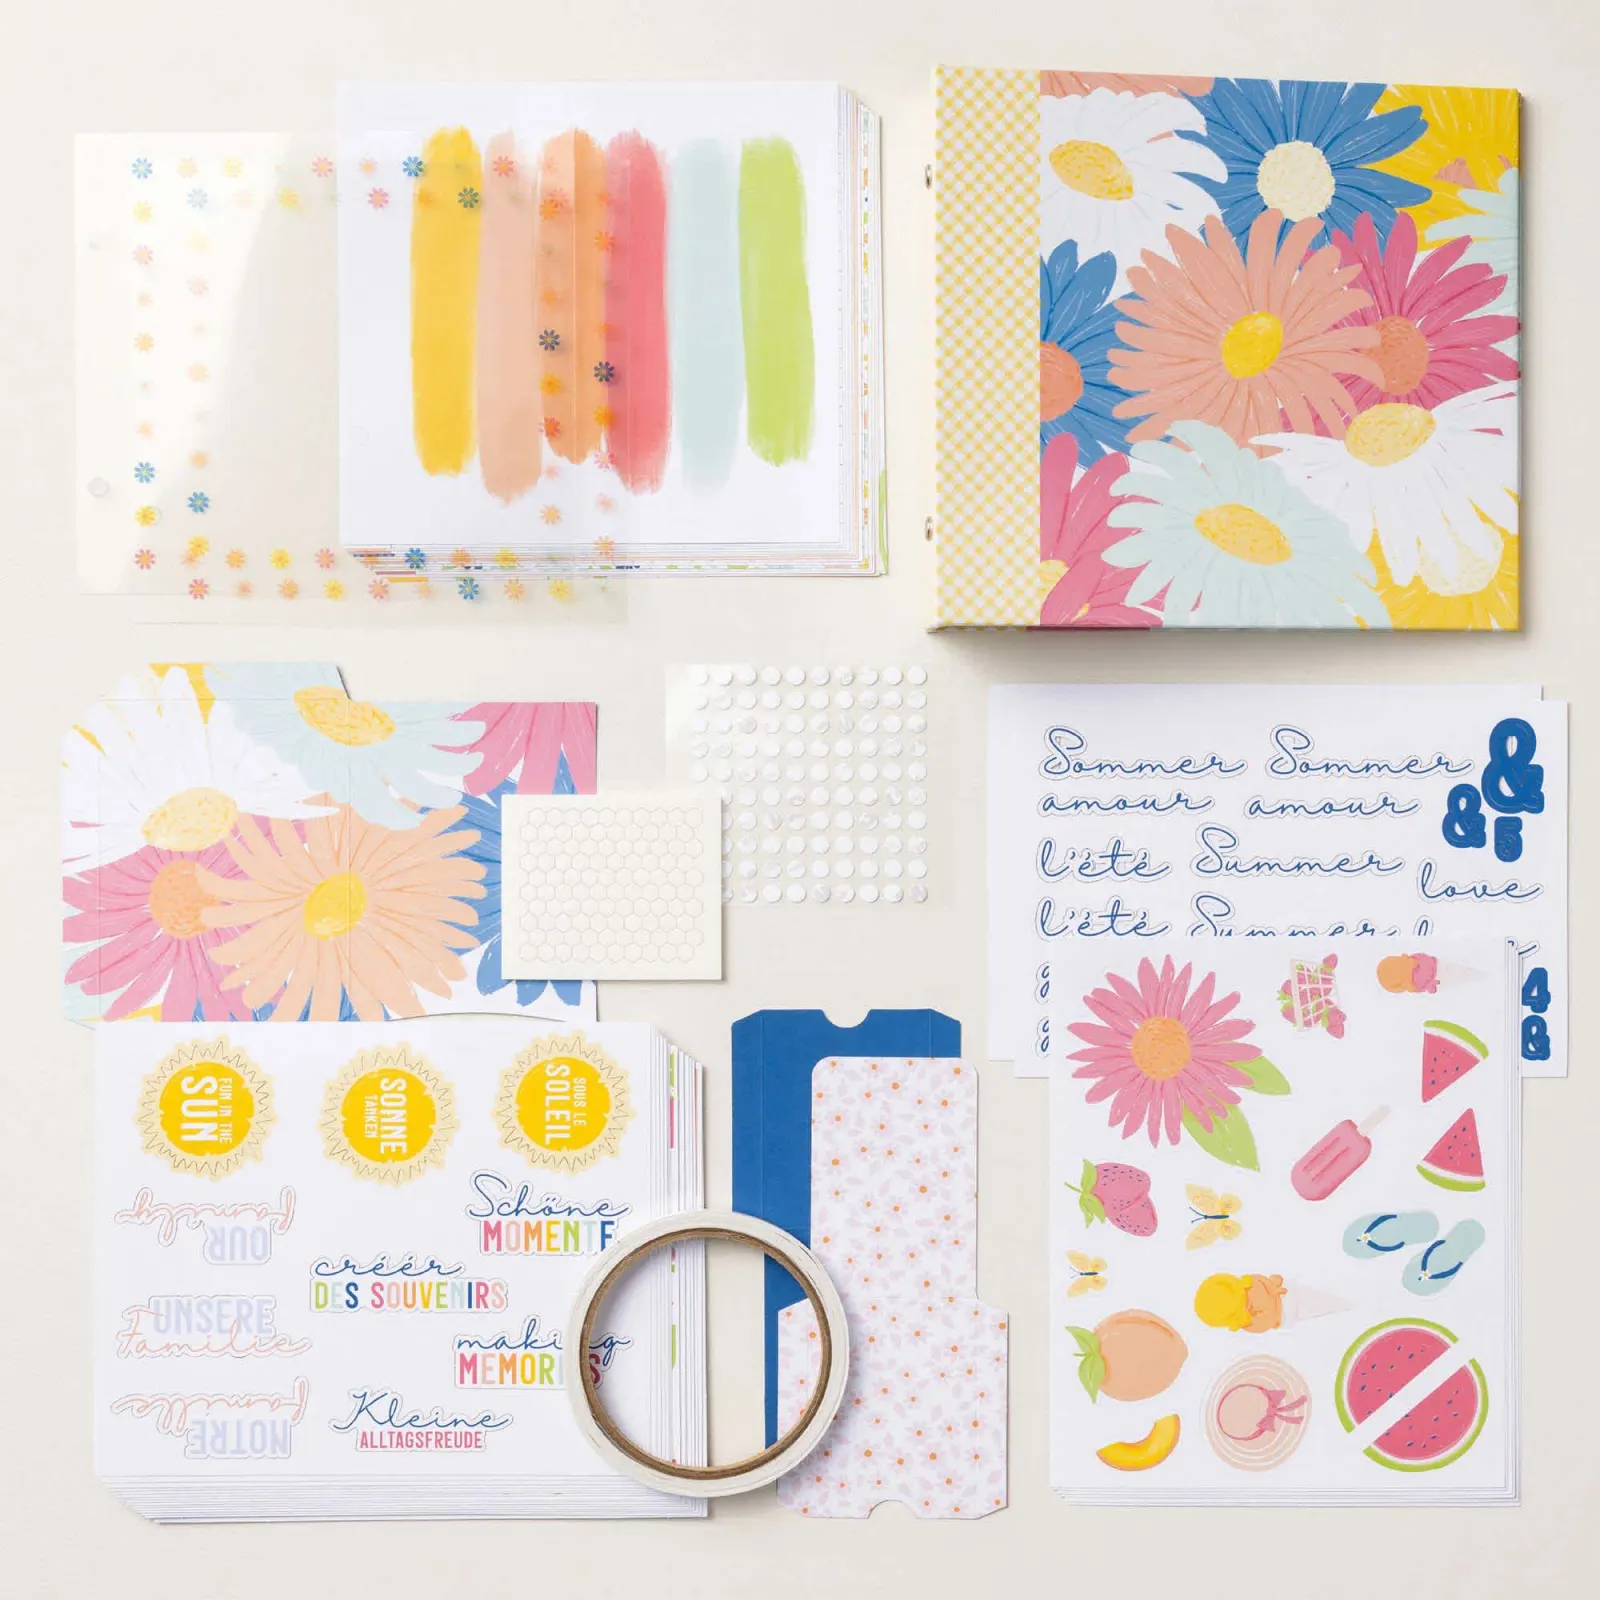
DETAILS – Makes 1 album with 28 pages – Album size: 7-3/4″ x 7″ x 1-7/8″ – Page size: 6.5″ x 6″ – Colors: Blueberry Bushel, Crisp Cantaloupe, Crushed Curry, Granny Apple Green, Pool Party, Strawberry Slush, Timid Tiger – Sentiments printed in English, French, and German
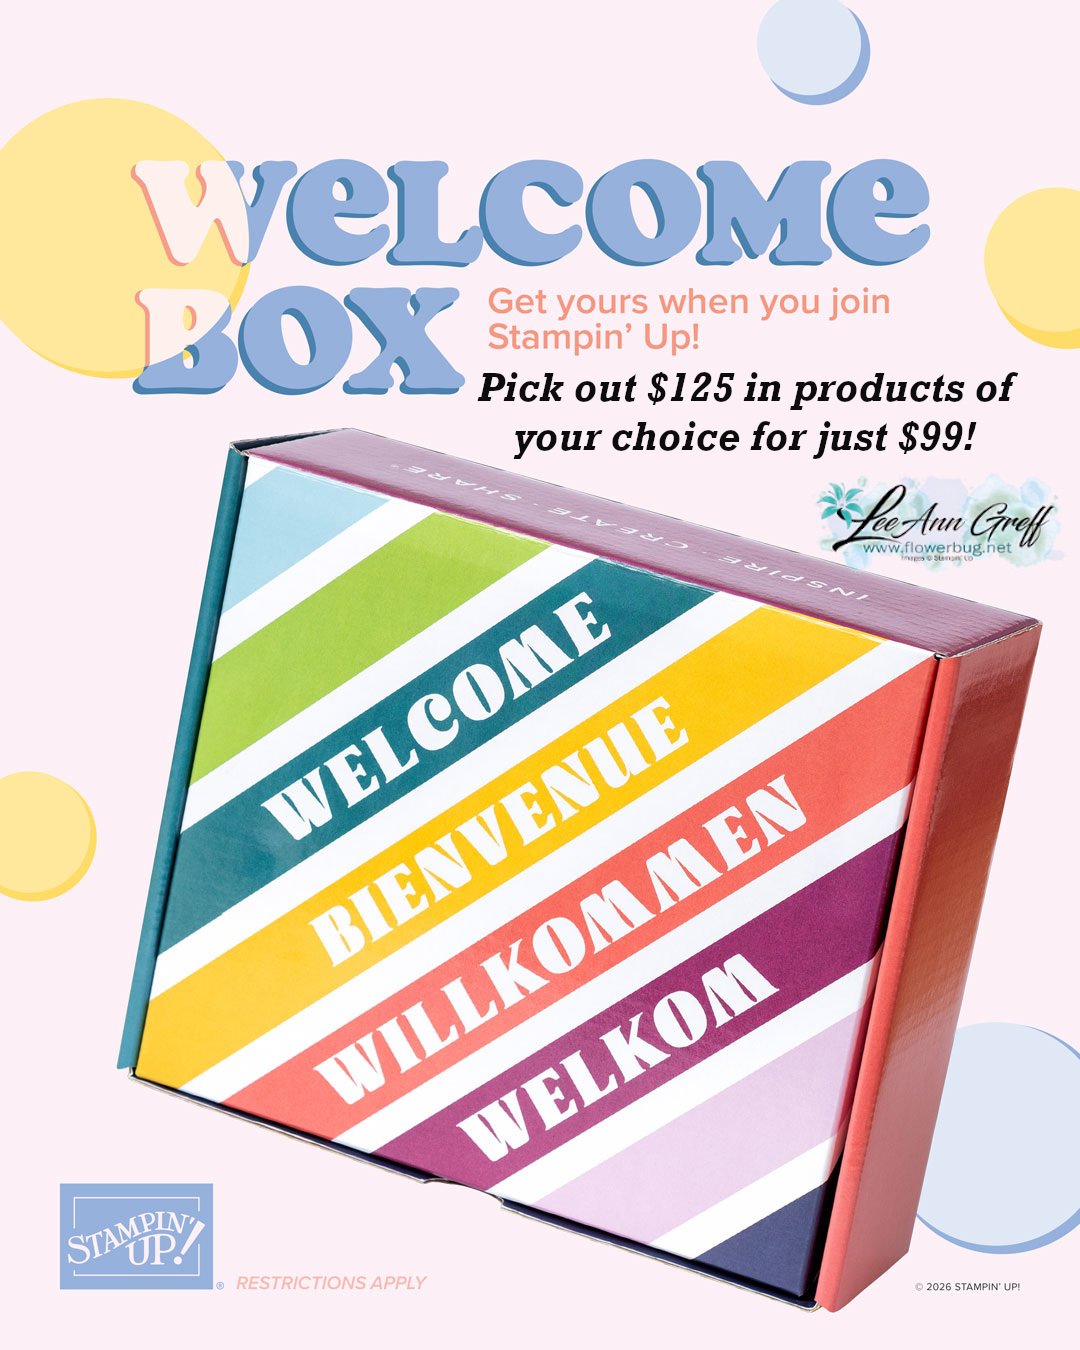
This is super exciting news! All first-time demonstrators (beginning July 1, 2026) will receive a surprise Welcome Box—a gesture of appreciation and a warm welcome into the global Stampin’ Up! creative community.
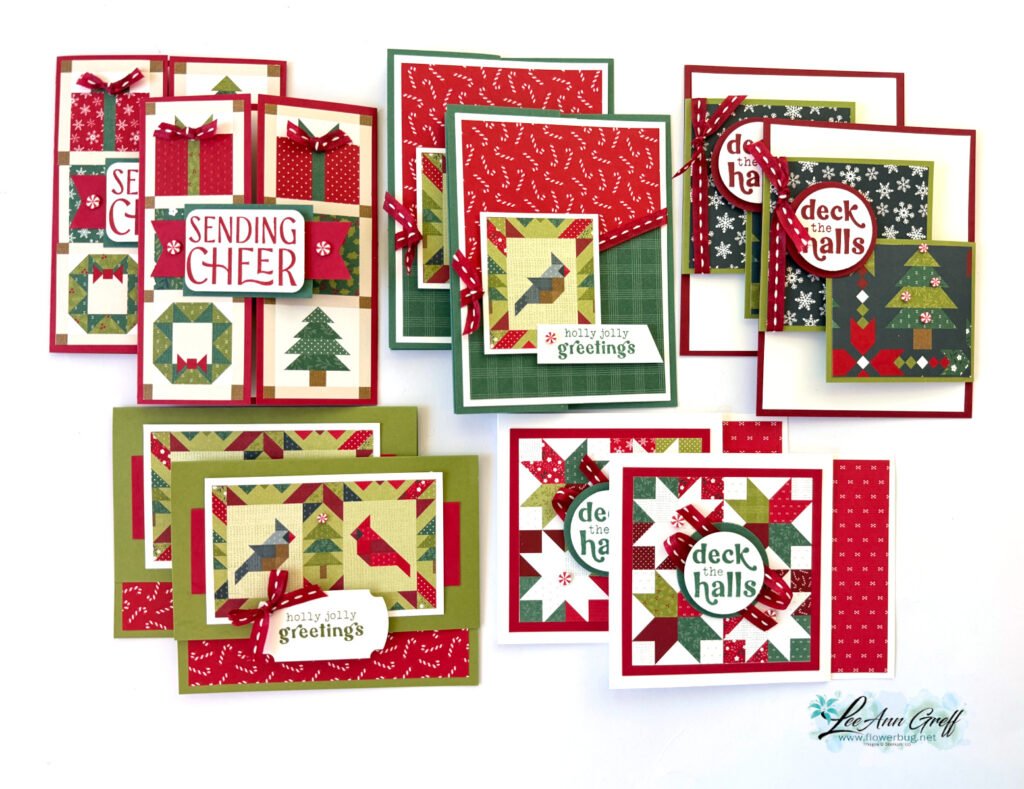
These cards are all fun fold layouts and make the most of this adorable paper. You’ll love the fun layouts and the Peppermint gems and stitched Red ribbon included in the kit.
The kit to go includes approximately $20 in Stampin’ Up! product plus the PDF tutorial for all 10 cards. The tutorial includes photos, measurements, a supplies list and step by step directions.
Click here to get the pre-cut kit to go with product & tutorial. It’s $33.
Click here to get the PDF tutorial only for $17. The PDF tutorial will be sent to you immediately in an email. The kit to go will be mailed out in mid August.
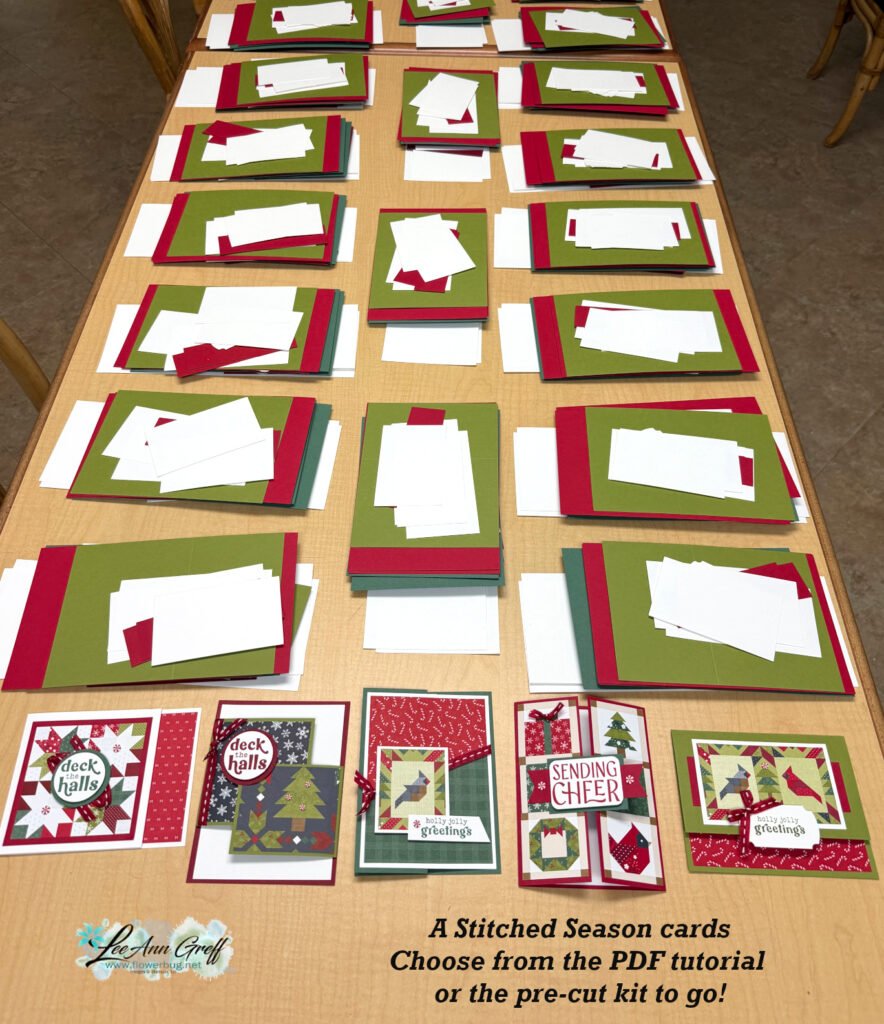
Here’s a peek at my pre-cut layers before packaging:
Notice: LeeAnn Greff, Independent Stampin’ Up! Demonstrator, Manager. The content of this website is my sole responsibility as an independent Stampin’ Up! demonstrator and the use of, and content of, the classes, services, or products offered on this website is not endorsed by Stampin’ Up! Copyright 2025
















Leave a Reply