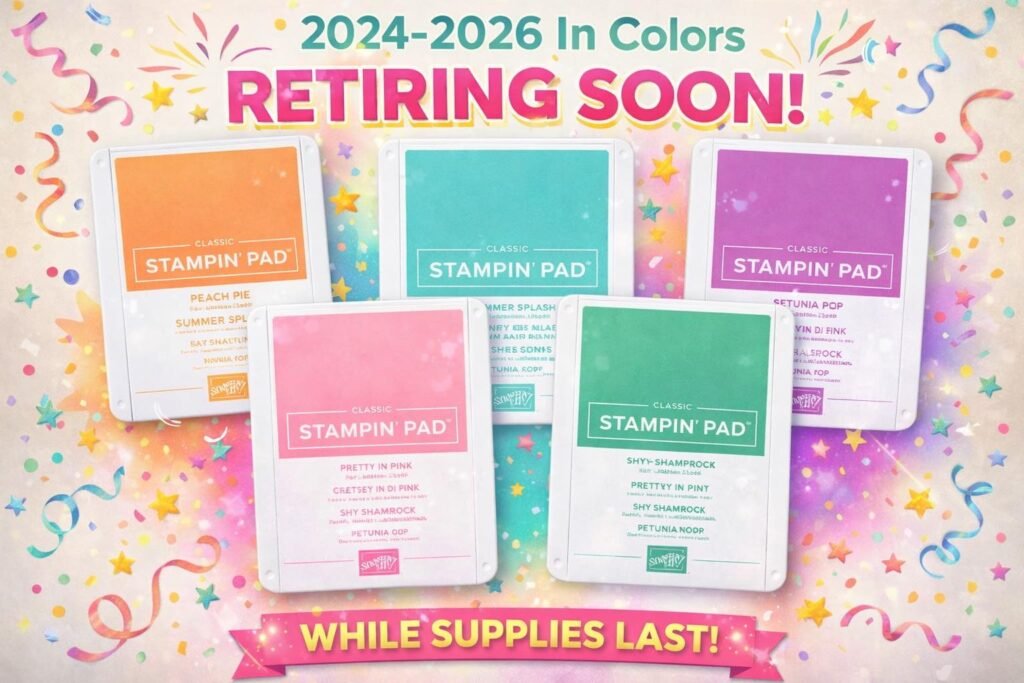
Retiring In Colors! Don’t wait to get what you need; many are in low inventory now!
The 2024-26 In Colors were among our very favorites and sadly they are retiring in March. Most of these items are in low inventory now. Please do not wait to get what you need while you can.
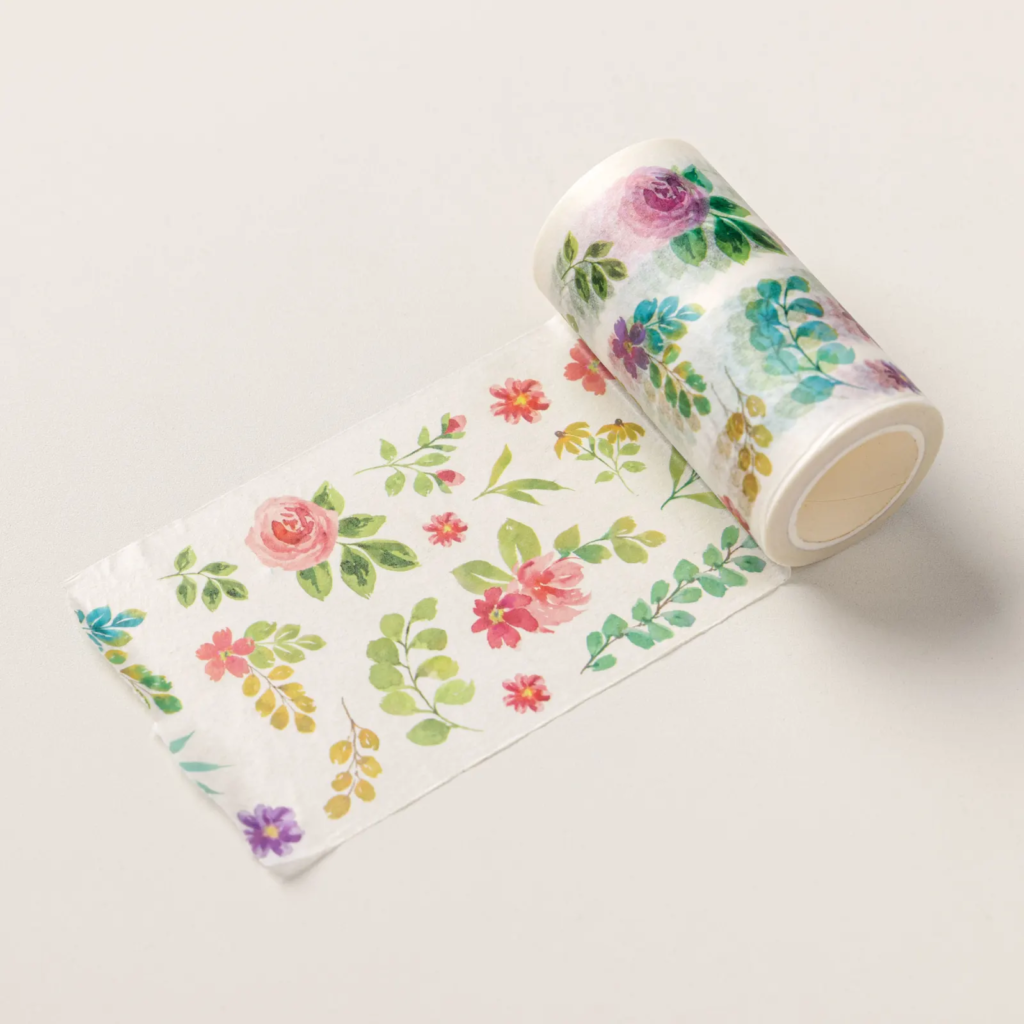
Aren’t they pretty? And because the washi tape includes two color combinations (all in one roll) I was able to offer two choices of colors. You can see this pretty Washi tape here.
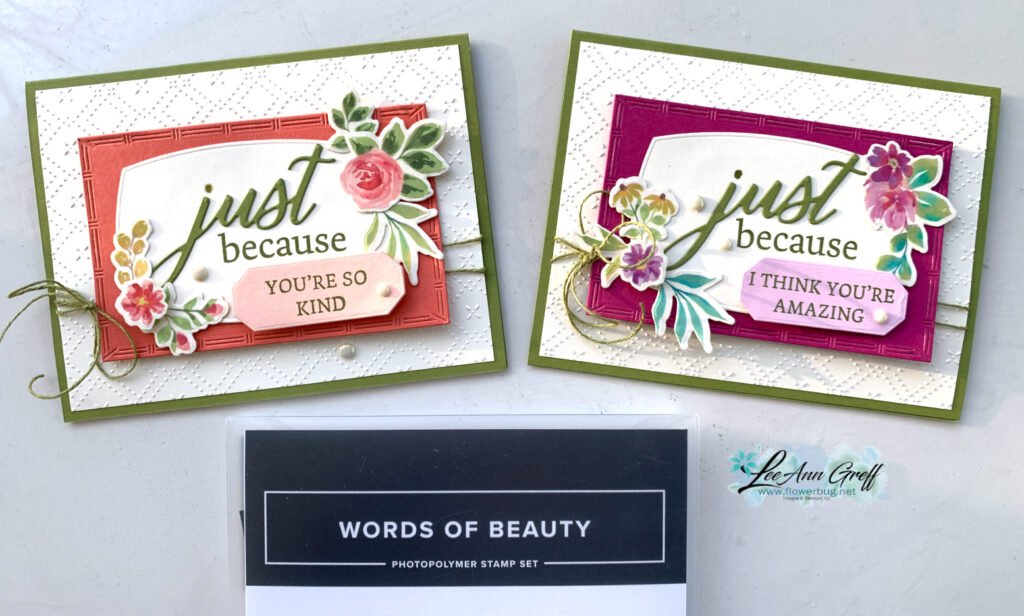
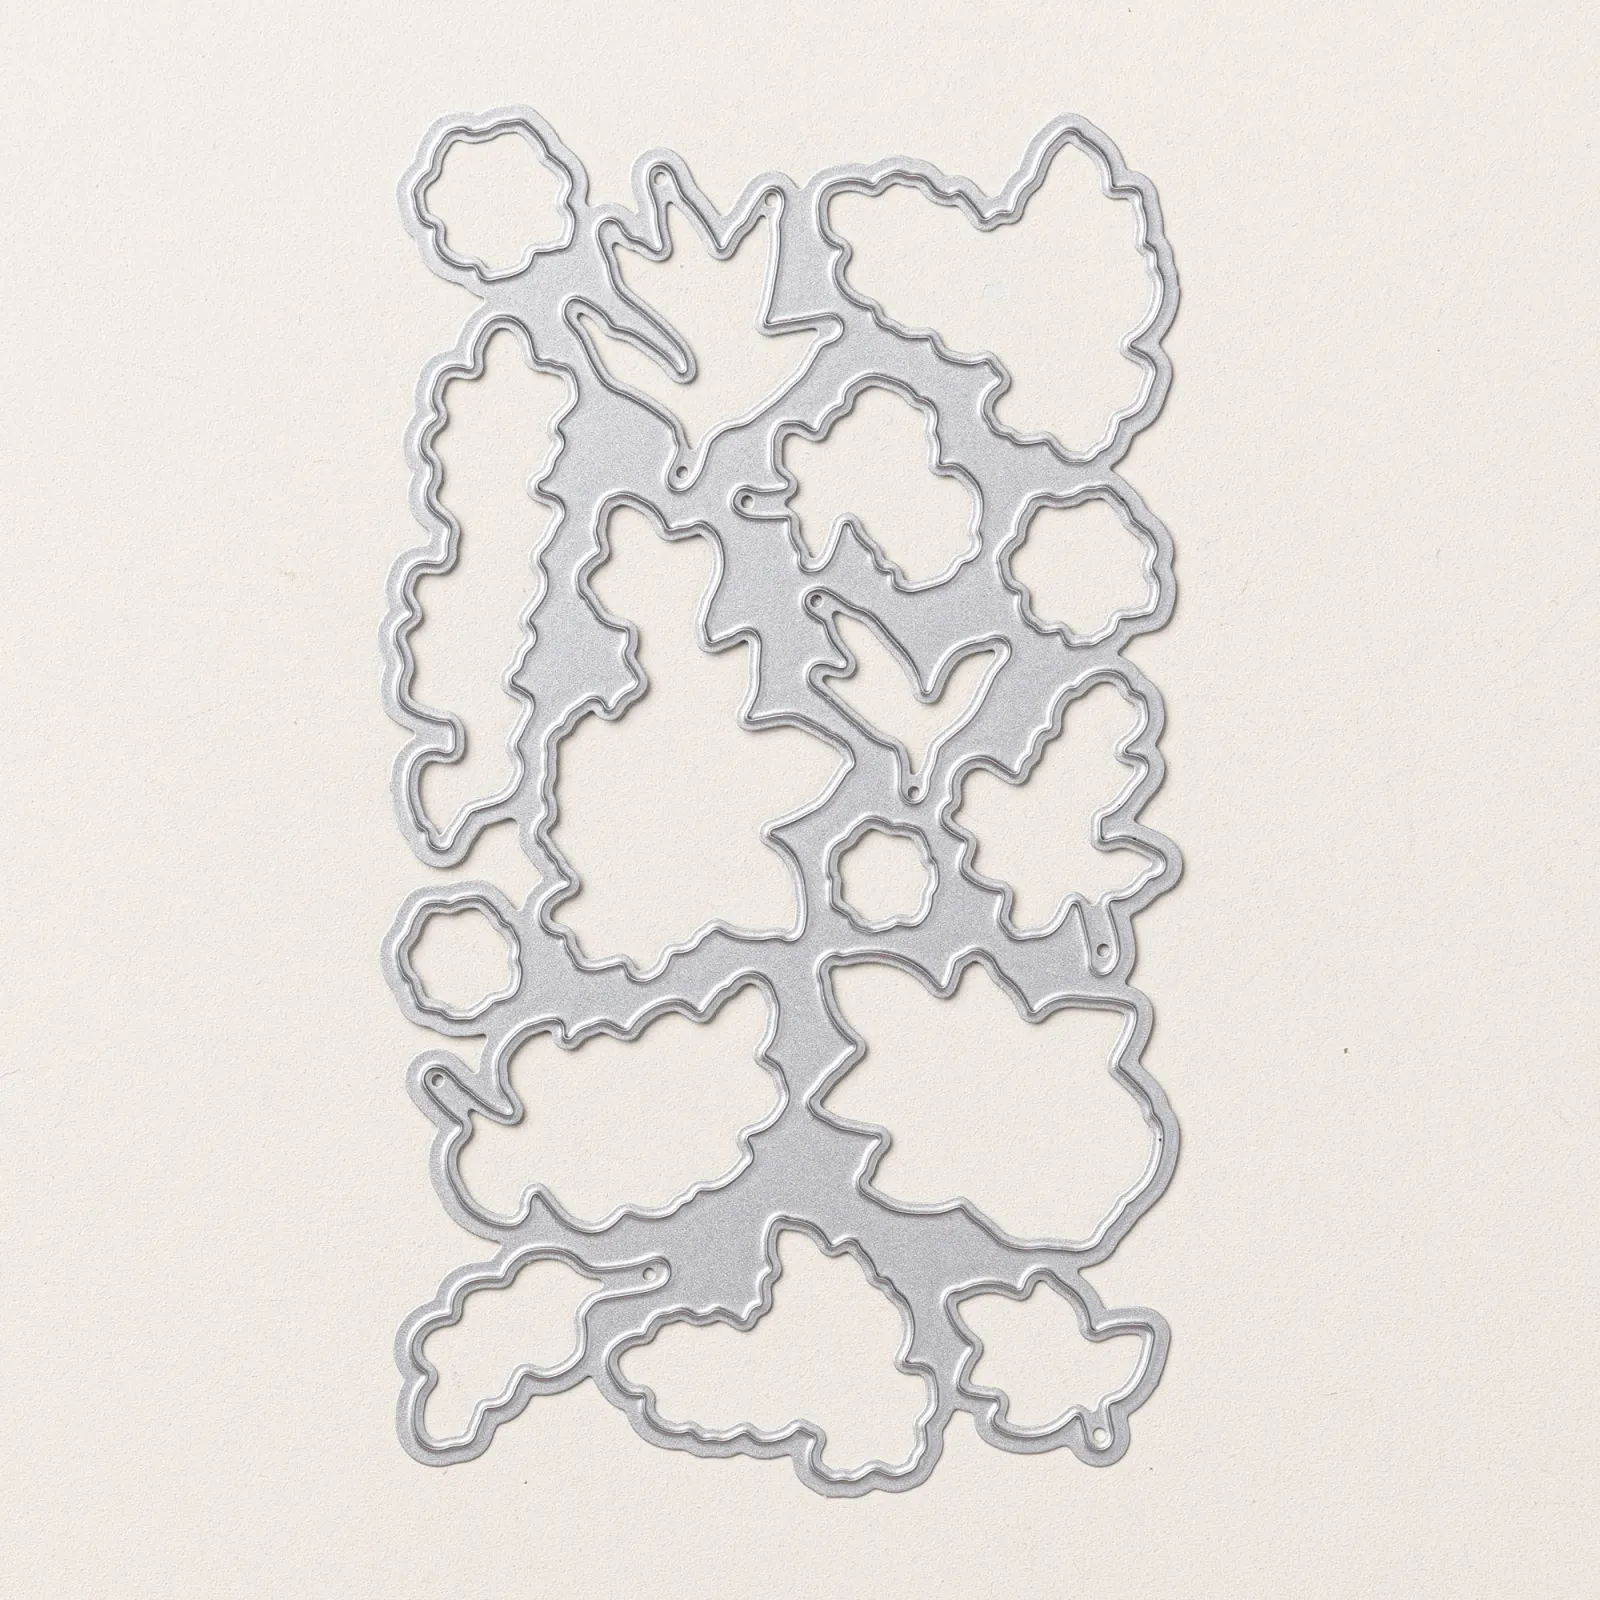
It also has a stamp & die bundle that matches it perfectly. I used only the single die seen here. What I love about this die is it cuts out all of one huge panel of flowers/leaves all at once! It’s a most amazing product, (well named) and incredible that you get 16 gorgeous flowers cut all at once!
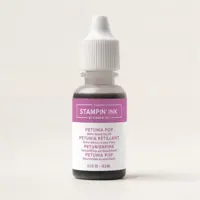
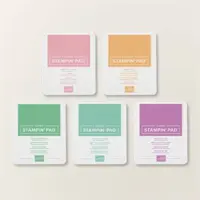
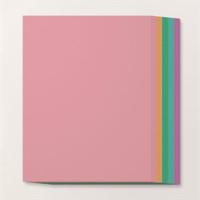
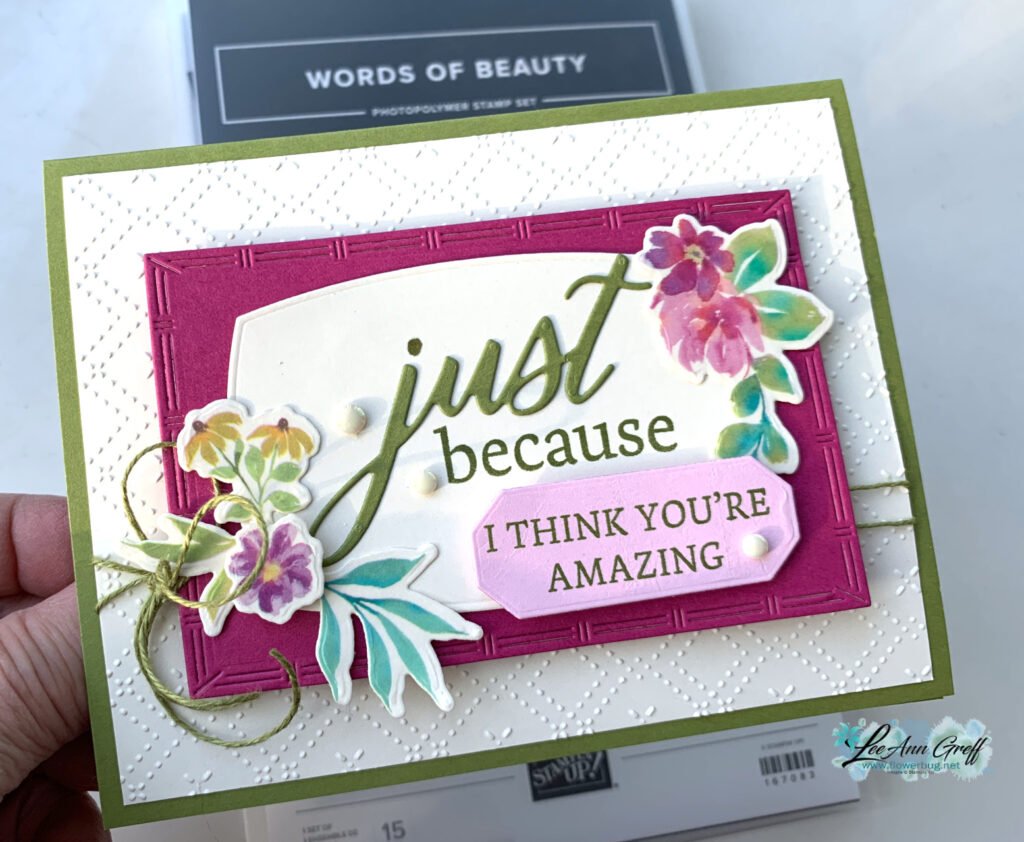
My colors include Old Olive and Very Vanilla, plus Calypso Coral with Petal Pink and Berry Burst with Fresh Freesia. We wrapped Old Olive twine around the Vanilla layer twice and tied it into a bow to anchor the flowers & greeting.
The other bundle I used is the Words of Beauty seen here. So many possibilities for greetings in this one.
A few other dies used here are theTextured Notes dies seen here (which are retiring but unavailable right now) and the Label Me Grateful dies which just retired.
I also used the ‘With You in Mind’ stamp set for the inside: A thin 1/4″ strip of matching CS finished it off nicely.
Here’s the free project sheet for this card.Click here to download or print it.
I hope you watch the video below to get the tips on using these products and finishing the card. Be sure to subscribe to my YouTube channel while you’re there!
~~~
February Specials
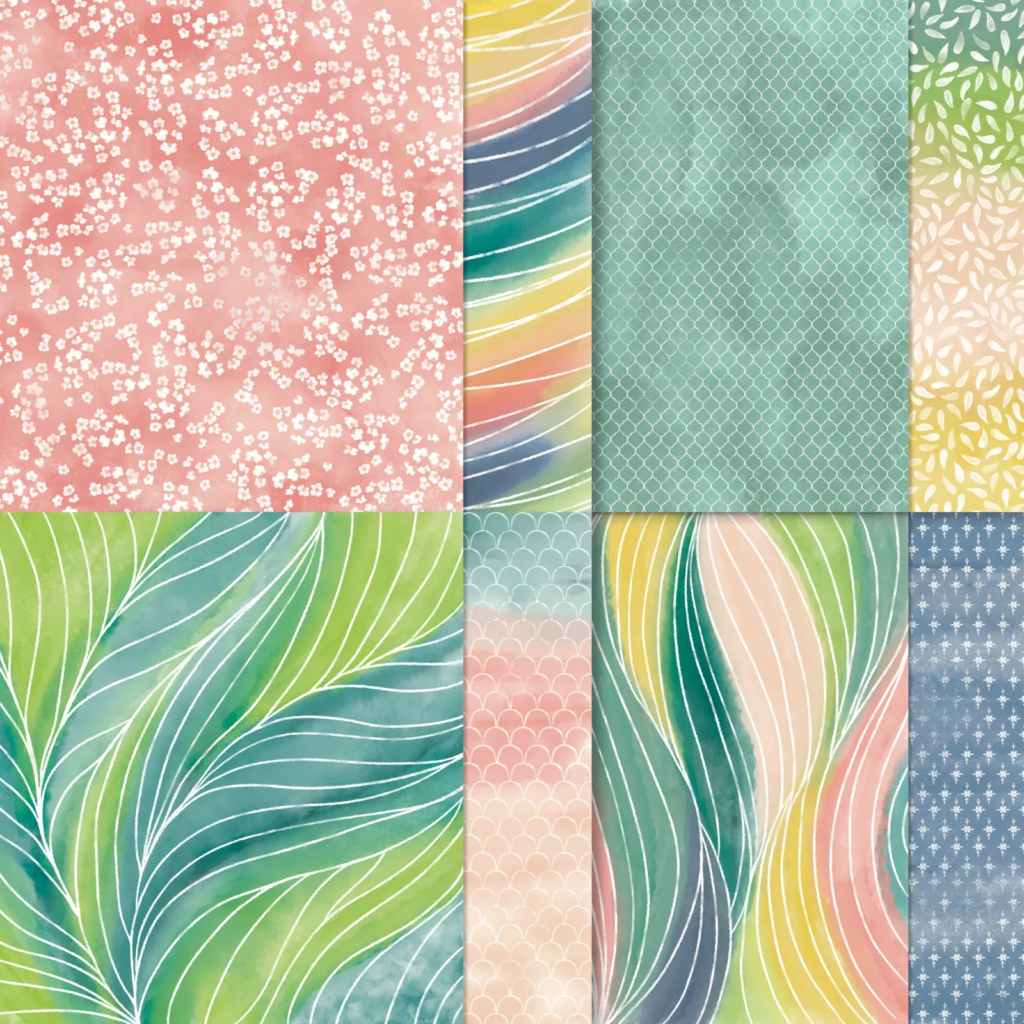
Product of the Month is the new Painted Illusions 12 X 12″ designer paper
Once your order reaches the $75 point (before shipping & tax) you get both Free Shipping AND can add a POTM for just $5. There are 3 choices right now – 2 packs of DSP and one stamp set.
Notice: LeeAnn Greff, Independent Stampin’ Up! Demonstrator, Manager. The content of this website is my sole responsibility as an independent Stampin’ Up! demonstrator and the use of, and content of, the classes, services, or products offered on this website is not endorsed by Stampin’ Up! Copyright 2025


Leave a Reply