/


Latest Post

Turtle & Friends Fun Fold swaps


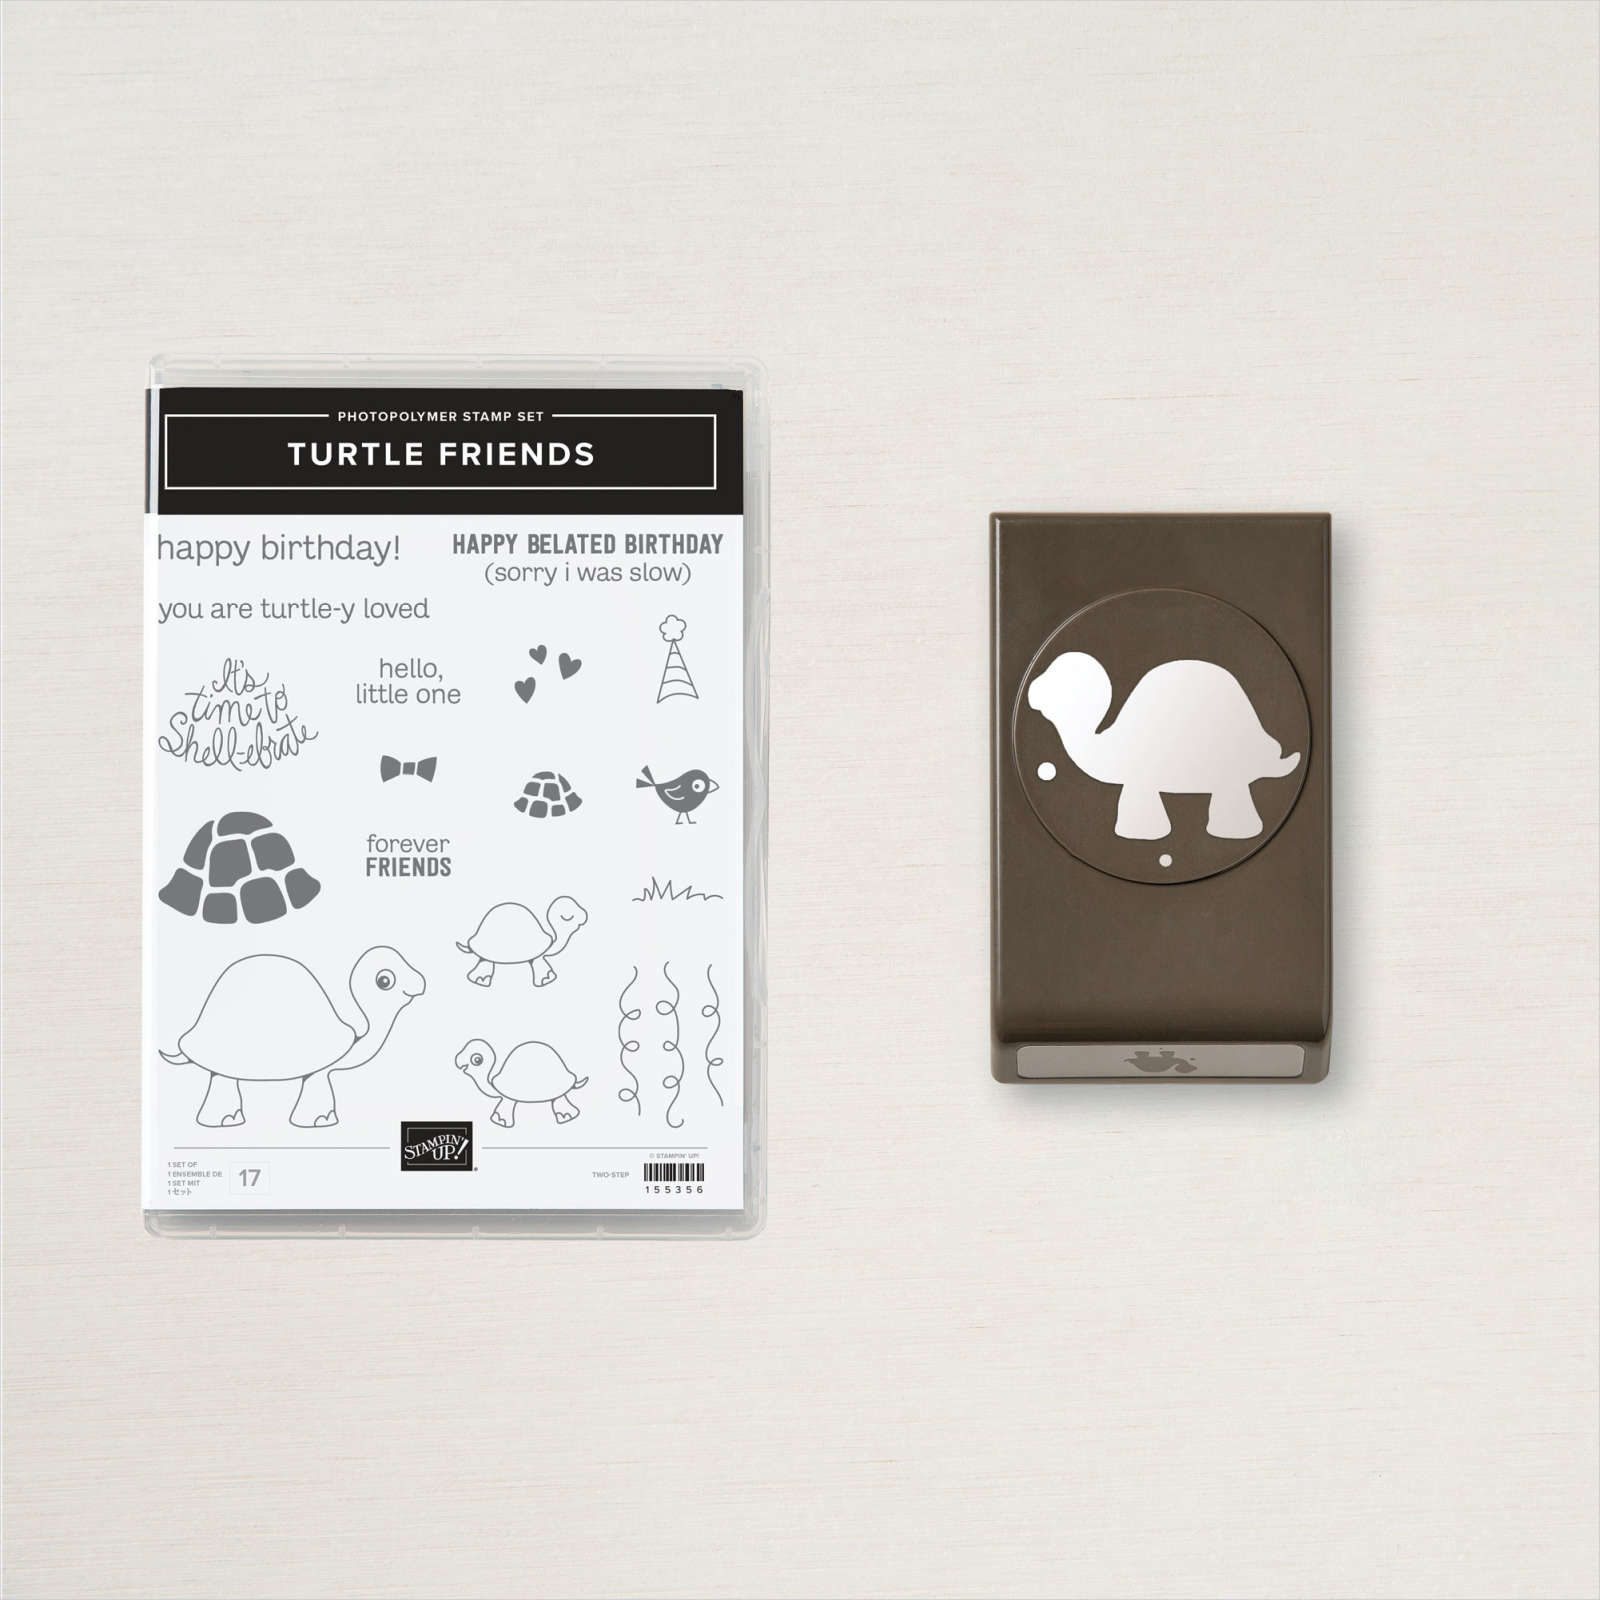
Today I have a few special fun fold cards made with the Turtle & Friends bundle seen here.  They were for a Flowerbug's Team swap we held last month with an 'Animal Fun Fold' theme. 

The first card was made by Paula. Her cute card is called a Double Dutch Door fold. 

I love the rounded corners on her front layer and the sweet background made with images from the Happy Hedgehogs stamp set.  She sponged the sky & grass too.  

Measurements:

  • Evening Evergreen card base 4 1/4" X 8 1/2" tall scored at 5 1/2", and the lower doors piece is 8 1/2" X 3" wide scored at 2 1/8" & 6 3/8" 
  • White upper stamped layer is 4" X 2 3/4"
  • Lower DSP (Pattern Party host) layer is 1 3/4" X 2 3/4
  • Granny Apple Green inside is 4" X 5 1/4" 

To put this card together you add the scored horizontal piece to the vertical card base and add the inside layer over it. 

Next is a fun fancy fold card made by Marla.  I'd forgotten about this unique card fold!  It looks like a normal card at first glance. 

But when you lift the front it reveals this!

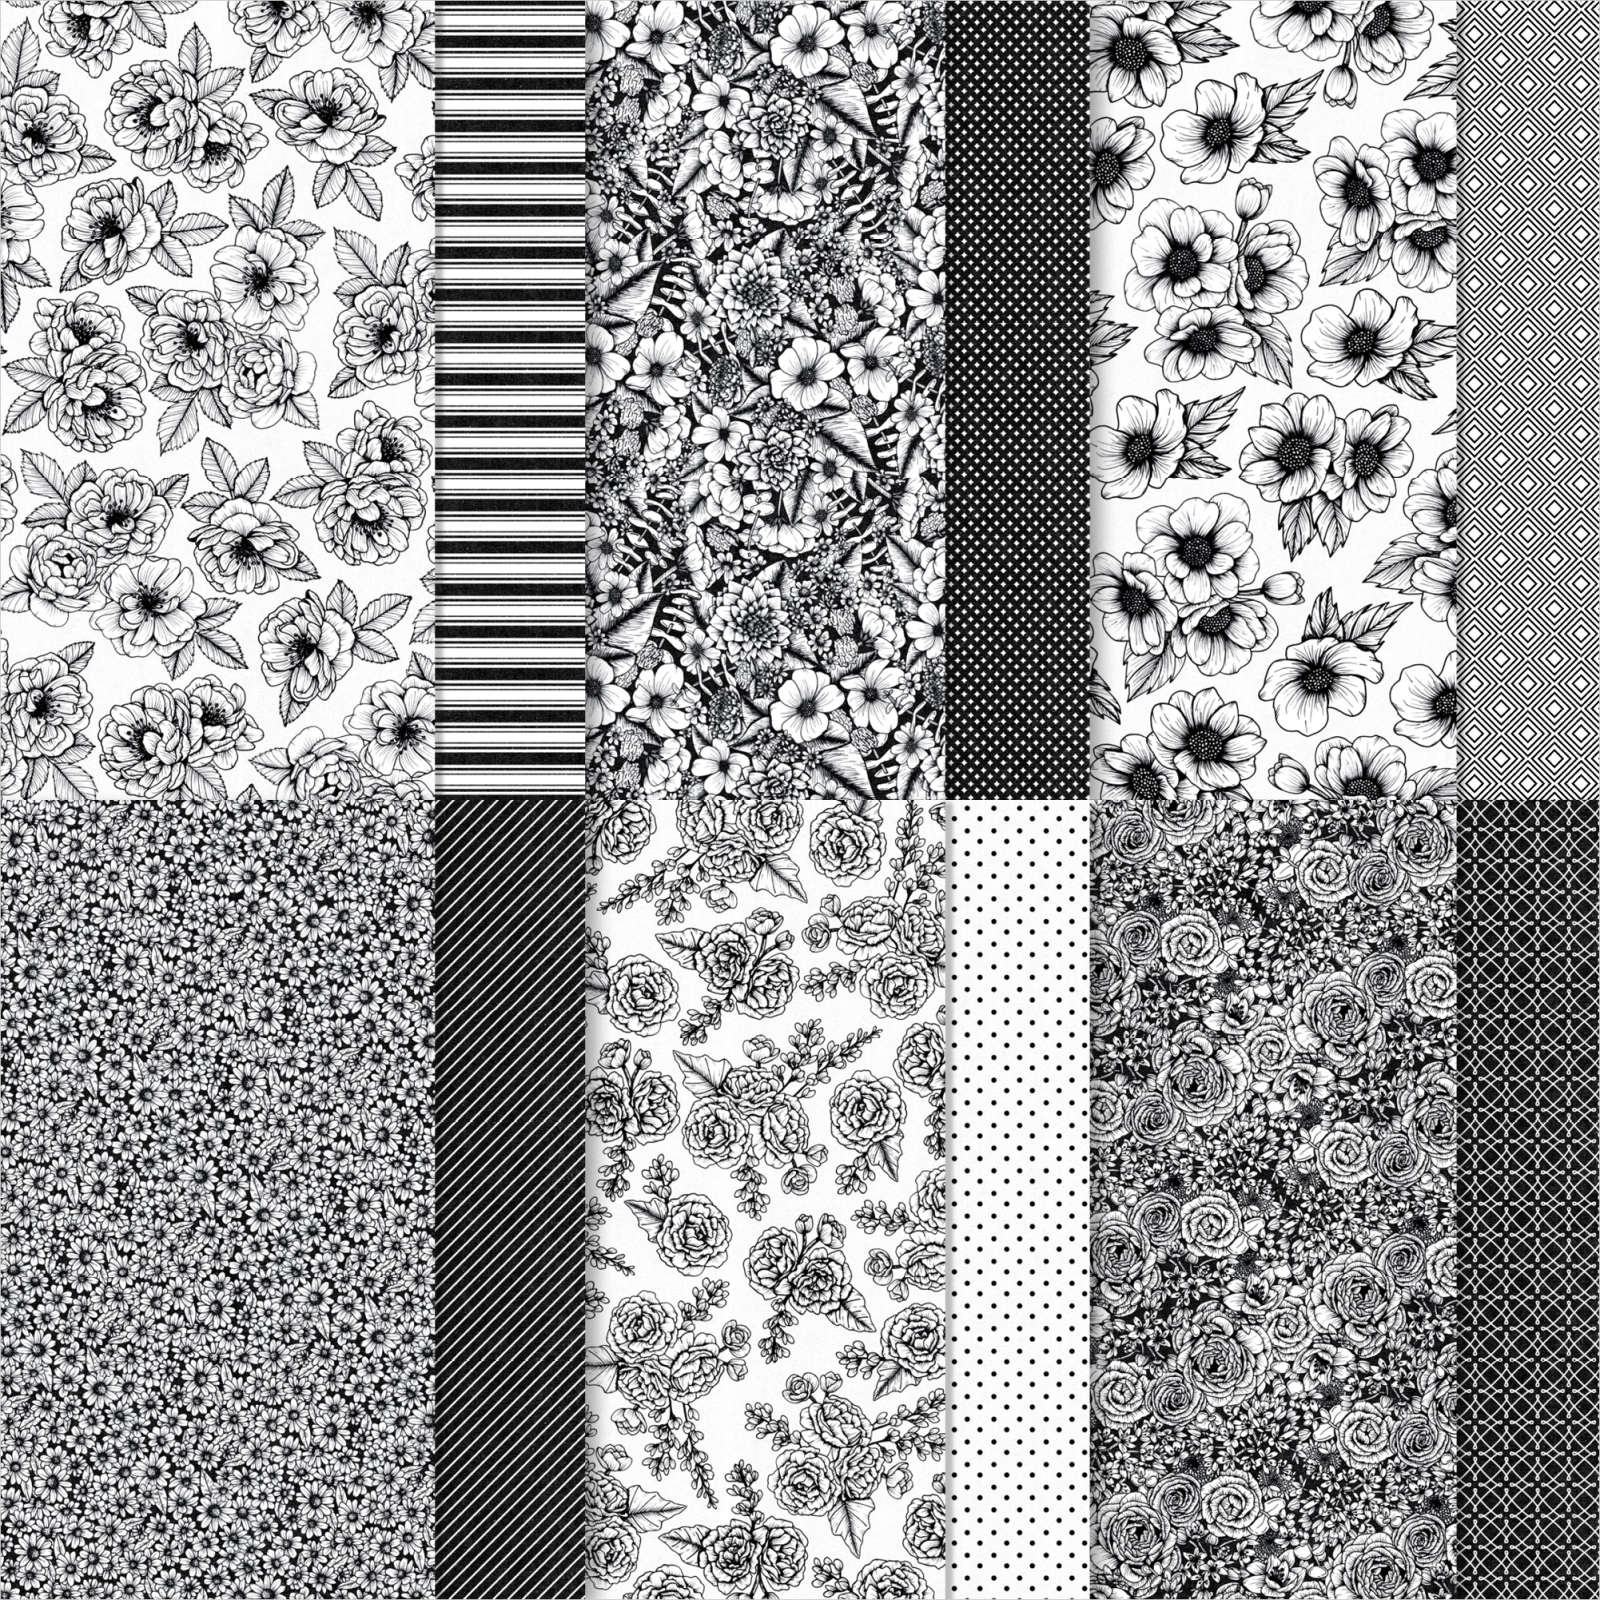
She used the Expressions in Ink specialty DSP in the annual catalog for her card front.  She also used the Hammered Metal 3D embossing folder for the Garden Green strip. 

Measurements:

  • Garden Green 2 pieces at 4 1/4" X 5 1/2" plus a 1 1/2" X 4" piece for the embossed strip
  • Whisper White inside is 3 3/4" X 11" scored at 1" & 6" 
  • Expressions in Ink DSP 4" X 5 1/4" 

It's so fun to see what my Flowerbug's Team members create; we each have our own style and I love that!  

~~~

March Specials: 

Host codes: EU76H4H7

 *click here to order 

If your order is over $50 you'll receive a free embellishment

from the Jan-June catalog in your thank you card.

Email me to opt in for my Waves card kit to go here; it includes the Waves bundle! 


Don't forget about my loyalty rewards! 

Click here to download yours and earn a $50 shopping spree!  

All Posts

  • Curvy Christmas; paired with the Curvy Dies


    I've always loved the look of curves and swirls so these new Curvy Celebrations products are right up my alley.  I've made so many projects I could share one each day for weeks! 

    Here's one of my favorites.

    See what I mean?  The curves make this project 'stand out' special.

    My colors are Night of Navy, Sahara Sand and White.  The designer paper is from the new Classic Christmas 6 X 6" pack seen here.  This is only available through January 4th or while supplies last.  

    The same is true for the Curvy Christmas stamp set seen here.  It will not be in the upcoming catalog so get it now while you can. 

    As you can see I cut two pieces of Navy card stock using the dotted curved die.  I heat embossed the greeting and the long stars image.  I die-cut two White sprigs from the same Curvy Dies and added them with a double Linen Thread bow.  

    Here's another great reason to get any of these items now; everyone who places an online order (or orders any of the Curvy Celebrations items) will receive a free 22 project PDF full of ideas for their new products! 

    I chose to get it all at once with the entire Curvy Celebrations bundle seen here.  

    Here are some sneak peaks of the projects in the free PDF: 

    Above are ideas featuring the Quite Curvy set and below are projects with the Curvy Christmas set. 

    ~~~

    November Specials!

    Current Host code is JRZFR4QU


    All online orders receive my FREE Curvy Celebrations 22 project PDF Tutorial! 

    Leave a Reply

    Your email address will not be published. Required fields are marked *

  • Curvy Celebration ideas!


    Here are a few more projects I made with the Curvy Celebrations products. 

    Above is a super simple card made by cutting just one piece of Cinnamon Cider card stock in half with one of the Curvy dies.  Separate them on the Vanilla card and add a curvy greeting.  Finish with a few punched leaves from the Beautiful Autumn punch bundle. 

    On this card I added the White curvy die-cut layer to a piece of Artistry Blooms designer paper and finished it with a few Blossom punches and Artistry Blooms sequins.  Easy!

    The card above features my strips technique I shared here in this video.  So fun and a great way to use scraps of Designer Paper! 

    Here's another great reason to get any of these items now; everyone who places an online order (or orders any of the Curvy Celebrations items) will receive a free 22 project PDF full of ideas for their new products! 

    I chose to get it all at once with the entire Curvy Celebrations bundle seen here.  

    Here are some sneak peaks of the projects in the free PDF: 

    Above are ideas featuring the Quite Curvy set and below are projects with the Curvy Christmas set. 

    ~~~

    November Specials!

    Current Host code is JRZFR4QU


    All online orders receive my FREE Curvy Celebrations 22 project PDF Tutorial! 

    Leave a Reply

    Your email address will not be published. Required fields are marked *

  • Order your 2021 Coaster Calendar this week!


    Happy Veterans Day! 

    We have a ton of family and friends who have sacrificed to keep us all free and safe. I want to sincerely thank everyone who has served our country, both past and present. And today let's be sure to thank them, honor them and also those who've passed on. 

    ~~~

    My new 2021 Coaster Calendar is ready!  

    I wanted to get these out in time for Christmas gifts.  They're perfect for those people who don't need a thing!  Everyone uses a calendar!  And when each page is hand stamped for the month or season they're extra special.  

    I had to use my Life is Beautiful stamp set on the cover!! Below you can see the variety of months included in this flip style, easel calendar. Each page is 4 X 4" square and on 1" metal rings.  

    How does this kit to go work?  Here's what you'll receive:

    • the PDF tutorial with photos, directions, products and measurements
    • Pre-cut card stock including punched or die-cut pieces
    • pre-cut, printed calendars for each page
    • Two 4" coasters for the front and back and two metal rings

    What it does not include are stamped images, gems or adhesive.  To finish the calendar you will need a variety of stamps, inks, gems and adhesives. 

    You have two options here; order the pre-cut kit here or order the PDF tutorial here. 

    The kits will be mailed out at the end of November.  The tutorial is emailed to you immediately and includes both 2021 and 2022 calendars!!

    **They're $15 each but add on shipping for the kit.  Be sure to order your kit by November 19th to get one. 


    You can add on any of my other pre-cut card kits and I can combine shipping.  Email me at lagreff60@gmail.com  

    ~~~

    November Specials!

    Current Host code is JRZFR4QU


    All online orders receive my FREE Curvy Celebrations 22 project PDF Tutorial! 

    Leave a Reply

    Your email address will not be published. Required fields are marked *


Notice: LeeAnn Greff, Independent Stampin’ Up! Demonstrator, Manager. The content of this website is my sole responsibility as an independent Stampin’ Up! demonstrator and the use of, and content of, the classes, services, or products offered on this website is not endorsed by Stampin’ Up! Copyright 2025