/


Latest Post

Trusty Tools Latch fold card with free project sheet & video


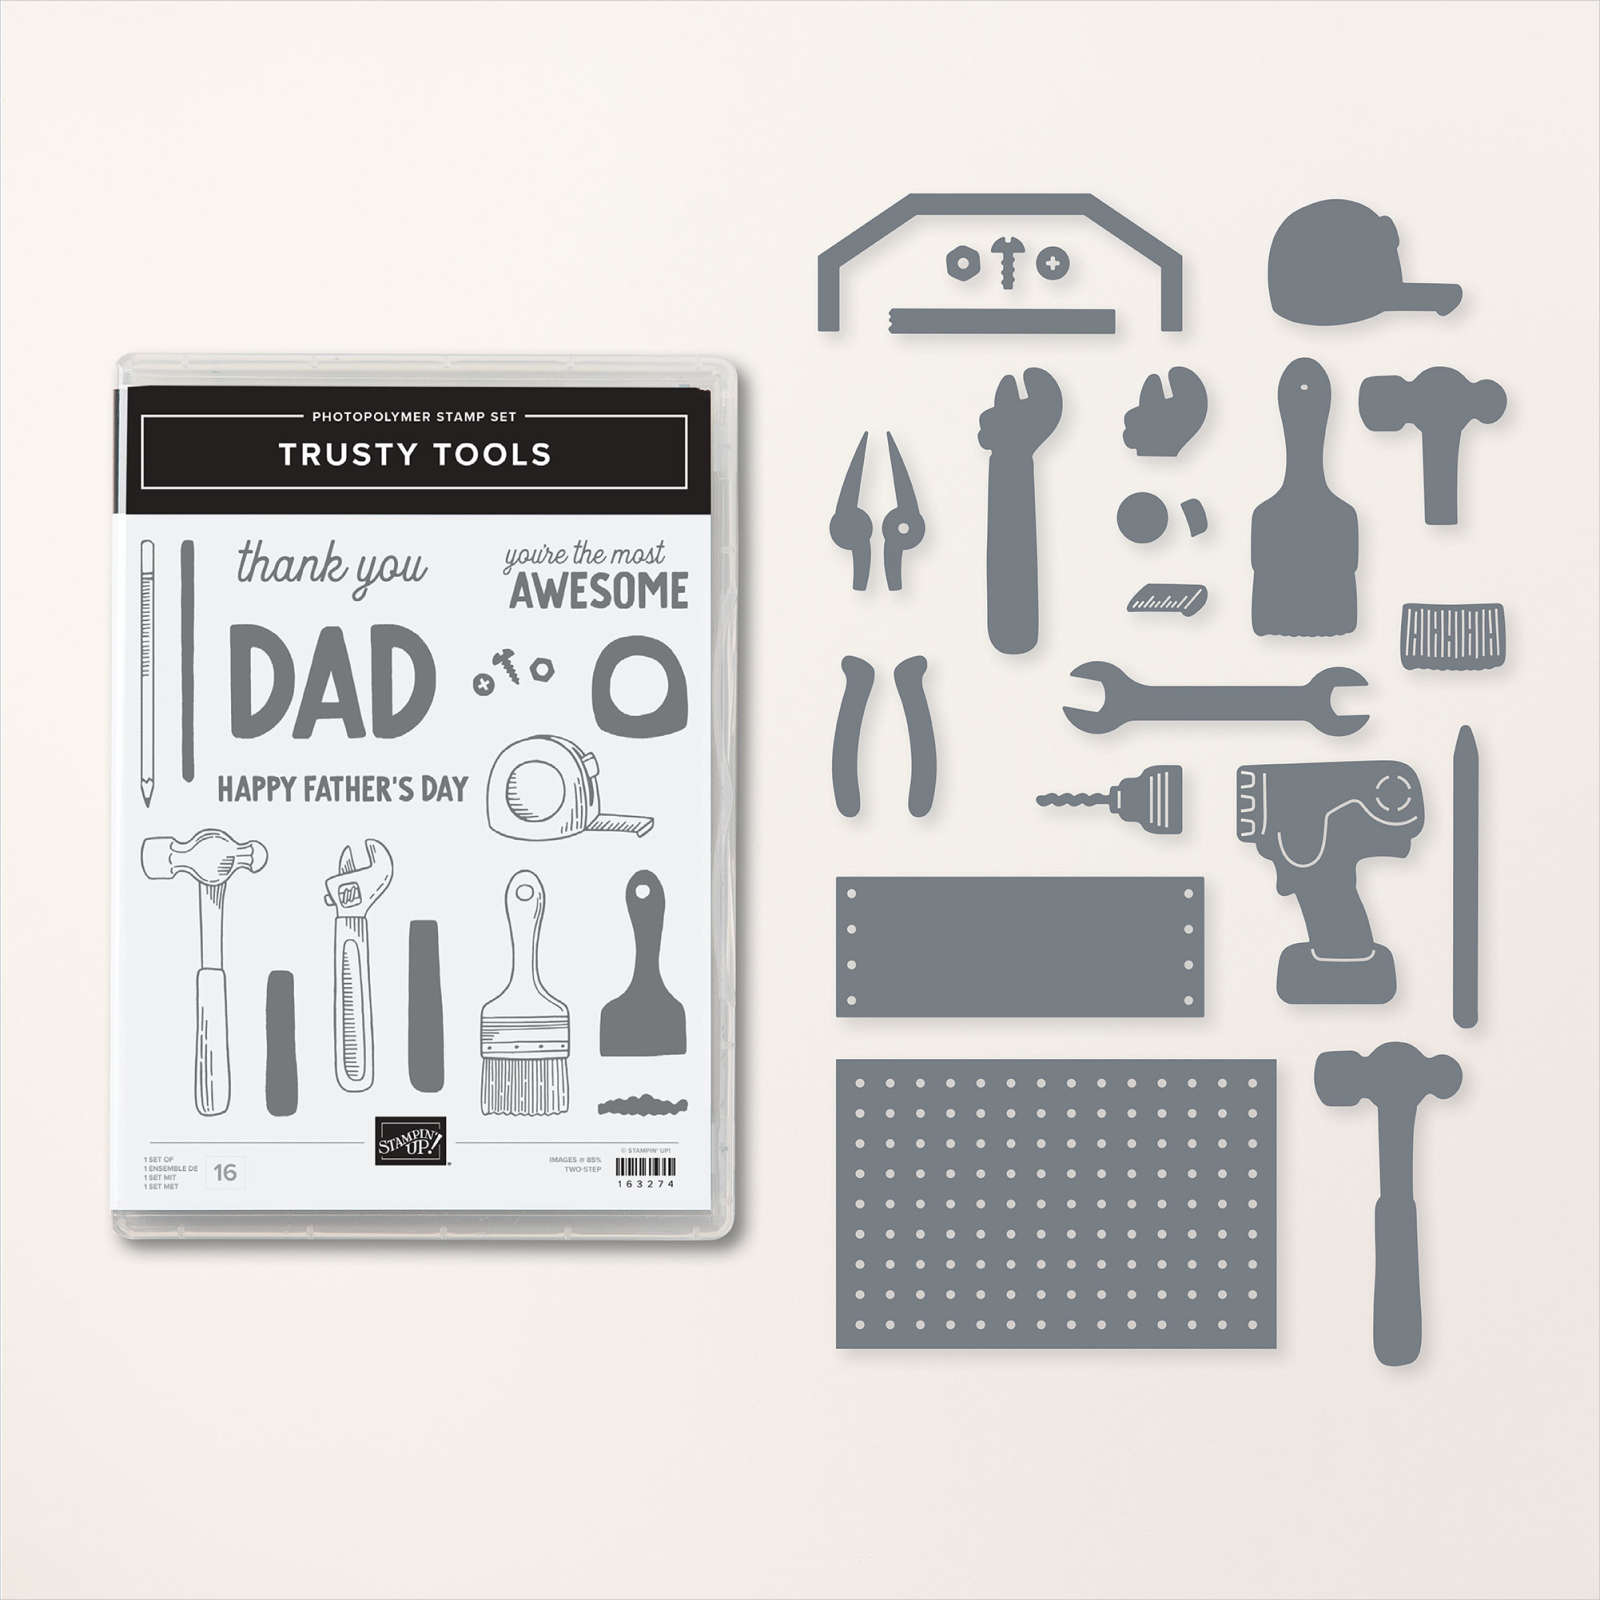
On last week's Live video I created two fun fold cards featuring the Trusty Tools bundle and the Trusty Toolbox designer paper. 

The Trusty Tools bundle is in the new Spring catalog and the Trusty Toolbox designer paper is in our Sale-a-Bration catalog. They're an incredible pair that is unique and perfect for handy guys or gals and coordinate together wonderfully! 

This card is a latch card.  Both flaps open but the Poppy Parade flap is 'caught' by the layered greeting element.  

It's hard to explain how it works but the video I made shows how easy it is.  It's all about where to place the Dimensionals to 'catch or latch' the card closed.  I like my cards to stay mostly closed so I created this closure option. 

Here's what the inside looks like:

My colors were chosen by the Trusty Toolbox designer paper – Black, Poppy Parade & White. This special designer paper can be earned free now during Sale-a-Bration with any $50 purchase through Stampin' Up!.  See it here. 

I suggest ordering the Trusty Toolbox bundle and then choose the designer paper as your free Sale-a-Bration choice.  See the bundle here online.  

A word of advice on choosing Sale-a-Bration items. If you want both a pack of designer paper and a stamp set and cannot afford to get both, choose the designer paper first. They usually run out of papers, dies & gems before they run out of stamp sets. Then choose the stamp set with your next purchase. 

You can download the free project sheet for the Trusty Toolbox card here. Download Trusty Tools Latch-fold card

Below is a photo of both cards using this special latch fold.  The card on the lower left is made with the Lighter Than Air designer paper in Lemon Lolly & Balmy Blue.  It's one of the cards featured in my Lighter Than Air pre-cut kit to go seen here. 

Click here to watch the video on this project plus a second fun fold too!  Or watch it below:

~~~

January Specials: 

Earn free products during Sale-a-Bration!

*click on the photo below  

Get a free embellishment from the 2024 Spring catalog

with an online order over $55


*current host codes: TU26GCPZ or H6QQ73FG

~~~

Reserve your Spring & Sale-a-Bration designer paper share

$18 for 78 sheets! (plus $7 shipping). Email me here

~~~

I have several pre-cut card & scrapbook kits to go; ready to mail out!

Click here to see them all.

All Posts

  • Clear Block Stamping; a fun & easy background for quick cards!


    Have you ever tried Block Stamping?  If you have a clear block and ink pads you can do this!  

    I shared these cards on Facebook Live last week Tuesday.  You can watch the replay below.  Remember every Tuesday morning at 11 am CT I'm Live on FB here. 

    I chose a few different stamp sets and inks for the cards I made.  I also have a few tips for you when doing this technique. 

    The above card features Soft Seafoam and In The Pines stamp set.  The White layer is 4 3/4" X 3 1/2".  I inked the 'H' block in Soft Seafoam ink and spritzed it with a mixture of rubbing alcohol and Champagne Shimmer Paint. 

    You can use water but that takes longer to dry and I wanted a bit of shimmer. Shimmer Paint mixes well with rubbing alcohol. I added random strips of Shaded Spruce CS across the card.  Quick & easy! 

    This card features Calypso Coral (2" X 5 1/2"), Petal Pink and the Queen Anne's Lace stamp set. The textured layer is from the set of Wrapped in Texture embossing folders.

    Can you see the marbling effect here? I inked the block in Seaside Spray ink and then added a few swirls of Misty Moonlight with a Stampin' Write marker. *Watch the video below. 

    I used the Snowflake Wishes set on this card and the Flowers for Every Season ribbon/twine combo pack.  The colors are Seaside Spray & Misty Moonlight.  The White layer is 3 1/2" X 4 3/4" and the Misty Moonlight is 3 3/4" square – a scrap I had. 

    Tips on the Clear Block Technique:

    • Use a light color of ink
    • Choose a block that fits on your card stock
    • Ink it and spritz with either water or rubbing alcohol until it almost starts to puddle.
    • Add a swirl of darker color with a marker after inking the block and before spritzing. 
    • Alcohol dries faster than water 
    • Add a bit of Shimmer Paint to your alcohol for additionals glitz! 
    • Whisper White card stock works just fine; no need for thicker papers


    ~~~

    October Specials!

    Current Host code is MJK7R2CU

    Designer Paper Sale; click here!

    Get a free package of Adhesive Backed Snowflakes in October with an

    online order over $45. 


    All online orders will receive my Tutorial of the Month featuring the Poinsettia Petals suite!

    Leave a Reply

    Your email address will not be published. Required fields are marked *

  • Christmas themed fun-fold swaps


    Last Friday I started sharing last month's fun fold cards made by my talented Flowerbug's Team members. Here are a few more 

    Jacki created this one using the Brightly Gleaming Specialty Designer paper and the Beautiful Autumn stamp set. It's a latch card!

    Once you add the layers to the card front you'll use the Classic Label punch to create the window for the latch to catch into.  

    Measurements:

    • Night of Navy card base 4 1/4" X 9" scored at 5 1/2"
    • DSP 3 3/4" square on the front; 1 1/4" X 4" on the inside right edge
    • Pretty Peacock 4" square ont he front and a thin strip on the right inside edge
    • Latch – Navy 2" X 3 1/2" scored at 1/2"
    • Vanilla latch 1 3/4" X 2 3/4", inside is 4" X 5 1/4"

    Here's another card made by Paula featuring the Little Treat Box dies and the Wrapped in Christmas stamp set.  

    She cut the treat box dies into separate pieces (Garden Green & Vanilla) for her card front.  It also opens up to reveal a gift card holder inside. Lots of texture with the Winter Snow embossing folder too!  

    Measurements:

    • Garden Green card base 5 1/2" X 4 1/4"
    • Very Vanilla 5 3/8" X 4 1/8" 
    • Real Red 4 1/2" X 10 3/4" scored at 3/4", 4" and 7 1/4" 
    • Poinsettia Place DSP 4 1/4" X 3" 

    Stop back again for more Fun Fold cards!  I have lots more to share! 

    ~~~

    October Specials!

    Current Host code is MJK7R2CU

    Designer Paper Sale; click here!

    Get a free package of Adhesive Backed Snowflakes in October with an

    online order over $45. 


    All online orders will receive my Tutorial of the Month featuring the Poinsettia Petals suite!

    Leave a Reply

    Your email address will not be published. Required fields are marked *

  • Feels Like Frost Fun Fold card


    Check out this beautiful fun fold card made by Annette for our Team swap in September!  Our theme was fun fold cards featuring products in the 2020 Holiday catalog.  

    She featured the Feels Like Frost Specialty Designer Series Paper and the Life is Beautiful stamp set.  This design is perfect for designer paper with a scene or large pattern.  

    I like the tag with the pretty Metallic Mesh ribbon.  That ribbon is so soft and it's in 1 1/2" wide but can easily be cut in sections without fraying!  

    Measurements:

    • Navy card – 5 1/2" X 8 1/2" scored at 1 1/2" & 4 1/4", tag is 1 1/4" X 3 3/4" 
    • Designer paper from left to right – 5 1/4" X 2 3/4", 5 1/4" X 1 1/8" and lastly on the right is 5 1/4" X 2"
    • Whisper White 5 1/5" X 1 3/4", tag is 1" X 3" 

    More Flowerbug Team swaps next week!  

    ~~~

    October Specials!

    Current Host code is MJK7R2CU

    Designer Paper Sale; click here!

    Get a free package of Adhesive Backed Snowflakes in October with an

    online order over $45. 


    All online orders will receive my Tutorial of the Month featuring the Poinsettia Petals suite!

    Leave a Reply

    Your email address will not be published. Required fields are marked *


Notice: LeeAnn Greff, Independent Stampin’ Up! Demonstrator, Manager. The content of this website is my sole responsibility as an independent Stampin’ Up! demonstrator and the use of, and content of, the classes, services, or products offered on this website is not endorsed by Stampin’ Up! Copyright 2025