/


Latest Post

Triple Stack & Cut cards with free project sheet & video tutorial


I'm a bit addicted to this card layout!  I'm calling it the Triple Stack & Cut card.  

You start out with three different patterns of designer paper measuring 3 3/4" X 5".  Stack them together and make the upper right cut – a triangle.  You could measure it but I just made sure my stack was even and sliced it off. It's approximately 3/4" from the upper left and 1" from the lower right.  

Then for the remaining pieces you continue cutting all three pieces at once, cutting approximately in half on the diagonal and about 1" from the lower left.  

You can now mix & match so one piece of each pattern can fit on each of 3 card fronts.  I adhered them to a 4" X 5 1/4" piece of Berry Burst card stock.  That then adheres to your card base – I folded back my front to create a fun fold design.  

Tip: Note that the patterned paper has a large print, a small print and one without pattern.  This can help your card appear soothing and less busy. 

I shared how to do this on the video below.  In the video I used the Traditions of St. Nick designer paper; another Online Exclusive seen here.  

I used the Christmas Classic bundle seen here with Real Red, Cherry Cobbler, Mossy Meadow & White card stock. 
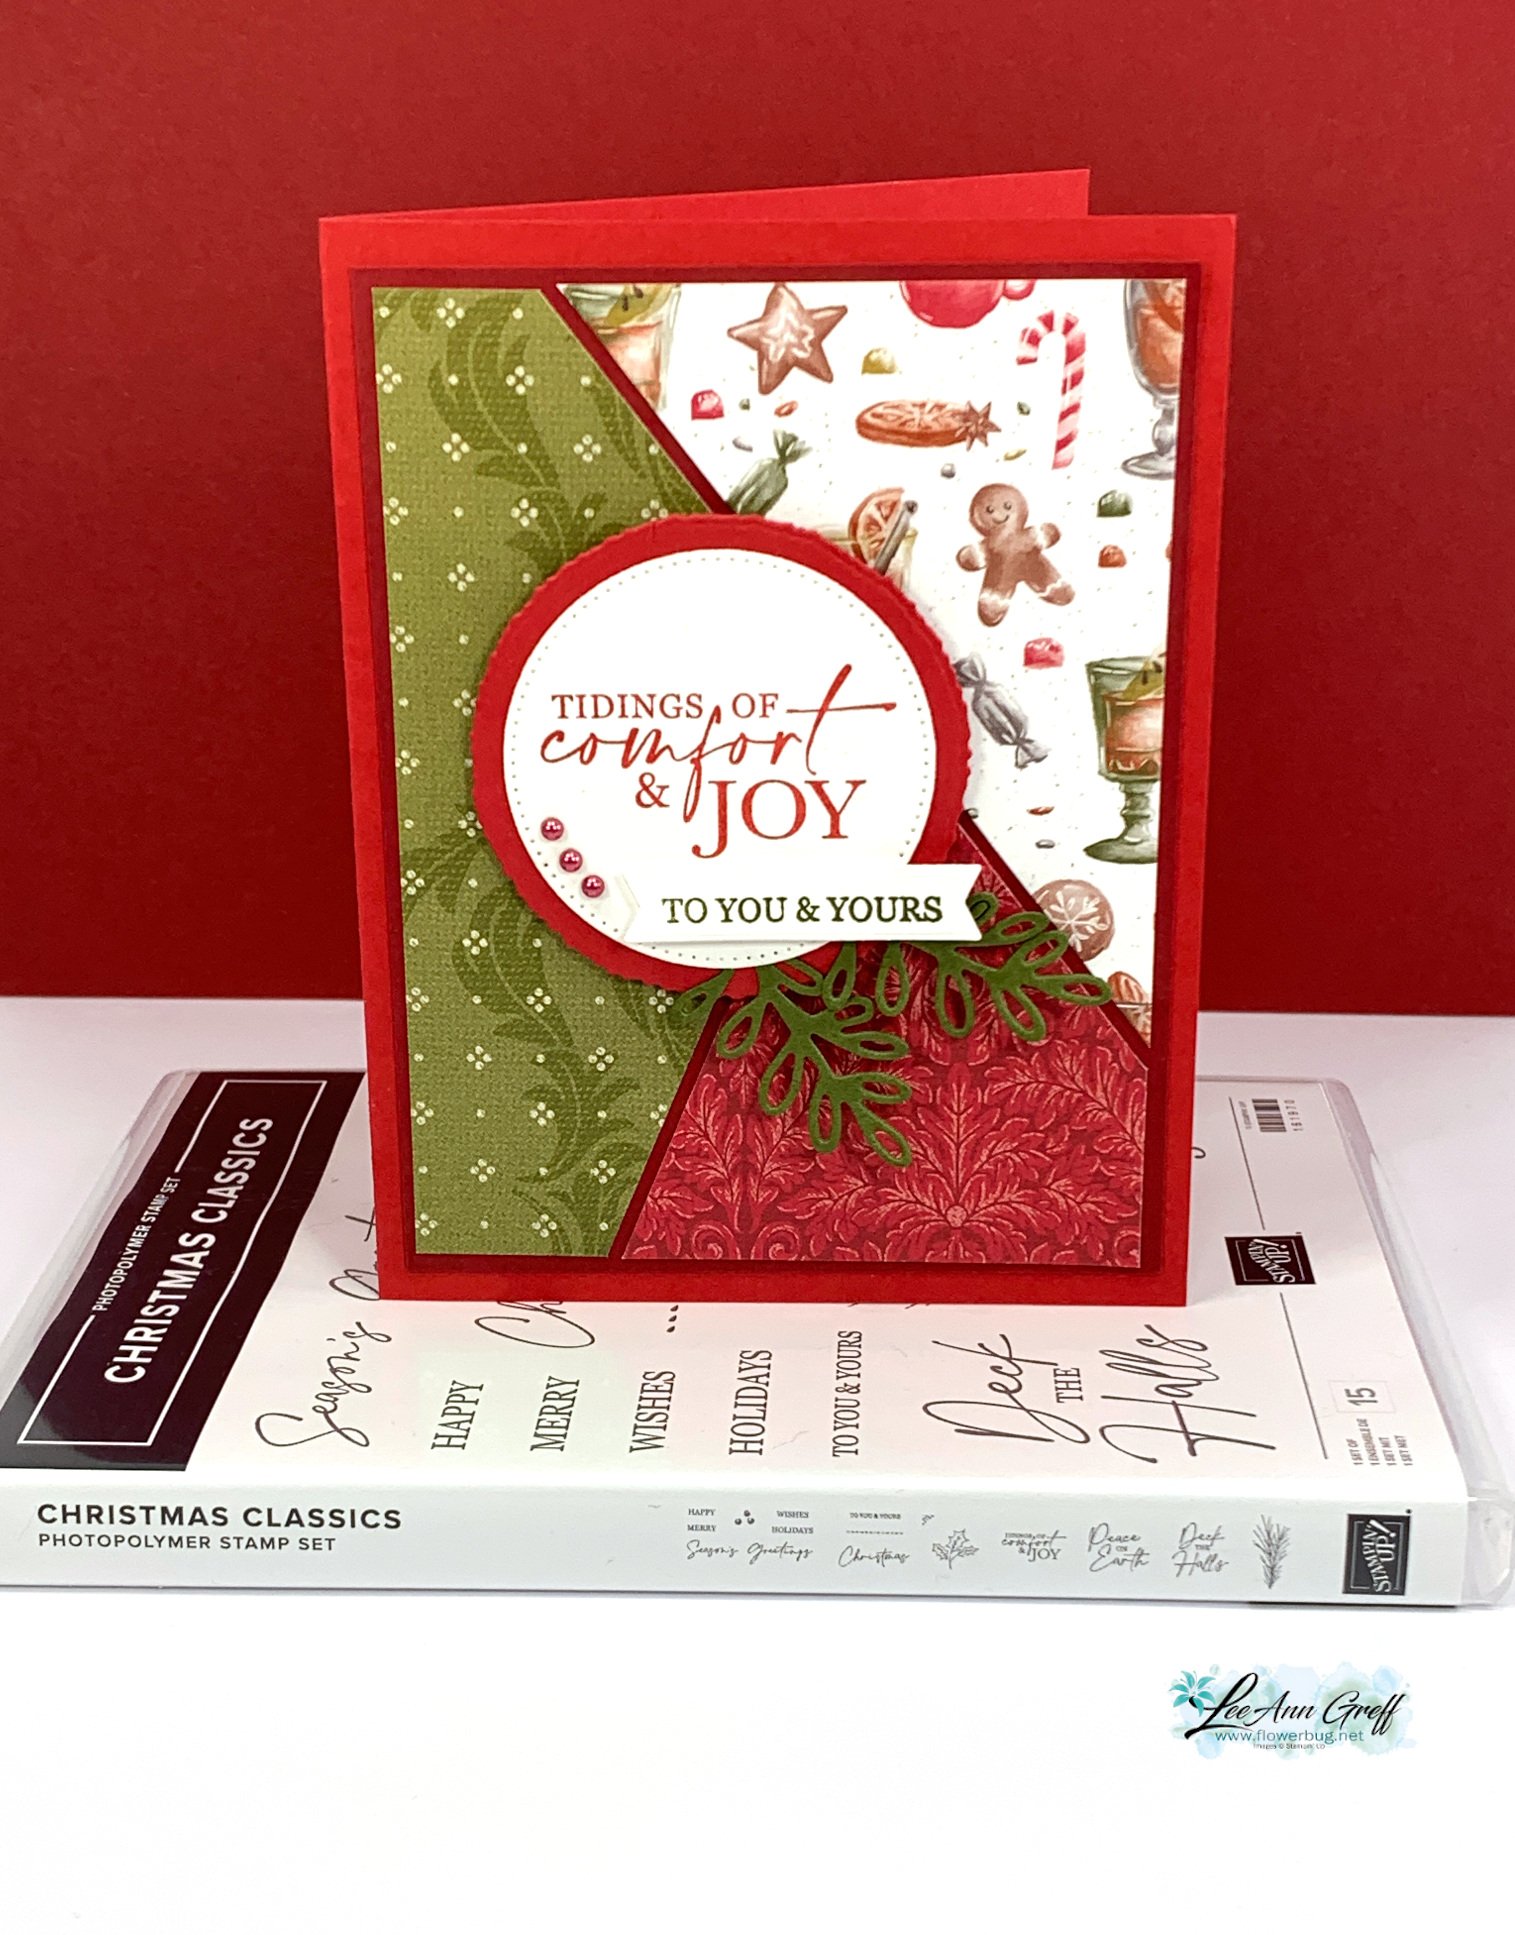
The Mossy Meadow leaves are from the Christmas Classics dies.  Here are the three cards I made:  

**Get the free project sheet here: Download Translucent Florals triple stack & cut card

You can watch the video for this project here.  It includes two more fun fold cards as well!

If you're not following me on YouTube click here.  Or follow me on Facebook for my weekly Tuesday lives here. 

~~~

September Specials: 

*current host code: WXX6RCHA or VEH4FKBV

*Get a free 6 card kit with orders over $55 (Includes card bases, coordinating envelopes, Memories & More cards, gems & more) 

Shop the updated Clearance Rack here:

~~~

Get a Mystery Box full of Stampin' Up! supplies while they last!

Each box contains from $180-200 in retired products (new or lightly used)

  1. Place an online Stampin' Up! order over $100 (before tax & shipping) using one of my current host codes to reserve a Mystery Box. *Host code links – WXX6RCHA or MYF6MXAG
  2. Send me the $14 shipping fee (PayPal or Venmo). 
  3. I'll send you your Mystery box via Priority Shipping! 

All Posts

  • The Sending Smiles bundle is so versatile! Check out these two projects.


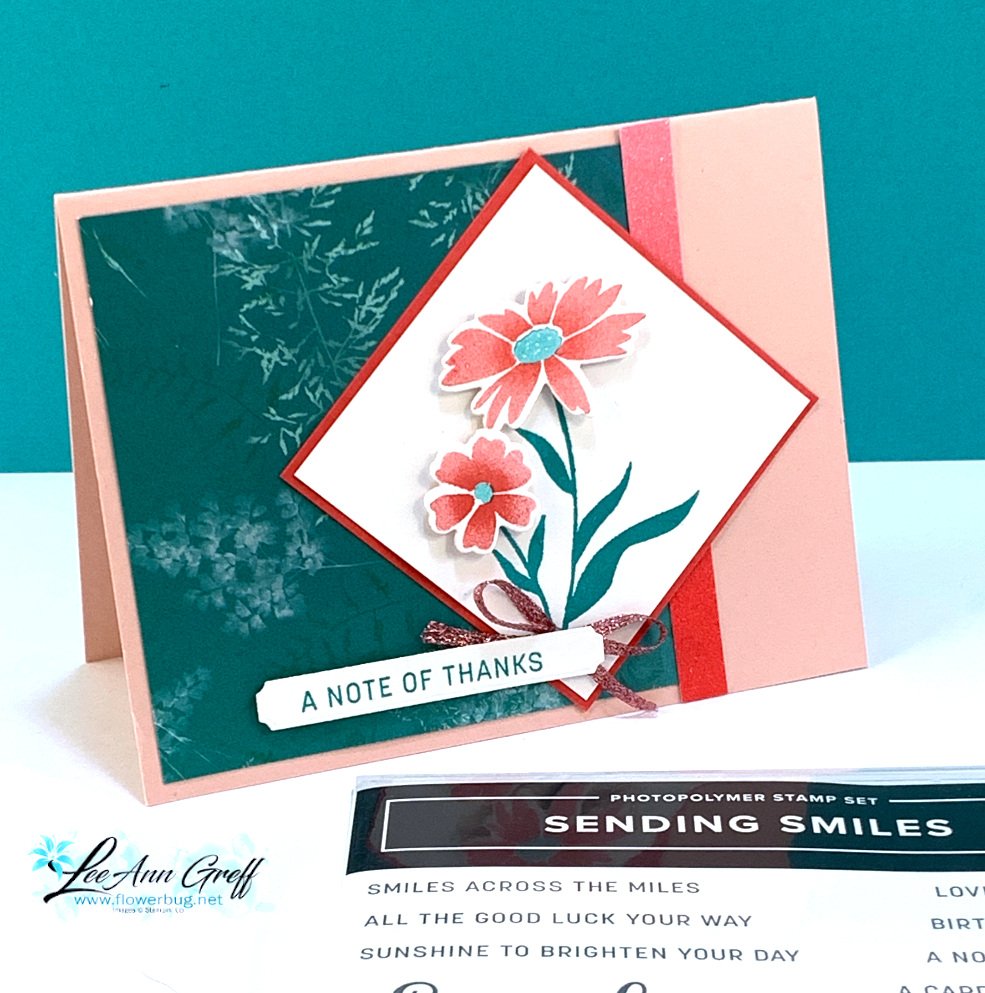
    Last week I shared three projects with the Sending Smiles bundle seen here.  I think it's one of the best choices in the new Annual Catalog by Stampin' Up!  

    I also wanted to use the Pretty Prints designer paper and chose the Bermuda Bay sheet in the package.  I also wanted to use one of the new In Colors and settled on Sweet Sorbet. 

    Next I had to choose a coordinating color to soften these two vibrant colors and settled on Blushing Bride.  I was so surprised how well these colors combined!  

    The next thing that inspired this layout was a card sketch we have been working on in my Flowerbug's Team group.  As you can see I changed the main image to be on the angle.  

    Sketches are one of my favorite ways to get inspiration on card layouts. 

    Measurements:

    • Card base 5 1/2" X 8 1/2" scored at 4 1/4"
    • DSP 4" square
    • White 2 3/4" square
    • Sweet Sorbet 2 7/8" square
    • Glimmer paper strip 3/8" X 4 1/4"  

    Can you see that the flowers are darker in the center and lighter on the outer petals?  I inked the flowers in Sweet Sorbet ink and stamped off once.  Then I used a sponge dauber to add more Sweet Sorbet ink to just the center.  You can see this technique in the video here.  

    This next card was a make & take at my New Catalog Launch party a few weeks ago.  I wanted to have a cute but easy card they could make featuring our new In Colors.  

    They were able to stamp the flowers easily and perfectly with the Stamparatus. You can see how it's done in the video below.  

    One of my favorite thing about this bundle is how versatile the greetings are; so many possibilites! 

    Measurements:

    • Card base 5 1/2" X 8 1/2" scored at 2 1/8" & 4 1/4" 
    • White layers are 3 3/4" X 5"
    • Starry Sky is 3 7/8" X 5 1/8" 

    And here's the video; click on the photo below to watch these two cards and one other too. 

    ~~~

    Get a bunch of NEW In Color products FREE in your Starter Kit! 

    It's $99 for $213 in products!!!  And Free Shipping! Click here. 


    Host codes: HUNR9DB6

     *click here to order 

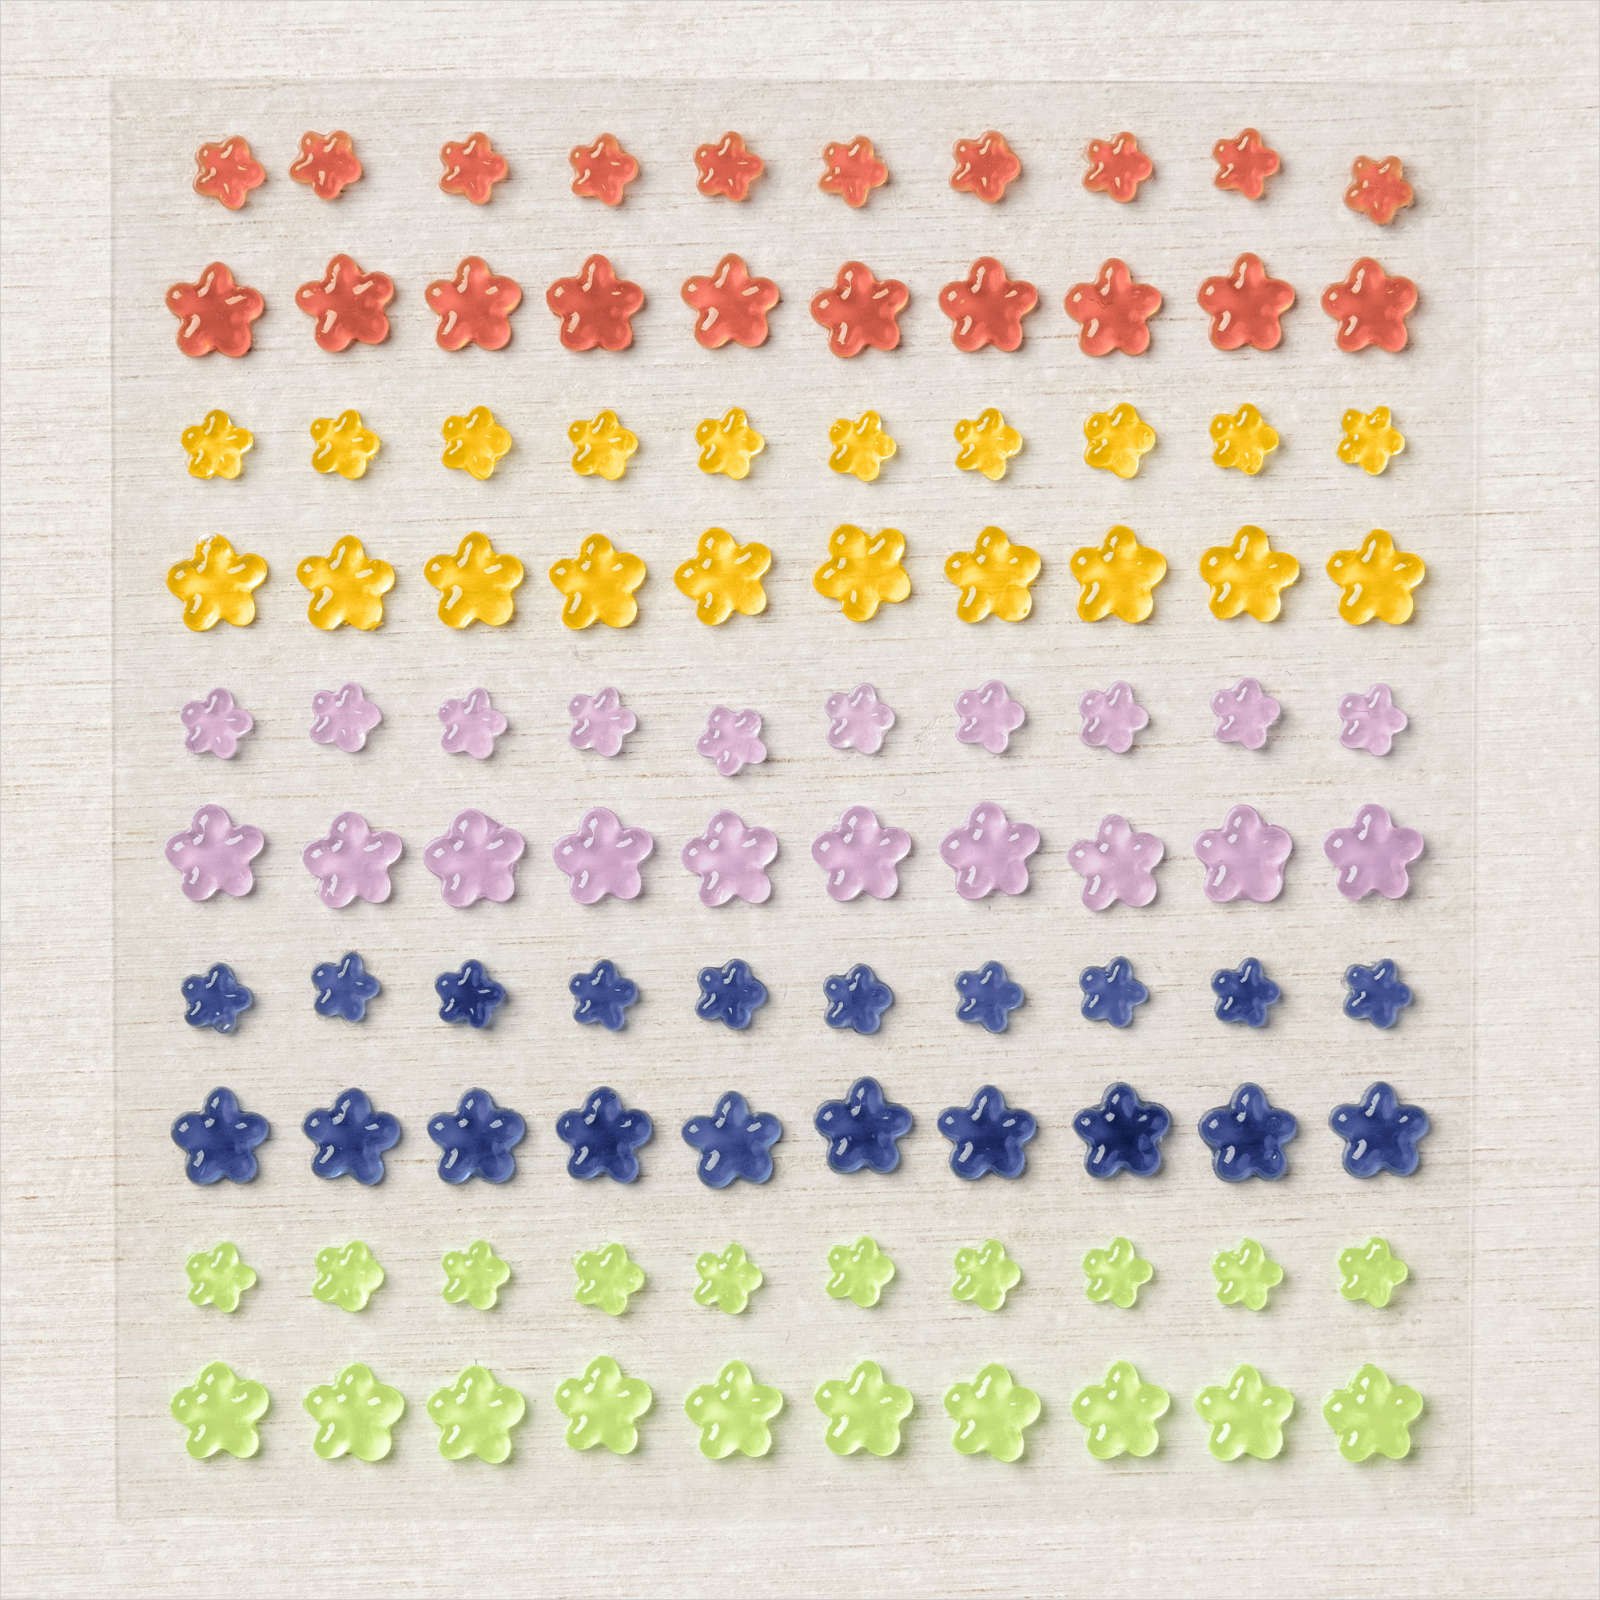
    If your order is over $50 you'll receive a set of NEW embellishments from me.

    Don't forget about my loyalty rewards! 

    Click here to download yours and earn a $50 shopping spree!  


    Opt in for my New Catalog Designer Paper Share

    It's $26 plus shipping

    Leave a Reply

    Your email address will not be published. Required fields are marked *

  • Clean & Simple Blog Hop; Pretty Pop-Up dies


    Welcome to the Control Freak's May blog hop!  The theme is Clean & Simple projects. 

    You may have just arrived or hopped over from Wendy's blog.  I'm sure you loved her unique projects. 

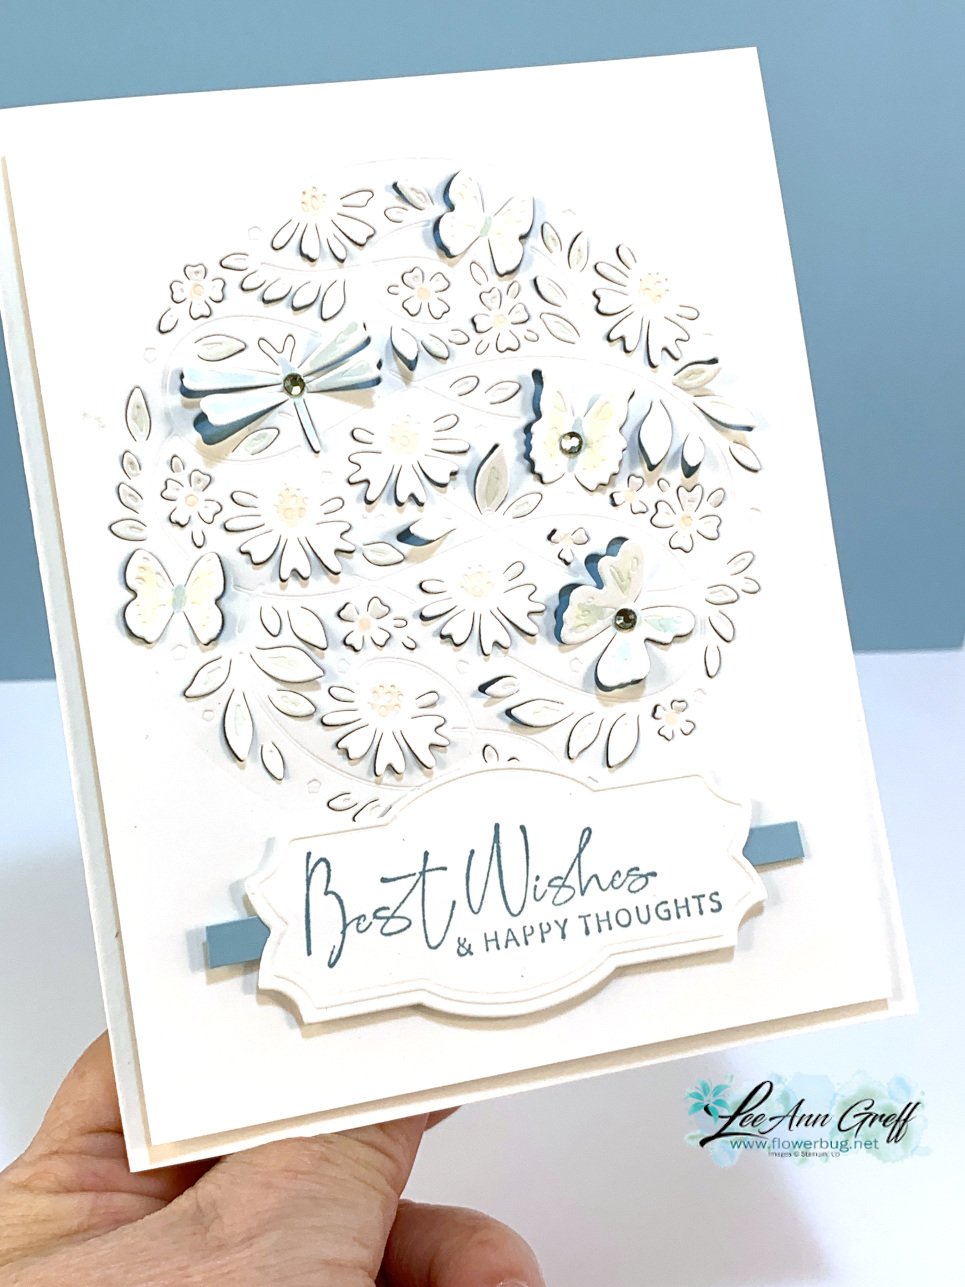
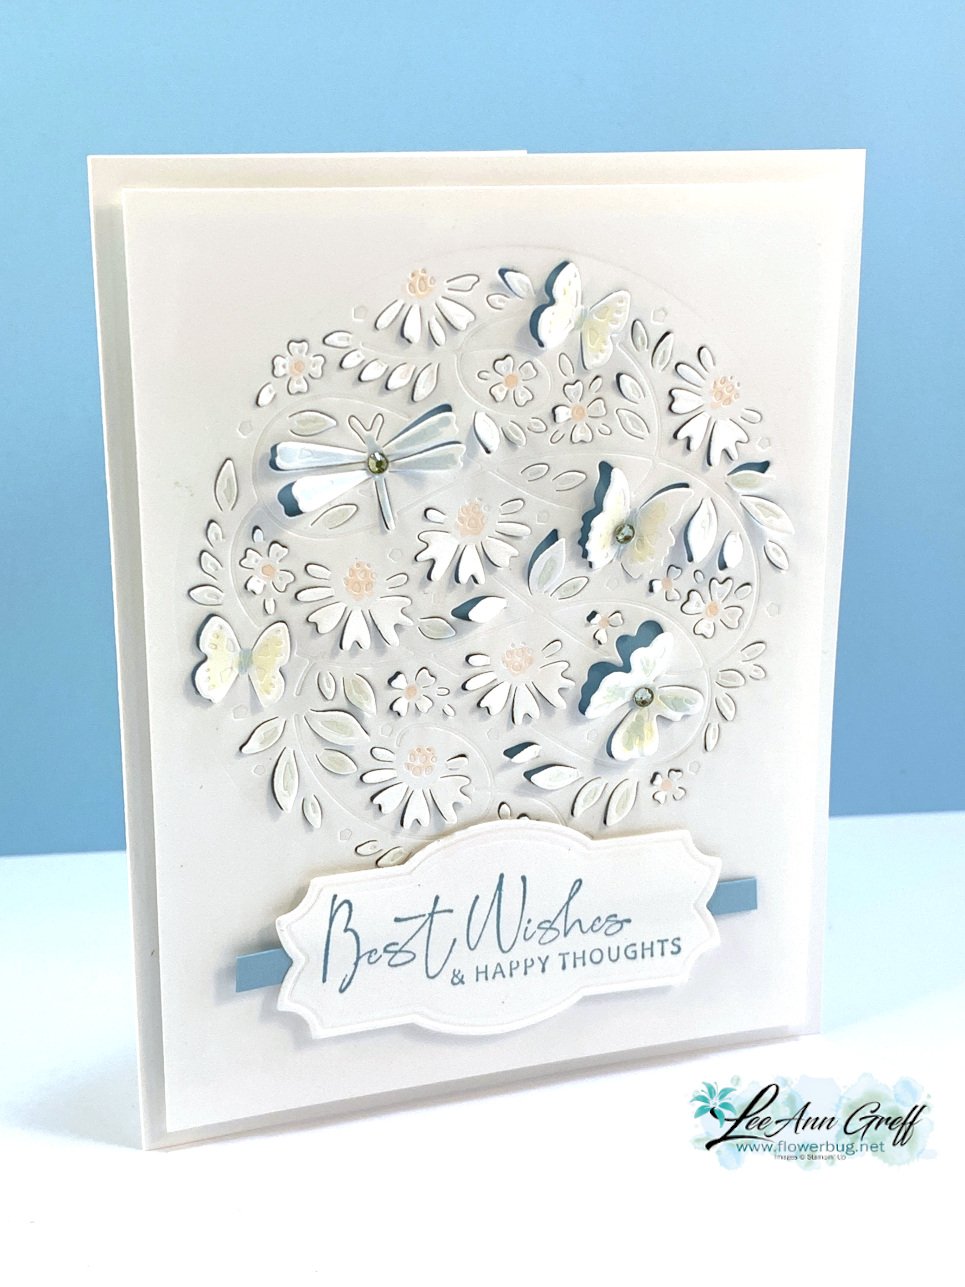
    For some reason when I think of clean & simple I lean towards mostly white projects.  I've been wanting to play with my new Pretty Pop-Up dies so here is what I came up with for my first project: 

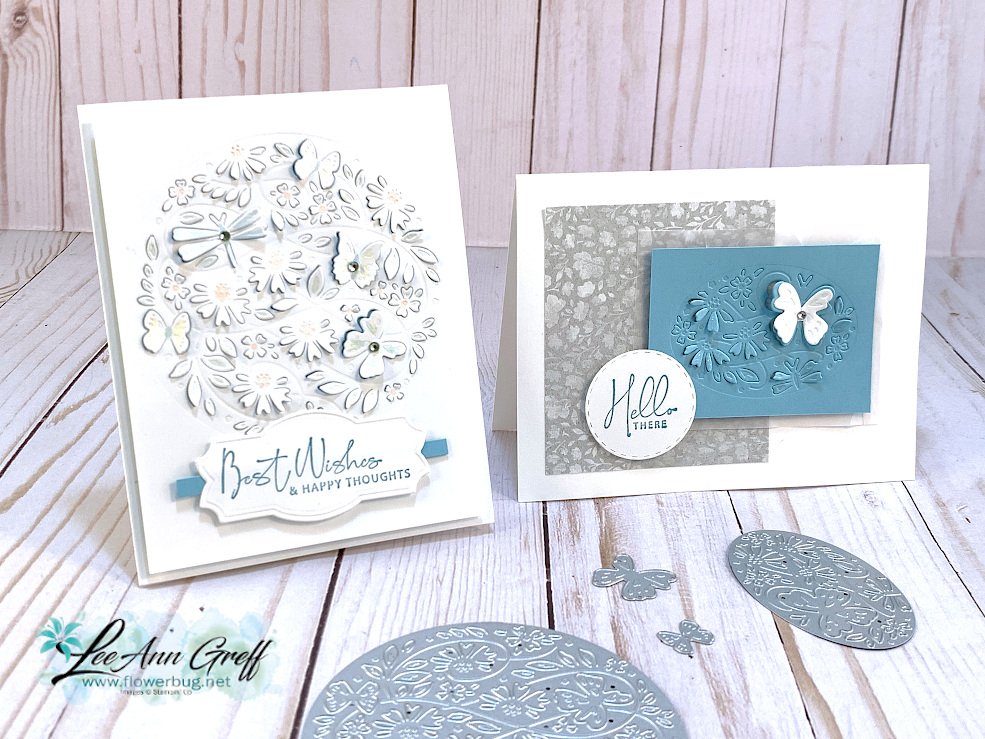
    It's almost all white; just a few accents of Balmy Blue & Petal Pink.  These Pretty Pop-Up dies do not cut all of the way through; they provide detailed texture and a 'peak' behind the die-cuts.  

    I added a bit of color to some of the flowers and butterflies with Balmy Blue & Petal Pink light blends markers.  To get them to pop up a bit I pushed each die-cut outward with my Take Your Pick tool.  I adhered this 4" X 5 1/4" piece to a smaller piece of Balmy Blue card stock using mini dimensionals.  

    The greeting is from the Nature's Thoughts stamp set and on a die-cut from the Natural Prints dies.  I added a 1/4" strip behind this to bring in a bit of Balmy Blue. This card might not be considered true clean & simple but it does only have a few layers!  Ha!

    I stuck with the Balmy Blue & White them for my second card but added a bit of Gray Granite with the Abigail Rose designer paper. 

    I used the smaller oval die for this card and used one of the single dies for the White butterfly.  

    The greeting is stamped on a circle die from the Picture This dies and is from the Nature's Thoughts stamp set as well. There is a piece of Vellum card stock behind the Balmy Blue layer. 

    You can see some of the dies I used in the photo below: 

    Thank you so much for stopping in today; I hope you enjoyed seeing these Pretty Pop-Up die projects!  

    I hope you'll stick with the 'hop' to see all of the projects!  Click here to see Melissa's projects or on the icon below.  

    ~~~

    Get a bunch of NEW In Color products FREE in your Starter Kit! 

    It's $99 for $213 in products!!!  And Free Shipping! Click here. 


    Host codes: HUNR9DB6

     *click here to order 

    If your order is over $50 you'll receive a set of NEW embellishments from me.

    Don't forget about my loyalty rewards! 

    Click here to download yours and earn a $50 shopping spree!  


    Opt in for my New Catalog Designer Paper Share

    It's $26 plus shipping


    Leave a Reply

    Your email address will not be published. Required fields are marked *

  • Sending Smiles card; a fabulous & versatile bundle with video


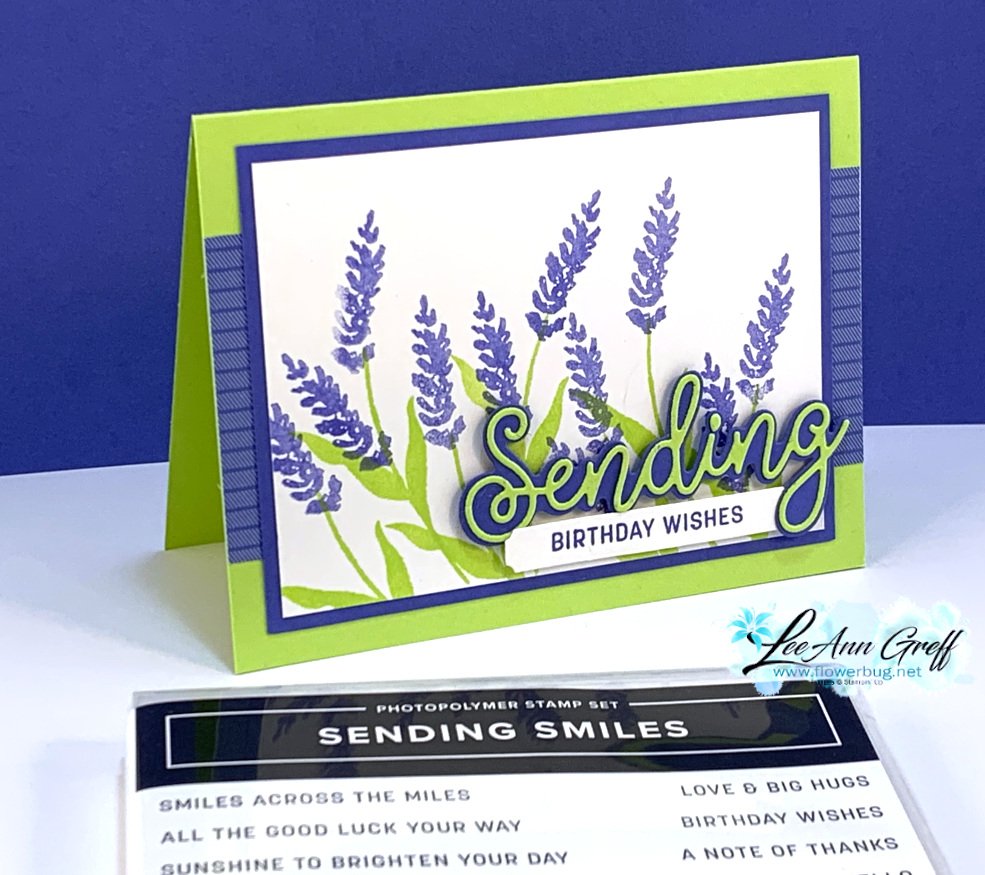
    I made a bunch of these cards for a swap in April and also demonstrated it on FB Live last Tuesday here.  

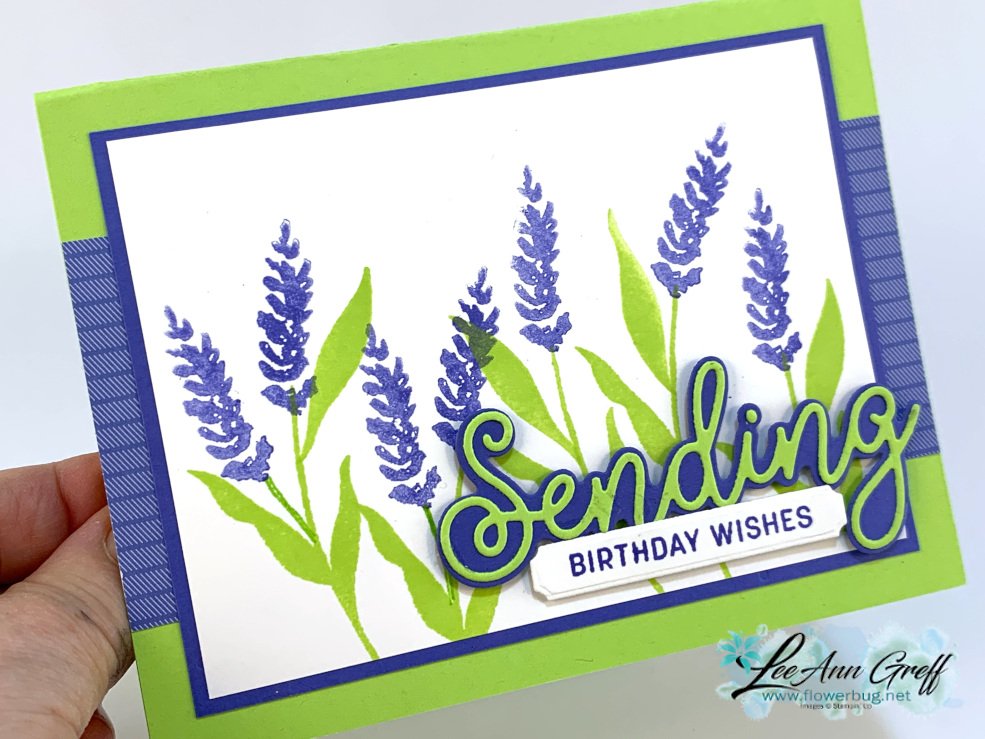
    I LOVE the colors of Parakeet Party & Orchid Oasis together.  This new lime color of Parakeet Party brightens up our color line and it works with blues & purples beautifully! 

    The Sending Smiles bundle seen here is wonderful and was #1 on my list of 'must have's'.

    I made three projects on last week's Facebook Live using this fabulous bundle.  See it here. 

    I love the fact that they provided two sizes of the die-cut 'Sending'.  The larger one fits under the finer die-cut like seen on the card below.  But it also fits the stamped greeting image too.  So smart!  

    You can create a variety of flowers with this bundle as you can see.  This flower can be falling like wisteria or growing up like these here; they remind me of grape hyacinth.  

    Click here or on the photo below to watch the video for this card and TWO MORE as well. 

    ~~~

    Get a bunch of NEW In Color products FREE in your Starter Kit! 

    It's $99 for $213 in products!!!  And Free Shipping! Click here. 


    Host codes: HUNR9DB6

     *click here to order 

    If your order is over $50 you'll receive a set of NEW embellishments from me.

    Don't forget about my loyalty rewards! 

    Click here to download yours and earn a $50 shopping spree!  

    Leave a Reply

    Your email address will not be published. Required fields are marked *


Notice: LeeAnn Greff, Independent Stampin’ Up! Demonstrator, Manager. The content of this website is my sole responsibility as an independent Stampin’ Up! demonstrator and the use of, and content of, the classes, services, or products offered on this website is not endorsed by Stampin’ Up! Copyright 2025