/


Latest Post

Translucent Florals card made with colored vellum


I created this pretty card with the Translucent Florals bundle.  I used our vellum card stock and changed it from opaque to Fresh Freesia. 
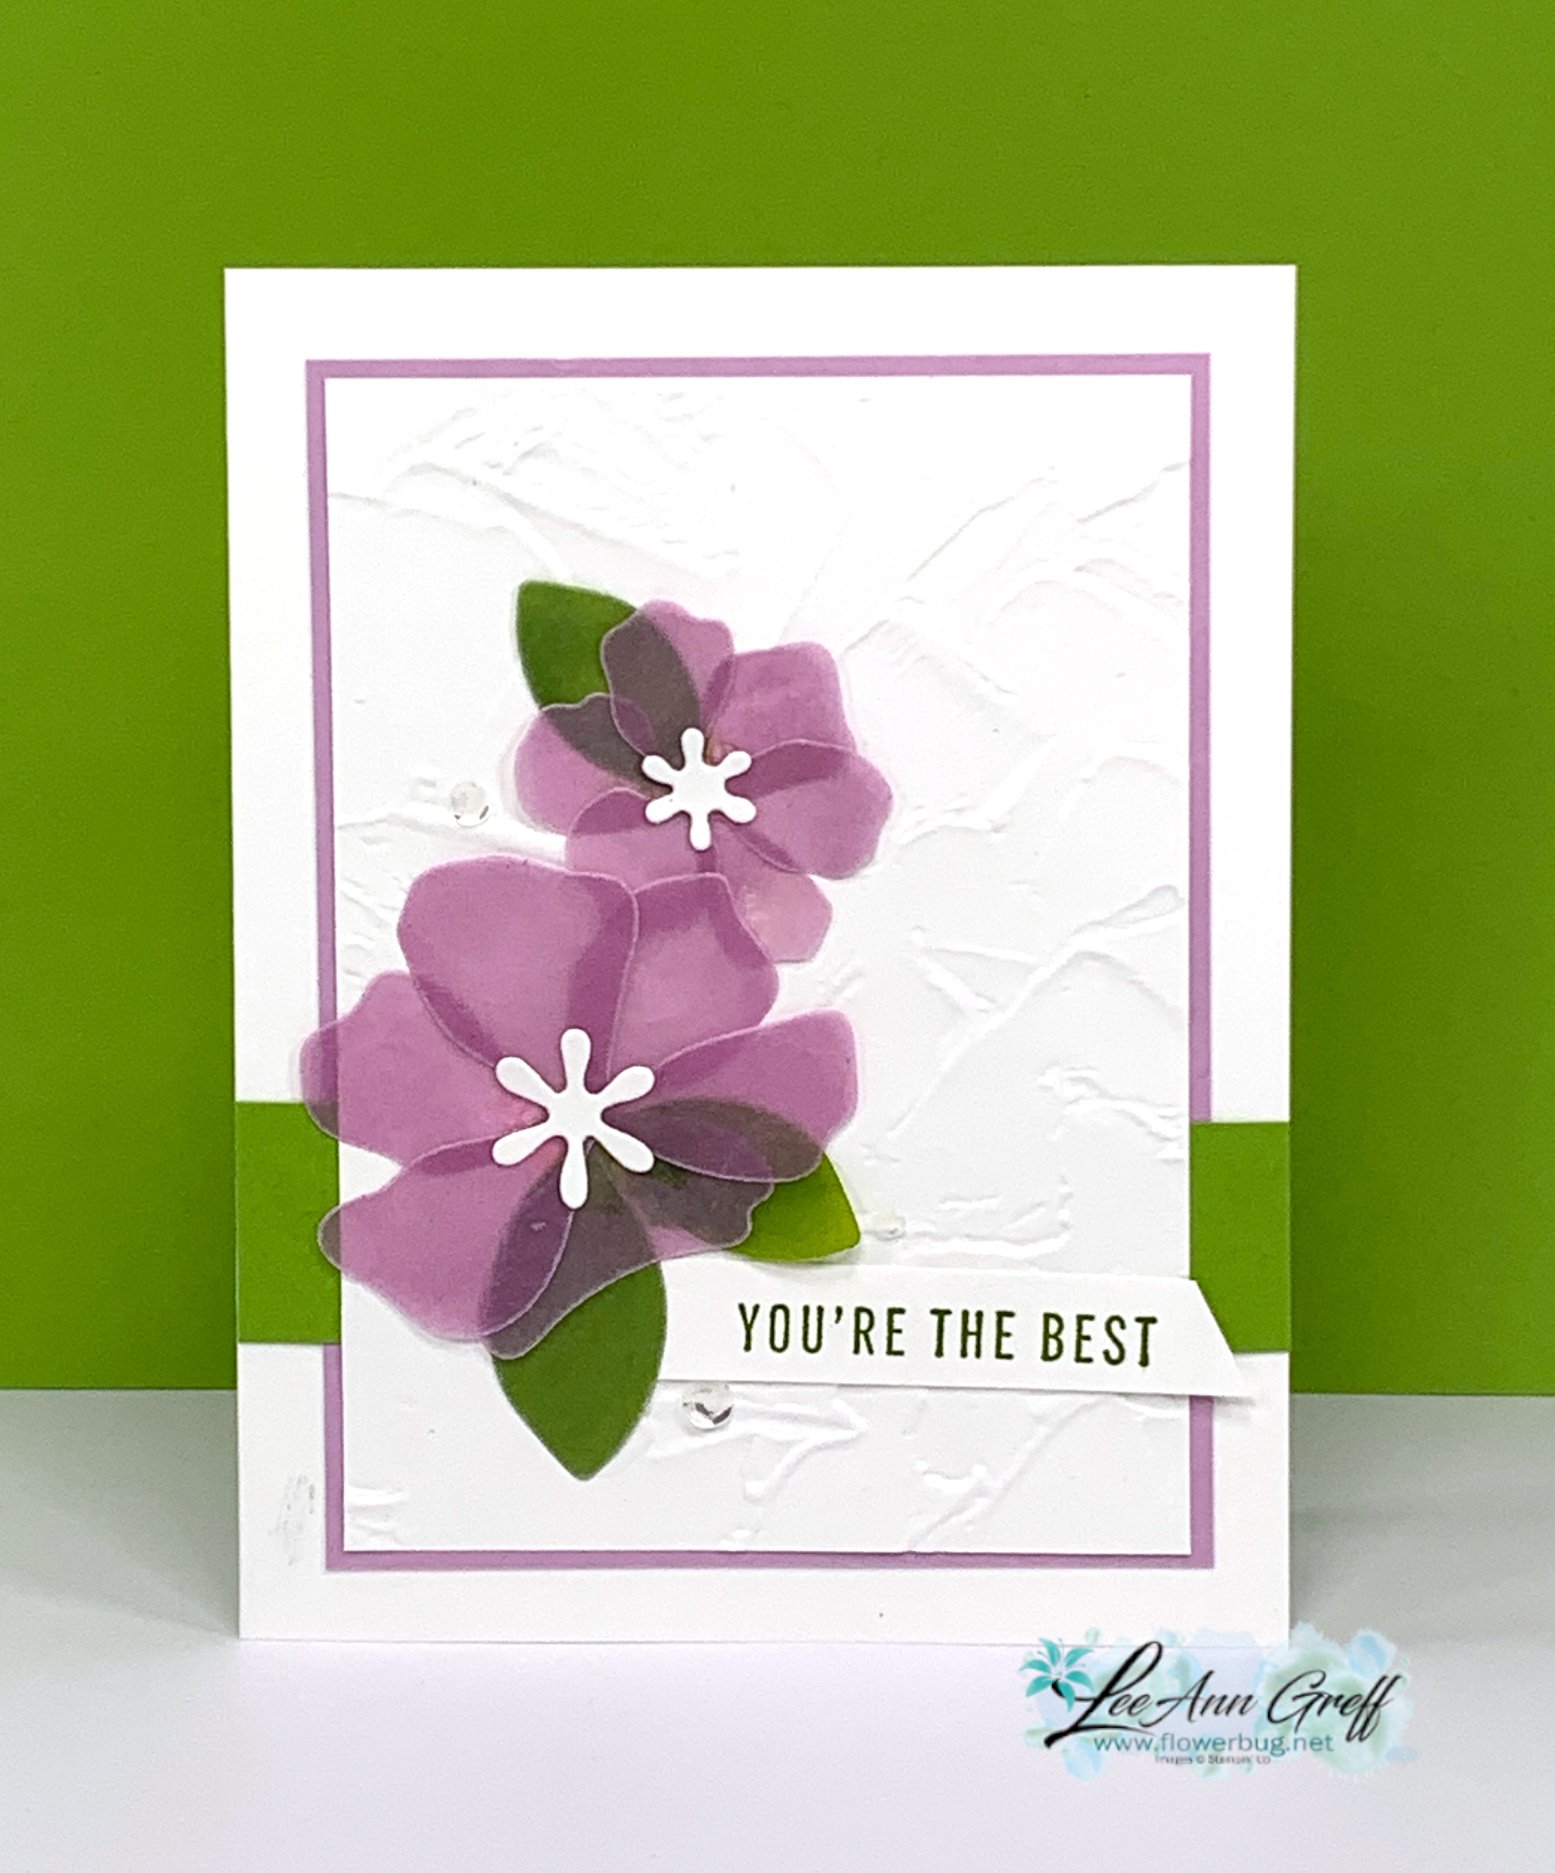
It's really easy to do.  Here's how:

  1. I cut a good size piece of vellum from the main sheet and laid it onto my grid paper.
  2. Then I pressed my open ink pad onto the card stock until it was covered.
  3. To smooth the ink out use sponges or a blending brush. Let dry or heat set before die-cutting. 
  4. Die-cut the flowers, leaves and white centers

Products & measurements:

  • Translucent Floral bundle
  • White card stock – card base 8 1/2" X 5 1/2" score & fold at 4 1/4"
  • Painted Texture embossing folder – white is 3 1/2" X 4 3/4"
  • Fresh Freesia card stock 3 7/8" X 4 7/8"
  • Granny Apple Green 4 1/4" X 1" strip 
  • Vellum card stock – a large piece colored with Fresh Freesia ink and a small piece with Granny Apple Green ink
  • Blending Brushes 

Here's a photo of this pretty bundle. See it here. 


~~~

December Specials: 

Get a free embellishment from the 2023 Holiday catalog with an

online order over $50


*current host codes: TU26GCPZ

All Posts

  • A beautiful card with Thankful Garden bundle & masks – with lots of tips in the video!


    Today I'm sharing the cards we made at my March card clubs.  I also shared it in last week's video. 

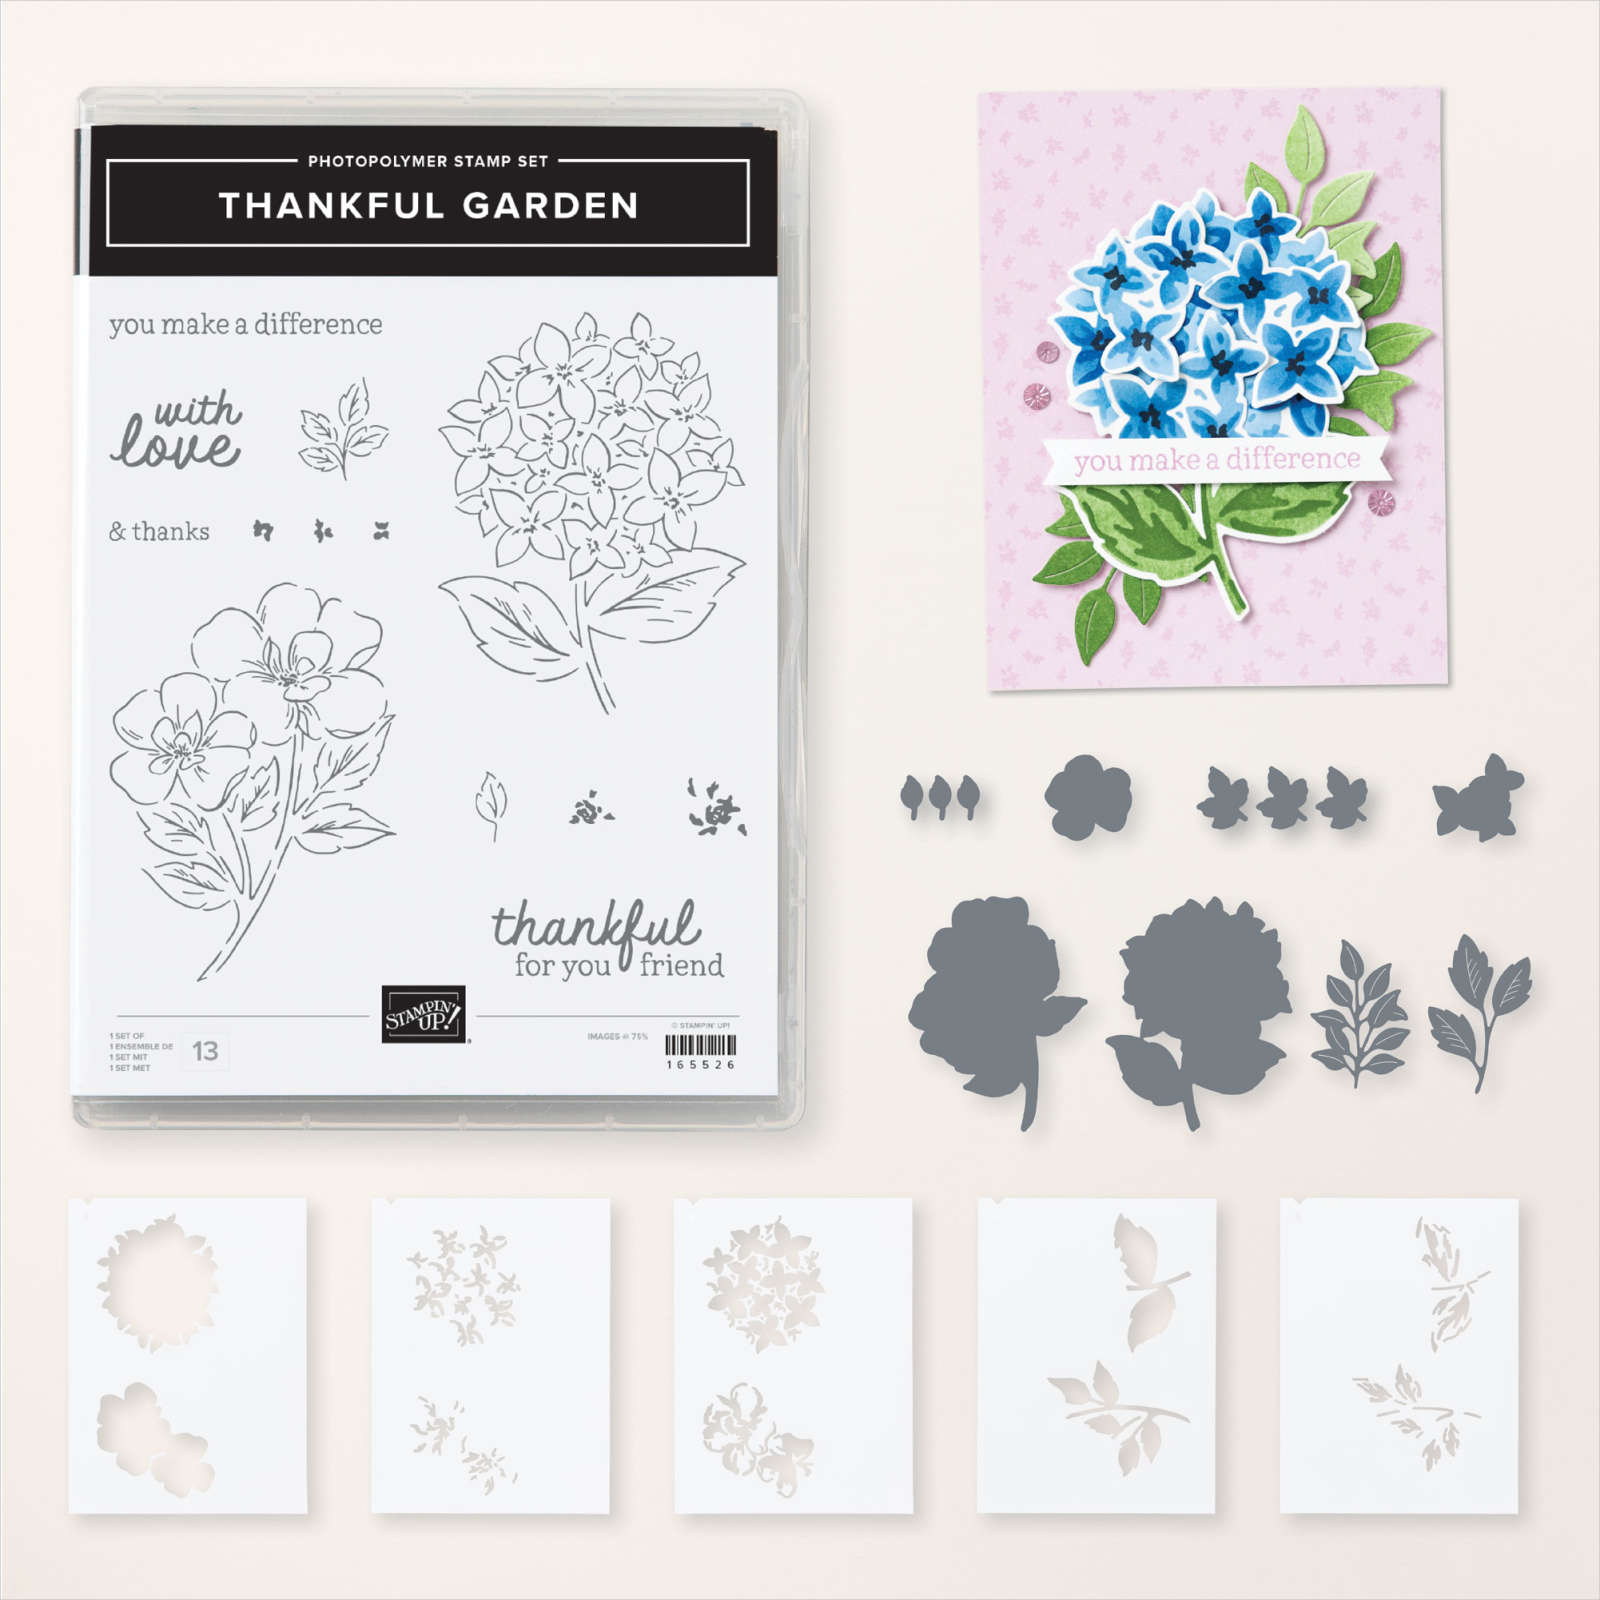
    I featured the Thankful Garden bundle from our Online Exclusives.  This bundle includes a stamp set, coordinating dies and the set of 5 masks.  Click here to see it online.  

    I shared quite a few helpful tips on using these masks in the video here.  Using them with our Blending Brushes truly makes you feel like an artist!  You get the multi-colored & layered effect so easily. 

    The greetings here are from the Unbounded Love stamp set.  My colors include Fresh Freesia, Black, Lemon Lime Twist and Balmy Blue.  

    Can you notice the 4 differences between the cards below?  Which one is your favorite? 

    Below is the video tutorial for this card and another neat fun fold layout. 

    ~~~

    April Specials

    Don't miss the deals in the Last Chance list here!


    *host codes have been discontinued; no need to add one.  Now you'll earn host rewards on all orders over $20!

    ~~~  

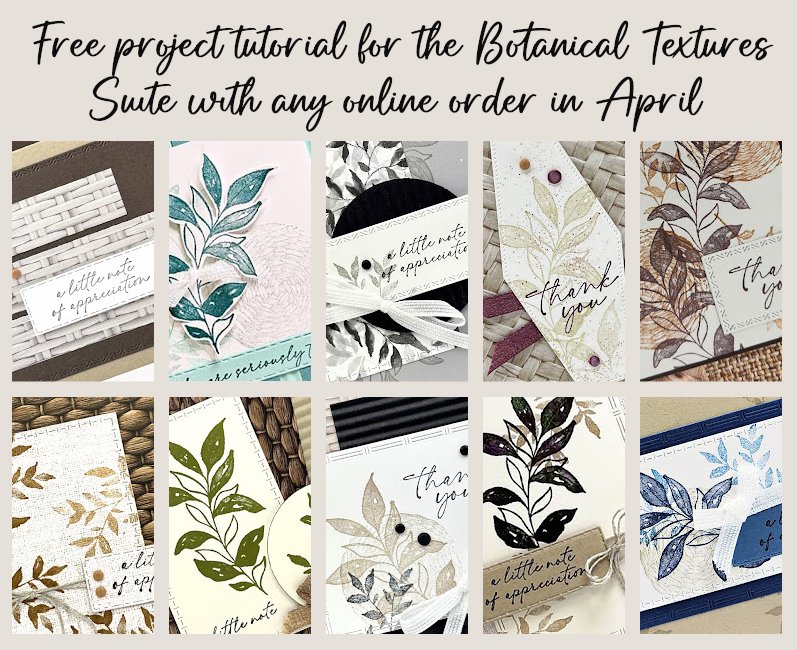
    Get a free Botanical Textures PDF tutorial with any online order in April!

    See this gorgeous suite here

    Get a free gift from me with any order over $55

    Leave a Reply

    Your email address will not be published. Required fields are marked *

  • Textured Notes & Botanical Textures fun fold card with video tutorial


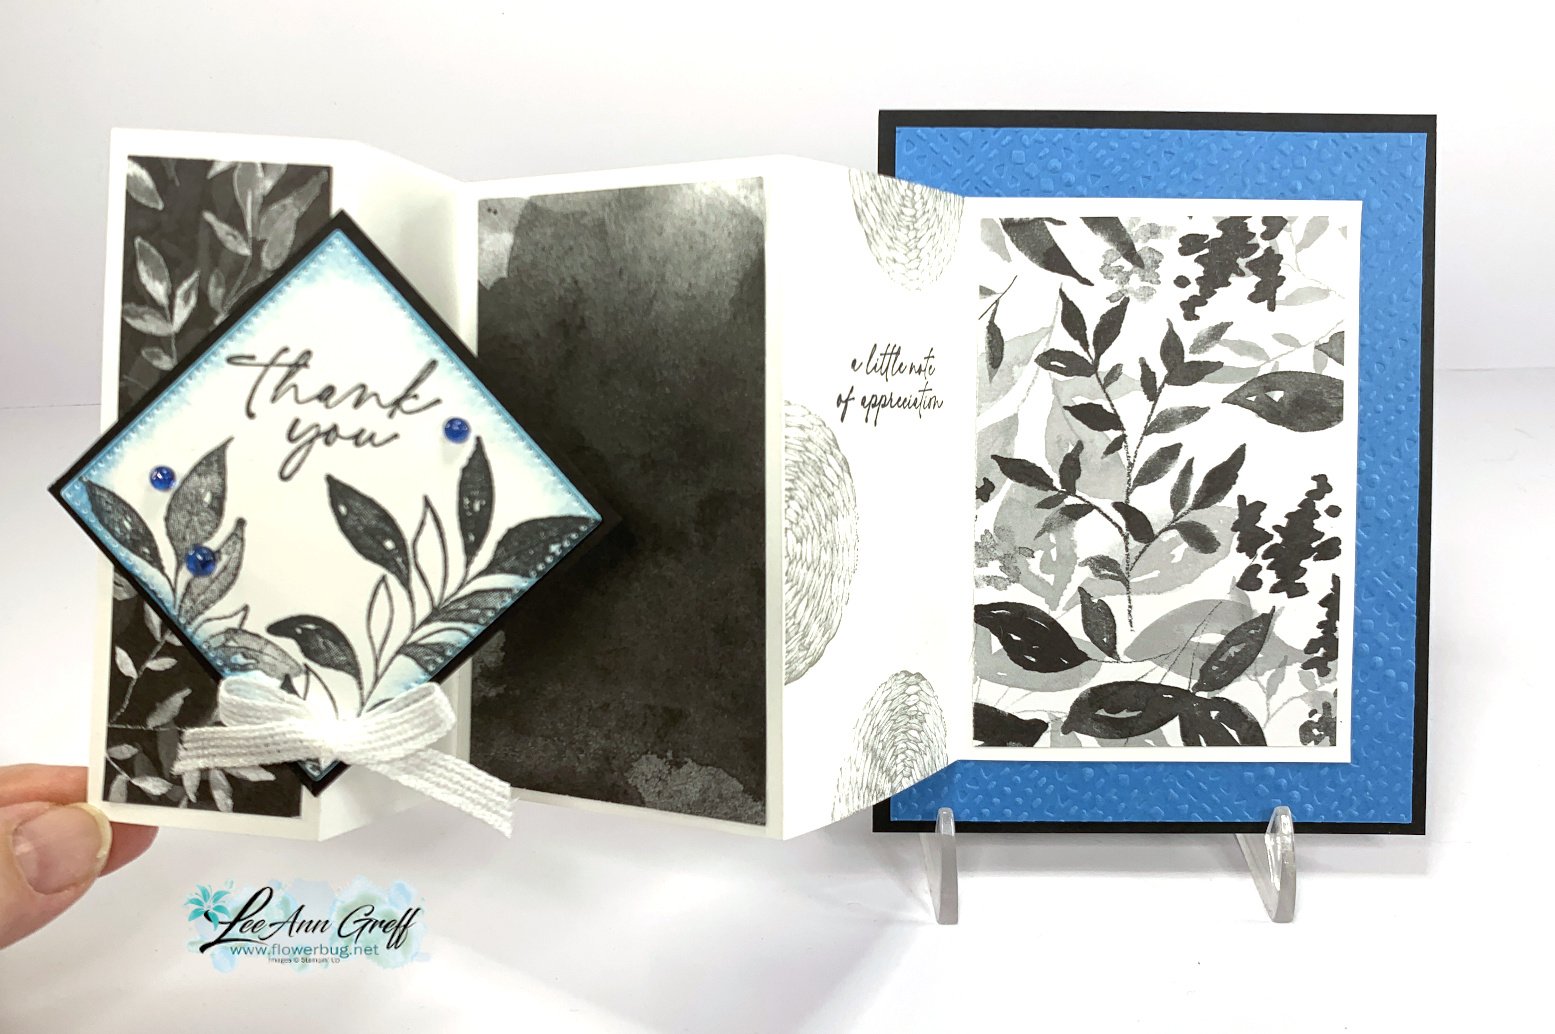
    I shared this fun fold card on last week's video. We also made it at my Team meeting in March. 

    The back of the card is 4 1/4" X 5 1/2" but the center is an accordion style fold that shows off your designer paper. 

    I used the Dashing Designs embossing folder on the Azure Afternoon layer – it's on the Last Chance list here. 

    The stamp set is the Textured Notes and the DSP is the Botanical Textures.  If you follow me you'll realize I cannot get enough of both of these products!  

    Here's the view with the card opened: 

    I created a free project sheet for you with measurements and directions.  Click on the following link to print or download it.   Download Botanical Textures Accordion card

    Below is the video tutorial for this card and one other featuring the Lovely Garden bundle with masks.

    ~~~

    April Specials

    Don't miss the deals in the Last Chance list here!


    *host codes have been discontinued; no need to add one.  Now you'll earn host rewards on all orders over $20!

    ~~~  

    Get a free Botanical Textures PDF tutorial with any online order in April!

    See this gorgeous suite here

    Get a free gift from me with any order over $55

    Leave a Reply

    Your email address will not be published. Required fields are marked *

  • New Catalog sneak peak inspired by a fun sketch


    Today I'm sharing a sneak peek of new products from the upcoming 2025 Annual Catalog by Stampin' Up!  

    I chose the Florals in Bloom designer paper and the Impressions Abloom stamp set plus new gems too!  My colors include Petunia Pop and Secret Sea plus white.  

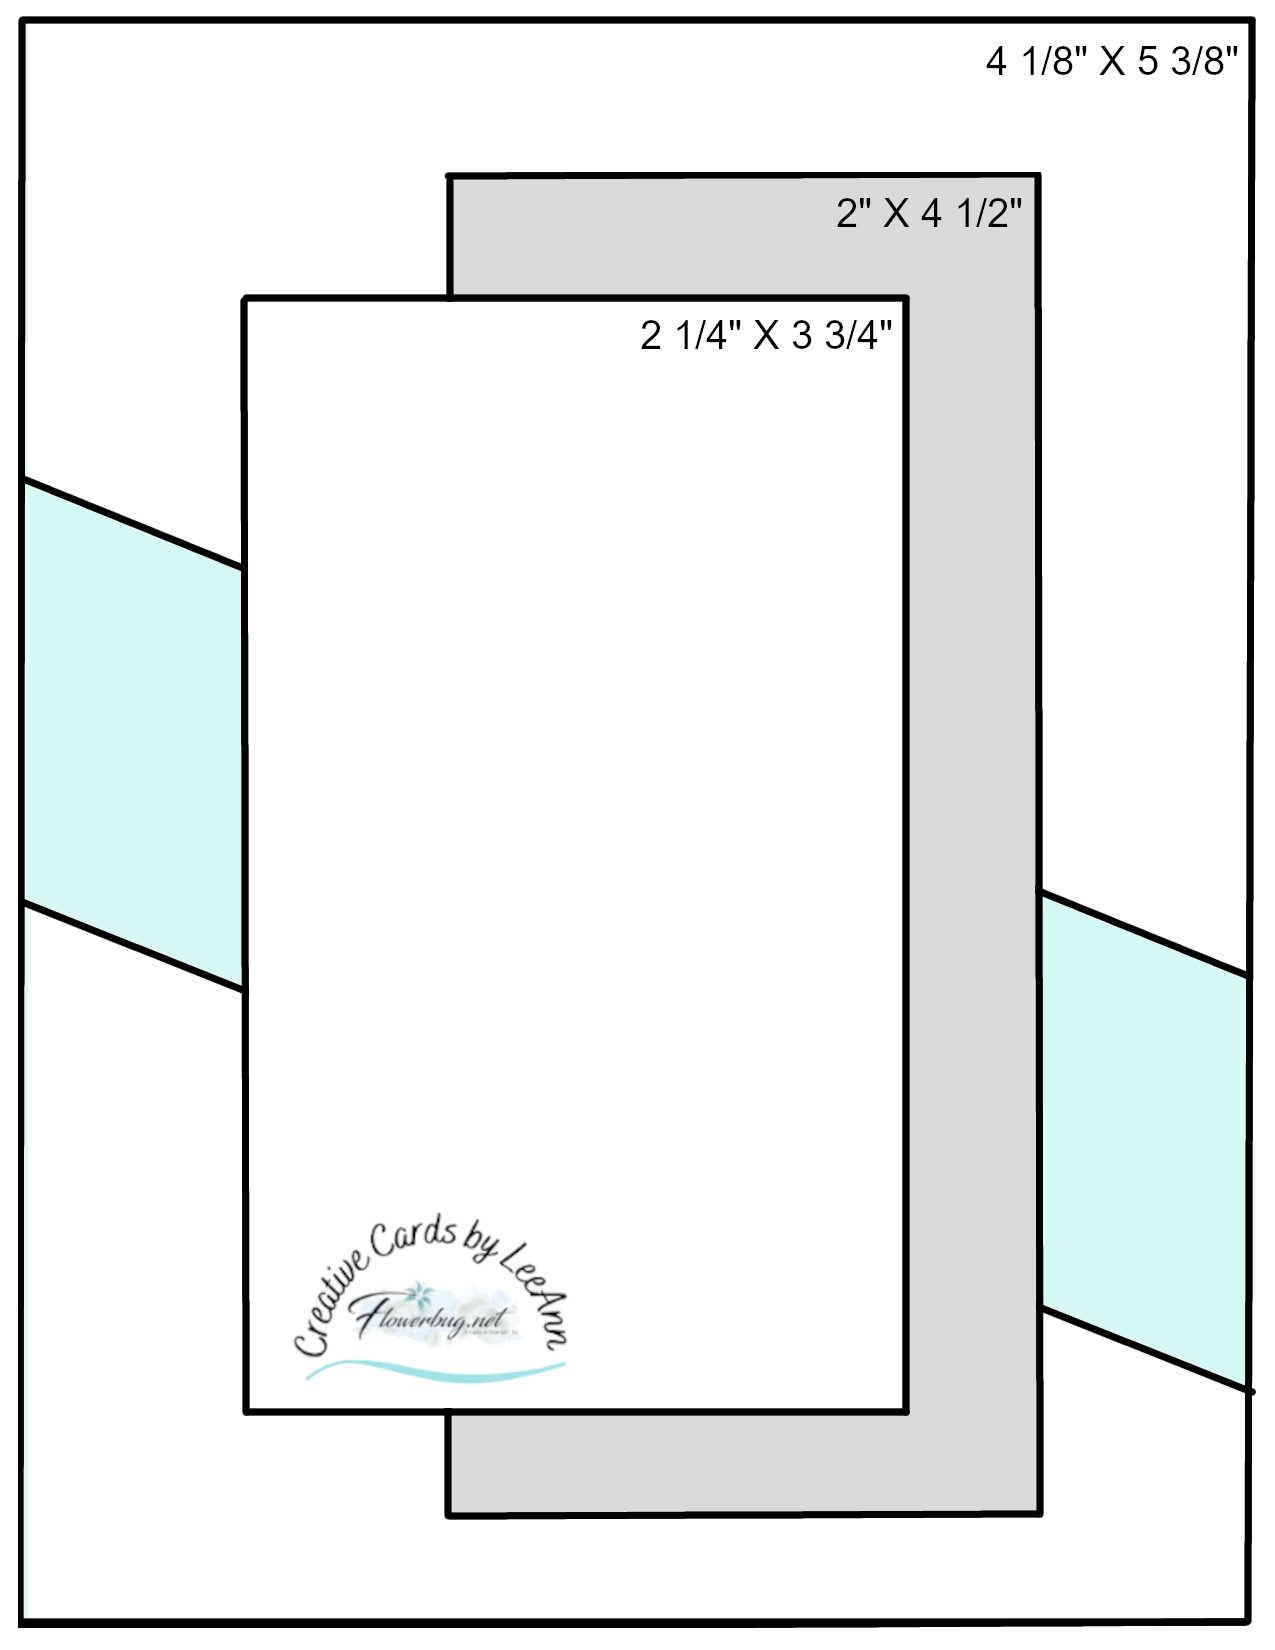
    This layout was inspired by the following sketch.  I absolutely love using sketches for my inspiration.  I knew I wanted to feature the DSP but wasn't sure of my plan. This sketch fit the bill perfectly! 

    I made another pretty card that's totally different with this same sketch.  See it here.  

    As you can see I did not follow it exactly.  My DSP measures 2 3/4" X 4" and 2 1/4" X 3".  The diagonal layer (secret sea) is 1 1/8" wide.  

    The stamped greetings are from the 'The Right Words' stamp set.  One of my new favorite greeting sets.  You're going to love it! 

    I'll share another card featuring new products tomorrow. 

    ~~~

    April Specials

    *current host code link:  

    VGAQKH7J

    Get a free Botanical Textures PDF tutorial with any online order in April!

    See this gorgeous suite here

    Get a free gift from me with any order over $50

    Leave a Reply

    Your email address will not be published. Required fields are marked *


Notice: LeeAnn Greff, Independent Stampin’ Up! Demonstrator, Manager. The content of this website is my sole responsibility as an independent Stampin’ Up! demonstrator and the use of, and content of, the classes, services, or products offered on this website is not endorsed by Stampin’ Up! Copyright 2025