
/


Latest Post

Deals & Gifts galore; just for you! Times running out; just 6 days left!


If you love good deals; I have two happening through February 28th.

Keep reading! 

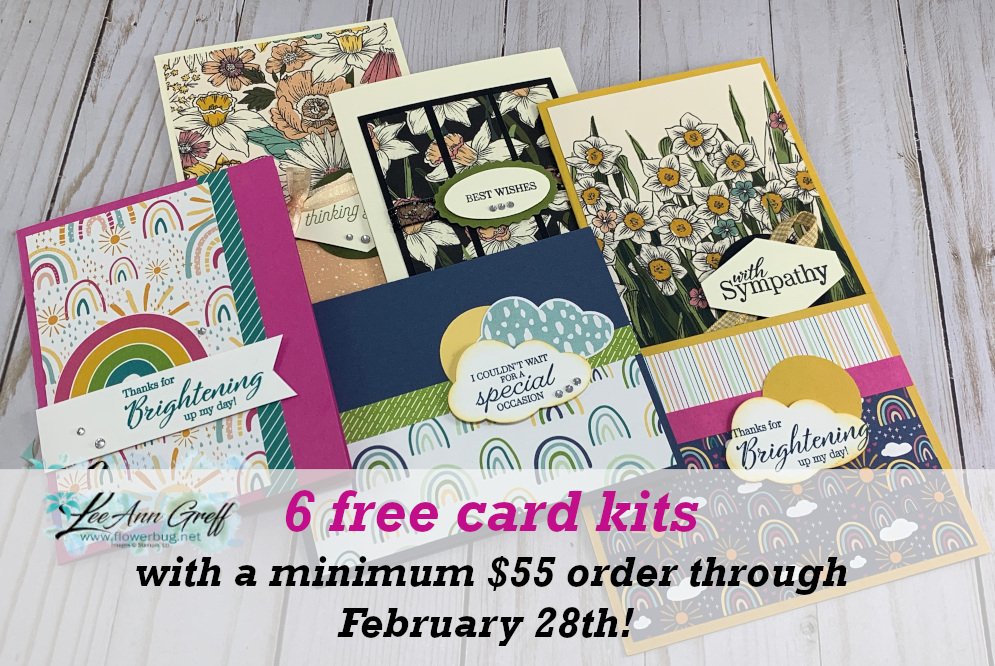
I'm giving you 6 free card kits for orders over $55 through the end of February.  Plus my other gifts as well! *I ran out of the easel calendars & embossing folders; I'll be substituting Rhinestone jewels instead. (Gingham embossing folder & Easel calendar kit!). 

In addition to my free gifts you'll get a free Sale-a-Bration choice too! Gifts galore! It ends on February 28th. Go here to order. 

Next deal….. how about $100 in free product?  
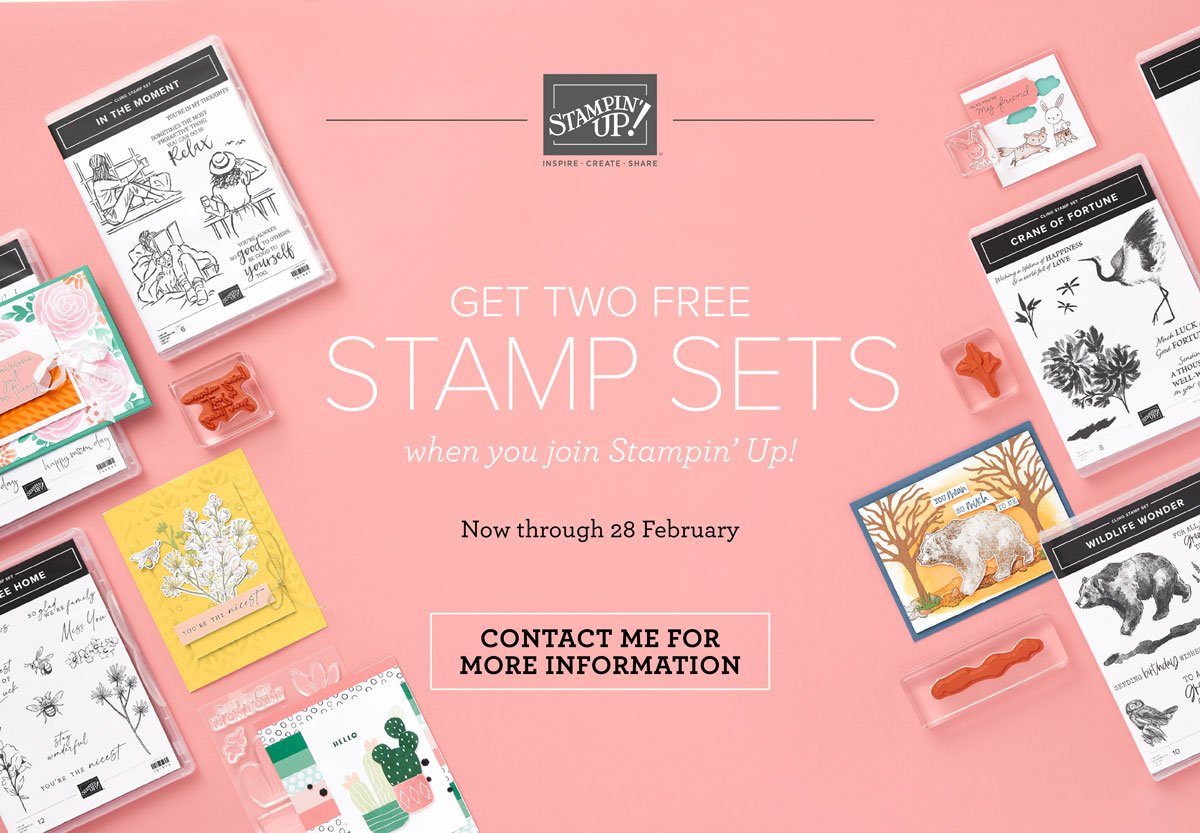
During our Sale-a-Bration promotion (ends February 28th) you can choose $125 in product of your choice for just $99.  Plus TWO free stamp sets too!  In addition to that the Starter kit includes a free Paper Pumpkin kit, business supplies and catalogs too. 

I polled my Flowerbug's Team to ask them why they joined when they did. 

Top 5 reasons my gals chose the Stampin' Up! Starter Kit:

  1. A good deal
  2. Continuous discount
  3. Love of Stampin’ Up! products
  4. See new products & catalogs early (cannot wait!)
  5. Ordering regularly anyway

You may think you have to 'sell' or hold events.  Or order a bunch of items to have on hand.  Nope!  Here are some myths you might have about being a Stampin' UP! Demonstrator: 

Myths:

  1. You have to sell.  Or hold classes.  Nope! I call my gals who simply enjoy the discount ‘Happy Shoppers’.  
  2. It’s a commitment.  Wrong. You can quit ordering at any time. Enjoy it while you can and end when you want. There's no pressure from me or Stampin’ Up! to do more than you want to.
  3. You have to join in swaps or group activities. It's your choice.   
  4. I don’t have time.  You're in charge! Spend as much time as you want on this hobby; nothing has to change.
  5. I’m not creative enough.  Case & copy anything you see online or use any of my free tutorials.      

Here are some Facts:  

  1. To stay active, you need $300 in orders/sales each quarter.  But with the 20% discount you’re really paying just $240 out of pocket!  But you get the benefits of the full $300. WOW! And you're taxed on the lower amount; not the full $300. 
  2. Your first quarter is waived so you do not need the $300 in orders until the end of June. That means you can pre-order from the new 2021 Annual catalog that starts in April.  New In Colors!
  3. You get all of the benefits a customer does; including free host rewards and we get our discount on top of special promotions.
  4. Plus we get extra $$ income if our orders/sales are over a certain amount each month. That includes our own orders! 

Are you ready to get yours?


Here is what my Flowerbug's Team love about being in our group (from my poll):

Flowerbug’s Favorites:

  • Friendly & supportive community
  • Free tutorials
  • Creative inspiration, monthly challenges
  • Local & online gatherings
  • Friendships with like-minded crafters
  • Good leadership
  • Swaps & friendships

Flowerbug Benefits:

  • Get all of my Tutorials FREE!
  • Exclusive access to our very active FB Group
  • Weekly & monthly inspiration challenges with prizes!
  • Business training if desired.
  • Monthly Team Meetings, Zooms & Facebook Lives
  • Option to join swaps
  • Being part of a positive, happy group where you can share, learn, get inspired and receive support.

~~~

 Hot Deals in February:

Choose $125 in product PLUS any 2 stamp sets free in February!

It's just $99. Get FREE shipping too!

Click here to get the deal.


Host codes: PA93N9CF

 *click here to order 

End of February special; 6 FREE card kits!
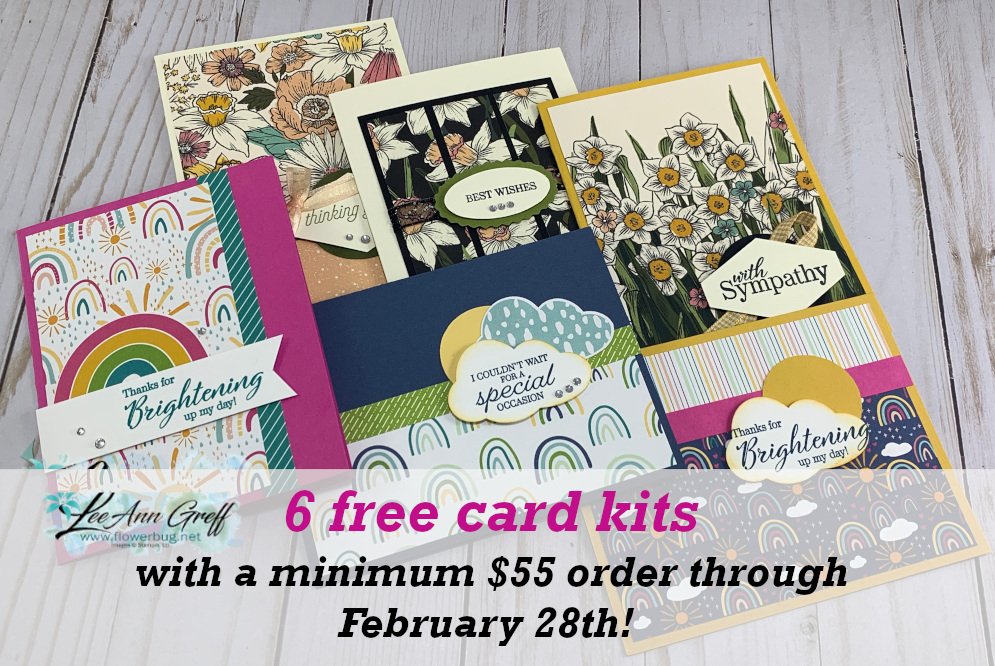

Plus a package of free rhinestones too!  

All Posts

  • Gorgeous cards with my ‘5 at a time’ templates! Free project sheet, templates & video tutorial


    I shared these beautiful cards on last week’s Live video. They were a big hit!

    I love making cards with my 5 at a time templates. Making the most of my card stock gives me a great deal of satisfaction. I hope you’ll save these templates and use them in your own crafting.

    Below is the template I stamped on; it’s slightly smaller than the one I used for layering. I often use this or the larger one for the neutral layers inside my cards.

    Tip: I recommend making your first cut vertically at 4 3/4″. Then cut the left 3 pieces into 3 1/2″ layers. Once you cut all 5 pieces you’ll have one small piece left for a greeting or for punching.

    Next is the template for layering the above ‘stamped’ pieces on. It’s just slightly larger – 1/8″ so it’s quite a narrow margin.

    The above template has even less waste! It’s so nice to get 5 layered card pieces from 2 sheets of 8 1/2″ X 11″ card stock. Please save these templates!!

    In the past when I made cards with these templates I stamped before cutting the 5 pieces apart. This was a bit tricky to stamp in the right place. This time I cut my pieces before I stamped on them. *Always start with your greetings!

    As you can see I made sure I stamped three pieces landscape and two vertical. This isn’t necessary but it does change your cards up a bit.

    I used Cherry Cobbler, Timid Tiger; and Pretty Peacock here. I like adding Pretty Peacock and Cherry Cobbler to my fall cards. The stamp set is called Gathering Moments seen here.

    Tip on stamping – always stamp the greeting image first. Then start with the largest image and work your way down to the smallest to fill in any gaps. It’s okay to overlap your images.

    As you can see I blended a light wash of Timid Tiger over the stamped leaves. This softens the appearance and truly enhances your stamping.

    Here you can see the stamped pieces added to the larger layers from the 2nd template above.

    These were made simply with no punches or die-cuts. Sometimes it’s fun to just stamp and create. You can easily add the greetings on another layer (punches or die-cuts) to add more dimension.

    I’ll share my second set of cards using this template later this week. And I’ll also show the fabulous card box I made to gift them in!

    See how pretty they are once they’re added to the card bases and gems and twine have been added.

    I created a free project sheet that includes directions, photos, templates and supplies. Click here to download or print it. Please save this one!!

    Below is the video tutorial. Please subscribe to my YouTube Channel while you’re there.

    ~~~

      To see all of the new Online items click here.  Or download & save the Download Online Exclusives flyer 

    Get a free project tutorial with any online order in September! 

    Leave a Reply

    Your email address will not be published. Required fields are marked *

  • 2 pretty ways to use the emboss resist technique


    Look at these gorgeous projects featuring the Etched Autumn stamp set.

    These pretty cards are projects made by Stampin’ Up! and they’ve provided a free tutorial for both cards! Click here to access this tutorial.

    Both cards use the Etched Autumn stamp set from our newest Online products. See that here.

    ~~~

      To see all of the new Online items click here.  Or download & save the Download Online Exclusives flyer 

    Get a free project tutorial with any online order in September! 

    Leave a Reply

    Your email address will not be published. Required fields are marked *

  • Look at these 2 beautiful cards with the Autumn Toile Designer paper


    These pretty fall themed cards were made by my talented Flowerbug’s for our September Autumn themed card swap. They both feature the gorgeous Autumn Toile designer series paper from the 2025 Holiday catalog.

    This first card was made by Lori and it’s a fun fold card.

    Her colors include Pecan Pie, Early Espresso and Vanilla. The stamps are from The Right Words and More Messages sets. Gems are Streaked Dots and the metallic paper for that ‘tree’ die-cut is the Earthen Toned Metallic Paper. Can you see that pretty gold hoop around the tree? Wow!

    Here’s the inside view. The tree and deer dies are from the Autumn Trees dies.

    Measurements are:
    – Card base 8 1/2″ X 5 1/2″ scored at 3 1/4″ & 5 1/4″.
    – DSP on left is 3″ X 5 1/4″, DSP in the center is 1 7/8″ X 5 1/4″
    – Vanilla on the right inside is 3″ X 5 1/4″
    – largest circle is3 7/8″, DSP tree circle is 3 1/4″, Vanilla circle is 3 1/2″


    Next is a great card made by Ginny who also used the same exact sheet of paper in the Autumn Toile DSP pack.

    Her colors are Early Espresso with Very Vanilla. She stamped the greeting from the Amber Autumn bundle on the oval and added leaves from the Gathering Moments stamp set as well.

    Measurements:
    – card base 8 1/2″ X 5 1/2″ score at 4 1/4″
    – Vanilla 4″ X 5 1/4″
    – Early Espresso 3 1/2″ X 4 3/4″
    – DSP 3 1/4″ X 4 1/2″

    You can see this beautiful autumn paper here. I can see this going out of stock soon. It is one of my top selling products so far in September.

    ~~~

      To see all of the new Online items click here.  Or download & save the Download Online Exclusives flyer 

    Get a free project tutorial with any online order in September! 

    Leave a Reply

    Your email address will not be published. Required fields are marked *


Notice: LeeAnn Greff, Independent Stampin’ Up! Demonstrator, Manager. The content of this website is my sole responsibility as an independent Stampin’ Up! demonstrator and the use of, and content of, the classes, services, or products offered on this website is not endorsed by Stampin’ Up! Copyright 2025













